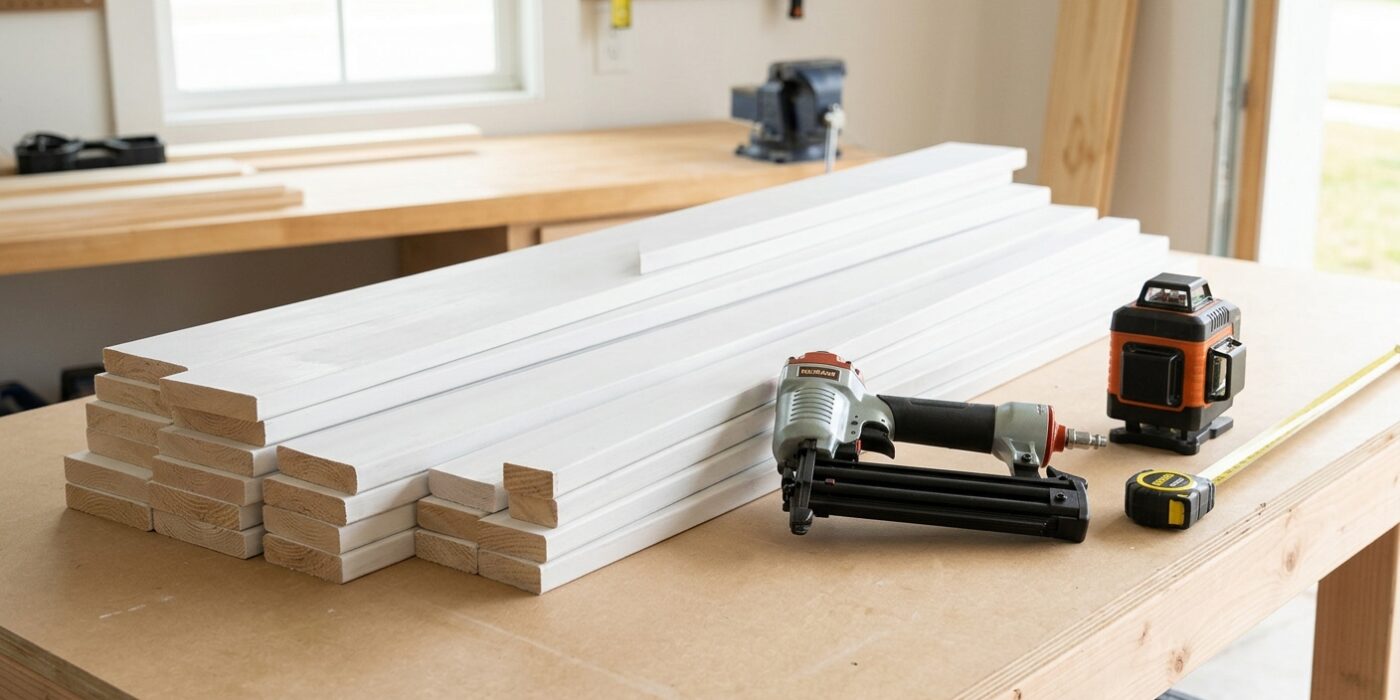
Project Shopping List
Board-and-batten wainscoting — the classic paneled wall treatment with a horizontal rail and vertical battens — adds architectural character to any room and is one of the most paintable wall treatments available. Unlike beadboard or raised panel wainscoting, board-and-batten is built from flat boards assembled on the wall, making it approachable for intermediate DIYers with basic carpentry tools.
What You Will Need
Tools
- Miter saw
- Nail gun (brad nailer) or hammer and finish nails
- Level (4-foot)
- Measuring tape
- Caulk gun
- Roller and brush for painting
- Stud finder
Materials
- MDF boards: 1×4 or 1×6 for top and bottom rails, 1×2 or 1×3 for battens
- Construction adhesive
- Finish nails (2-inch for boards into studs)
- Wood filler
- Paintable caulk
- Primer (oil-based for MDF)
- Paint (satin or semi-gloss for durability)
Step 1: Plan Your Layout
Before you make a single cut, grab a pencil, a tape measure, and a sheet of graph paper. Your goal is to map out exactly where your vertical boards (the battens) will sit. A standard wainscoting height is 32 to 36 inches, but you can adjust this based on your ceiling height; generally, a higher wainscot works better in rooms with taller ceilings. Aim for a batten spacing of 12 to 16 inches. The key here is symmetry: draw your layout on paper, ensuring that the spacing is centered between corners, windows, and doorways. This prevents a tiny, awkward sliver of wood from appearing right next to a door frame, which can look unintended.
Beginner Tip: Do not rely on your floor being perfectly level. Measure your desired height from the floor at every single point where a batten will go. If your floor slopes slightly, adjust your pencil marks accordingly so that the top rail of your wainscoting remains perfectly level around the entire room.
Alternative Method: If you find the math for perfect spacing intimidating, use painter’s tape to mark your layout directly on the wall. This allows you to stand back and visualize exactly how the vertical lines will look in the room before you commit to cutting any expensive lumber.
Pro Tip: Use a long, flexible level or a laser level to snap a horizontal line across the entire wall at your chosen height. Having a continuous guideline makes it much easier to keep your battens perfectly vertical and ensures your project looks professional from start to finish.
Step 2: Install the Bottom Rail
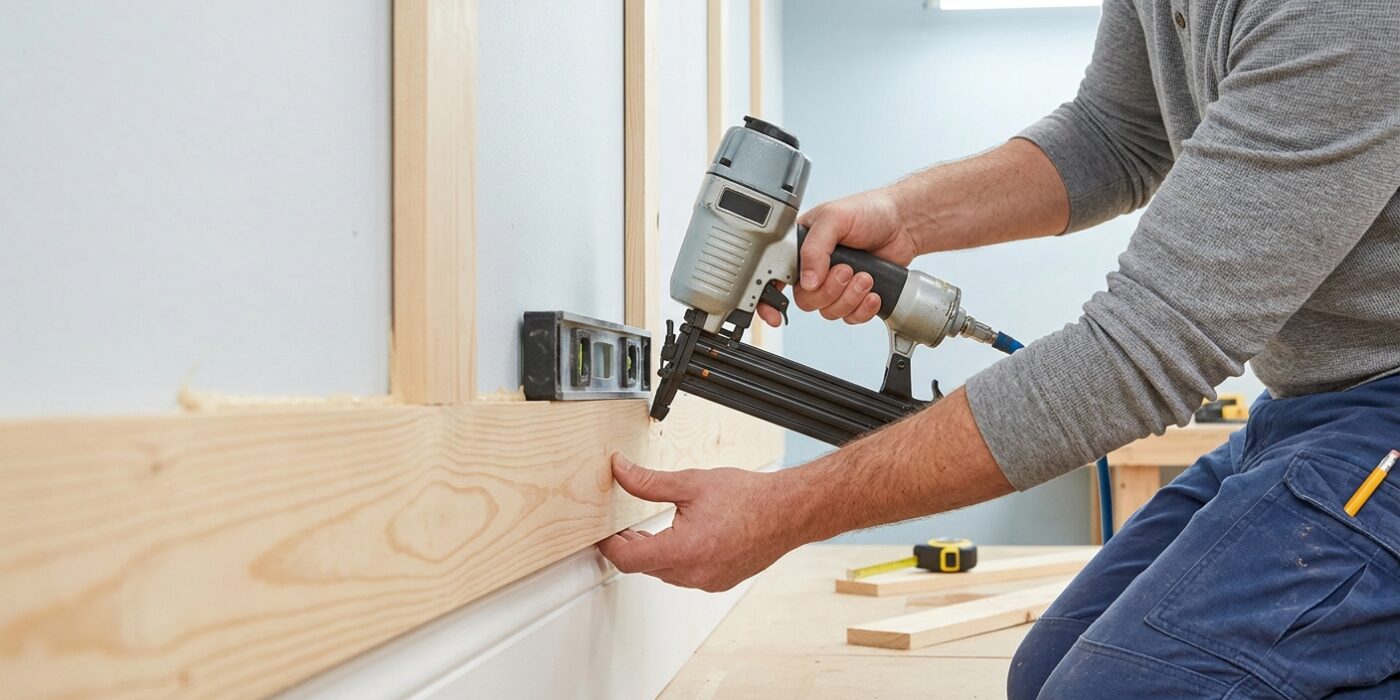
Now that your wall is prepped, it is time to install the bottom rail. This board acts as the structural foundation for your entire wainscoting project. Cut your 1×4 or 1×6 boards to the length of your wall. If you are working in a corner, you will need to cut the ends at a 45-degree angle (a miter cut) so two boards meet perfectly, though a straight butt joint works if you plan to cover the corner with trim later.
Apply a thin, wavy bead of construction adhesive to the back of the board. Press it firmly against the wall, positioning it either directly on top of your existing baseboard or about an inch above it if you prefer a floating look. Use your level to ensure the board is perfectly horizontal. Once level, use a finish nailer to secure the board into the wall studs. Aim for two nails every 16 inches to ensure it stays rock-solid.
Beginner Tip: Avoid the mistake of trusting your floor to be perfectly level. If you align your board solely with the floor or existing baseboard, your wainscoting will likely end up crooked. Always use a spirit level or a laser level to guide your placement, even if it means there is a tiny gap between the rail and the floor that you can fill with caulk later.
Pro Tip: Use a stud finder before you apply any adhesive. Mark your stud locations on the wall with a light pencil line just above where the board will sit. This helps you quickly nail into the sturdy wood framing behind the drywall without having to guess.
Step 3: Install the Top Rail
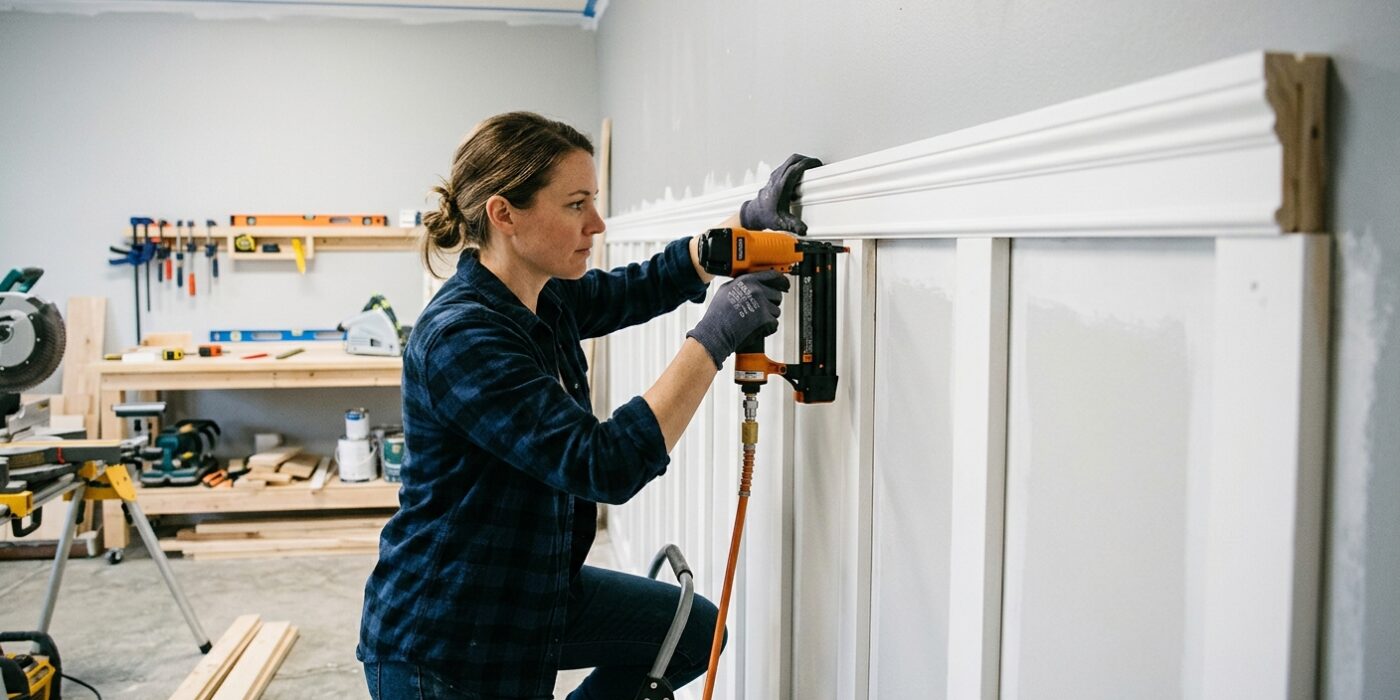
Now it is time to frame the top of your wainscoting. The top rail acts as the crown of your project, so getting it level is the most important part of the entire installation. Use a laser level or a long spirit level to draw a crisp, horizontal pencil line across every wall at your chosen height – typically between 36 and 48 inches from the floor. Do not rely on measuring from the floor up, as most houses have slight slopes; trust your level instead.
Once you have your line, cut your boards to length. Apply a generous bead of construction adhesive to the back of the wood, press it firmly against the wall, and align the top edge perfectly with your pencil line. Secure it by driving finish nails into the wall studs, which you can locate using a stud finder. The adhesive holds the board securely, while the nails provide the mechanical grip needed to keep it flush while the glue dries.
Beginner Tip: Avoid the mistake of trying to install one long, continuous board around corners. It is much easier to cut your boards to fit one wall at a time and miter the corners at 45-degree angles for a seamless look.
Pro Tip: If you find it difficult to hold the board perfectly steady while nailing, use a few temporary painter’s tape strips to “hang” the board on the wall exactly where you want it. This keeps your hands free to safely operate your nail gun.
Step 4: Install the Battens
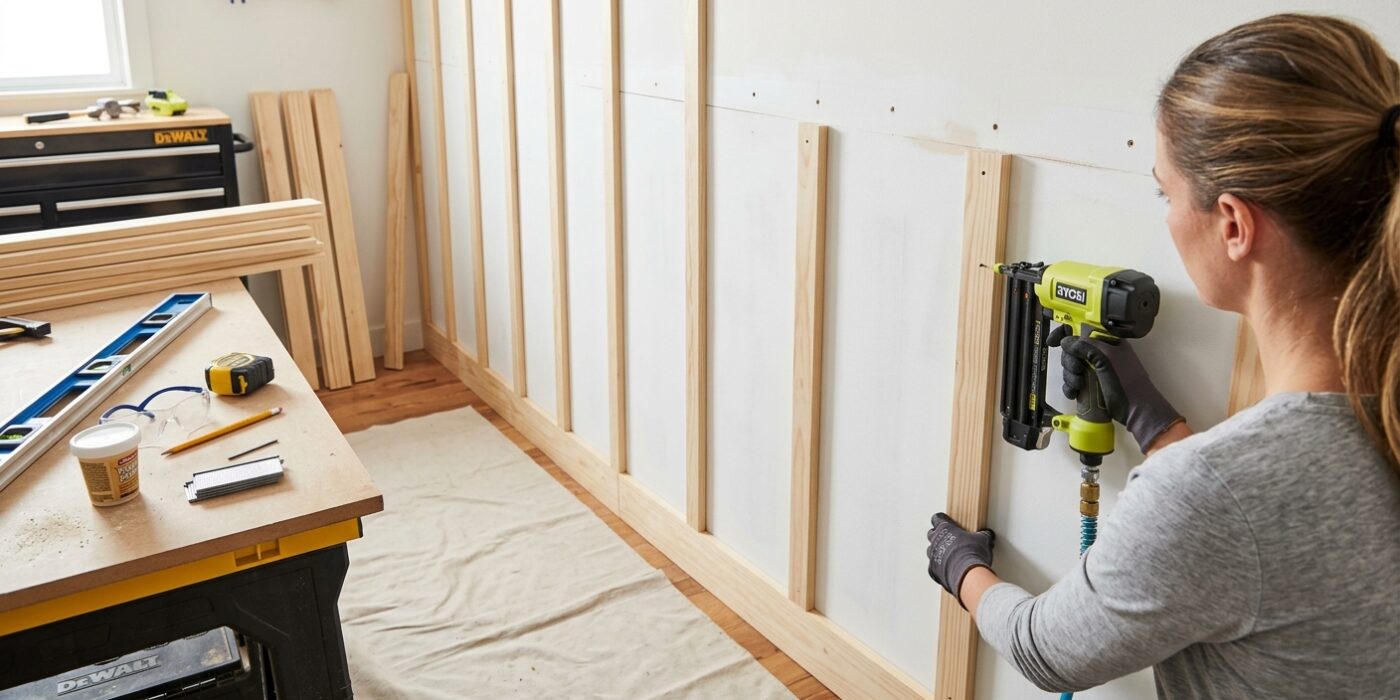
Now that your top and bottom rails are secured, it is time to install the vertical battens. Think of these as the “bones” of your wainscoting. First, measure the exact distance between your top and bottom rails. It is common for floors and walls to be slightly uneven, so measure the space for every single batten rather than assuming they are all identical. Cut your boards to these specific lengths, ensuring your saw cuts are perfectly square at 90 degrees.
Apply a thin, zig-zag bead of construction adhesive to the back of each board. Position the batten against the wall, and use a level to ensure it sits perfectly vertical, or “plumb.” Once aligned, use your finish nailer to secure the batten. Try to aim for wall studs whenever possible for maximum strength; if you miss a stud, the adhesive will still help keep the board tight against the wall. Follow your pre-marked layout to ensure your spacing is consistent across the entire run.
Beginner Tip: Avoid the temptation to install all your battens before checking their alignment with a level. If you start crooked, that error will compound across the wall. Check every single piece with your level before nailing it in; it only takes a few extra seconds and saves you from a major headache later.
Pro Tip: Use a scrap piece of wood cut to the exact width of your desired gap to act as a spacer. Simply hold this spacer against the previously installed batten, then butt your next board against it. This guarantees perfectly uniform spacing every time.
Step 5: Fill, Caulk, and Prime
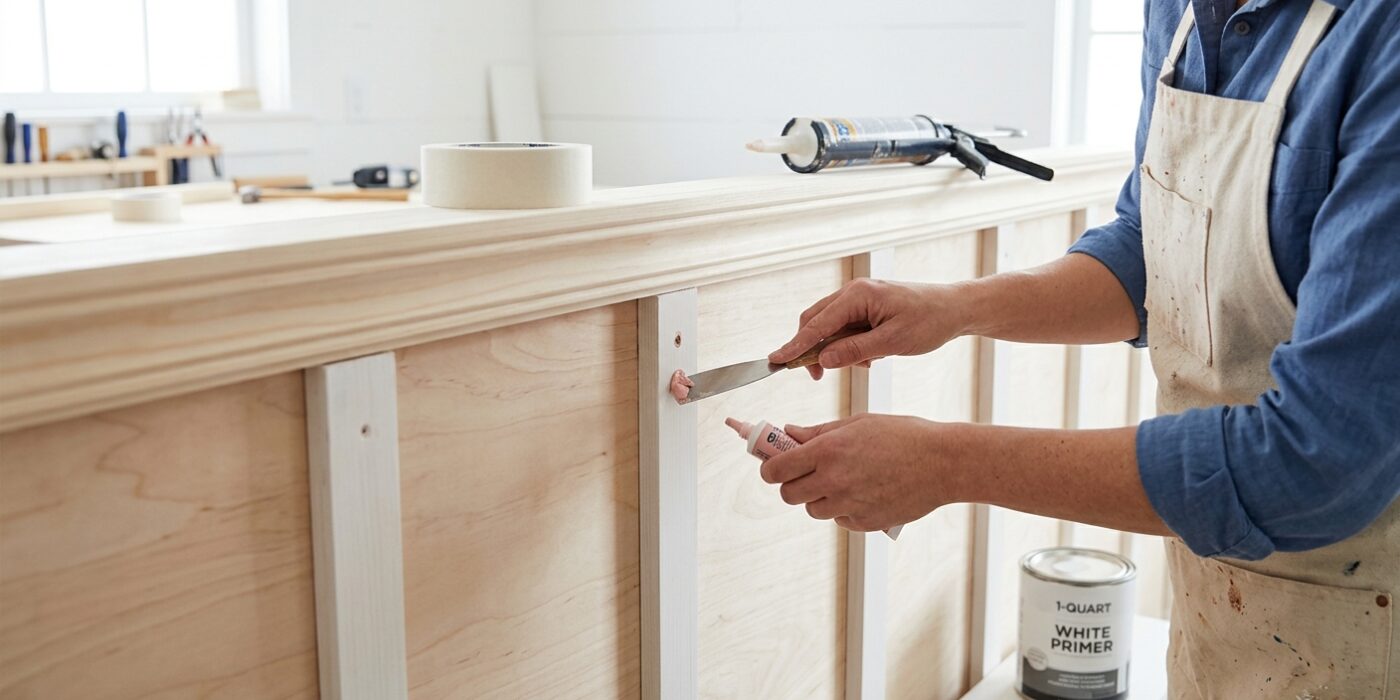
Now that your boards are up, it is time to make them look like one seamless piece of furniture. First, use a small dab of wood filler on every nail hole. Once dry, lightly sand these spots with 220-grit sandpaper until they feel perfectly flush with the wood. Next, apply a thin bead of paintable caulk to every seam where your boards meet the wall or each other. Wet your fingertip with water and run it along the bead to create a clean, concave transition. This step is vital because it hides gaps and prevents cracks as your house shifts over time.
Finally, you must prime the MDF. Because MDF is essentially compressed wood fibers, it acts like a sponge for moisture. If you skip this, water-based paint will cause the grain to swell and turn fuzzy, ruining your smooth finish. Use an oil-based or shellac-based primer; these seal the surface completely so your final coat of paint glides on perfectly.
Beginner Tip: Don’t overdo it with the caulk. A common mistake is applying too thick a bead, which creates a messy glob that is difficult to smooth out. Start with a very small hole in the tip of your caulk tube – about the size of a toothpick – to maintain better control.
Pro Tip: To get that professional, “built-in” look, place a small piece of blue painter’s tape on either side of your seams before caulking. Smooth the caulk with your finger, then immediately pull the tape away for a crisp, perfectly straight line every time.
Step 6: Paint
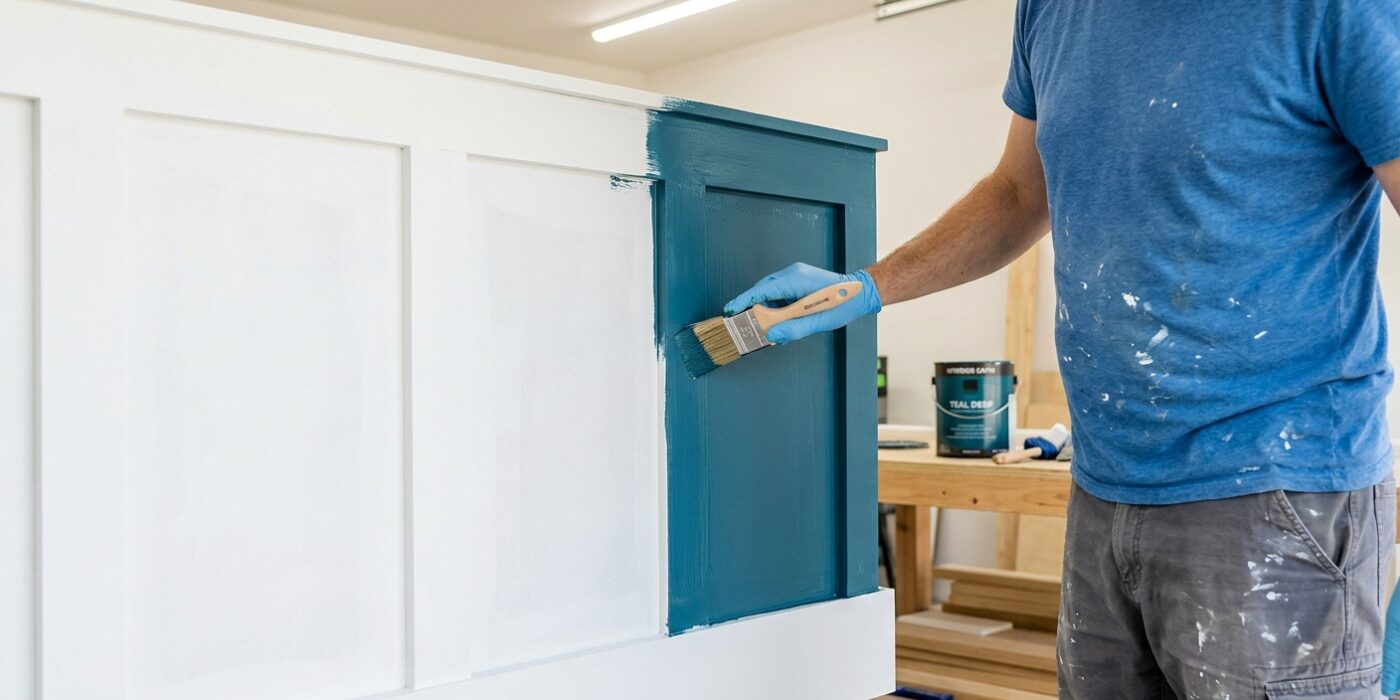
Now that your boards are secure and the nail holes are filled, it is time to paint. Because wainscoting sits in high-traffic areas, use a satin or semi-gloss finish. These sheens are durable and easy to wipe clean when scuffs inevitably happen. Start by “cutting in” – using a high-quality angled brush to paint all the tight corners, edges, and gaps where the boards meet the wall. Once the edges are outlined, use a small 4-inch foam roller to paint the flat faces of the boards. Two thin coats are much better than one thick one; wait for the first coat to dry completely according to the paint can instructions before applying the second. This prevents drips and ensures a smooth, professional finish that hides your brush strokes.
Beginner Tip: Avoid the urge to overload your brush or roller with too much paint. This often leads to messy “beading” or drips along the bottom edges of your battens. Instead, use light pressure and build up your coverage gradually. It is far easier to add a second coat than it is to sand down dried drips.
Pro Tip: Before you start painting, use a high-quality painter’s tape to create a crisp, clean line along the top of your wainscoting rail. Once you have painted the trim, peel the tape off while the second coat is still slightly damp. This “wet-pull” technique ensures you get a perfectly sharp line where your trim meets the wall color.