Project Shopping List
Peeling paint on walls and ceilings is a symptom, not just a surface problem. Paint peels because something caused adhesion failure – moisture infiltration, incompatible paint layers, painting over a contaminated surface, or painting in wrong conditions. Simply scraping and repainting without addressing the underlying cause produces a repeat failure within months.
What You’ll Need
Tools
- Putty knife and paint scraper
- Random orbital sander
- 80-grit and 120-grit sandpaper
- Paintbrush and roller
- Flashlight for inspecting for moisture
Materials
- Stain-blocking primer (Zinsser BIN or oil-based)
- Joint compound or spackling
- Matching paint
- Paint conditioner (Floetrol for latex)
Step 1: Find the Cause Before Touching the Peeling Paint
Before you pick up a scraper, you need to play detective. The peeling paint you see is just a symptom; the real problem is likely hiding behind the surface. Take a bright LED flashlight and hold it against the wall or ceiling at a sharp, low angle – this is called “raking light.” By skimming the beam across the surface, the shadows will reveal the texture of the loose edges and highlight moisture damage that is invisible under normal room lighting.
Look for patterns: peeling near windows or exterior walls almost always signals a moisture leak that needs a professional’s touch. In bathrooms or kitchens, it is usually a ventilation issue or the wrong type of paint being used in a high-humidity zone. If the flakes are scattered randomly on an older wall, it likely means someone painted latex over oil-based paint years ago, which simply won’t stick long-term. Fixing the underlying issue is the most important step in your project; if you paint over a leak or moisture, the new paint will just peel away in a few weeks.
Beginner Tip: Don’t skip the flashlight inspection because you think the problem looks “obvious.” Many leaks travel behind drywall and start peeling paint several feet away from the actual source of the water. Inspect a wide area around the damaged spot to ensure you find the true origin.
Pro Tip: Use a piece of painter’s tape to mark the outer perimeter of the loose paint while you have the flashlight positioned. This creates a clear visual boundary for you to follow later, ensuring you don’t miss any hidden loose edges when you start the prep work.
Step 2: Fix Moisture Problems First
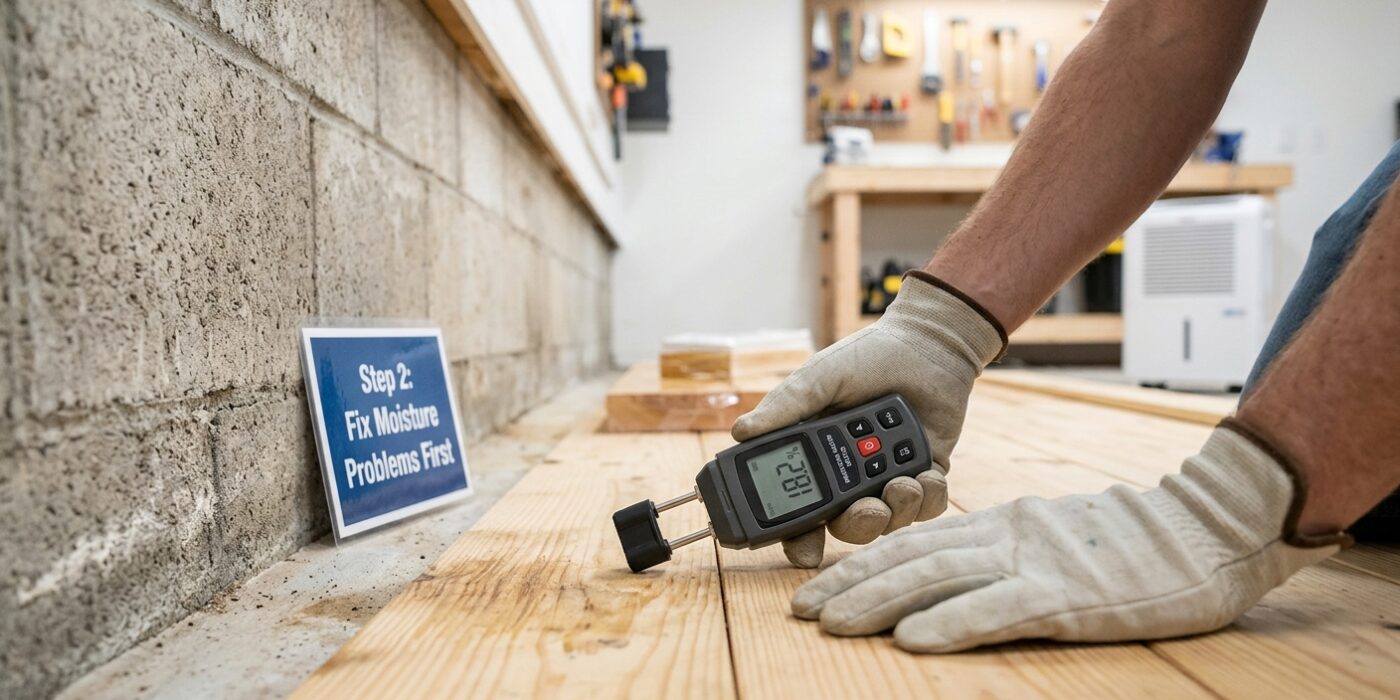
Before you even think about picking up a paintbrush, we need to address the root cause of your peeling paint. Think of paint as a final layer of clothing; if the wall underneath is damp, your new paint will simply blister and peel away again within a year. Moisture is usually the culprit here.
Start by investigating the source. If your ceiling is peeling, check for roof leaks, ice dams, or plumbing issues from the floor above. If the peeling is on a wall, look for failed window caulk or rooms with poor ventilation. Once you find the leak or source of condensation, fix it immediately. After the repair, the most important step is patience: you must let the area dry out completely. Depending on the humidity levels, this usually takes one to two full weeks. If the drywall feels cool or soft to the touch, it is still holding onto moisture and is not ready for paint.
Beginner Tip: A common mistake is painting over a damp surface just because the spot looks dry to the eye. Even if the surface looks fine, moisture trapped deep inside the drywall will eventually push the new paint off. When in doubt, wait an extra few days before starting your prep work.
Pro Tip: Use a simple moisture meter, available at most hardware stores for under twenty dollars. By pressing the prongs against the wall, you get an objective numerical reading. Once the meter shows the same low level as a known dry wall in your home, you are officially ready to proceed.
Step 3: Scrape All Loose Paint
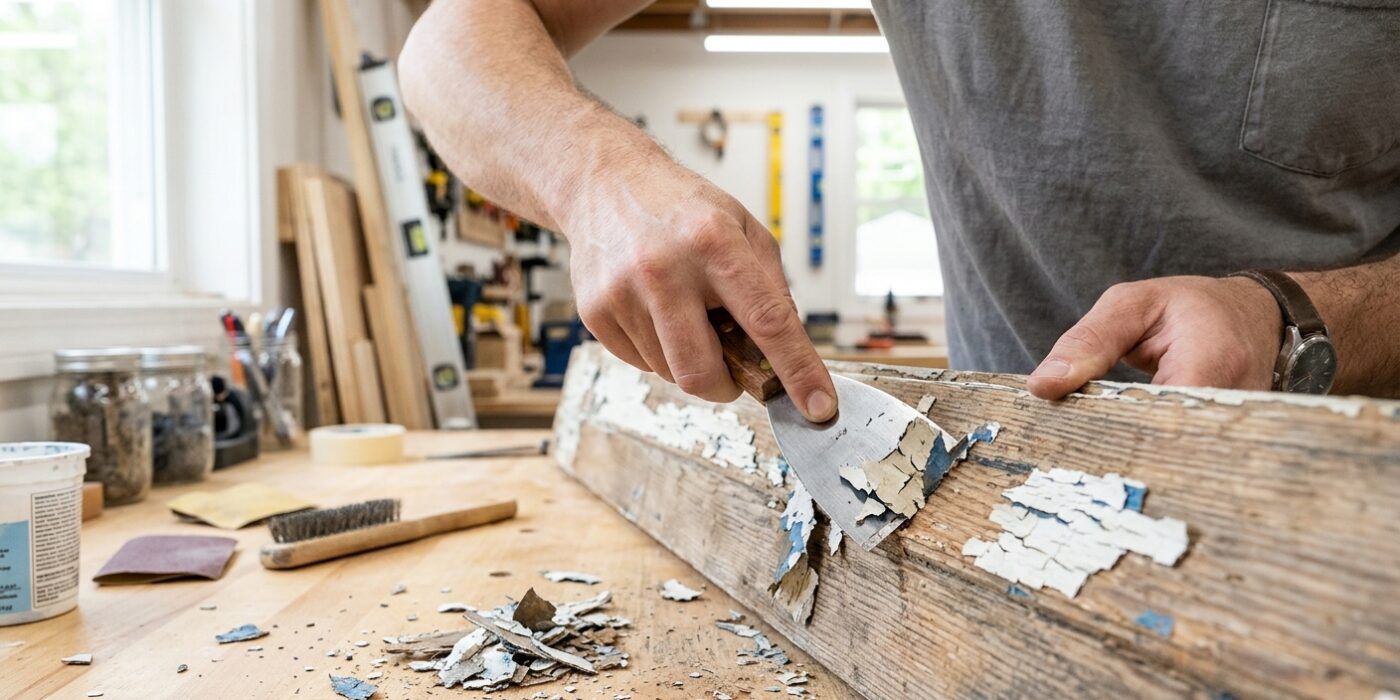
Now it is time to prep your surface. Your goal is to remove all loose, flaking, or bubbling paint so that your new coat has a smooth, solid foundation to grip. Grab your stiff putty knife or paint scraper and hold it at a 45-degree angle against the wall. Apply firm, steady pressure as you slide the blade underneath any peeling edges. If a section of paint bubbles or lifts when you press against it, do not try to save it; keep scraping until you reach a firm, stable base. Work systematically across the entire area, and be sure to extend your efforts three to four inches into the surrounding stable paint. This ensures that you are catching hidden weak spots that might fail later.
Beginner Tip: Avoid digging the sharp corner of your scraper directly into the wall material, as this creates deep gouges that are difficult to fix later. Keep the blade flat against the surface and use smooth, controlled motions rather than trying to gouge the paint off aggressively.
Pro Tip: If the paint is particularly stubborn, try using a hairdryer on a low heat setting to gently warm the area for thirty seconds before scraping. The heat softens the old paint binder, making it significantly easier to peel away in larger, cleaner strips without damaging the underlying surface.
Step 4: Sand the Edges and Surface
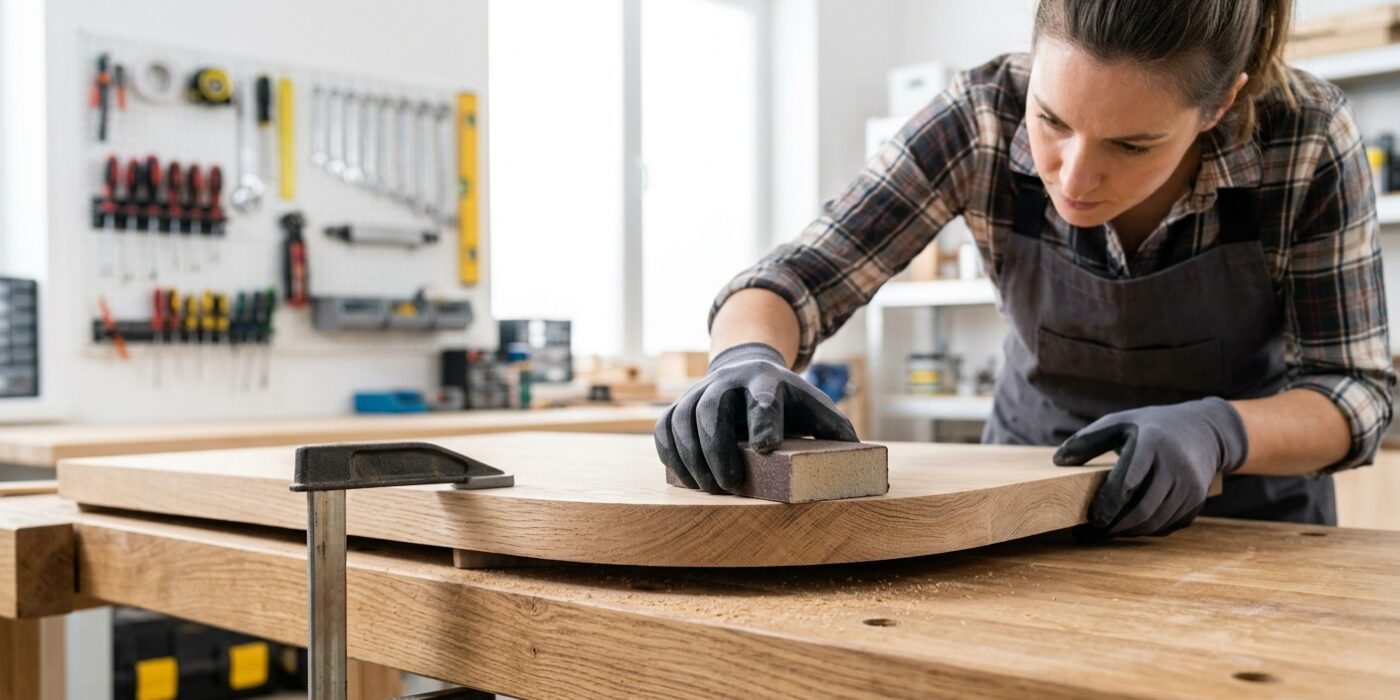
Now that you have scraped away the loose paint, you will notice a sharp, raised ridge where the old paint meets the bare material. We need to smooth this out so the finished project looks professional and seamless. First, take a piece of 80-grit sandpaper and fold it into a manageable square. Use firm pressure to sand across the transition line, moving your sandpaper in a circular motion. The goal is to “feather” this edge until it tapers off so gradually that when you run your fingernail across it, you cannot feel a bump. Once the surface is smooth, switch to a piece of 120-grit sandpaper to lightly scuff the entire area; this tiny bit of texture helps your new primer or paint grip the surface much better. Finally, use a vacuum with a brush attachment to remove all the sanding dust, as even a small amount of grit can ruin a smooth finish.
Beginner Tip: Avoid sanding in one small spot for too long. If you stay in a single area, you might create a low dip in your material, which is much harder to fix than the original paint ridge.
Pro Tip: Wrap your sandpaper around a small, flat block of wood or a dedicated sanding sponge. This keeps your sanding pressure perfectly flat against the surface, ensuring you don’t accidentally round over edges that are supposed to remain sharp.
Step 5: Apply Stain-Blocking Primer
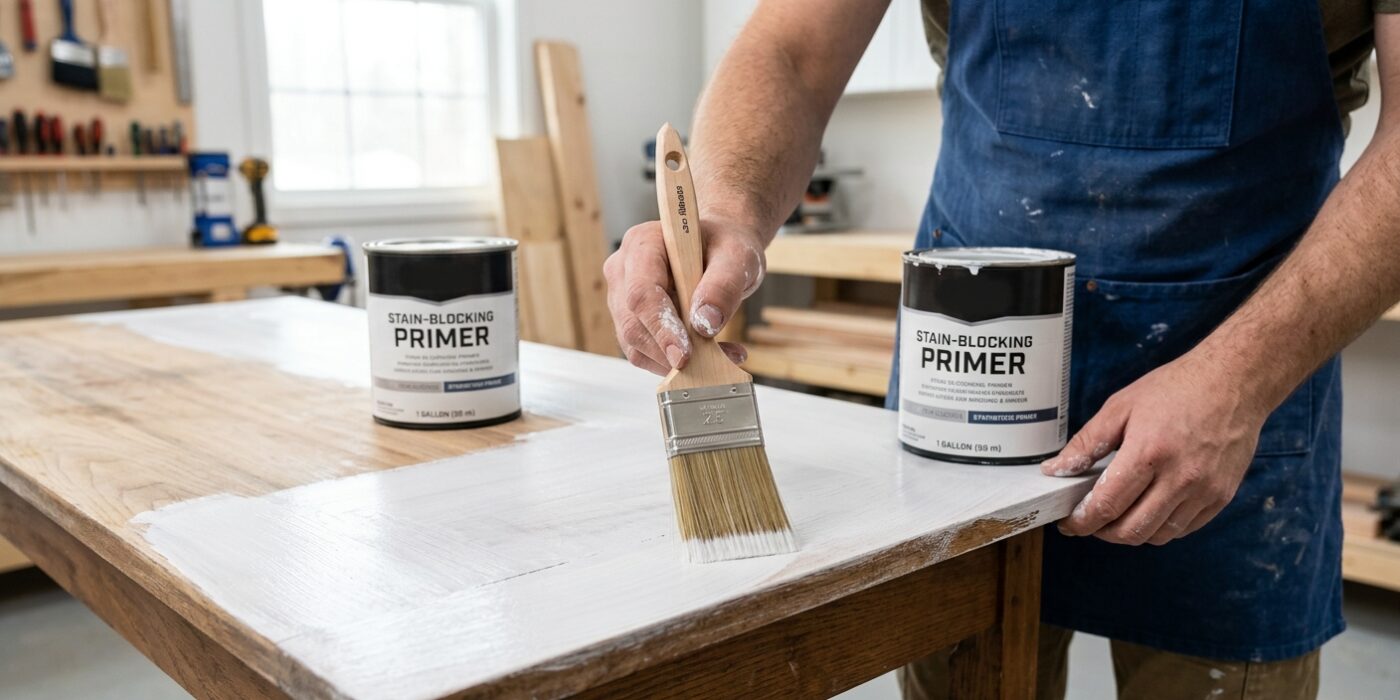
Before you begin patching or painting, it is crucial to seal any areas showing moisture damage, yellowing from nicotine, or stubborn cooking grease. If you skip this, these stains will “bleed” through your fresh paint, appearing as ghostly shadows even after multiple coats. To fix this, apply a thin, even layer of a stain-blocking primer – such as Zinsser BIN shellac-based or an oil-based Cover Stain – directly over the affected area using a small, disposable 2-inch paintbrush.
Work in smooth, unidirectional strokes rather than scrubbing the brush back and forth. You only need to cover the stained area plus about two inches of the surrounding clean surface to ensure a seamless transition. Allow the primer to dry completely according to the manufacturer’s instructions, which is typically between 30 to 60 minutes, before moving on to patching.
Beginner Tip: A common mistake is applying the primer too thick in an attempt to cover the stain instantly. This often leads to drips and uneven ridges that are difficult to sand down later. Remember, your goal is to seal the stain, not create a heavy layer; two thin coats are always better than one thick, messy coat.
Pro Tip: To keep your brushes in pristine condition, keep a small jar of the appropriate solvent – denatured alcohol for shellac-based primers or mineral spirits for oil-based primers – nearby. If you get a drop of primer on your skin or a stray surface, wiping it immediately with a solvent-soaked rag prevents a permanent mess.
Step 6: Patch and Re-Prime
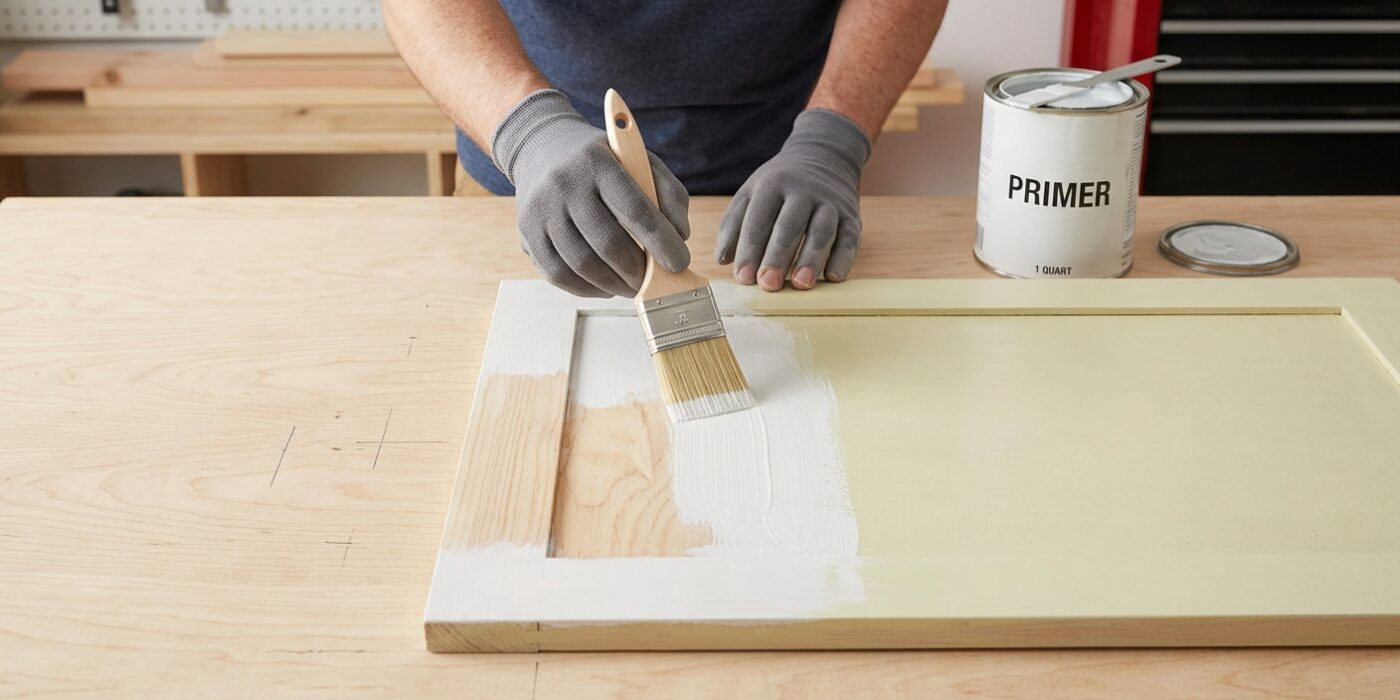
Now it is time to make those repairs invisible. Using a putty knife, press a small amount of joint compound or spackling into any holes, dents, or rough patches. Your goal is to fill the hole just enough so the compound is slightly raised above the surface. Once filled, use the edge of your knife to “feather” the compound; this means dragging the blade at a shallow 30-degree angle to thin out the edges so they transition smoothly into the surrounding wall. Let the patch dry completely until it turns a solid, chalky white. Once dry, wrap a piece of 120-grit sandpaper around a sanding block and gently buff the area in circular motions until it feels perfectly level with the wall. Finish by wiping away the fine dust with a damp cloth and applying a coat of primer to the repaired spots, which prevents the paint from soaking into the patch and looking dull later.
Beginner Tip: A common mistake is overfilling the hole. It is much easier to add a second thin layer later than it is to sand down a giant, hardened glob of excess compound. Use less than you think you need!
Pro Tip: Before you begin sanding, place a bright flashlight or work light against the wall at an angle. The side-glancing light will cast long shadows on any bumps or depressions, making it incredibly easy to see exactly where you need to sand more or add a little extra compound.
Step 7: Apply Finish Coat
Now it is time to bring everything together with your finish coat. Pour a small amount of paint into your tray – fill it only about one-third of the way up the slanted side to keep it manageable. Dip your roller into the paint and roll it back and forth on the tray’s ridges until the nap is evenly coated but not dripping. Start rolling your wall using a light, steady pressure, moving in a “W” or “M” pattern to ensure even coverage without heavy lines.
To avoid a patchy look, do not just paint the patch. Extend your painting outward to the nearest corner or ceiling line. Even if the color matches perfectly, a small spot-patch will reflect light differently than the surrounding wall, creating a noticeable “halo.” By painting the entire section, you allow the new paint to blend seamlessly into the existing texture.
Beginner Tip: Avoid the urge to press down hard on the roller. Beginners often push too firmly, which causes thick, uneven ridges of paint at the edges of each stroke, often called “tramlines.” Let the roller do the work and maintain a light, gliding touch.
Pro Tip: For a professional, glass-smooth finish, add a small amount of an additive like Floetrol to your paint. This slows the drying time slightly, allowing the paint to level itself out and erase any lingering roller marks before it sets. It makes your final result look like it was done by a seasoned painter.