Project Shopping List
Peeling paint on walls and ceilings is a symptom, not just a surface problem. Paint peels because something caused adhesion failure – moisture infiltration, incompatible paint layers, painting over a contaminated surface, or painting in wrong conditions. Simply scraping and repainting without addressing the underlying cause produces a repeat failure within months.
What You’ll Need
Tools
- Putty knife and paint scraper
- Random orbital sander
- 80-grit and 120-grit sandpaper
- Paintbrush and roller
- Flashlight for inspecting for moisture
Materials
- Stain-blocking primer (Zinsser BIN or oil-based)
- Joint compound or spackling
- Matching paint
- Paint conditioner (Floetrol for latex)
Step 1: Find the Cause Before Touching the Peeling Paint
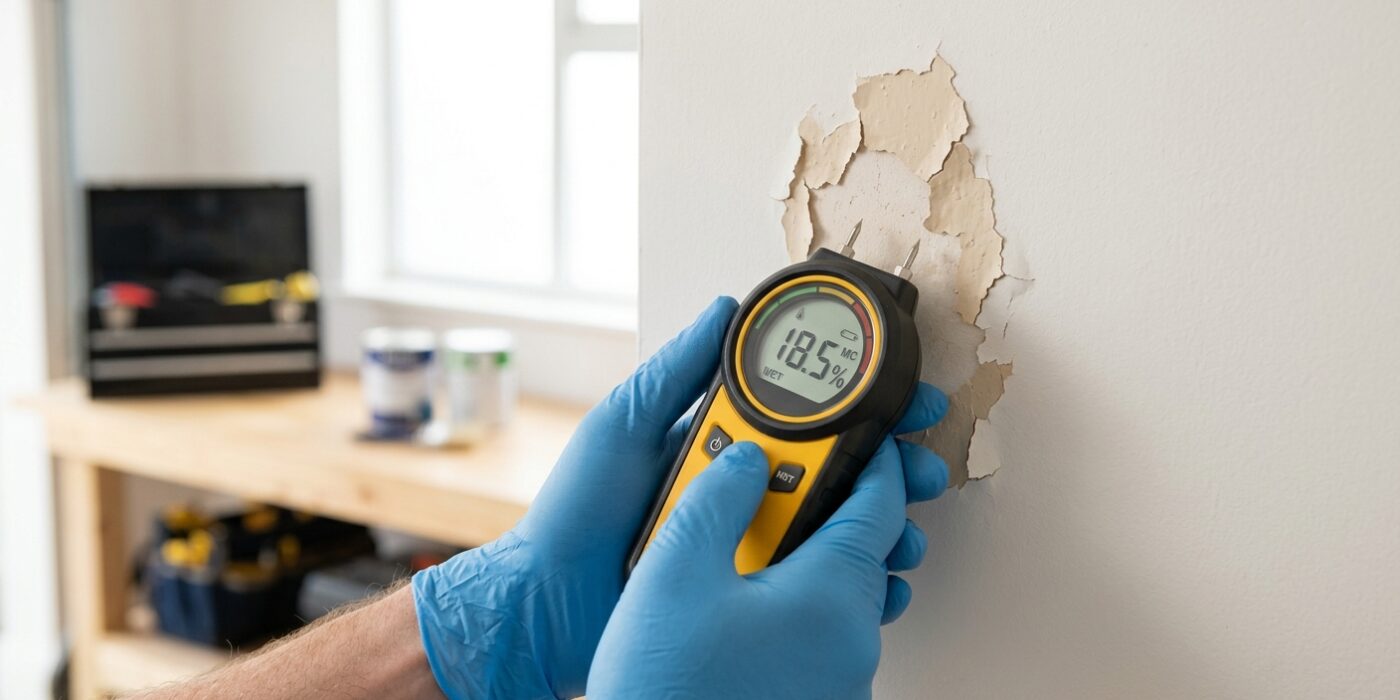
Before you pick up a scraper or a paintbrush, it is essential to play detective. Peeling paint is almost always a symptom of a hidden problem, not just an aging surface. To find the source, grab a flashlight and hold it flat against the surface – this is called “raking light.” By angling the beam nearly parallel to the wall, you create long shadows that highlight texture issues, moisture bubbles, or loose edges you might otherwise miss in overhead light.
Inspect the location carefully: peeling near windows or exterior corners often points to water leaks, while flaking in high-humidity areas like bathrooms usually means your paint isn’t moisture-resistant or your exhaust fan isn’t working hard enough. If you find random, crusty patches, you are likely dealing with old oil-based paint hiding under newer water-based coats, which cannot bond properly. If you skip this investigative step, any fresh paint you apply will simply bubble up and peel off again within months.
Beginner Tip: Avoid the temptation to immediately start sanding or scraping once you spot the damage. If you don’t address a moisture leak first, your repair will fail, and you will have created more work for yourself by spreading the damage during the removal process.
Pro Tip: If you suspect a moisture leak but aren’t certain, place a small square of plastic wrap over the area and tape down all four sides with painter’s tape. If condensation forms under the plastic after 24 hours, you have an active moisture issue that must be fixed before you proceed.
Step 2: Fix Moisture Problems First
Before you even think about picking up a paintbrush, we need to address the root cause of your peeling paint. Think of paint as a bandage; if you put it over an open wound – in this case, moisture – it won’t stick, and the problem will only get worse. If you repaint a damp surface, the new coat will likely bubble and flake off within twelve months, meaning all your hard work will have to be redone.
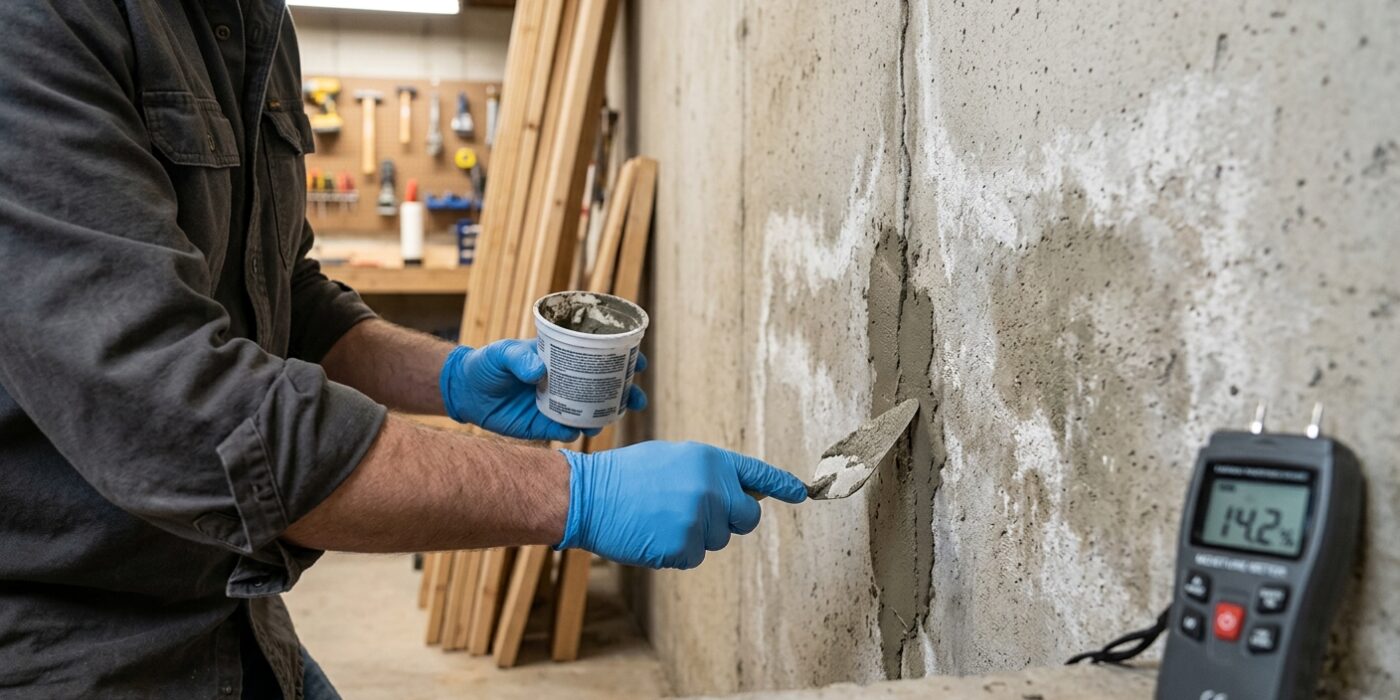
First, inspect the area carefully. If you see dark spots, mold, or feel the surface is soft, you have an active moisture issue. You must stop the water at its source. For ceilings, this might mean patching a roof leak, clearing blocked gutters to prevent ice dams, or fixing a dripping pipe. For walls, check the outside of your home; often, cracked window caulk or missing sealant allows rain to seep inward. Once the leak is stopped, patience is your best tool: you must let the area dry out completely for at least one to two weeks before moving forward. Use a moisture meter, which you can find at any hardware store, to ensure the wood or drywall is truly dry – aim for a reading below 15 percent.
Beginner Tip: A common mistake is assuming that just because a spot feels dry to the touch, it is ready to paint. Moisture can hide deep inside the drywall or wood fibers, so don’t rush the drying process even if the surface looks normal.
Pro Tip: If you are unsure where the moisture is coming from, tape a square of clear plastic wrap over the damp area using painter’s tape. If condensation forms on the underside of the plastic after 24 hours, you have a humidity or ventilation issue rather than an outside leak.
Step 3: Scrape All Loose Paint
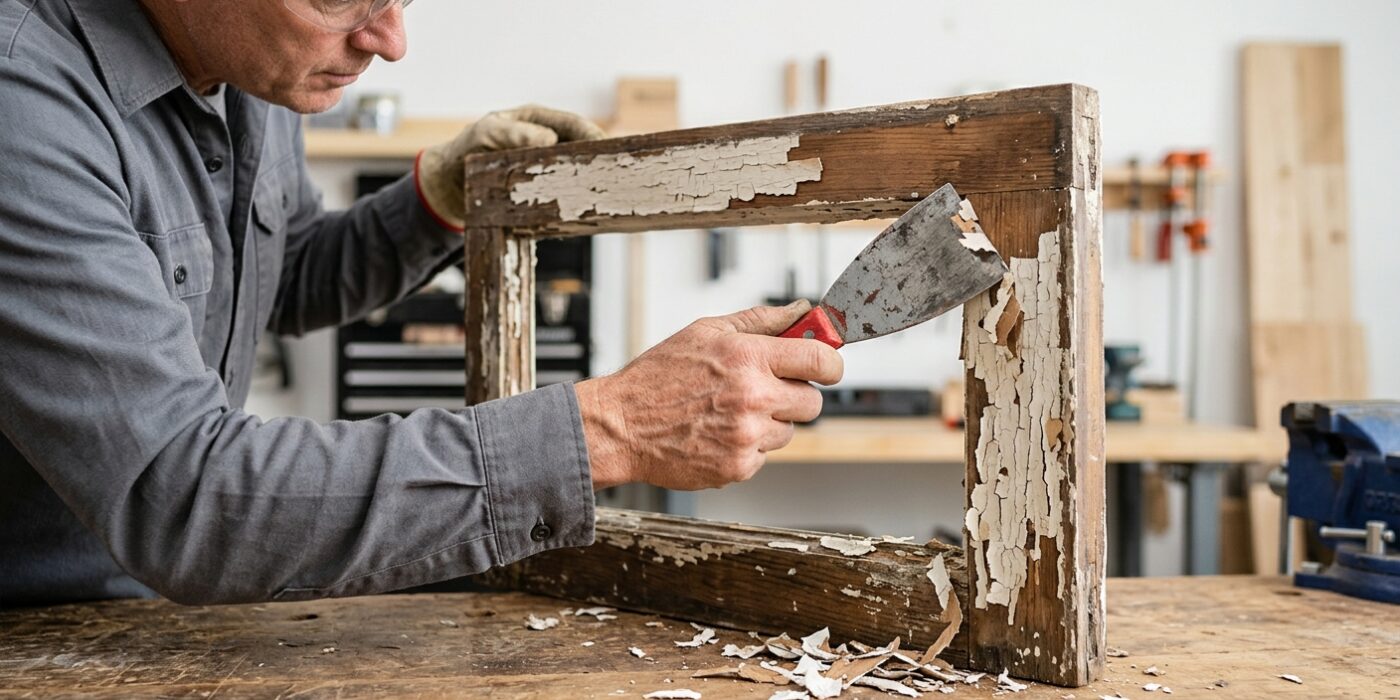
Now it is time to prep your surface. Your goal is to remove any paint that is no longer firmly attached to the wall or wood. If you paint over loose bits, your new finish will eventually bubble or peel off, wasting your hard work. Take your putty knife or paint scraper and hold it at a shallow 30-degree angle against the surface. Apply firm, steady pressure as you slide the blade underneath any edges that look flaky, cracked, or bubbly.
Do not be afraid to be thorough. If you can slide your scraper under an edge and the paint lifts easily, it needs to go. Continue scraping until you reach a solid, intact surface. As you work, extend your scraping about three to four inches into the surrounding stable paint. This ensures that you have removed any hidden weak spots that might fail later, leaving you with a smooth transition for your new coat.
Beginner Tip: A common mistake is using too much force and digging the corner of the metal scraper into the wall. Try to keep the blade flat against the surface and use long, sweeping motions rather than jabbing at the paint to avoid creating deep gouges that will require extra filling later.
Pro Tip: If the paint is particularly stubborn, try using a heat gun on a low setting to gently soften the layers. The heat releases the bond of the old paint, allowing it to glide off the surface like butter.
Step 4: Sand the Edges and Surface

Now that you have scraped away the loose paint, you will notice a sharp, raised ridge where the old paint meets the bare wood. This is called a “transition edge.” If you paint directly over this, the ridge will show through your new finish. To fix this, fold a piece of 80-grit sandpaper and use firm, circular motions to sand that ridge down. Your goal is to “feather” the edge – meaning you want a smooth, gradual slope that feels invisible when you run your fingernail over it. Once the edge is flat, switch to a piece of 120-grit sandpaper. Lightly sand the entire repair area to give it a slightly matte, “toothy” texture, which helps the new paint grip the surface. Finally, use a vacuum with a brush attachment or a dry microfiber cloth to remove every speck of dust, as paint will not stick to a dusty surface.
Beginner Tip: Avoid sanding in one small spot for too long. If you press too hard in a single area, you will accidentally create a shallow dip or “divot” in the wood that is very difficult to hide later. Keep your hand moving in gentle, overlapping circles.
Pro Tip: To check your work, run your eyes across the surface at a low angle near a bright light. Any bumps or uneven transitions will cast a tiny shadow, revealing exactly where you need a little more sanding before you move on to painting.
Step 5: Apply Stain-Blocking Primer
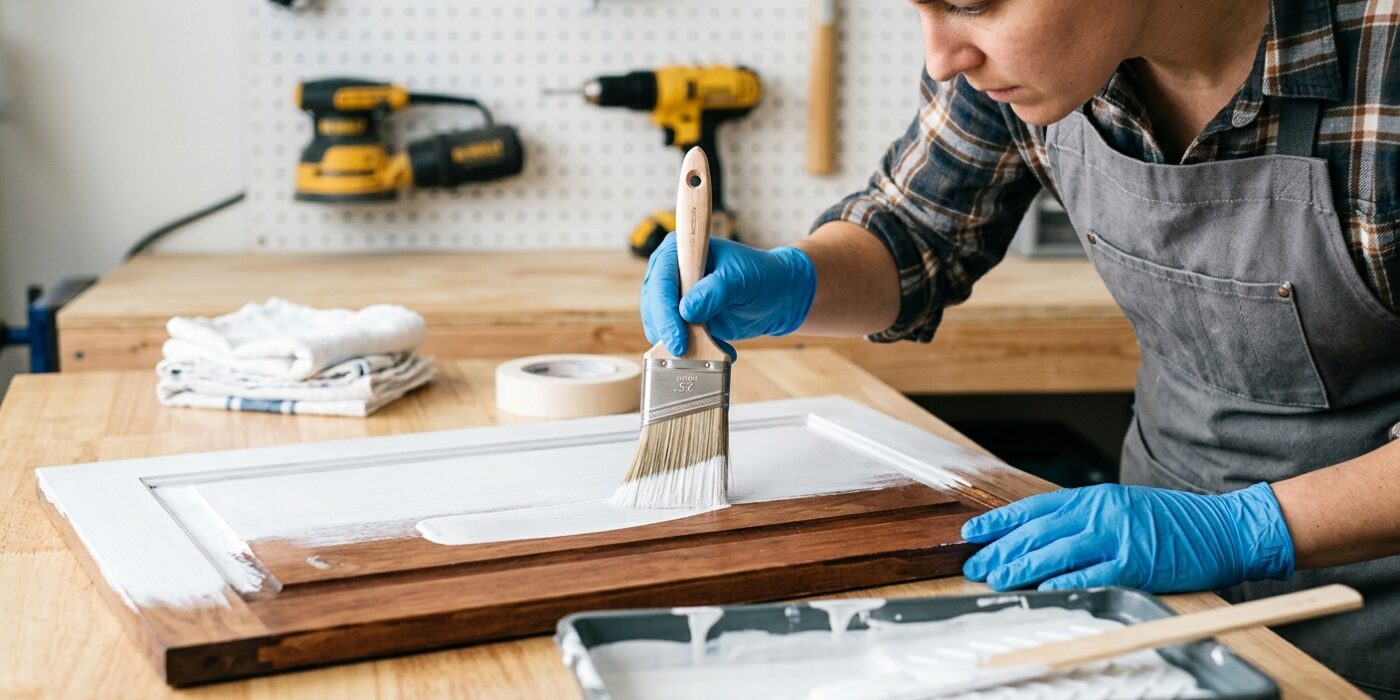
Now it is time to tackle those stubborn spots. Before you start painting or patching, you must apply a high-quality stain-blocking primer to any areas with water damage, nicotine buildup, or kitchen grease. Think of this as a chemical seal; if you skip this step, those unsightly stains will bleed right through your fresh paint, no matter how many coats you apply. Use a small, two-inch synthetic-bristle brush to dab the primer directly onto the affected areas. You do not need to prime the entire wall, just a light coat covering the stain and extending about two inches beyond the edges. The goal is to create a solid, uniform barrier that prevents the old stain from reaching the surface of your new paint.
Beginner Tip: A common mistake is trying to scrub or wipe the stain away with water before priming. If the area is damp, the primer will not stick properly. Ensure the surface is completely dry to the touch before you begin, or the stain-blocker may peel off later.
Pro Tip: To get a seamless look, use a damp cloth to lightly feather the edges of your primer after application. By gently blurring the border where the primer meets the bare wall, you prevent a noticeable ridge or “bump” from appearing once you roll on your final finish coat of paint.
Step 6: Patch and Re-Prime
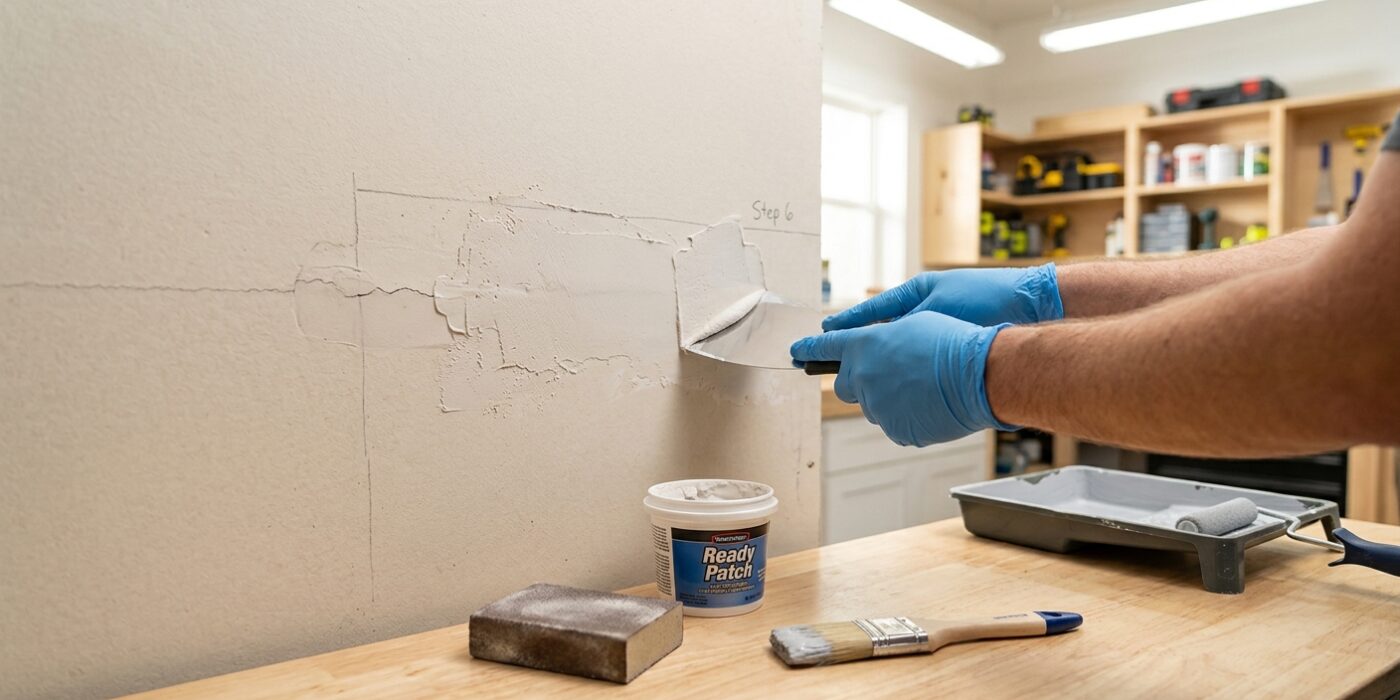
Now that your wall is prepped, it is time to make those imperfections disappear. Take a small amount of joint compound on your putty knife and press it firmly into any holes or rough spots. The goal is to fill the void completely, but try to keep the compound as flush with the surrounding wall as possible. Use your knife at a 45-degree angle to “feather” the edges, meaning you want the patch to get thinner and thinner until it blends seamlessly into the original surface. Once it is fully dry – usually when it turns from a dark gray to a bright white – use a piece of 120-grit sandpaper to gently buff the area until it feels perfectly smooth to the touch. Finally, brush a light coat of primer over these spots. This is crucial because if you skip the primer, your final paint color will look dull or “flat” compared to the rest of the wall.
Beginner Tip: Don’t try to fill a deep hole in one single pass. Compound shrinks as it dries, which can leave you with a depression. It is much better to apply two thin coats, letting the first dry completely before adding a tiny bit more for a perfect finish.
Pro Tip: Before you start sanding, hold a flashlight against the wall at a low angle. This “raking light” will cast shadows on any bumps or ridges you might have missed, helping you identify exactly where you need to sand before you paint.
Step 7: Apply Finish Coat
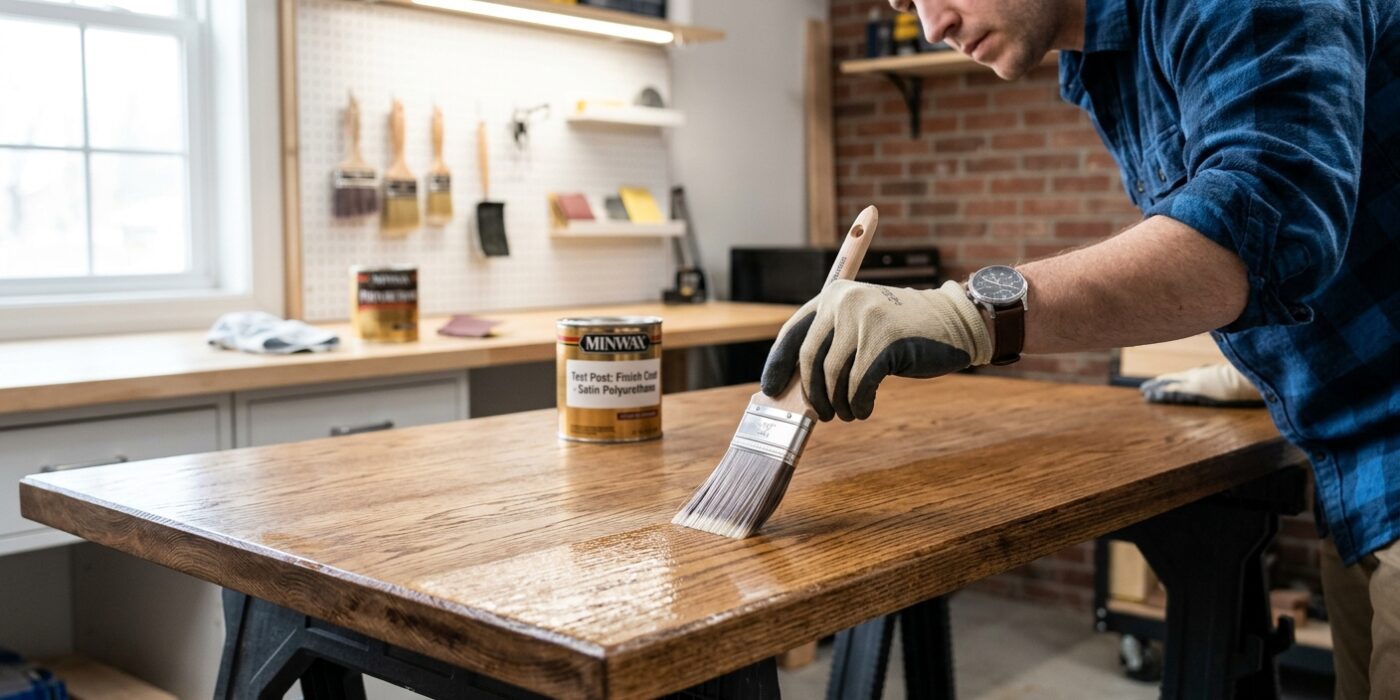
Now it is time to make your repair invisible! You will be applying the finish coat of paint to your wall. Instead of just painting over the patch, paint an area about six inches beyond the edges of your repair. To achieve a truly professional, seamless look, we recommend rolling the entire wall or ceiling section. If you only paint the patch, the difference in texture and sheen – known as “flashing” – will likely remain visible even if the color is a perfect match.
Beginner Tip: A very common mistake is pressing too hard on your paint roller. If you push down, you will leave unwanted ridge lines of paint at the edges of the roller. Instead, let the roller glide gently across the surface, applying only enough pressure to transfer the paint evenly.
Pro Tip: To get a much smoother finish that blends into your existing wall, mix a small amount of an additive called Floetrol into your paint. This product slows down the drying time, which helps the paint self-level and reduces the appearance of brush or roller marks, making it look like a smooth, factory finish.
Before you begin, always check the age of your home. If your house was built before 1978, the existing paint could contain lead. Use a store-bought lead test kit to confirm the surface is safe before you do any sanding or scraping. Safety first, and you will have a beautiful result!