Project Shopping List
Peeling paint on walls and ceilings is a symptom, not just a surface problem. Paint peels because something caused adhesion failure – moisture infiltration, incompatible paint layers, painting over a contaminated surface, or painting in wrong conditions. Simply scraping and repainting without addressing the underlying cause produces a repeat failure within months.
What You’ll Need
Tools
- Putty knife and paint scraper
- Random orbital sander
- 80-grit and 120-grit sandpaper
- Paintbrush and roller
- Flashlight for inspecting for moisture
Materials
- Stain-blocking primer (Zinsser BIN or oil-based)
- Joint compound or spackling
- Matching paint
- Paint conditioner (Floetrol for latex)
Step 1: Find the Cause Before Touching the Peeling Paint
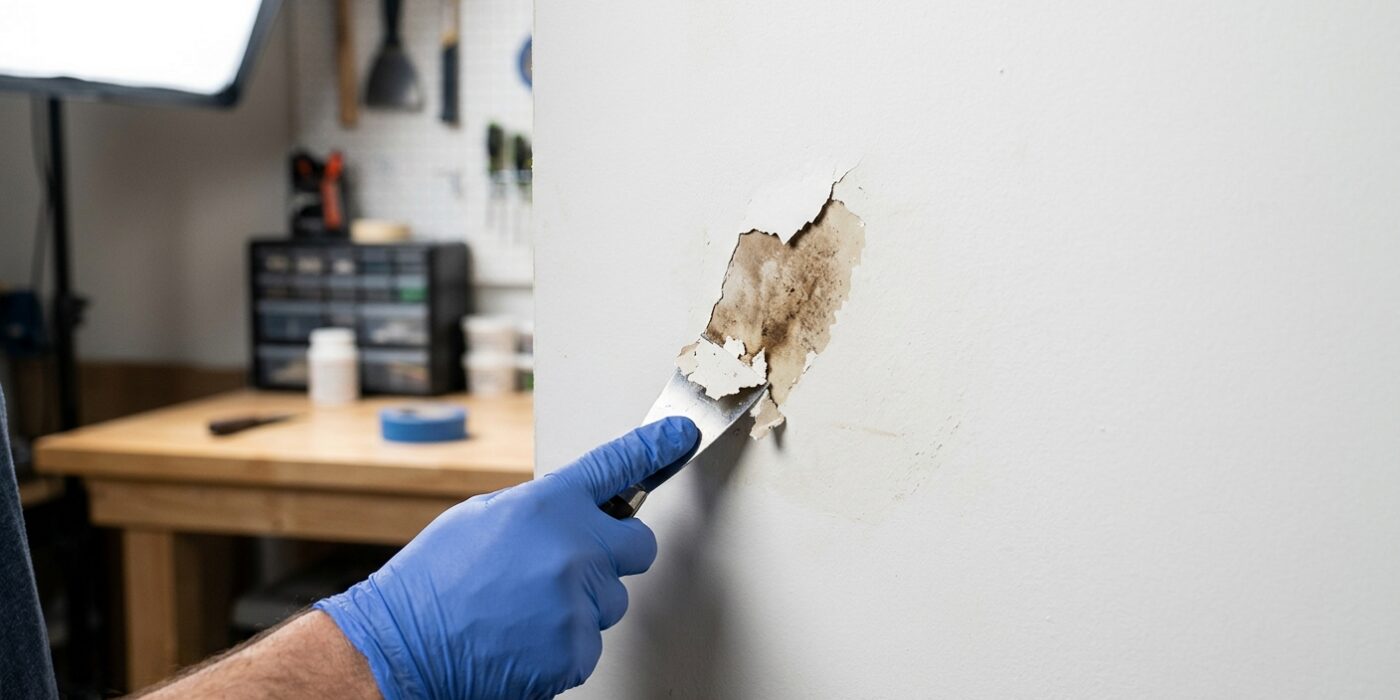
Before you pick up a scraper, you need to play detective. The reason your paint is failing is likely hiding just beneath the surface. To find it, turn off the overhead lights and grab a flashlight. Hold the light at a very shallow, 15-degree angle against the wall – this is called “raking light.” As the beam skims across the surface, it will cast long shadows, revealing the true texture of the peeling areas and any underlying dampness.
Think like an investigator: look for patterns. Peeling near windows or exterior corners often points to water leaks, while flaking in kitchens or bathrooms usually signals high humidity and a lack of ventilation. If the peeling looks like random, uneven patches on an older wall, you are likely dealing with old, incompatible layers of paint. Fixing the source of the moisture or adjusting your ventilation is just as important as the repair itself; otherwise, the new paint will simply peel away again in a few months.
Beginner Tip: Resist the urge to start scraping immediately. Many beginners try to sand or patch right away, but if you don’t stop the moisture first, you will end up doing the same work twice. Always fix the leak or improve airflow before you apply any new materials.
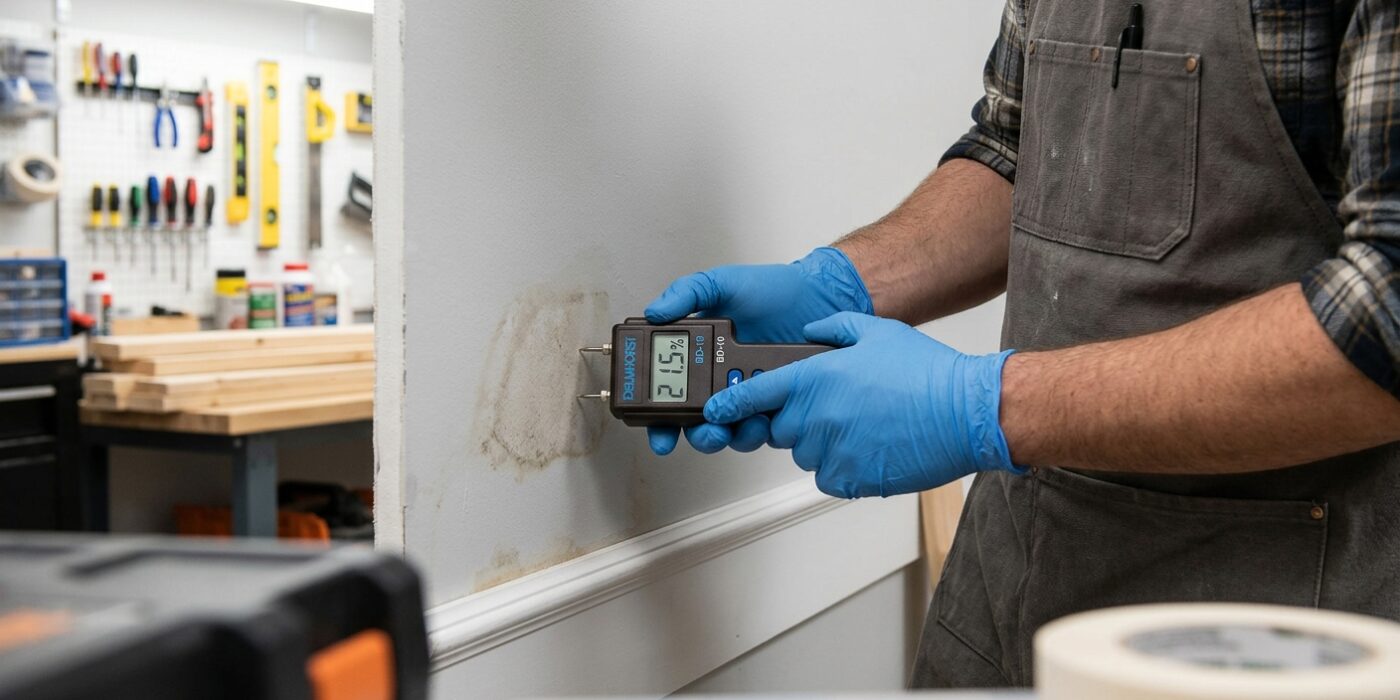
Pro Tip: If you suspect moisture, use a non-contact moisture meter – a simple, inexpensive tool you can buy at any hardware store. Simply press it against the wall, and it will give you a digital reading to confirm if the wall is truly wet behind the paint.
Step 2: Fix Moisture Problems First
Before you even think about picking up a paintbrush, you must stop the moisture at its source. Painting over a damp surface is like putting a bandage on a wound without cleaning it; the paint will simply bubble and peel away within a year. If your peeling paint is on the ceiling, check your attic or crawlspace for signs of a roof leak or plumbing drip. For wall issues, walk outside and inspect the exterior caulk around your windows; if you see gaps wider than a toothpick, moisture is likely seeping right into your home. Once you have repaired the leak or improved your ventilation, patience is your best tool. You must let the area dry completely for at least one to two full weeks. If the surface still feels cool or damp to the touch, it is not ready yet.
Beginner Tip: Avoid the common mistake of simply painting over dark water stains. Even after the moisture is gone, those stains will bleed through your new paint. You must use a dedicated stain-blocking primer – usually labeled as “oil-based” or “shellac-based” – to seal the area before applying your final coat.
Pro Tip: If you are unsure if a surface is truly dry, use a moisture meter from your local hardware store. These inexpensive handheld devices provide a digital reading; simply press the prongs against the drywall, and if the reading is above 15 percent, keep that dehumidifier running for a few more days to ensure a long-lasting finish.
Step 3: Scrape All Loose Paint
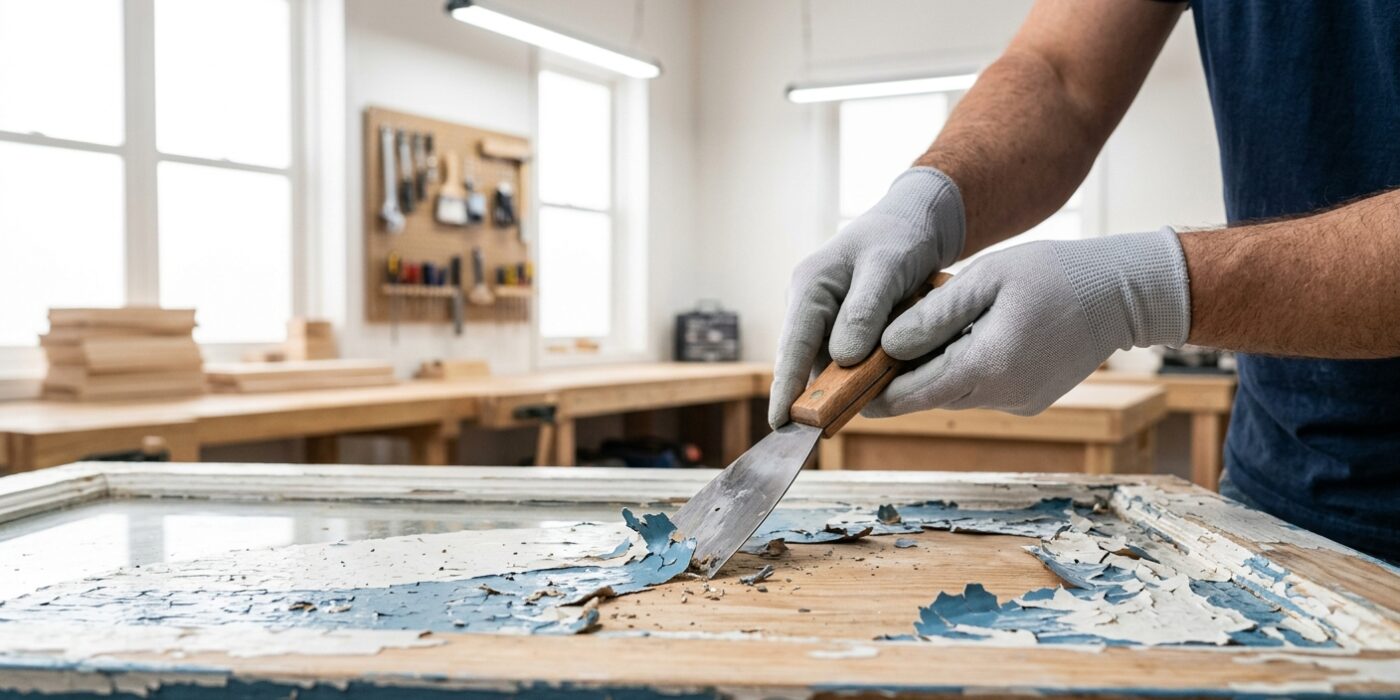
Your goal now is to create a smooth, clean surface for your new paint to grip. Think of this as preparing a blank canvas; if you paint over loose bits, your new finish will simply peel away later. Take your putty knife or paint scraper and hold it at a shallow 30-degree angle against the wall. Gently work the edge under any peeling, bubbling, or flaking paint. If a section lifts or cracks when you press the blade underneath, keep scraping until you reach a solid, stable base. Work methodically in small sections, moving across the area. Be sure to extend your scraping about three to four inches into the surrounding “good” paint to ensure you have caught all the hidden, loose edges that are ready to fail.
Beginner Tip: Avoid digging the sharp corner of your putty knife directly into the wall surface. If you press too hard or hold the tool at too steep an angle, you might accidentally gouge the wood or drywall underneath, creating extra work for yourself later when you have to patch those new holes.
Pro Tip: Before you begin, gently sand the edges of the peeling paint with medium-grit sandpaper. This softens the sharp, raised “lip” of the remaining paint, making it much easier for your scraper to glide underneath and helping you achieve a smooth, professional transition between the bare surface and the existing paint layer.
Step 4: Sand the Edges and Surface
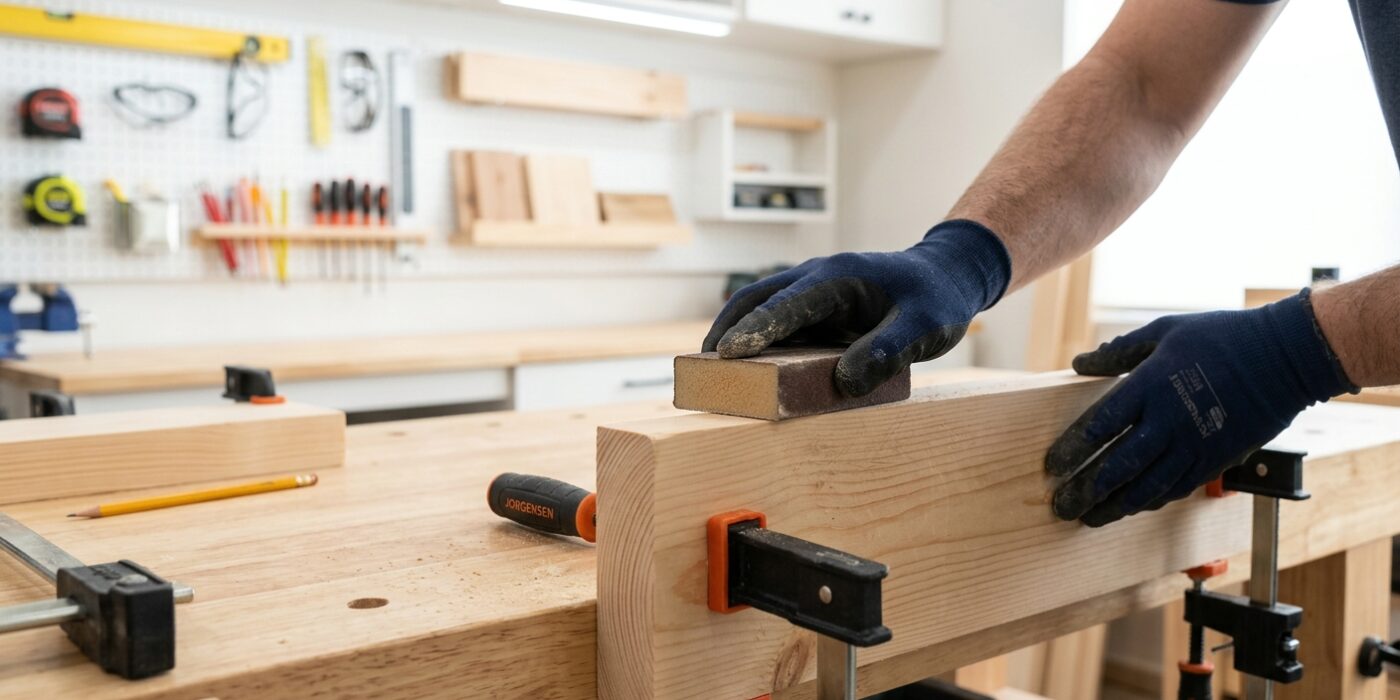
Now that you have scraped away the loose paint, you will notice a sharp, raised ridge where the old paint meets the bare wood. It is crucial to smooth this out, otherwise, it will show through your new coat of paint like a sore thumb. Start by folding a piece of 80-grit sandpaper into a small square. Hold it flat against the edge and use firm, circular motions to “feather” the paint, tapering it down until it feels perfectly smooth when you run your fingernail over it. Once the edges are blended, switch to 120-grit sandpaper and lightly scuff the entire area. This creates a slightly textured “tooth” that helps your new paint grip the surface. Finally, use your vacuum’s brush attachment to remove all the fine dust, as even a tiny speck of debris can ruin a smooth finish.
Beginner Tip: Avoid pressing too hard into one spot. If you focus your sanding on a single area for too long, you might create a noticeable dip in the wood. Keep your hand moving constantly to ensure the surface stays level.
Pro Tip: To check if your work is smooth enough, close your eyes and run your fingertips over the sanded area. Your sense of touch is often much more accurate than your eyes at detecting imperfections. If you can feel even a slight bump, keep sanding.
Step 5: Apply Stain-Blocking Primer
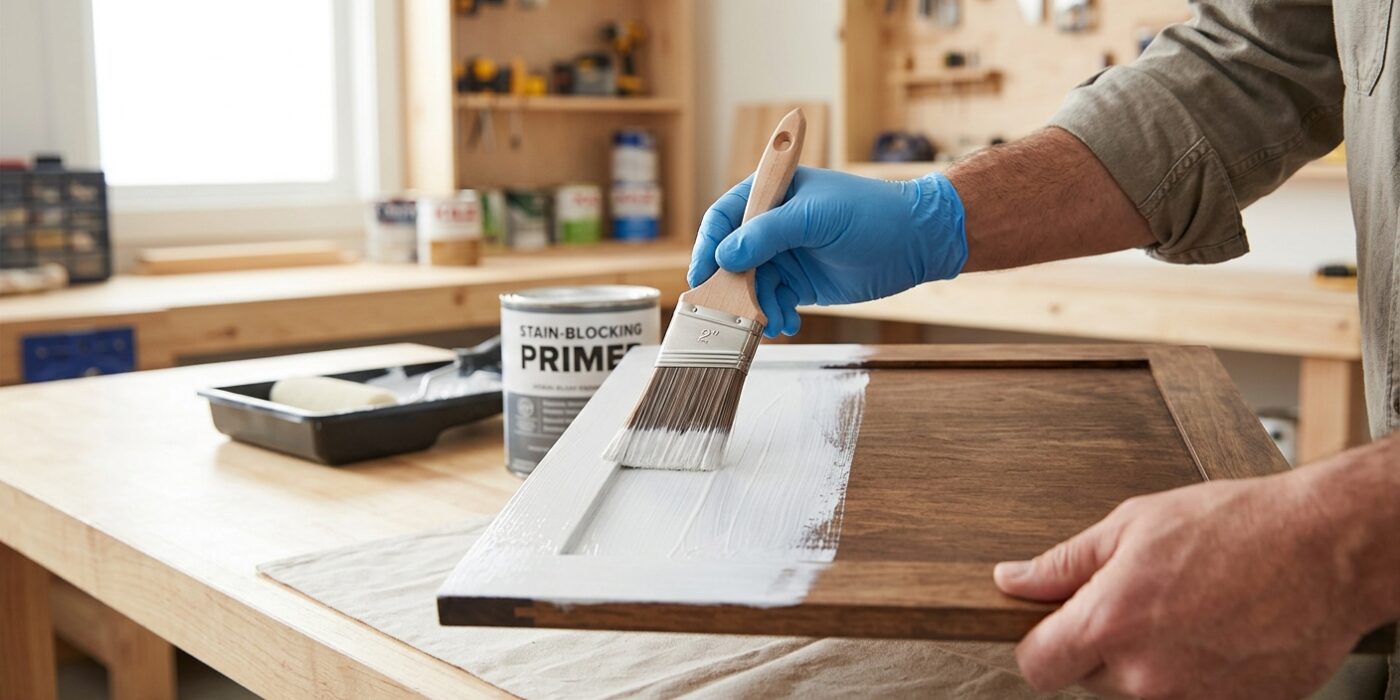
Before you begin patching or painting, it is crucial to address any areas with moisture damage, water rings, or yellowing from nicotine or cooking grease. Regular wall paint cannot seal these stubborn stains, and if you paint over them directly, they will “ghost” or bleed through even after four or five coats. To prevent this, apply a dedicated stain-blocking primer, such as Zinsser BIN (shellac-based) or Zinsser Cover Stain (oil-based). Use a small, disposable 2-inch synthetic brush to dab the primer directly over the discolored area, extending about two inches past the edges of the stain to ensure full coverage. Apply the primer in thin, even strokes; it should look milky and opaque, effectively sealing the surface so the stain cannot migrate into your new topcoat.
Beginner Tip: A common mistake is trying to scrub or wash away the stain with soap and water before priming. If the stain is caused by grease or water, moisture can actually reactivate the residue. Let the area dry completely for at least 24 hours, and apply the primer directly onto the dry, clean surface without wetting it first.
Pro Tip: These primers are powerful and dry very quickly, which makes them difficult to clean out of brushes. Instead of using a high-quality brush you plan to keep, use a cheap, disposable chip brush. When you finish, simply throw the brush away to save yourself the headache of dealing with harsh chemical solvents like mineral spirits or denatured alcohol.
Step 6: Patch and Re-Prime
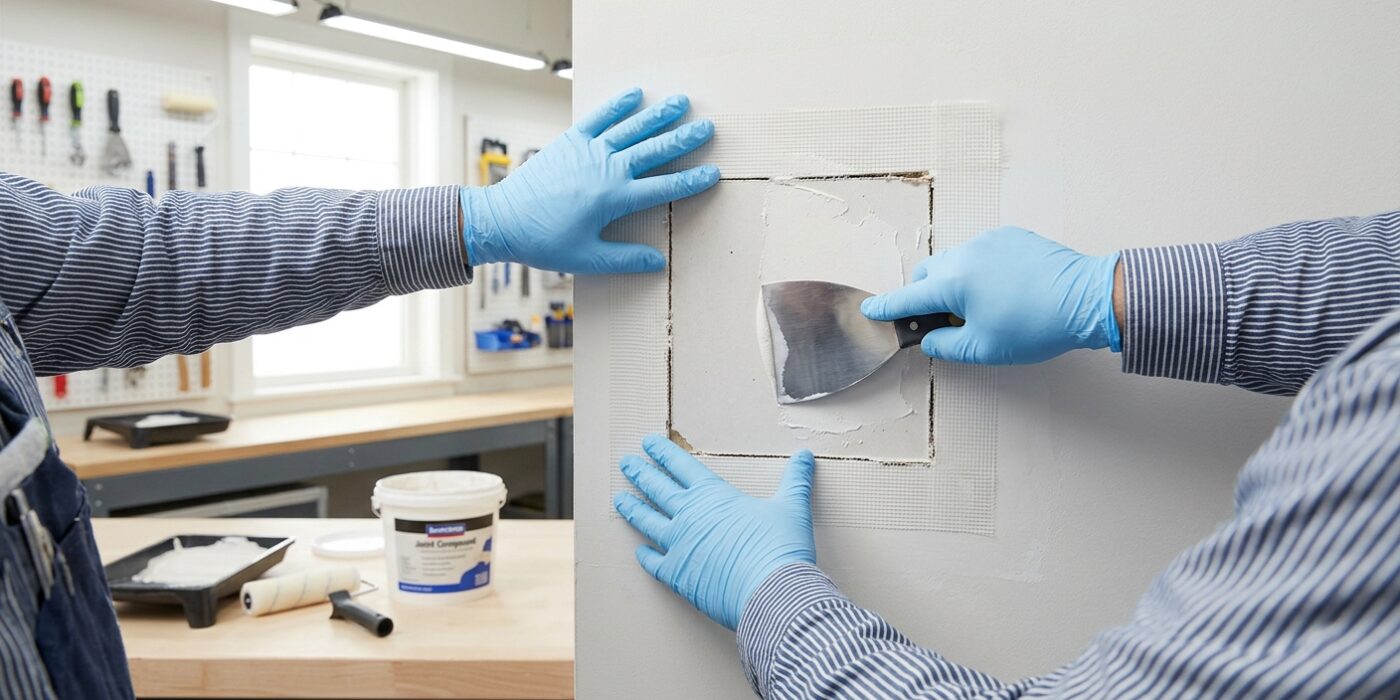
Now that your surface is clean, it is time to make it look flawless. Use a small putty knife to scoop a dime-sized amount of joint compound or spackling. Press the compound into any holes or gaps, then swipe the knife across the area at a 45-degree angle to level it out. The goal is to “feather” the edges, meaning the compound should be thickest over the hole and taper off until it is barely visible against the surrounding wall. This transition is essential because thick edges create unsightly bumps once painted.
After the compound turns from gray or pink to a solid white, it is dry. Gently sand the area using 120-grit sandpaper in a circular motion until your fingertips cannot feel a bump. Finally, use a small brush to dab primer over the patches. Priming “seals” the porous compound, ensuring your finish paint looks identical to the rest of the wall rather than dull or blotchy.
Beginner Tip: Avoid over-sanding! It is very easy to sand away all the compound you just applied. Use a light touch, check your progress with your eyes and your hand frequently, and stop as soon as the patch feels flush with the wall.
Pro Tip: Before applying your final coat of paint, wipe the sanded patch with a slightly damp microfiber cloth. This removes the invisible dust that prevents paint from sticking properly, ensuring a professional, long-lasting finish.
Step 7: Apply Finish Coat
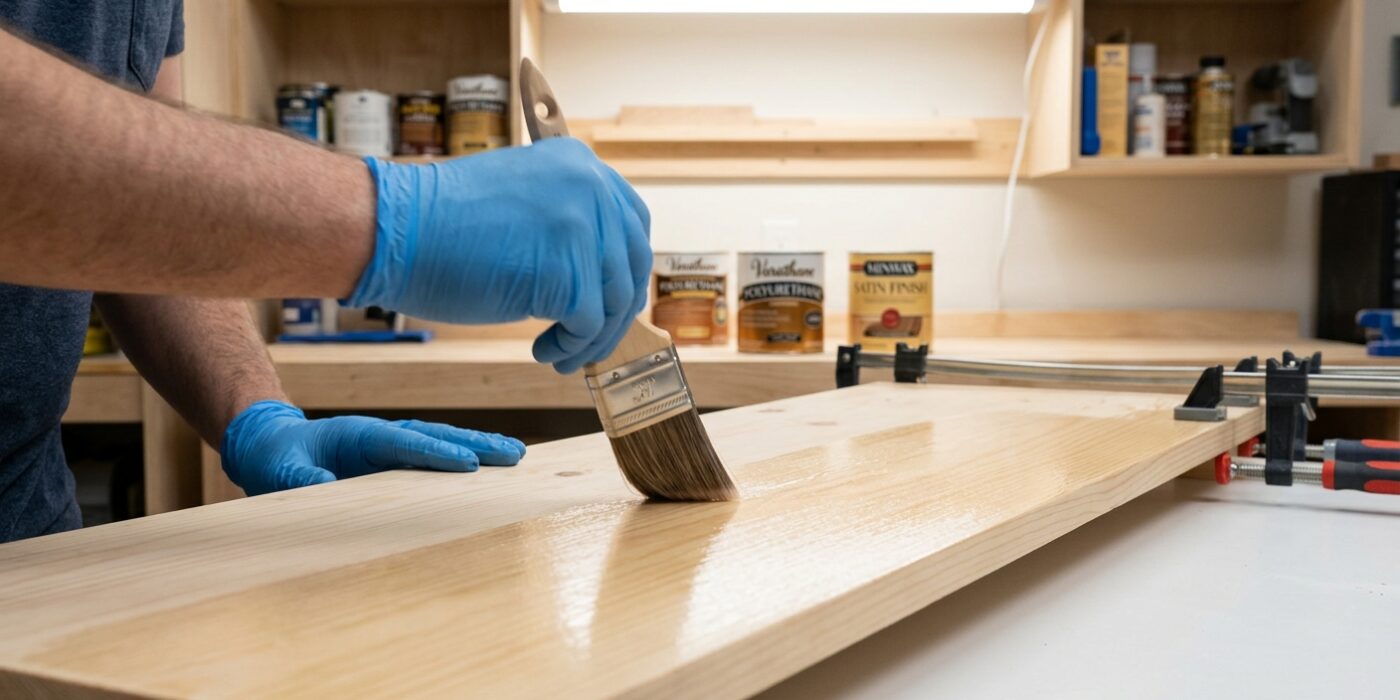
Now it is time to give your repair that professional, invisible finish. To get the best results, use a high-quality paint roller to apply your topcoat. Start by painting over your patch, then gently extend the paint two to three inches beyond the repaired edges into the existing wall. For the most seamless look, we recommend rolling the entire wall or ceiling section rather than just the patch. Even if your color is a perfect match, painting only the repair often creates a noticeable difference in texture and sheen, known as a “flash.” By painting the whole surface, you ensure the texture is uniform and the repair disappears completely.
Beginner Tip: Avoid the urge to over-work the paint. Once you have applied it, leave it alone! If you keep rolling over paint that has already started to dry, you will create unsightly streaks, ridges, and “holidays,” which are small, patchy spots where the finish looks uneven.
Alternative Method: If you do not have a full-size roller, you can use a high-density foam mini-roller. These are inexpensive, easy to maneuver, and perfect for smaller repairs or tight spaces. While they cover less area than a standard roller, they provide a smooth, professional finish that is ideal for beginners tackling their first home project.
Pro Tip: Mix a small amount of an additive like Floetrol into your paint before you start. This slows down the drying time, allowing the paint to level out and smooth itself naturally, which helps eliminate visible roller marks and makes blending into the surrounding area significantly easier.