Project Shopping List
Popcorn ceilings — the bumpy, cottage-cheese textured ceilings common in homes built from the 1950s through the 1990s — date a house visually and collect dust. You have two options: paint them (quick, cheap, keeps the texture but freshens the look) or remove them (labor-intensive, results in a smooth modern ceiling). Both approaches are covered here so you can make the right choice.
Before doing anything, check for asbestos.
What You Will Need
For Painting
- 1-1/4 inch nap roller
- Flat ceiling paint
For Removal
- Pump garden sprayer
- Wide plastic scraper (6 to 8 inch)
- Plastic sheeting for floor coverage
- Safety goggles and N95 respirator
- Joint compound and drywall tools for post-removal skim coating
Step 1: Test for Asbestos First
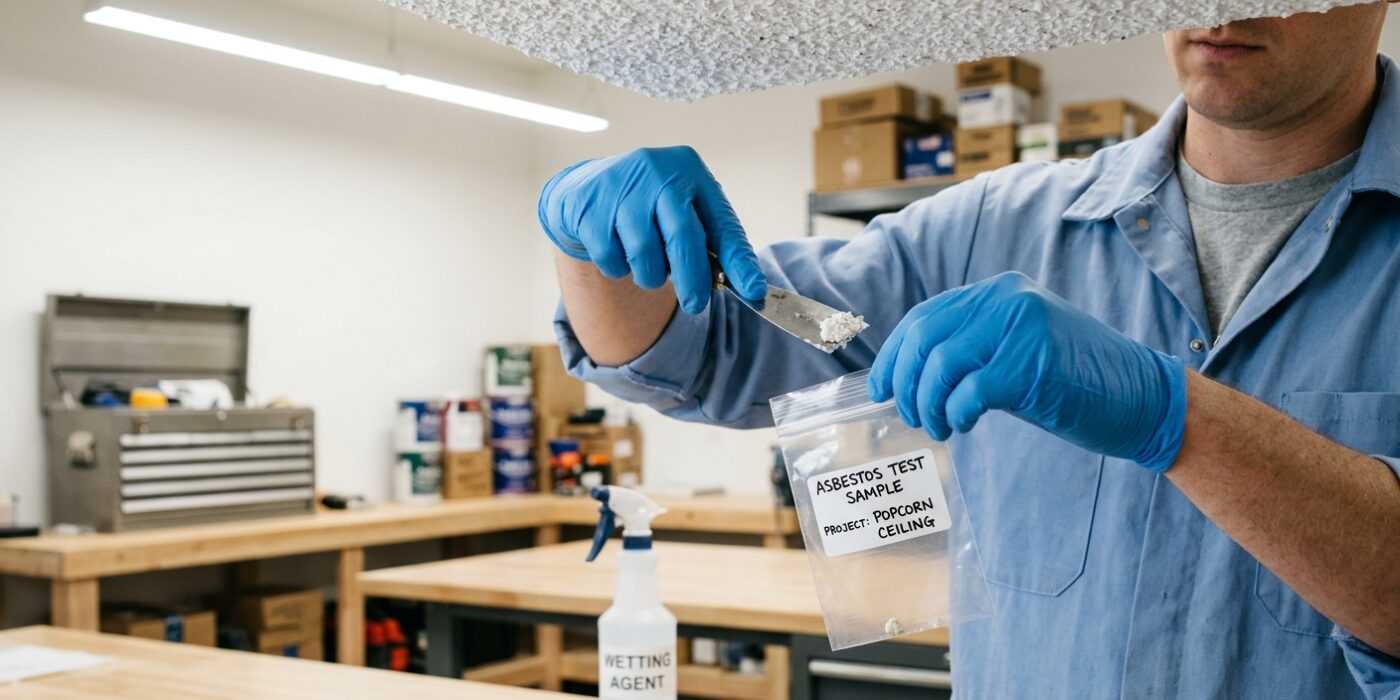
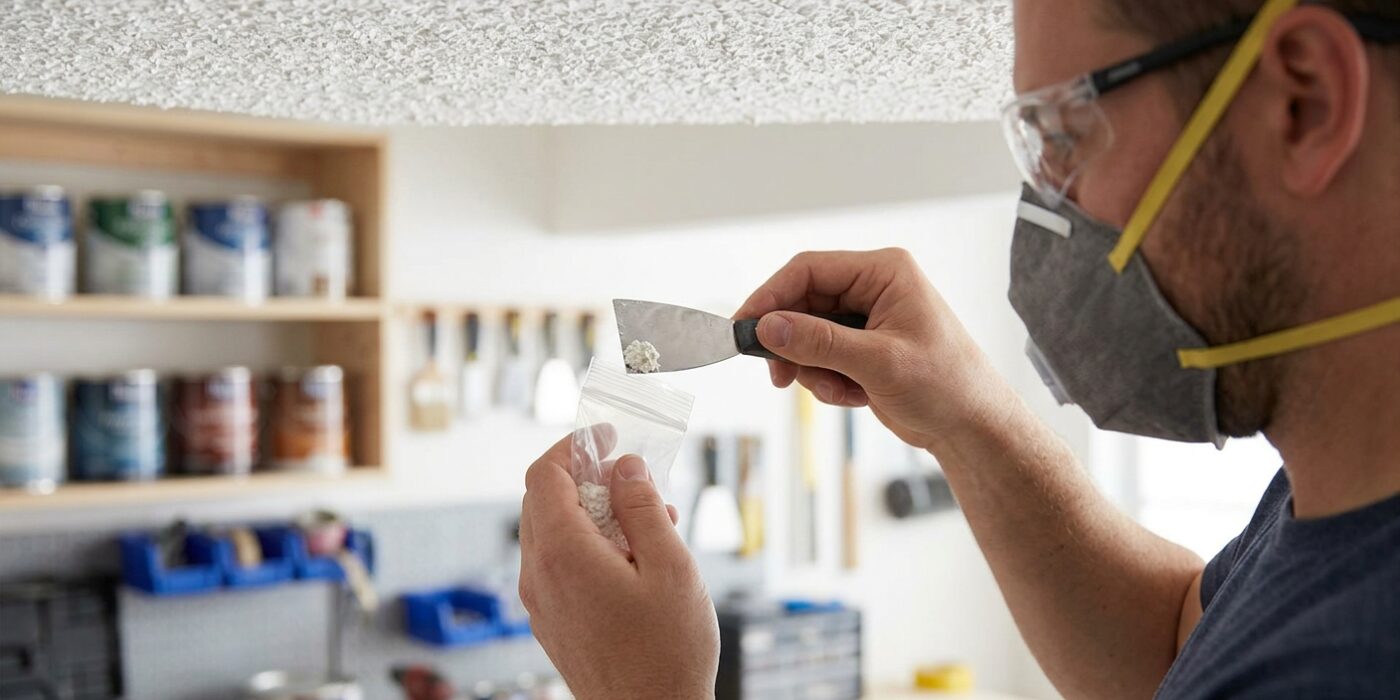
Before you dive into your project, safety is our absolute priority. If your home was built before 1978, your popcorn ceiling might contain asbestos, a hazardous material that becomes dangerous if disturbed. Because you cannot identify asbestos just by looking at it, you must test a small sample first. Purchase a home test kit from your local hardware store. To collect the sample, lightly mist a small corner of the ceiling with water to prevent dust from flying, then use a clean utility knife to cut a tiny piece – about the size of a quarter – out of the texture. Place it into the provided sample bag, seal it tightly, and mail it to the certified laboratory listed on the kit. If the results come back positive, stop immediately and contact a licensed asbestos abatement professional. For positive results, painting over the texture is the safest way to encapsulate the fibers without releasing them into your home’s air.
Beginner Tip: Never scrape or sand the ceiling before getting your lab results. The primary goal is to avoid creating any dust, as inhaling loose fibers is the main health risk. Always treat the ceiling as if it is dangerous until the lab confirms otherwise.
Pro Tip: When taking your sample, place a piece of painter’s tape over the spot where you intend to cut. By cutting through the tape, you create a cleaner opening and help catch any loose particles that might crumble during the process.
Step 2: Option A — Paint the Popcorn Ceiling
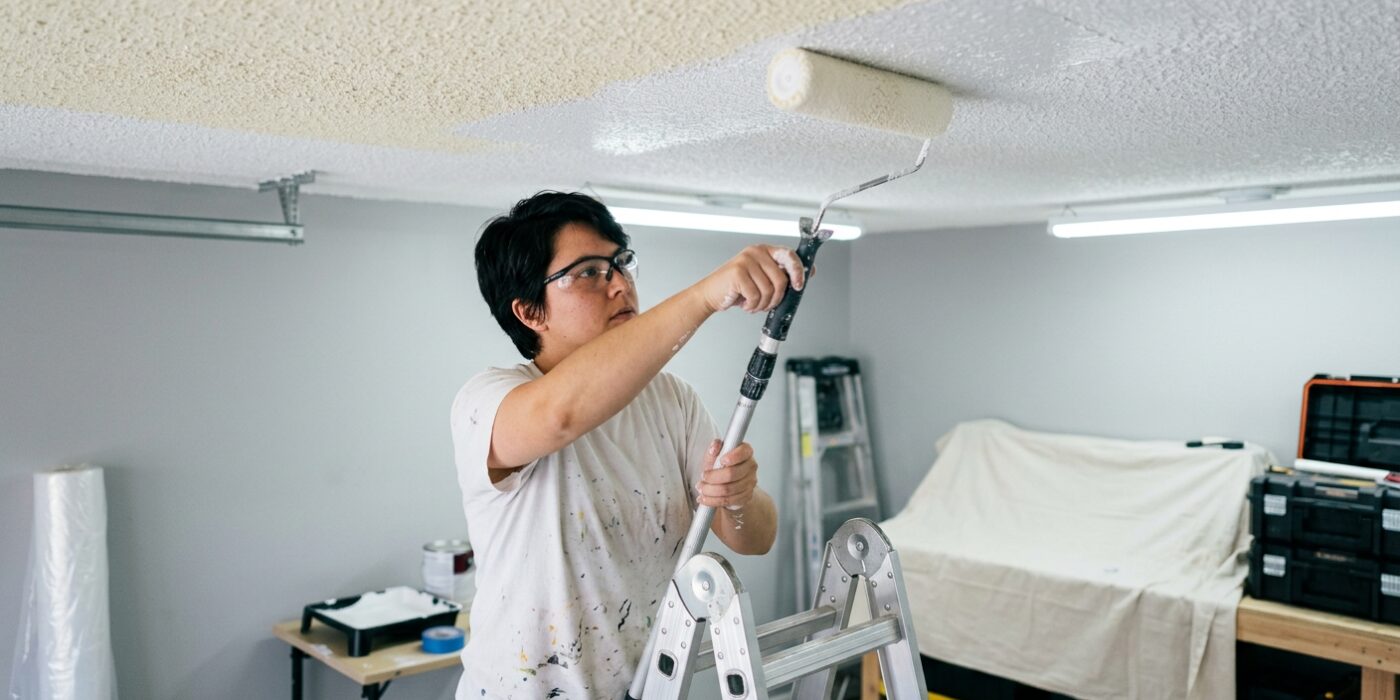
Painting a popcorn ceiling is a great way to refresh a room without the mess of scraping. Because popcorn texture is full of peaks and valleys, you need a specialized 1-1/4-inch nap roller. The “nap” refers to the length of the roller’s fibers; a long, thick nap is essential because it acts like a sponge, reaching deep into the crevices of the texture to coat it completely. Use a high-quality flat ceiling paint – avoid eggshell or satin finishes, as the shine will highlight every imperfection in the texture.
When applying the paint, use a slow, steady pace. If you move the roller too quickly, the texture will spray tiny droplets of paint everywhere. Do not over-saturate the surface. Popcorn texture is often made of water-soluble material; if you get it too wet with heavy paint, the texture will soften and fall off in chunks. Two thin, even coats are much better than one thick, heavy coat.
Beginner Tip: Resist the urge to go back and “touch up” a spot while the paint is still wet. As the roller passes over the same area multiple times, the friction can cause the delicate, damp texture to clump up and peel away from the ceiling, leaving a bald spot that is very difficult to fix.
Pro Tip: Use an extension pole for your roller frame. It allows you to keep your feet firmly on the floor and maintain a consistent, light pressure across the surface, which is much safer and results in a more uniform finish than constantly moving a ladder.
Step 3: Option B — Wet Scrape Removal (Non-Asbestos Only)
Before you begin, ensure you have covered your floor completely with heavy-duty plastic sheeting, as this process will be messy. Using a standard pump-up garden sprayer filled with plain warm water, lightly mist a 4-by-4-foot section of your ceiling. You are looking to dampen the texture until it turns slightly darker and softer, but avoid soaking it so heavily that the drywall underneath becomes saturated, which can cause damage. After waiting 5 to 10 minutes for the water to penetrate the popcorn material, take a wide taping knife or plastic scraper. Hold the blade at a shallow, almost flat angle – about 15 to 20 degrees – against the surface. Use long, steady, sweeping motions to glide under the softened texture, peeling it away in strips. Working in small, manageable sections ensures the material stays moist and scrape-ready as you move across the room.
Beginner Tip: A common mistake is scraping too aggressively. If you find yourself digging into the drywall or leaving gouges, you are likely holding your scraper at too steep an angle. Remember, you want to glide along the surface, not carve into it; if the texture does not come off easily, add a little more water and wait a few more minutes rather than applying more pressure.
Pro Tip: To make clean-up significantly faster, tape your plastic sheeting directly to the bottom of the walls and create a slight lip or “trough” with the excess plastic. This helps catch the heavy, wet clumps of debris, preventing them from bouncing off the floor and rolling into corners where they are difficult to sweep up.
Step 4: Clean the Ceiling After Removal
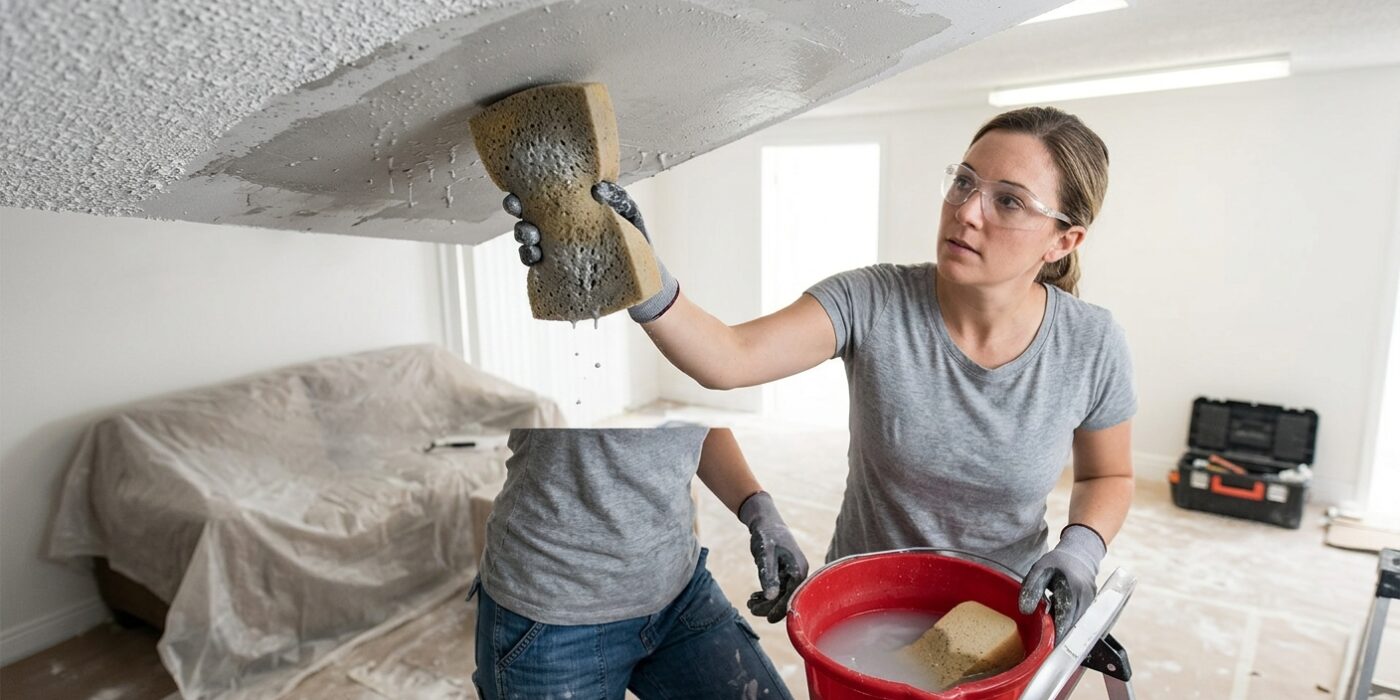
Now that your ceiling is clear of texture, you need to ensure the surface is perfectly clean for paint. Take a large, soft car-wash sponge and dip it in a bucket of clean water, wringing it out until it is just damp – never dripping wet. Gently wipe the entire ceiling in a consistent, light motion. This step is crucial because leftover adhesive residue will prevent your new paint from sticking properly, leading to peeling later on.
Once wiped, allow the ceiling to air dry for 24 to 48 hours. When completely dry, shine a bright work light at a sharp angle against the ceiling. You are looking for “fuzzy” or raised patches of drywall paper. If you spot these, they require a thin layer of joint compound, known as skim coating, to create a smooth, paint-ready finish.
Beginner Tip: Avoid scrubbing the drywall too hard. If your sponge is too wet or you apply too much pressure, you risk soaking the paper facing or gouging the soft gypsum underneath, which creates much more repair work for you.
Pro Tip: Add a very small splash of white vinegar to your water bucket. This mild acidity helps break down stubborn old adhesive left behind by the popcorn texture, making the cleaning process significantly faster and leaving your ceiling residue-free before you reach for the primer.
Step 5: Skim Coat and Sand
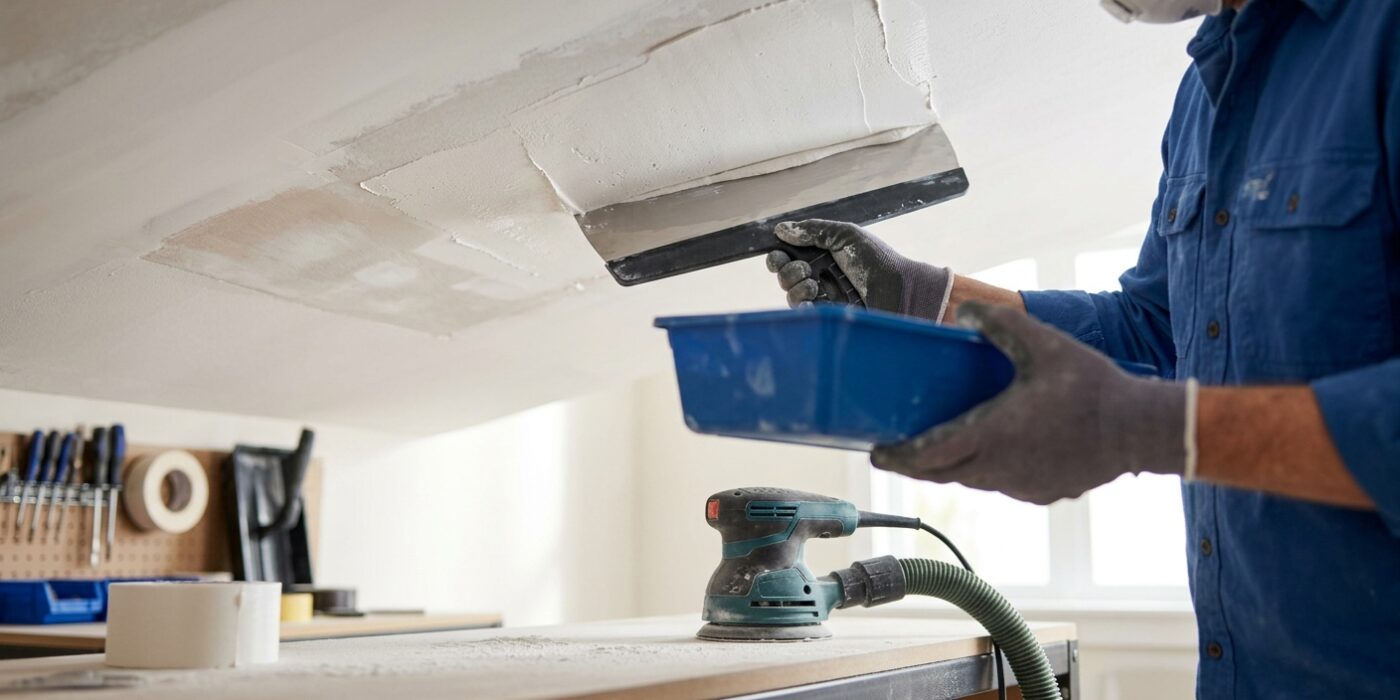
Now that the popcorn texture is removed, your ceiling likely looks a bit rough. To get that professional, smooth finish, you need to apply a skim coat. This process involves spreading a thin, mud-like layer of joint compound over the entire surface to fill in low spots and create a uniform plane. Start by thinning your premixed joint compound with a small amount of water until it reaches the consistency of thick cake frosting. Using a 12-inch taping knife, hold the blade at a 30-degree angle and sweep the compound across the ceiling in long, overlapping strokes. Don’t worry about perfection on the first pass; your goal is simply to fill the gaps. Allow this to dry for 12 to 24 hours until it turns white. Once dry, lightly sand the entire surface with a 120-grit sanding sponge, wipe away the dust, and apply a second, thinner coat if you see any remaining ridges. Finally, apply a coat of high-quality drywall primer before painting, as this seals the surface and ensures your paint adheres evenly.
Beginner Tip: The most common mistake is applying the compound too thick. Think of this as adding a light “skin” to the ceiling rather than burying it; if you apply too much, you will spend hours sanding it back down later.
Alternative Method: If you don’t have a large taping knife, you can use a wide paint roller to apply the thinned joint compound, then follow immediately with a drywall squeegee or a wide plastic trowel to smooth it out. This is often faster for beginners who find manual knife strokes difficult to master.
Pro Tip: Use a bright LED work light held at an angle against the ceiling while sanding. This “raking light” will cast shadows on any bumps or ridges, making it incredibly easy to see exactly where you need to sand more or add a little extra mud.