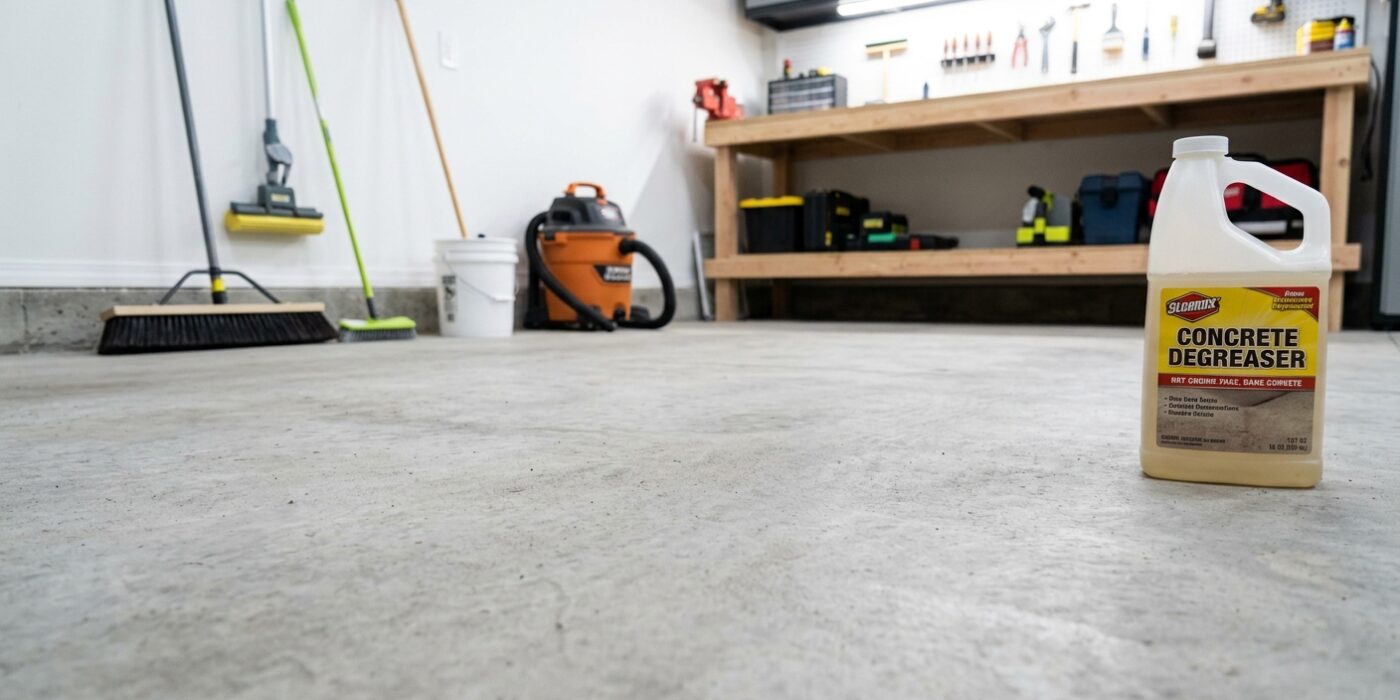
Project Shopping List
A painted concrete floor — in a basement or garage — transforms a utilitarian space into something that looks clean, protected, and intentional. Properly prepared and sealed with epoxy or polyurea floor coating, concrete floors resist oil, chemicals, abrasion, and moisture for 5 to 10 years. The difference between a floor coating that peels in two years and one that lasts a decade is almost entirely in the prep.
What You Will Need
Tools
- Pressure washer or shop vacuum
- Stiff scrub brush
- Roller with 3/8-inch nap covers
- Chemical-resistant gloves and safety goggles
- Paint tray
Materials
- Concrete etching solution (muriatic acid or phosphoric acid)
- Two-part epoxy floor coating kit or single-component urethane floor paint
- Decorative chips (optional)
- Concrete filler for cracks and holes
- Baking soda to neutralize acid after etching
Step 1: Test for Moisture Before Anything Else
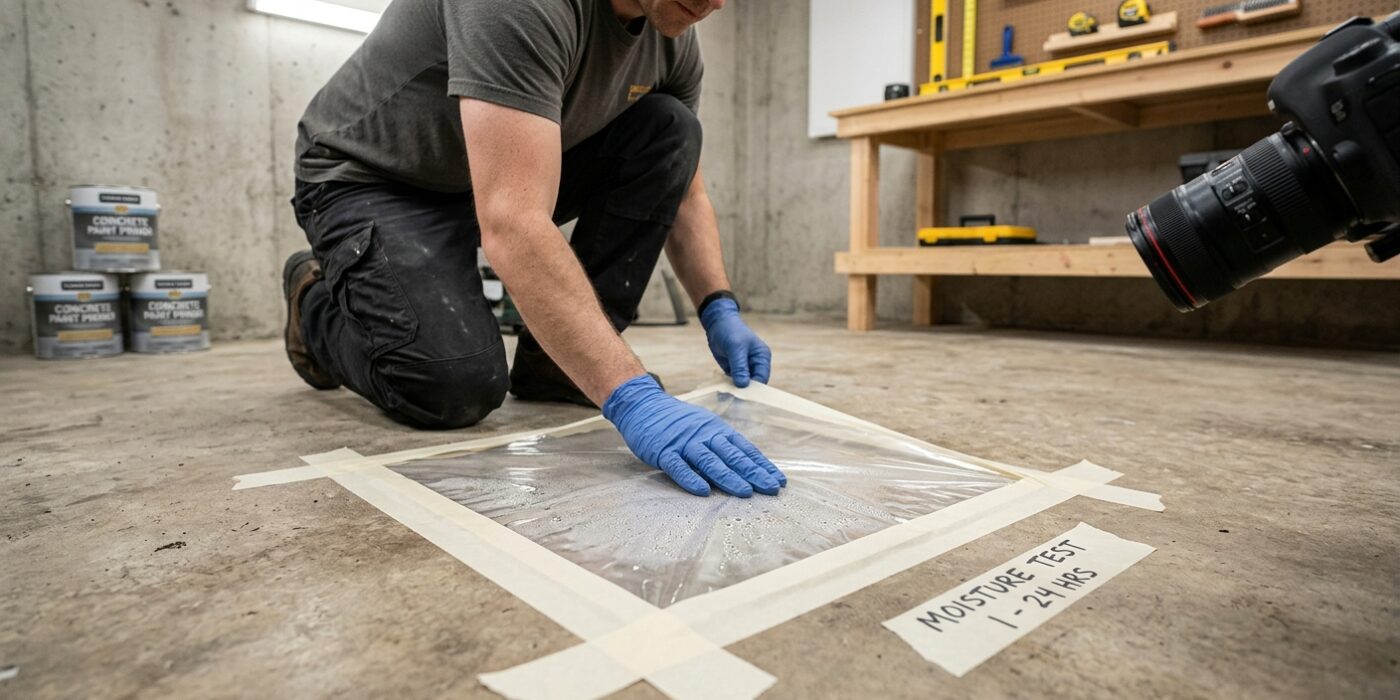
Before you commit time and money to painting your concrete floor, you must ensure the surface is dry. Moisture trapped beneath your paint will cause it to bubble, peel, and flake off within months. To check your floor’s health, cut a piece of clear plastic sheeting – a standard drop cloth works perfectly – into a 16-by-16-inch square. Lay it flat on the concrete and use duct tape to seal all four edges completely to the floor. You want an airtight seal so no humidity from the room can get inside. Leave this patch undisturbed for at least 24 to 48 hours.
When you lift the plastic, inspect the underside. If it looks foggy or has visible water droplets, your concrete is “sweating” moisture from the ground. If you see moisture, do not paint yet! You will need to purchase a specialty moisture-tolerant epoxy or consult with a flooring professional to seal the slab first.
Beginner Tip: Don’t place your test square in a sun-drenched spot or right near an open door. Place the plastic in the center of the room or in a consistently damp-feeling area, such as near a floor drain or a basement wall, to get a true reading of the floor’s condition.
Pro Tip: If you are testing in a basement, try taping down two or three squares in different areas. Concrete can dry unevenly, and testing multiple spots ensures you aren’t missing a damp patch hidden away in a corner.
Step 2: Clean and Degrease
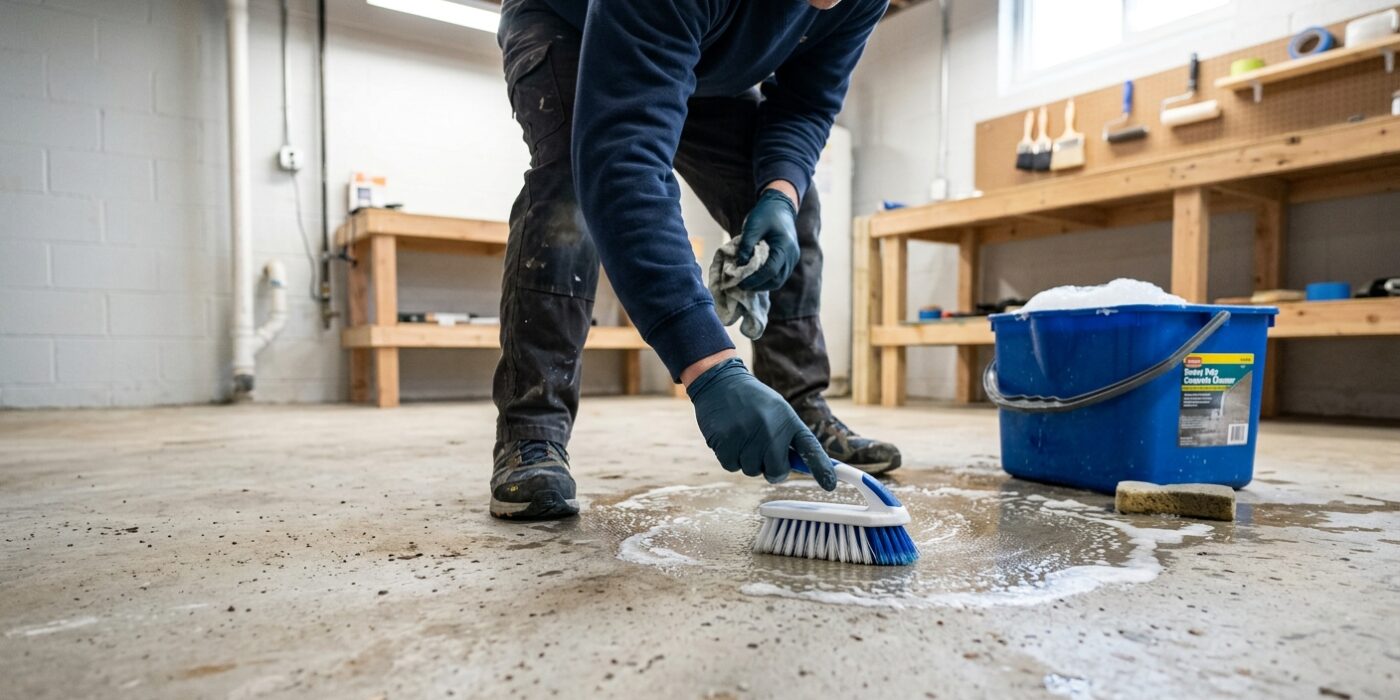
Think of your concrete floor like a giant, hard sponge. Even if it looks smooth, it has tiny pores that hold onto oil, grease, and dirt. If you paint over these contaminants, the paint won’t be able to grab onto the concrete, leading to peeling patches within a few months. To get a professional finish, you need to strip those impurities away.
First, identify every dark or discolored spot. Apply a concrete degreaser – such as Simple Green, Krud Kutter, or a TSP solution – directly to these areas according to the manufacturer’s dilution ratios. Let the cleaner sit for about 10 minutes, but don’t let it dry out. Now, use a stiff-bristle scrub brush attached to a long handle to scrub the area vigorously. You want to use circular motions to work the cleaner deep into the pores. Once finished, rinse the floor thoroughly with a garden hose and a squeegee to push the dirty water toward a drain or outside. Let the floor dry completely, which usually takes at least 24 hours.
Beginner Tip: Avoid the urge to rush this process. Even if the surface feels dry to the touch, moisture trapped deep inside the concrete can ruin your paint job. Use a floor fan to speed up the drying process, and wait an extra day if you are in doubt.
Pro Tip: If you are dealing with stubborn, caked-on grease, use a putty knife to scrape away the thickest buildup before you start scrubbing. This prevents you from just spreading the grease around and helps the chemical cleaner reach the concrete much faster.
Step 3: Etch the Concrete
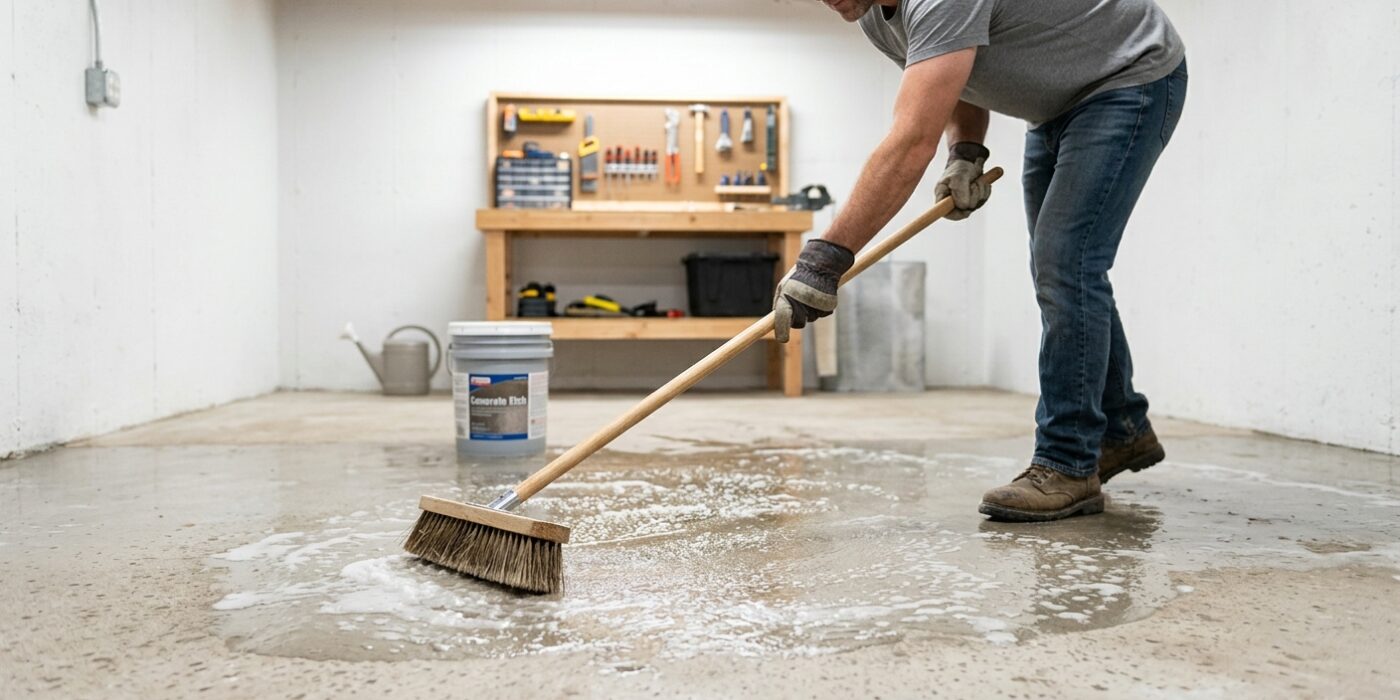
Now it is time to etch your concrete. Think of concrete like a smooth, sealed stone; if you paint it now, the paint will peel right off. Etching opens up the tiny pores of the concrete, giving your epoxy or floor paint a “tooth” to grab onto so it stays stuck for years to come.
To start, mix a solution of 1 part muriatic acid to 10 parts water in a plastic bucket. Always add the acid into the water, never the other way around, to prevent dangerous splashing. Using a plastic watering can, sprinkle the solution over the floor in manageable sections. Grab a long-handled, stiff-bristle scrub brush and work the liquid into the concrete until you hear a light fizzing sound. Let it sit for 5 to 10 minutes, but do not let it dry out. Afterward, rinse the floor thoroughly with a hose. To stop the acid from reacting, scrub the surface with a mixture of 1 cup of baking soda per gallon of water, then rinse again. Allow your floor to dry for at least 24 hours.
Beginner Tip: The biggest mistake is neglecting your personal safety. Because you are working with acid, you must wear rubber boots, chemical-resistant gloves, and safety goggles. Keep a window open or use a fan to ensure the room is well-ventilated while you work.
Alternative Method: If you are nervous about using acid, you can rent a floor sander with a diamond grinding attachment from a local hardware store. This mechanically scuffs the surface, achieving the same “120-grit” texture without the need for chemicals.
Pro Tip: Once the floor is completely dry, run your hand across it. If it feels like 120-grit sandpaper, you have done a perfect job. If it still feels smooth or slick, you will need to spot-etch those areas again before you proceed to painting.
Step 4: Repair Cracks and Holes
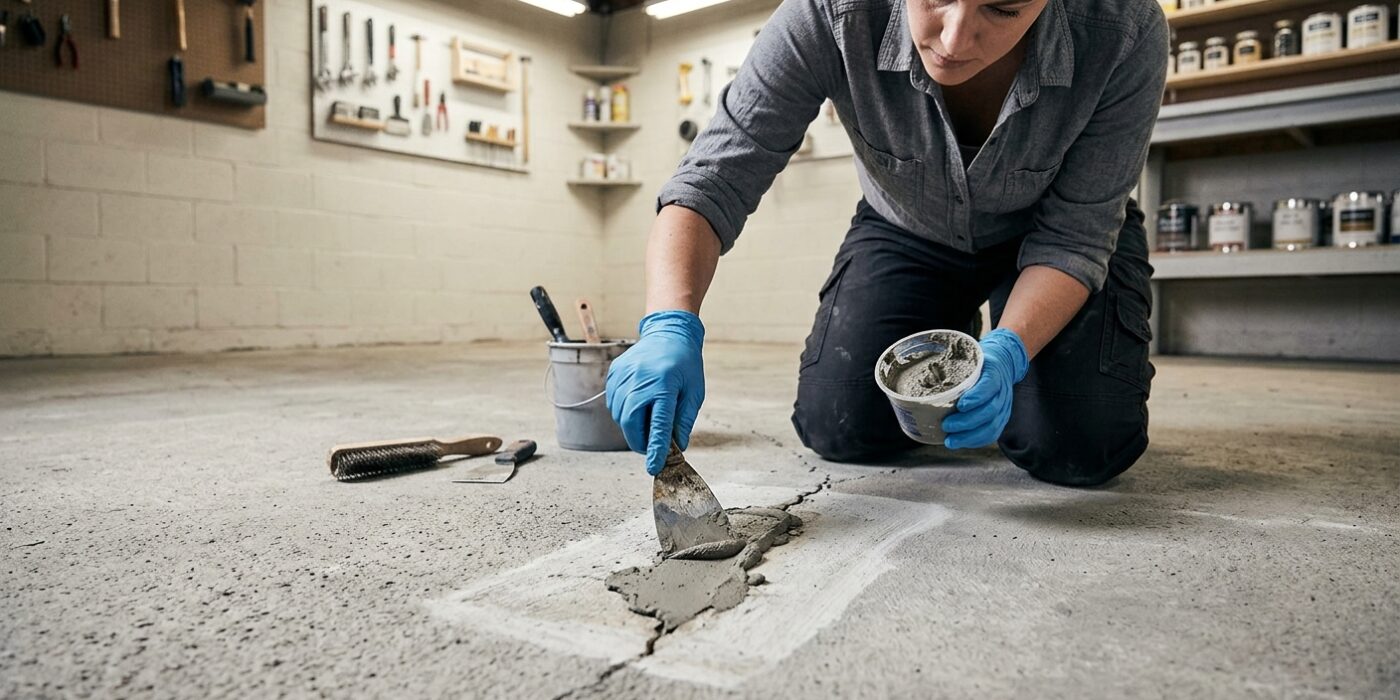
Before you begin painting, you need to create a smooth, solid surface. Think of this step as prepping a canvas; if you paint over cracks or pits, the finish will look uneven and may peel later. Use a masonry crack filler or hydraulic cement to patch any damage in your floor. For small hairline cracks, use a squeeze tube of epoxy filler. For deeper holes or gouges, use a putty knife to press the cement firmly into the void. The goal is to “feather” the edges, which means spreading the filler outward so it slopes gradually down to meet the level of the existing floor, rather than leaving a chunky mound. Smooth it over with your putty knife until it is flush with the concrete. Let the material dry completely according to the manufacturer’s instructions – usually between four to twenty-four hours – before moving on.
Beginner Tip: A common mistake is overfilling the cracks. It is tempting to heap extra material on top to ensure the hole is filled, but this creates a raised bump that is difficult to sand down later. Apply just enough filler to be level with the surrounding floor, and wipe away excess immediately with a damp rag.
Pro Tip: Before applying the filler, use a wire brush or a vacuum to thoroughly remove all loose debris, dust, and grit from inside the crack. If the filler is applied over loose dust, it won’t be able to bond to the concrete and will eventually pop right out.
Step 5: Apply the Primer Coat
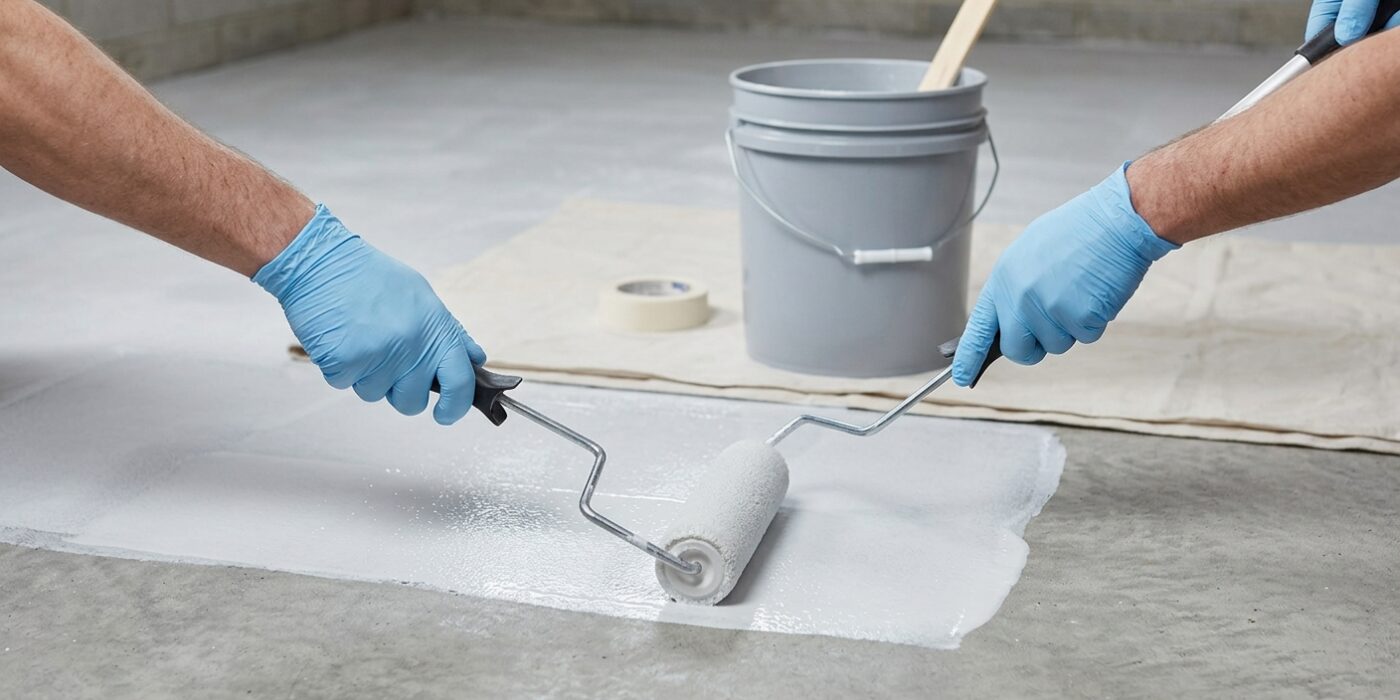
Now it is time to prime your floor. Two-part epoxy primer acts as a bridge between your concrete and the final paint, ensuring a long-lasting, chip-resistant finish. Because epoxy begins to harden chemically as soon as it is mixed, you have a limited window of 20 to 40 minutes – known as “pot life” – to work with it. Mix only the amount of epoxy specified by your product label in a clean bucket, stir thoroughly for the recommended duration, and let it rest for 5 minutes. This rest period helps release trapped air bubbles from the mixing process.
Using a 3/8-inch nap roller on an extension pole, apply the primer in even, overlapping “W” or “M” patterns. Work in small sections, starting from the corner farthest from your exit to avoid painting yourself into a corner. Keep the coating thin and consistent according to the manufacturer’s coverage rate; applying it too thick can cause peeling later. Once the first coat feels firm but slightly tacky to the touch – typically after a few hours – you are ready for your topcoat.
Beginner Tip: Never leave your mixed epoxy sitting in the bucket while you take a break. Once it is mixed, the clock is ticking; if you leave it in the pail, it will generate heat and harden into a solid block, making it impossible to apply.
Pro Tip: Use a high-quality “shed-resistant” roller cover. Cheap roller covers often leave tiny bits of fuzz in the wet epoxy, which will dry into the surface and create a rough, sandpaper-like texture that is very difficult to smooth out later.
Step 6: Apply the Top Coat and Decorative Chips
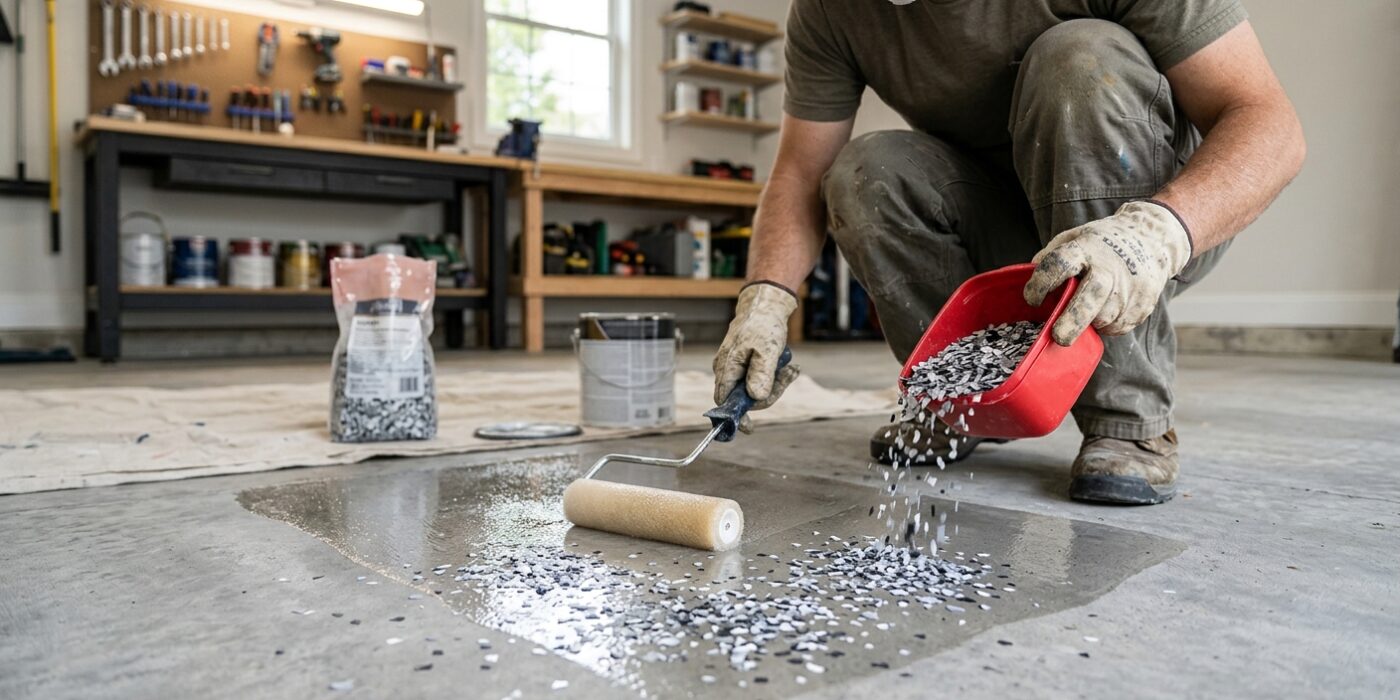
Now it is time to give your floor a professional finish. Start by mixing your epoxy parts A and B according to the exact measurements provided by your manufacturer; even a slight imbalance can cause the coating to remain tacky for weeks. Using the same roller technique as your primer, apply the topcoat in smooth, overlapping sections. Work in manageable three-by-three-foot areas so you can reach the surface with your decorative chips while the epoxy is still wet.
To apply the chips, take a generous handful and toss them gently into the air, allowing them to rain down onto the wet epoxy for a natural, random look. Avoid clumping them in one spot. Once the entire floor is covered and the epoxy has fully cured, sweep away the loose, unattached chips. Finally, apply a clear polyaspartic topcoat to seal the surface, which protects your design and ensures long-lasting durability.
Beginner Tip: The most common mistake is waiting too long to add the decorative chips. If the epoxy begins to set, the chips will not sink in and will feel sharp underfoot later. Work quickly and keep your chip container within arm’s reach so you can scatter them immediately after finishing each section.
Pro Tip: For the best results, paint your way out of the room toward the exit. Use spiked shoes if you need to walk back onto the wet floor to reach corners or add more chips; they prevent you from leaving heavy boot prints in your fresh finish.