Project Shopping List
Chalk paint is a mineral-based, matte-finish paint that adheres to most surfaces with minimal preparation — no sanding required, no primer needed in most cases, and no stripping of existing finishes. It creates a soft, sophisticated matte look that is easily distressed or layered. The one requirement: chalk paint must be sealed after application. Without wax or a clear topcoat, it is highly susceptible to staining and scratching.
What You Will Need
Tools
- Natural bristle brush
- Foam roller (4-inch, for large flat surfaces)
- Clean rags or lint-free cloths
- Wax brush and soft cloth for buffing
Materials
- Chalk paint (Annie Sloan, Rust-Oleum Chalked, or DIY version)
- Clear furniture wax or polycrylic topcoat for high-use pieces
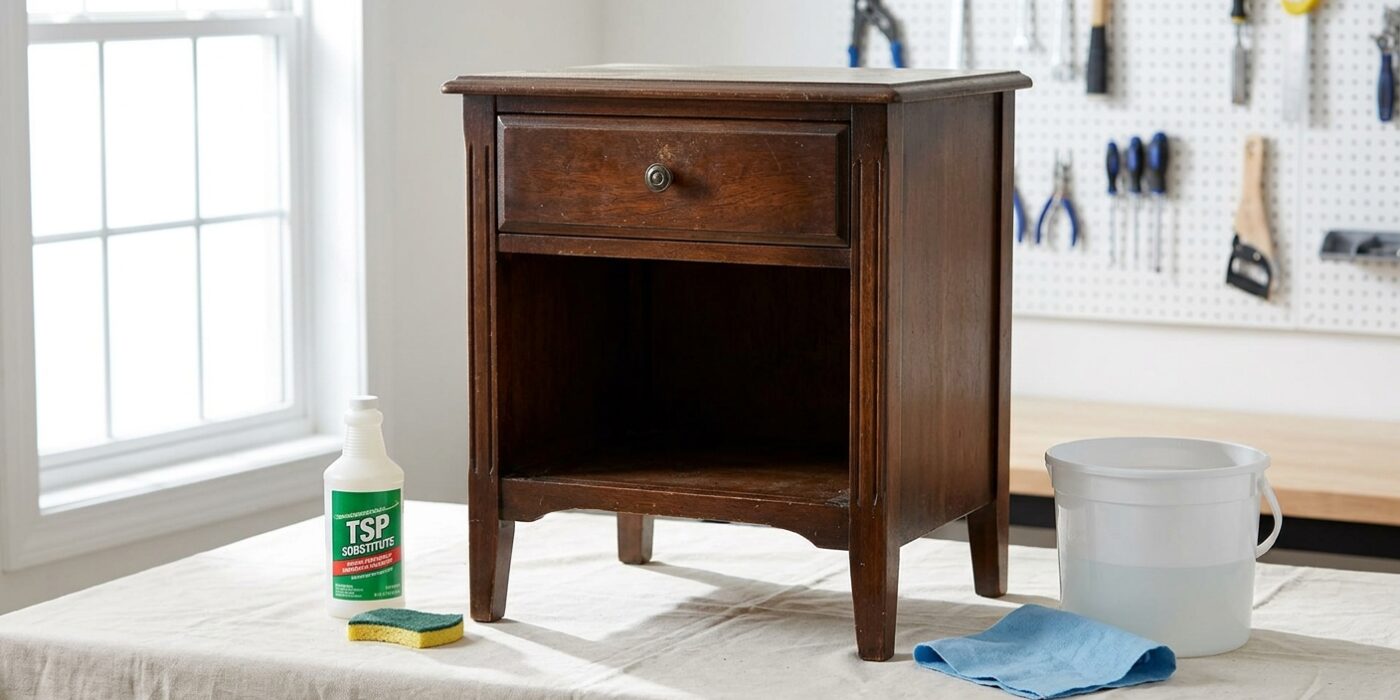
- TSP substitute for cleaning greasy surfaces
Step 1: Prepare the Surface (Minimally)
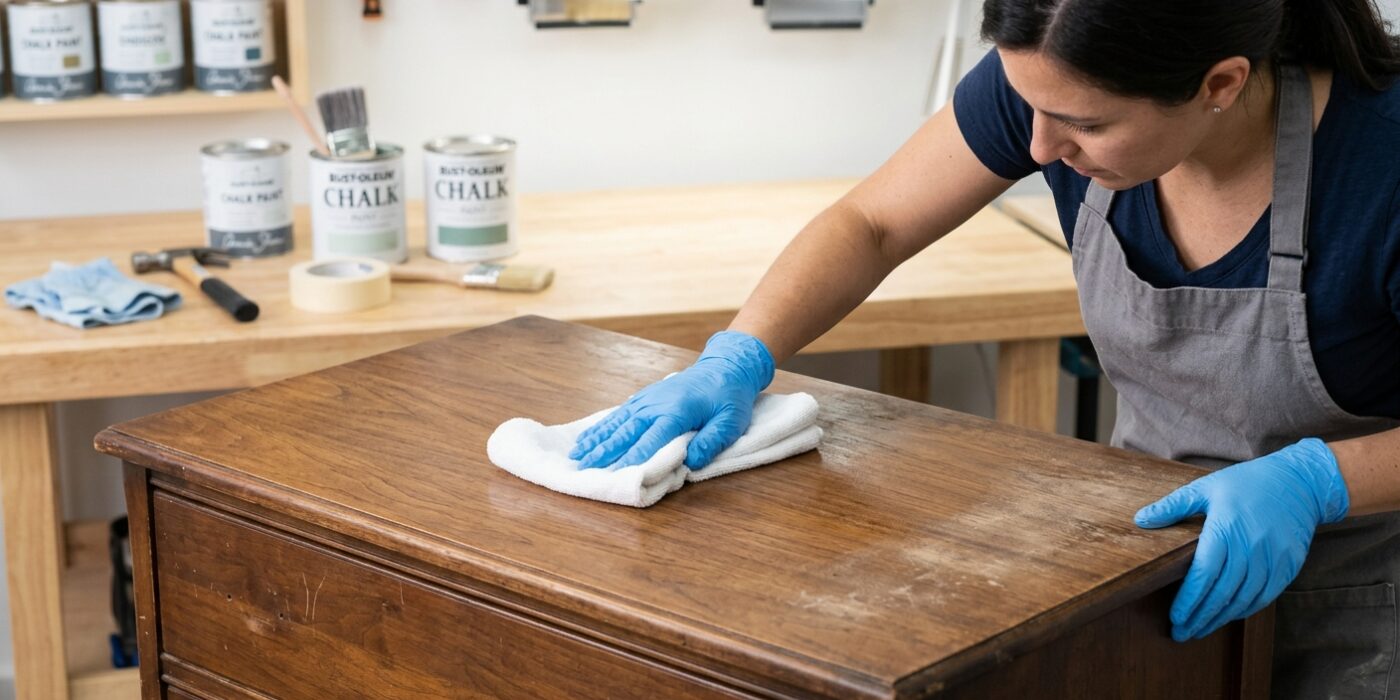
The secret to a beautiful chalk paint finish starts with a clean slate. Even though chalk paint is famous for sticking to almost anything, it cannot bond to dust, grease, or sticky residue. For most furniture, a simple wipe-down with a damp, lint-free cloth is all you need to remove household dust. However, if you are painting a piece from the kitchen or dining room, you must cut through hidden grease. Mix a quarter-cup of a TSP substitute with one gallon of warm water, dampen a sponge, and wipe the entire piece. Finally, if your furniture feels like glass or has a thick, shiny, high-gloss finish, take a piece of 220-grit sandpaper and lightly rub the surface in circular motions for about five minutes. You are not trying to remove the old finish; you are simply creating microscopic “teeth” for the paint to grab onto.
Beginner Tip: Avoid the urge to over-saturate your rag or sponge. If water seeps into the wood joints or deep scratches, it can cause the wood to swell or weaken. Keep your tools damp, not dripping, and dry the surface with a fresh towel immediately after cleaning.
Pro Tip: Before you start painting, run your bare hand across the furniture surface. If it feels smooth and clean, you are ready to go. If your hand comes away feeling tacky or gritty, repeat your cleaning step. A clean surface is the ultimate insurance policy against your paint peeling later on.
Step 2: Stir, Do Not Shake
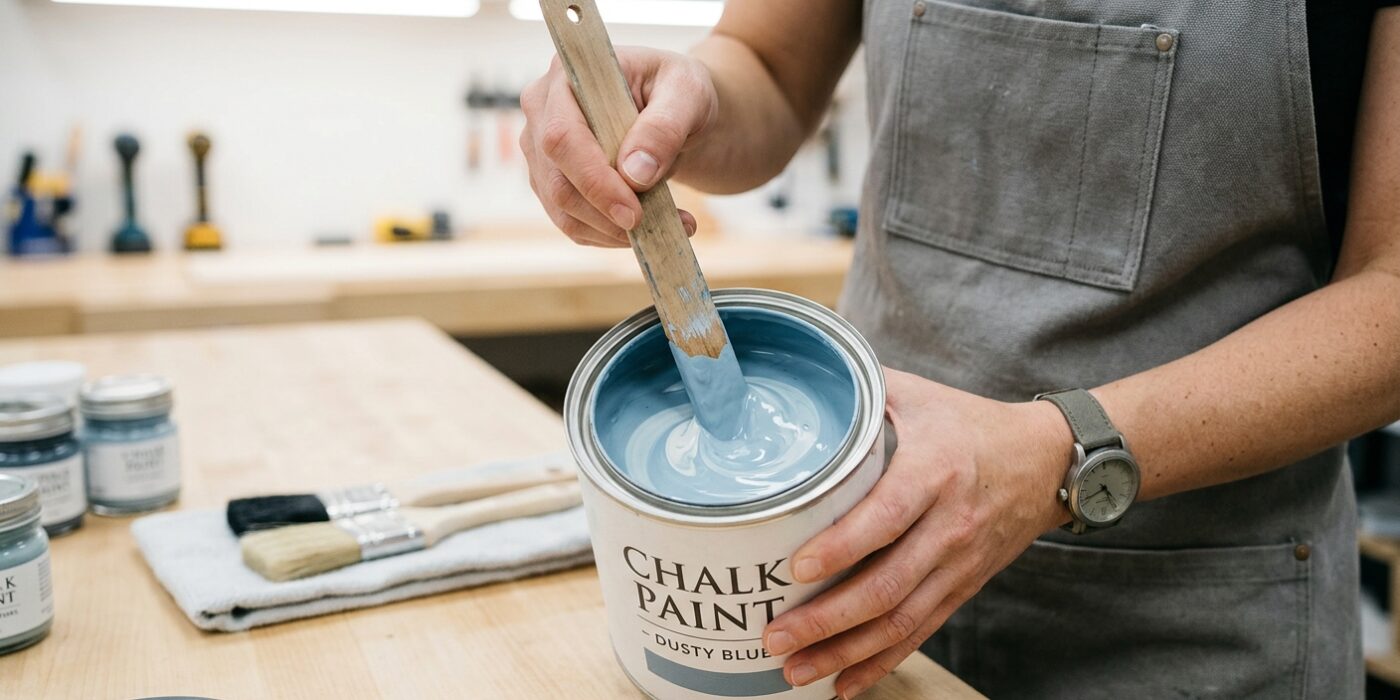
Before you dip your brush, you must prepare your paint. Chalk paint is a heavy, mineral-based medium that naturally settles over time, meaning the rich pigments sink to the bottom of the can while the liquid binder rises to the top. To achieve a smooth, professional finish, you need to redistribute these components completely.
Using a clean wooden paint stirrer, insert the stick all the way to the bottom of the can. Move the stick in a slow, circular motion along the base, then lift and fold the thicker, settled paint toward the top. Continue this for at least two full minutes. It is vital that you do not shake the can; shaking forces air into the mixture, creating tiny bubbles. If these bubbles make it onto your furniture, they will pop and leave behind unsightly craters or a bumpy texture once dry. Consistent, steady stirring ensures the consistency remains creamy and streak-free.
Beginner Tip: Avoid the temptation to use a power drill with a paint-mixing attachment. While it looks efficient, these tools spin much too fast for chalk paint, introducing massive amounts of trapped air that can ruin the integrity of your finish before you even start.
Pro Tip: If you are painting a light color or white, pull the stirrer out of the can periodically and look for streaks of pure pigment or thick clumps. If you see any, keep stirring! The paint is only ready when the color looks perfectly uniform from the very bottom of the can to the surface.
Step 3: Apply the First Coat
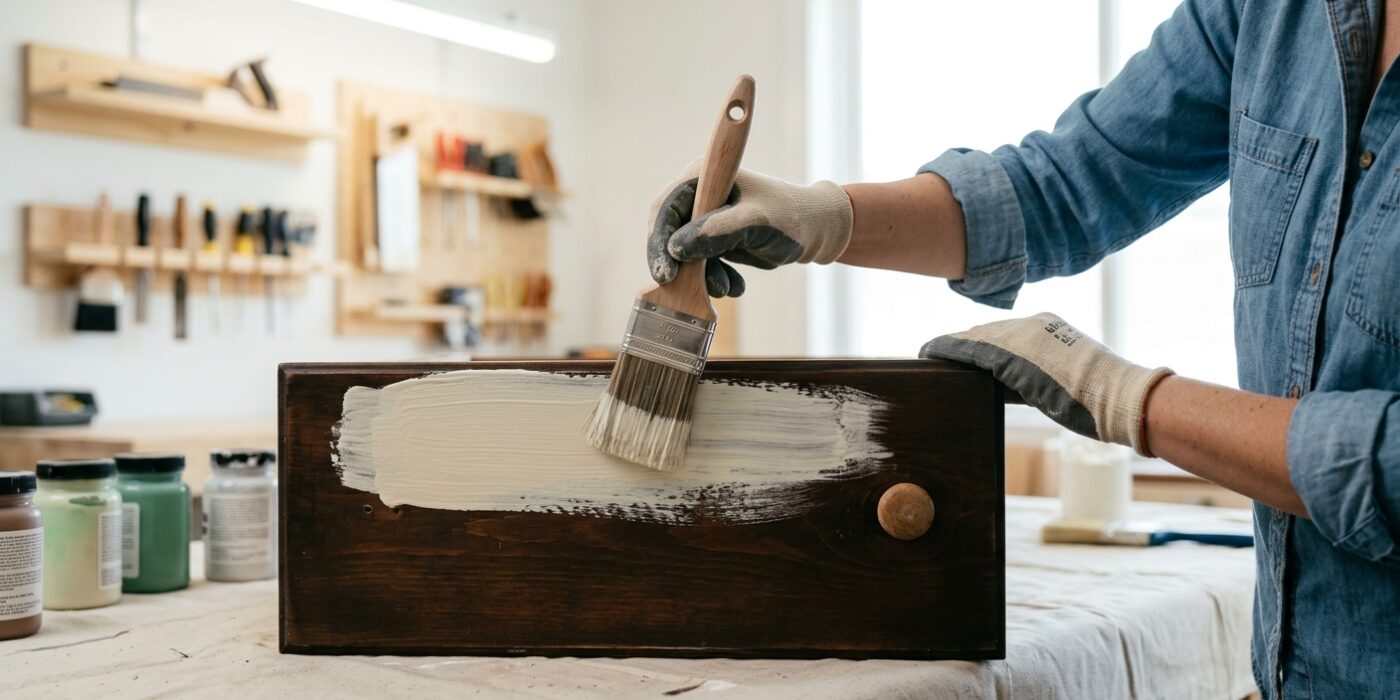
Now it is time to bring your project to life! Dip your brush about an inch into the paint and gently tap it against the side of the can to remove excess. Using long, fluid strokes, follow the direction of the wood grain. Because chalk paint dries rapidly, work in small sections – like one table leg or one drawer front – to keep a “wet edge.” This prevents visible overlap lines where the paint starts to dry before you finish the area. If you are painting a large, flat surface, swap your brush for a 4-inch foam roller; apply light pressure and roll in one direction to ensure a smooth, professional finish. Remember, the first coat will likely look streaky or thin, especially on dark furniture. Do not panic! This is completely normal. Resist the urge to go back and fix these thin spots while the paint is still wet, as this can cause the paint to clump or drag.
Beginner Tip: Avoid the temptation to overload your brush. If paint begins to drip or pool in corners, you have too much on your brush. It is much easier to apply two thin, clean coats than one thick, gloppy coat that dries with uneven ridges.
Pro Tip: Keep a damp rag or a package of baby wipes within arm’s reach while you work. If you accidentally get paint on a surface you didn’t intend to cover, wipe it away immediately. Chalk paint cleans up beautifully with water while it is still wet!
Step 4: Allow to Dry and Apply Second Coat
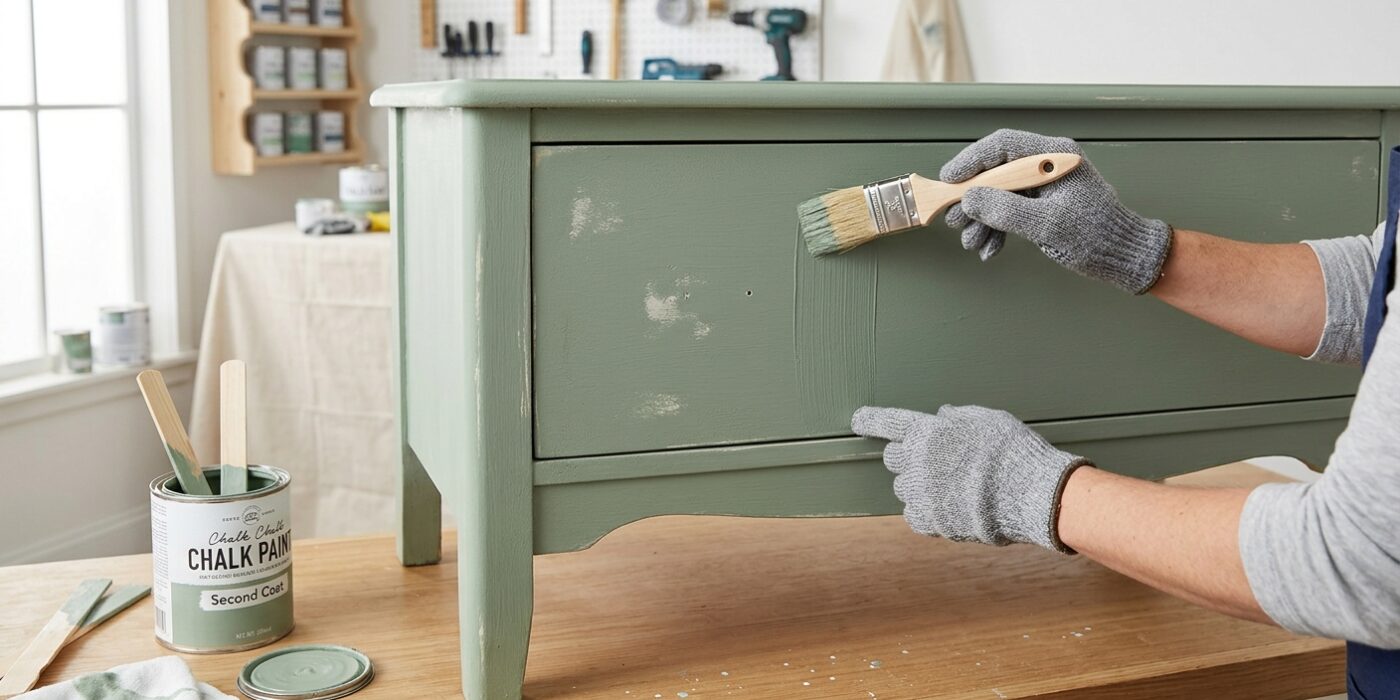
Now that your first layer of paint is down, patience is your best friend. Wait at least 20 to 30 minutes for the chalk paint to feel completely dry to the touch. Once it is dry, it is time for your second coat. The trick to a professional, streak-free finish is to alternate your brush direction. If your first coat was applied using horizontal strokes, apply your second coat using vertical strokes. This crisscross technique helps fill in any tiny gaps and ensures the paint coverage is perfectly smooth and even.
For most furniture, two coats are plenty to achieve a beautiful, opaque look. If you are painting a light color over a dark wood, you may notice the original color peeking through; in this case, do not worry! Simply wait for the second coat to dry and apply a third thin layer to get that solid, clean finish you are aiming for.
Beginner Tip: Avoid the urge to over-brush the paint. If you notice a drip or a thick spot, resist the temptation to keep swiping your brush over it once the paint begins to get tacky, as this can pull off wet paint and create lumpy textures. Let it dry completely and lightly smooth any bumps later.
Pro Tip: Before applying your second coat, quickly run your hand over the first dry layer. If you feel any stray bristles or dust nibs that stuck to the paint, gently swipe them away with a piece of fine-grit sandpaper so your final layer goes on flawlessly.
Step 5: Distress the Edges (Optional)
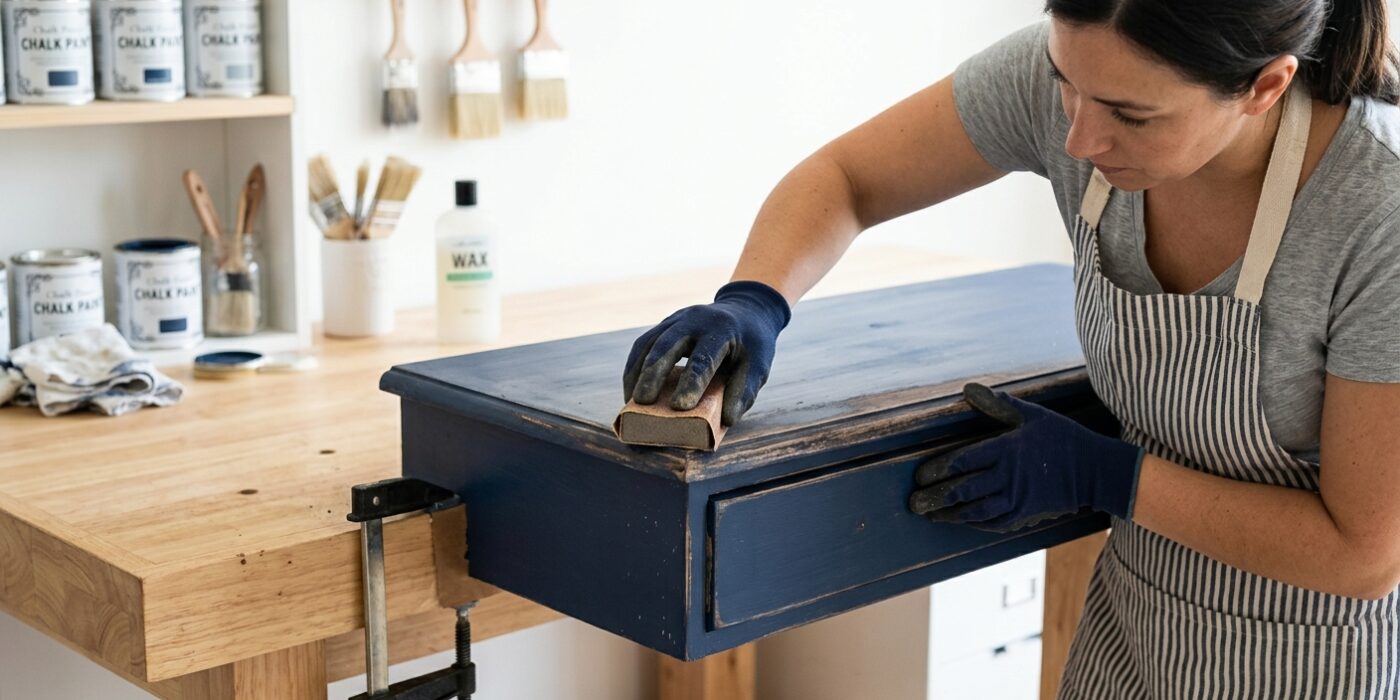
Now that your paint is completely dry to the touch, it is time to add character! Distressing is the process of gently removing small amounts of paint to reveal the wood or finish underneath, creating a beautiful, lived-in aesthetic. Take a piece of 220-grit sandpaper – which is considered “fine” grit – and fold it into a manageable square. Hold the paper flat against the edges, corners, and any raised decorative carvings on your furniture. Using light, consistent pressure, rub back and forth in short, controlled strokes. The goal is to mimic natural wear, so focus on the areas where your hands would typically touch the piece, such as drawer pulls or the front corners of a tabletop.
Beginner Tip: The most common mistake is sanding too hard or too quickly. Start with a very light touch; you can always remove more paint, but you cannot put it back once it is gone. Check your progress frequently by stepping back a few feet to look at the overall effect.
Alternative Method: If you do not have sandpaper on hand, you can use a damp, lint-free cloth or a moist abrasive sponge. Gently rubbing the wet cloth over the fresh, dry paint will lift it away from the edges just as effectively, often resulting in a softer, more blended look without any dust.
Pro Tip: Before you begin, wrap your sandpaper around a small wooden block. This provides a stable, flat surface that ensures you sand the edges perfectly straight, preventing you from accidentally gouging the flat surfaces of your furniture.
Step 6: Apply the Protective Topcoat
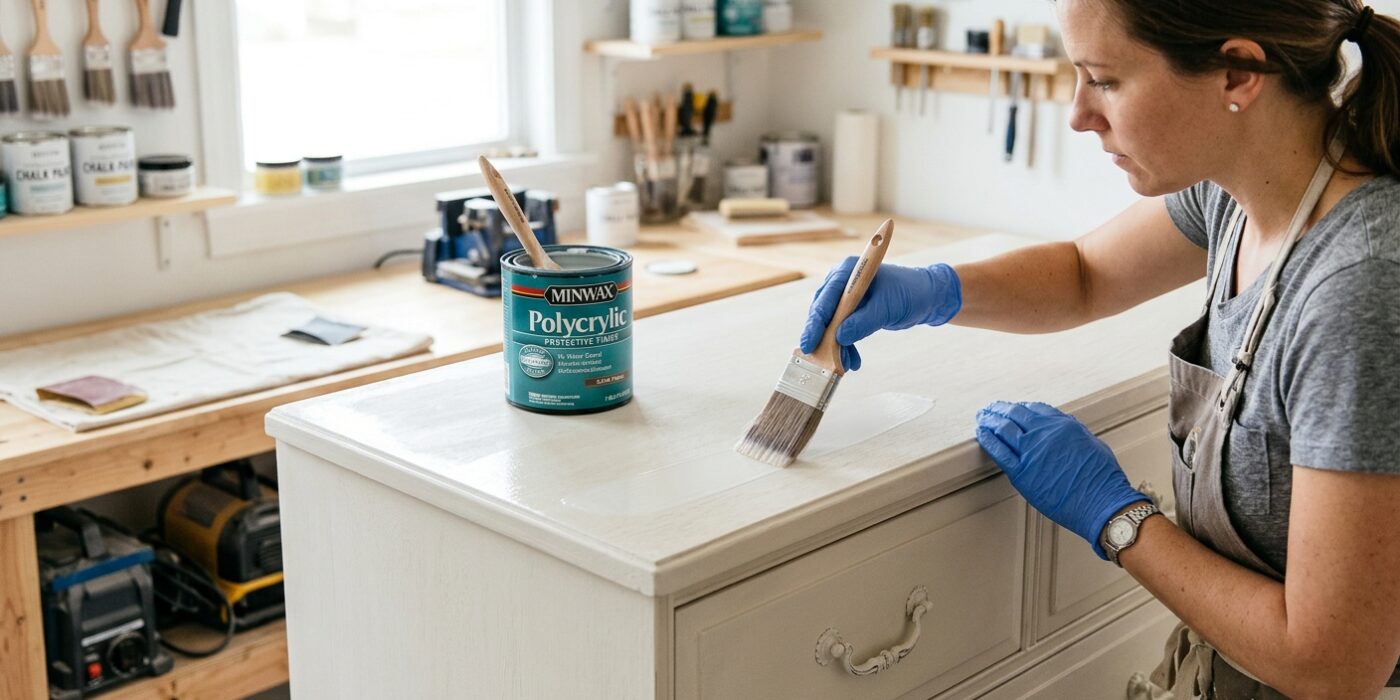
Now that your paint is fully dry, it is time to seal your project so it stays looking beautiful for years to come. Because chalk paint has a porous, matte texture, it acts like a sponge for dust and spills unless it is properly sealed. For most decorative pieces like bookshelves or dressers, use clear furniture wax. Using a round wax brush, scoop up a small amount of wax – about the size of a grape – and work it into the bristles. Apply it using gentle circular motions to ensure you hit every textured spot. After letting it sit for about 10 minutes, use a clean, lint-free cotton cloth to buff the surface until it feels smooth and no longer tacky.
Beginner Tip: The most common mistake is applying too much wax. If the surface feels greasy or looks streaky, you have used too much. If this happens, use a clean cloth to wipe away the excess; you only need a thin, uniform layer to protect the finish.
Alternative Method: If you find wax intimidating, you can use a water-based polycrylic sealer instead. It applies just like paint using a synthetic-bristle brush. Simply brush it on in long, smooth strokes, let it dry for two hours, and you are done – no buffing required.
Pro Tip: To get that professional, vintage-inspired look, apply a small amount of dark-tinted wax into the corners and carved details of your furniture. The dark wax settles into the recesses while the clear wax protects the flat surfaces, instantly adding depth and character to your piece.