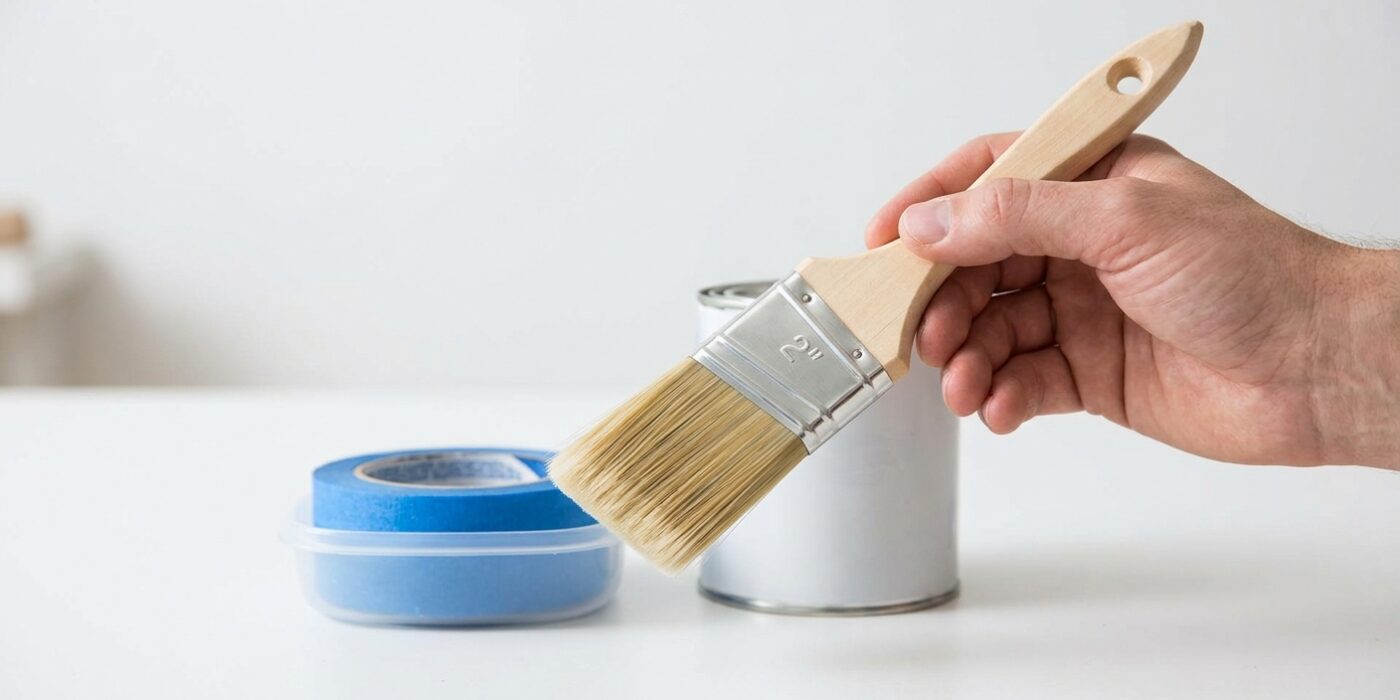
Project Shopping List
Cutting in — painting a clean edge along ceilings, corners, and trim without taping — is the technique that separates professional painters from amateurs. Tape is slow, bleeds paint underneath if not applied perfectly, and leaves a hard edge. A skilled hand with a quality brush cuts a cleaner, softer line faster than tape. This guide teaches you the grip, the load, and the technique to master freehand cutting in.
What You Need
- A good 2.5-inch angled sash brush — this is not a place to cut corners. Purdy, Wooster, and Shur-Line make brushes in the $12 to $25 range that hold paint well and give you control. Cheap brushes lose bristles and make the technique much harder.
- A bucket or roller tray with your wall paint
- Good lighting (you cannot cut a clean line if you cannot see it)
Step 1: Load the Brush Correctly
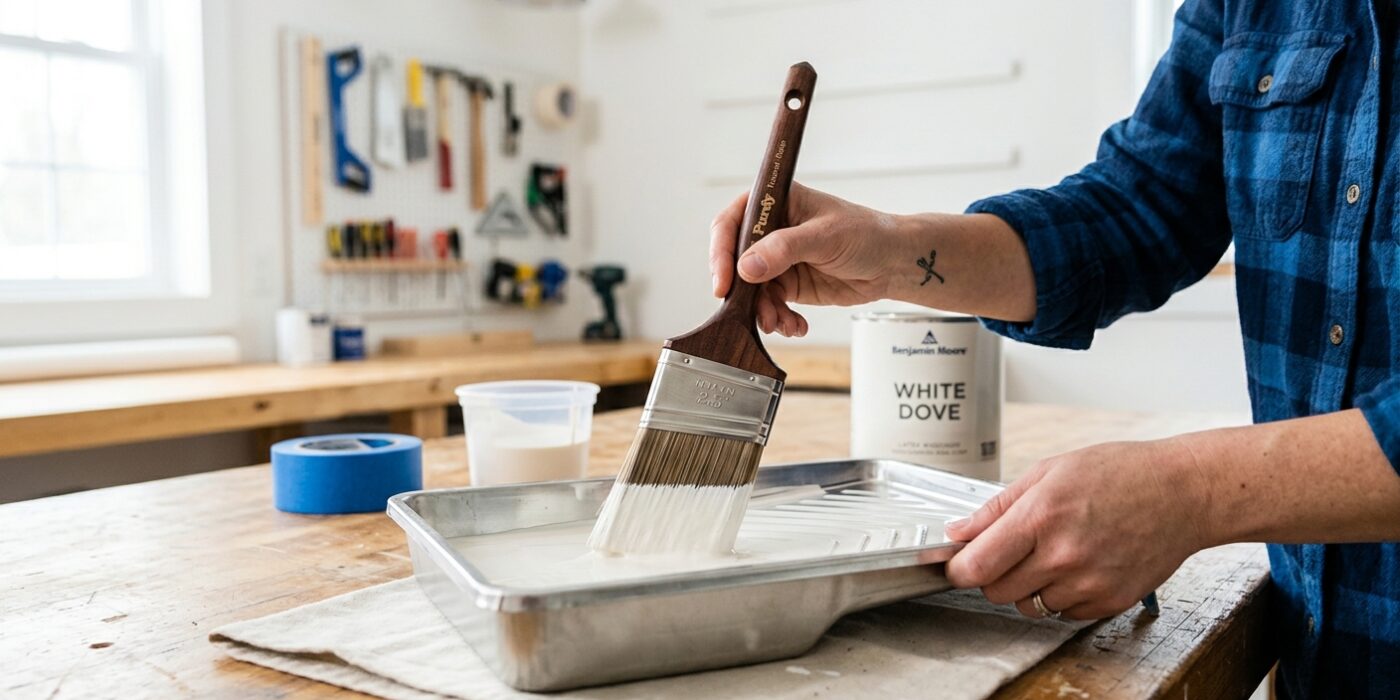
To cut in like a pro, you must first master the art of loading your brush. Dip the bristles only about one inch deep into your paint – roughly one-third of the way up the bristle length. Avoid dipping deeper, as paint creeping up toward the ferrule (the metal band holding the bristles) makes the brush heavy, causes uncomfortable drips, and creates a nightmare to clean later.
After dipping, gently tap the flat sides of the brush against the inside walls of your paint container. Avoid wiping the bristles across the rim of the can, as this strips away almost all the paint you just picked up. You want the bristles to look “fat” and fully saturated, but not so heavy that paint begins to run down the handle. Your goal is a brush that holds enough material to paint a smooth, continuous line without needing to reload constantly.
Beginner Tip: A common mistake is overloading the brush because you are afraid of running out of paint. If you see a large, wet glob of paint forming at the base of the bristles, you have used too much. If this happens, gently tap the brush against the side of the bucket again before you touch the wall.
Pro Tip: If you are painting a large room, consider using a paint pail or a small, hand-held paint cup rather than the full-sized gallon can. It is much easier to manage a smaller container, and it prevents your arm from getting tired while holding the heavy paint can as you move along the wall.
Step 2: The Hand Position
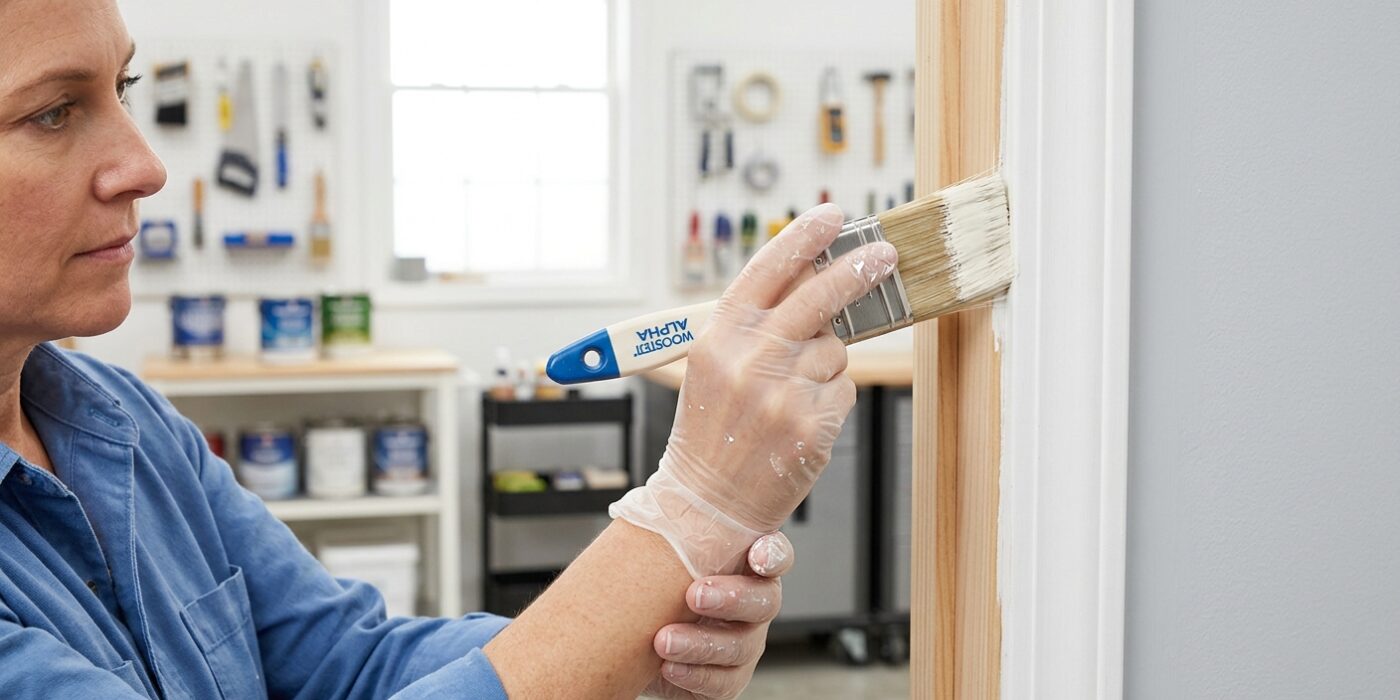
To master the professional cut-in, start by holding your brush correctly. Instead of gripping the end of the handle like a tennis racket, place your thumb and forefinger directly onto the metal ferrule – the band connecting the bristles to the handle – and wrap your remaining fingers comfortably around the handle. By choking up on the brush this way, you shift your center of gravity, which grants you surgical precision rather than a shaky, sweeping motion.
Orient the brush so that the longest point of the angled bristles points toward the line you are painting. Keep this long edge parallel to your ceiling or trim. As you approach the edge, let that long corner lead the way, creating a “bead” of paint that kisses the surface without overlapping onto the trim. The goal is to use the brush’s natural geometry to guide your hand along the wall.
Beginner Tip: A common mistake is overloading the brush with too much paint. When your brush is heavy and dripping, it becomes impossible to control the line. Dip only the bottom third of the bristles into the paint, and gently tap – never wipe – the sides against the rim of your container to remove excess. If the brush is dripping, it will bleed over your edges before you even touch the wall.
Pro Tip: To keep your hand steady, use your non-dominant hand to create a “bridge.” Rest the heel of your dominant hand on your non-dominant hand or on a clean section of the wall while you paint. This creates a tripod effect that eliminates hand tremors and ensures a razor-sharp, perfectly straight line every time.
Step 3: Start a Few Inches Away from the Line

When you are ready to apply paint, do not touch your brush directly to the corner or trim line immediately. Instead, place your brush bristles against the wall about two to three inches away from the surface you want to avoid. Starting this far away is crucial because your brush is most heavily loaded with paint at the beginning of the stroke; placing it directly against the trim could cause a messy blob or drip.
Hold your brush at a slight angle, similar to how you hold a pencil. Once the brush is in place, gently drag the bristles toward the edge of the trim. As you move, use the tip of the brush to guide the paint toward the line in one smooth, slow, and controlled motion. This “steering” technique allows you to feather the paint out, creating a clean, professional-looking edge without the safety net of painter’s tape.
Beginner Tip: The most common mistake is having too much paint on your brush. If you dip the entire length of the bristles into the paint, it will be impossible to control. Only dip about one-third of the way up the bristles. If you see paint dripping down the metal ferrule, you have gone too deep!
Pro Tip: Use a high-quality “angled sash” brush. The slanted bristles are designed specifically for cutting in. By resting the long side of the angle against the trim line, the brush effectively “draws” a straight, crisp boundary for you, making the entire process much easier to manage.
Step 4: The Cutting Stroke
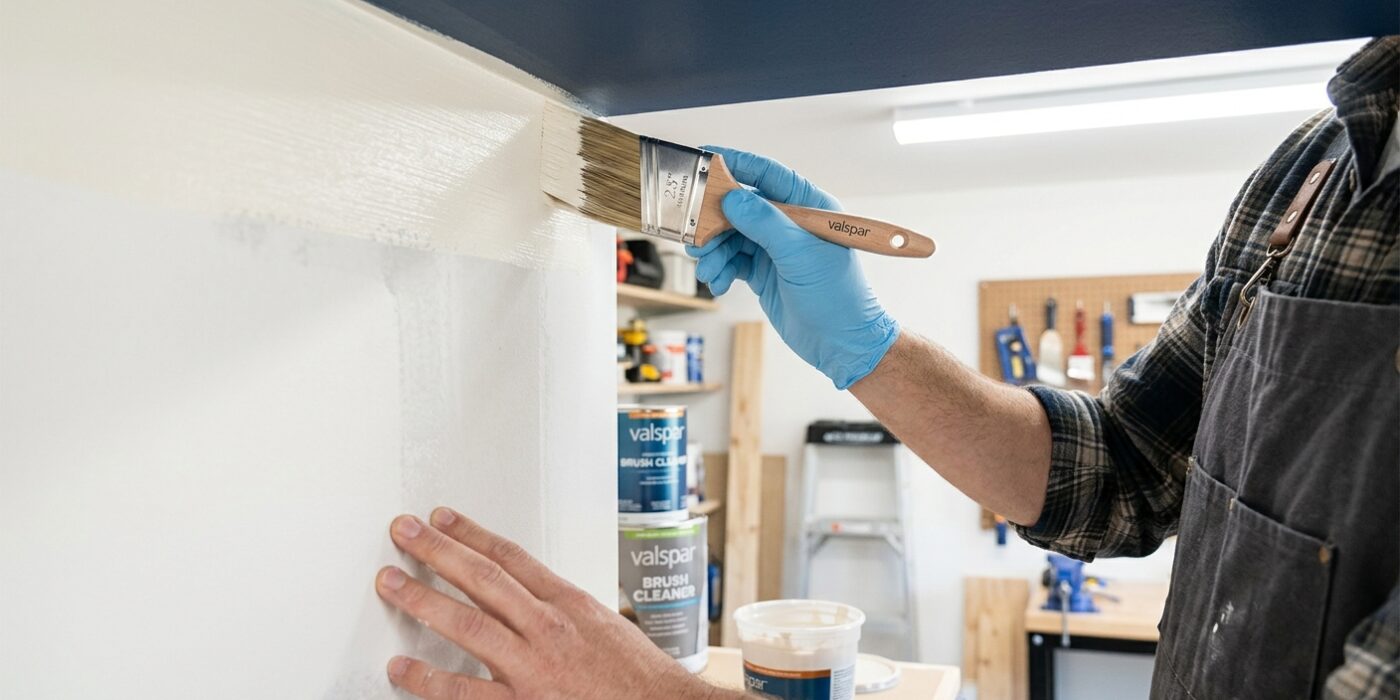
Now it is time for the main event: the cutting stroke. Position your brush about an inch away from the ceiling line, holding it like a pencil. As you pull the brush along the wall, gently move the angled bristles toward the ceiling. The secret here is pressure: apply just enough force to make the bristles fan out slightly, creating a crisp, straight line with the very tips of the brush. Aim to keep the brush moving at a steady, fluid pace rather than stopping and starting, as consistent motion prevents paint blobs from forming.
Beginner Tip: The most common mistake is using only your wrist to move the brush, which often leads to shaky, wavy lines. Instead, keep your wrist locked and move your entire arm from the shoulder. This creates a much smoother, more confident stroke that tracks straight against the ceiling.
Alternative Method: If you find the long stroke difficult, try the “stair-step” technique. Instead of painting one continuous line across the room, paint a small section – only about four inches wide – and then lift your brush to reload before starting the next four-inch segment. While it takes longer, it provides much more control while you are still building your muscle memory.
Pro Tip: Never overload your brush. Dip only the bottom third of the bristles into the paint, then gently tap both sides of the brush against the inside of the can. A brush that is dripping with paint is almost impossible to control; a brush with just the right amount of paint does 90 percent of the work for you.
Step 5: Reload Often
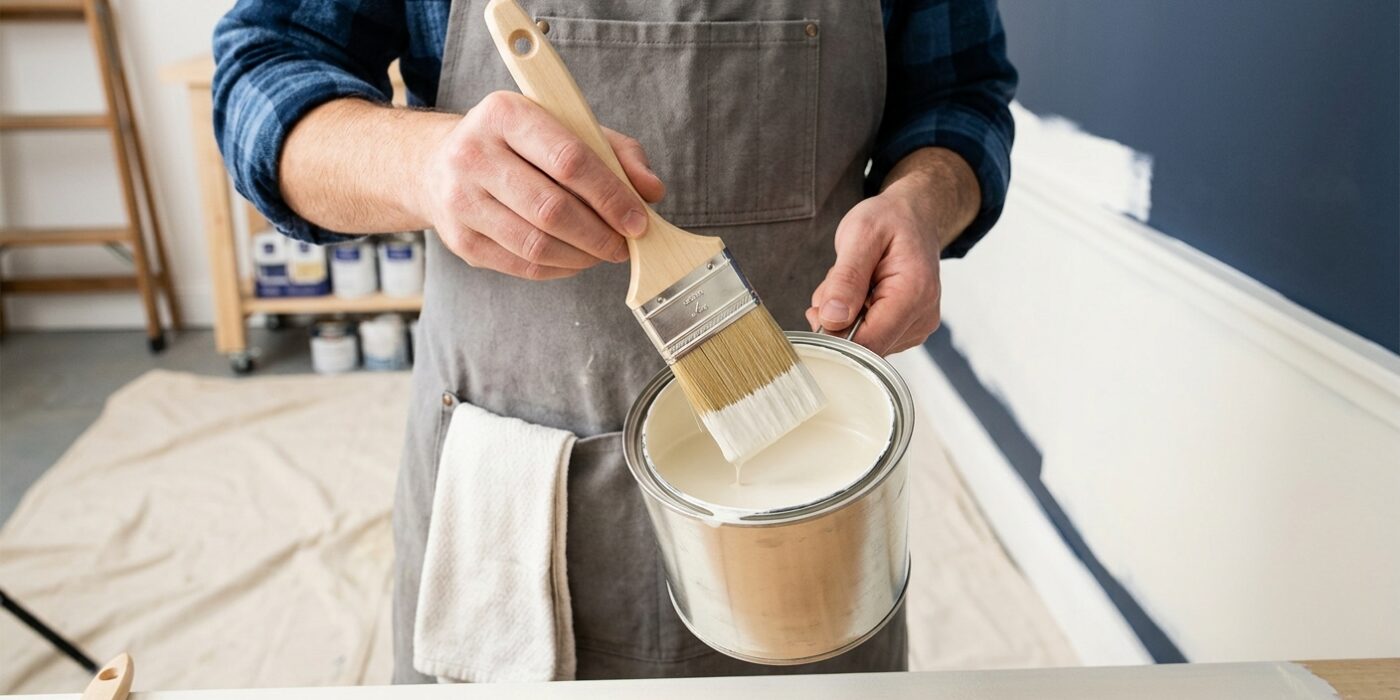
When you are cutting in, it is tempting to try and stretch a single load of paint as far as possible to save time. However, this is the quickest way to end up with uneven, streaky lines. Because you are using only the tips of the bristles to maintain precision, the brush holds less paint than you might think. Aim to reload your brush every 18 to 24 inches. By keeping the brush “wet,” you ensure that the paint flows smoothly off the bristles without dragging or pulling, which gives you that clean, professional finish you are aiming for.
Beginner Tip: A very common mistake is waiting until the brush feels completely dry before dipping back into the paint. If you hear a slight scratching sound or see the paint becoming transparent, you have already pushed it too far. If this happens, reload immediately and gently brush back over the area you just painted to even it out before it begins to set.
Pro Tip: To avoid overloading your brush and causing messy drips, dip your brush only halfway into the paint. Instead of wiping the excess against the rim of the can, give it a gentle “tap-tap” against the inside walls. This clears away the heavy glob of paint at the end while keeping the bristles fully saturated, which is the secret to a smooth, controlled stroke.
Step 6: Fix Mistakes Immediately
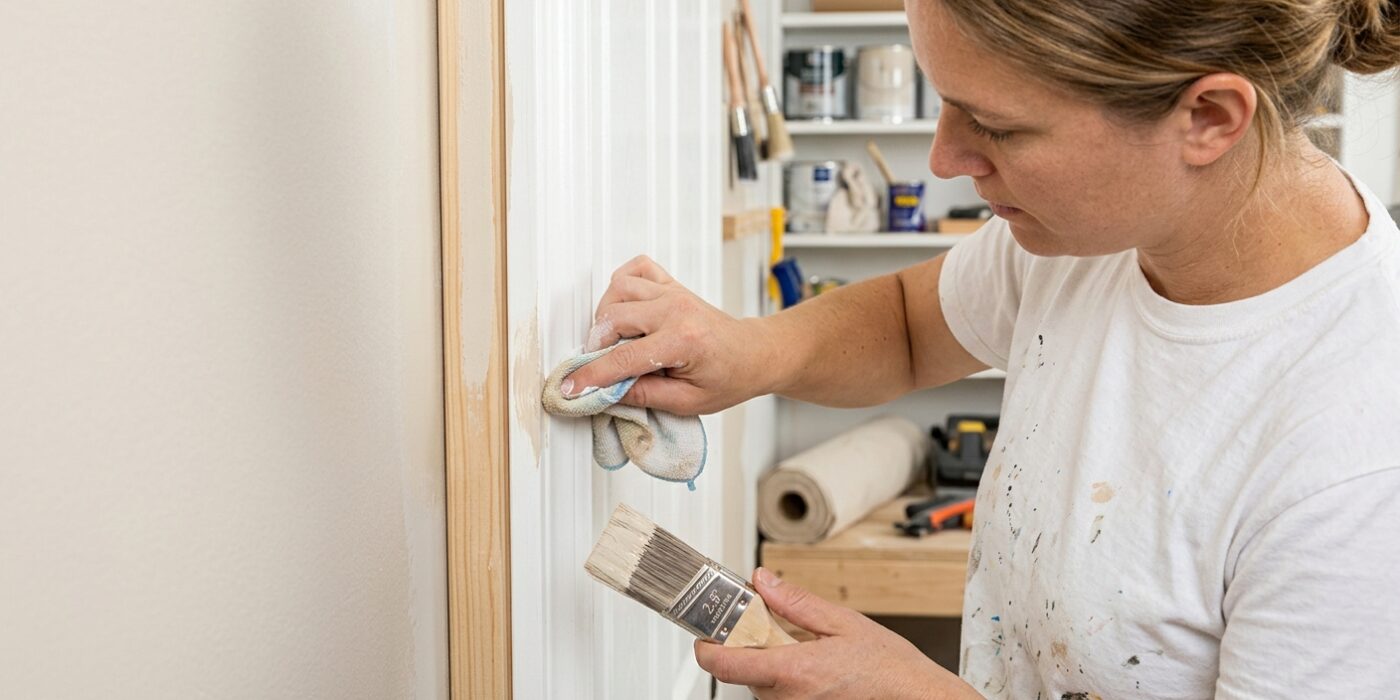
Even for the pros, mistakes are a part of the process. If you accidentally get a drop of paint on the ceiling, trim, or an adjacent wall, don’t panic. You have a small window of opportunity to fix it before the paint sets. Keep a clean, lint-free cloth dampened with water tucked into your back pocket or resting on your ladder tray at all times. If you spot a smudge, gently wipe the area using a single, soft motion. Avoid scrubbing, as this can force the pigment into the pores of the surface or smear the mistake further. Because water-based wall paint dries quickly, acting within the first minute or two ensures you can wipe the surface clean without leaving a trace.
Beginner Tip: A common mistake is using a soaking wet rag, which can cause drippy, diluted paint to run down your wall and create a bigger mess. Ensure your cloth is only damp – like a wrung-out sponge – so it absorbs excess paint rather than spreading it around.
Alternative Method: If you are nervous about using a cloth near delicate surfaces, keep a small, clean “dry” brush nearby. If you make a mistake, simply take the dry brush and lightly whisk the wet paint away from the ceiling or trim line. This picks up the excess paint without the risk of water drips.
Pro Tip: If you notice a tiny, dried mistake after you’ve already finished the room, don’t try to scrape it off. Instead, take a small artist’s brush and dab a tiny amount of the adjacent color over the spot. It is almost always easier to hide a mistake with a thin layer of touch-up paint than it is to remove the error itself.