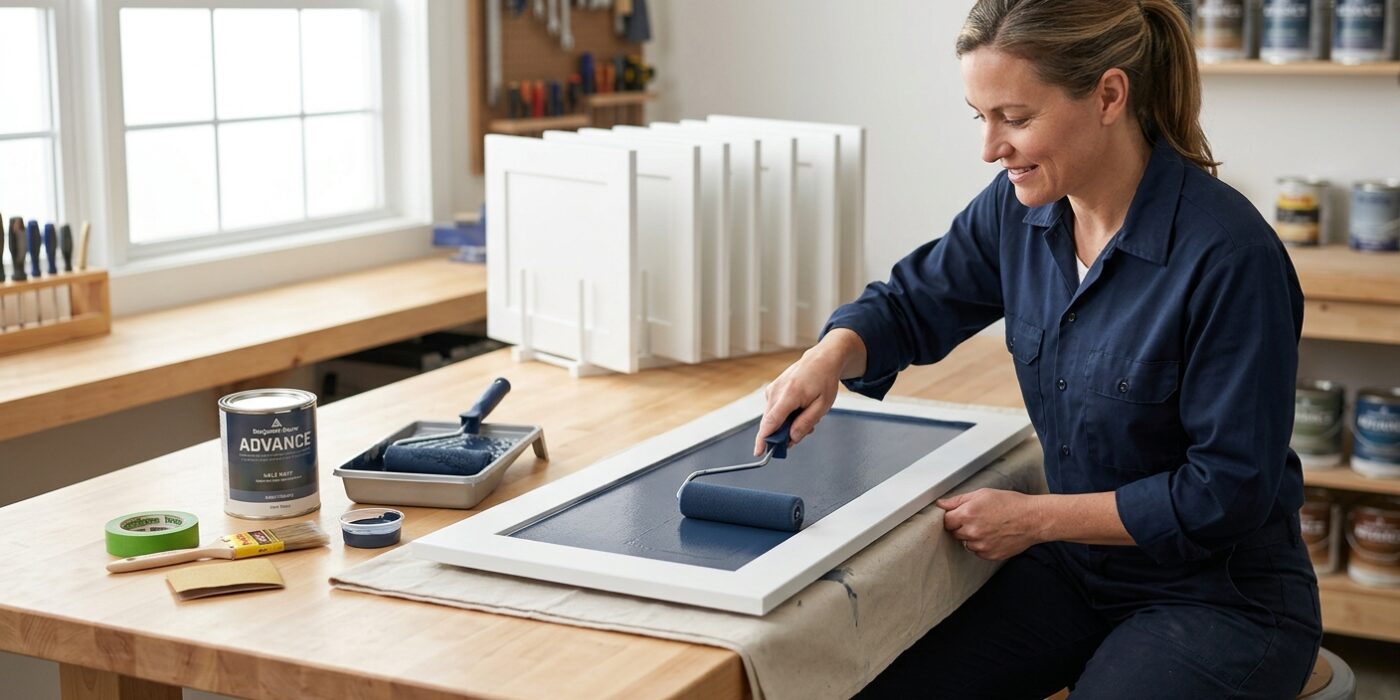
Project Shopping List
Painting kitchen cabinets is one of the most cost-effective renovations you can do – it can transform dated oak or maple boxes into a completely different-looking kitchen for $100–$200 in materials versus $5,000–$15,000 for new cabinets. But painted cabinets done poorly look worse than the originals and fail within 2–3 years. Done correctly with the right prep and materials, they last 10+ years and show zero brush marks. The difference is entirely in preparation, primer, and technique.
This guide gives you the complete process: degreasing, priming, sanding between coats, and applying a finish coat that flows out brush-mark-free. It’s an intermediate project primarily because of the number of steps required – each individual step is straightforward.
What You’ll Need
Tools
- Foam rollers (4-inch, 1/4-inch nap) and high-quality synthetic brushes (2.5-inch angled)
- Random orbital sander (or sanding blocks)
- Vacuum with brush attachment
- Paint sprayer (optional, for best finish – HVLP type)
- Drill or screwdriver for hardware removal
- Drop cloths and plastic sheeting
Materials
- TSP substitute or kitchen degreaser (Krud Kutter, Zinsser)
- 120-grit and 220-grit sandpaper
- Bonding primer – oil-based (Zinsser BIN, Cover Stain) or shellac-based for slick surfaces
- Cabinet paint – waterborne alkyd or alkyd enamel (Benjamin Moore Advance, Sherwin-Williams Emerald Urethane)
- Wood filler (for dings, screw holes)
- Painter’s tape
Step 1: Remove All Hardware and Cabinet Doors
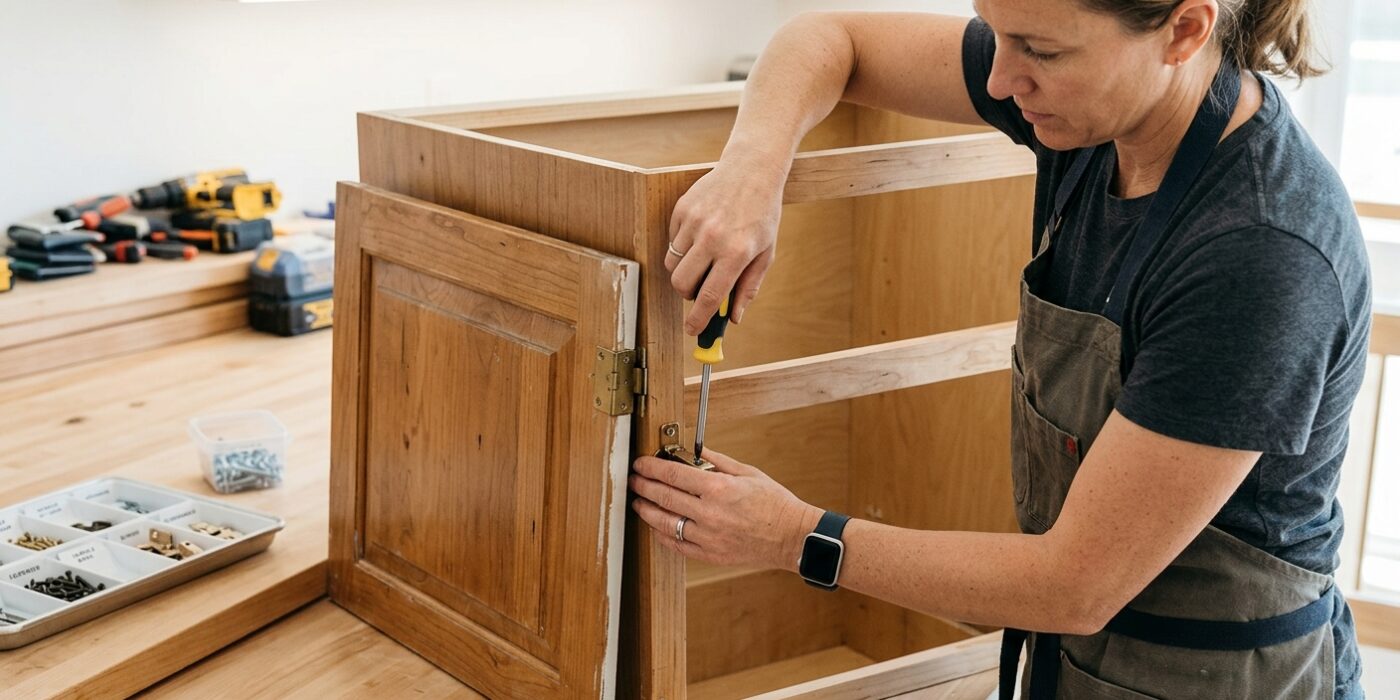
Before you begin, grab a handheld screwdriver – a manual one is actually safer for beginners than a power drill, as it prevents you from accidentally stripping the screw heads. Start by unscrewing the hinges from the cabinet frames, then carefully lift the doors away. It is essential to remove every door and drawer front rather than trying to paint them in place. Painting vertically causes gravity to pull the wet paint into unsightly drips and sags, and it often results in paint getting trapped inside the hinge mechanisms, which can make your cabinet doors stick or fail to close properly.
As you take each piece down, use a piece of painter’s tape to label the inside of the cabinet box and the corresponding edge of the door with a matching number (e.g., “1,” “2,” etc.). Because cabinets settle over time, each door is often custom-fit to its specific opening, so this labeling system ensures everything fits perfectly when you reassemble your kitchen.
Beginner Tip: Never mix up your screws. When you remove the hardware, place the screws directly into a small zip-lock bag and tape that bag to the back of the specific door it belongs to. If you put them all in one bowl, you might find that some screws are slightly longer than others, which can cause you to accidentally poke a hole through the front of your cabinet wood during reinstallation.
Pro Tip: Use a magnetic parts tray or a simple muffin tin to keep your hinges and screws organized while you work. Keeping them separated by door number will save you hours of frustration during the final assembly phase.
Step 2: Degrease Thoroughly
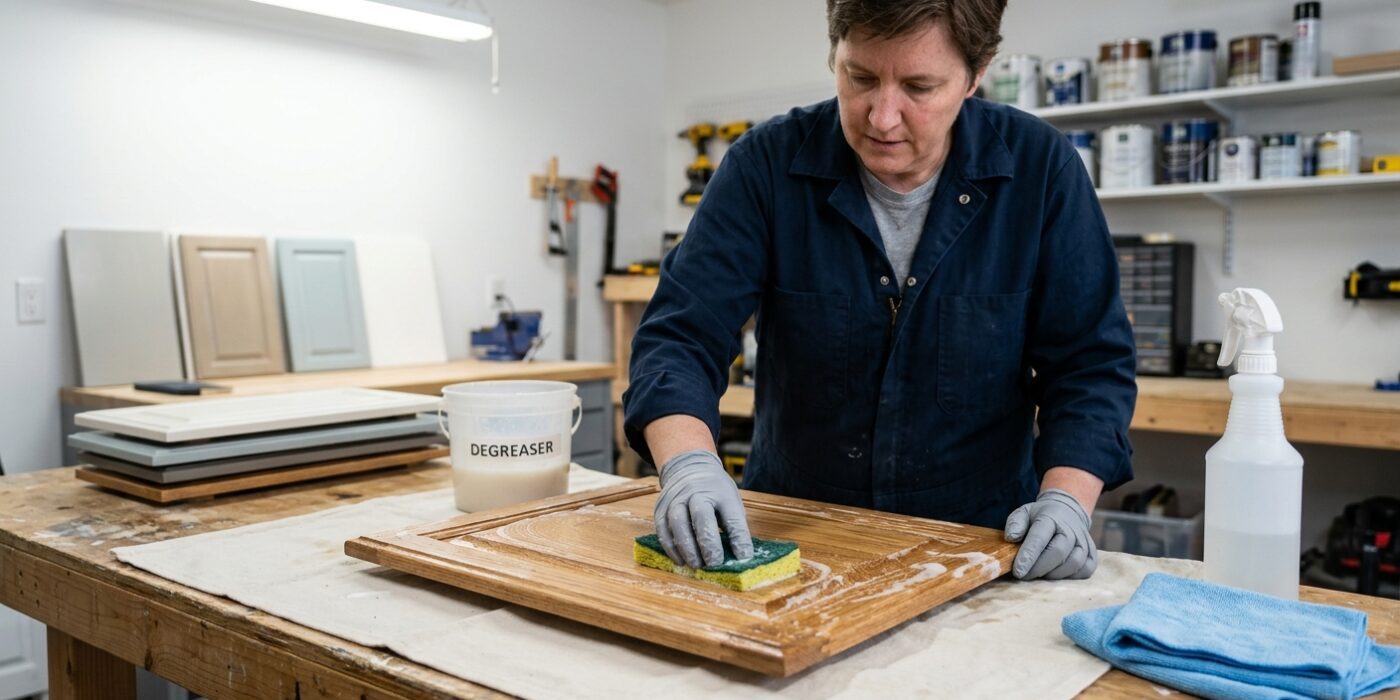
Before you even think about picking up a paintbrush, you must remove years of accumulated kitchen grease. Think of this step as the foundation of your project; if you paint over a thin layer of cooking oil, your new finish will eventually peel away like a sticker. To get started, mix a heavy-duty degreaser like TSP substitute or Krud Kutter with warm water according to the label instructions – usually about one cup of solution per gallon of water.
Use a non-scratch abrasive sponge to scrub every inch of your cabinet doors and frames. Work in circular motions, paying extra attention to areas near the stove where grease tends to pool. Once you have scrubbed a section, wipe it down immediately with a clean, damp rag to lift away the loosened grime. If the surface still feels tacky or sticky after it air-dries, repeat the process. Skipping this step is the fastest way to ruin your hard work, so ensure the wood feels completely clean and matte to the touch before moving on.
Beginner Tip: Avoid over-saturating your sponge. If water drips into the joints of the cabinet doors or sits on the surface, it can cause the wood to swell or the joints to loosen. Keep your sponge damp, not dripping wet, and always have a dry cloth ready to soak up any excess moisture immediately.
Pro Tip: Keep two buckets handy: one for your degreasing solution and one filled with plain, clean rinse water. By rinsing your sponge frequently in the plain water, you ensure you are actually removing the grease rather than just spreading it around the cabinet surface.
Step 3: Sand All Surfaces
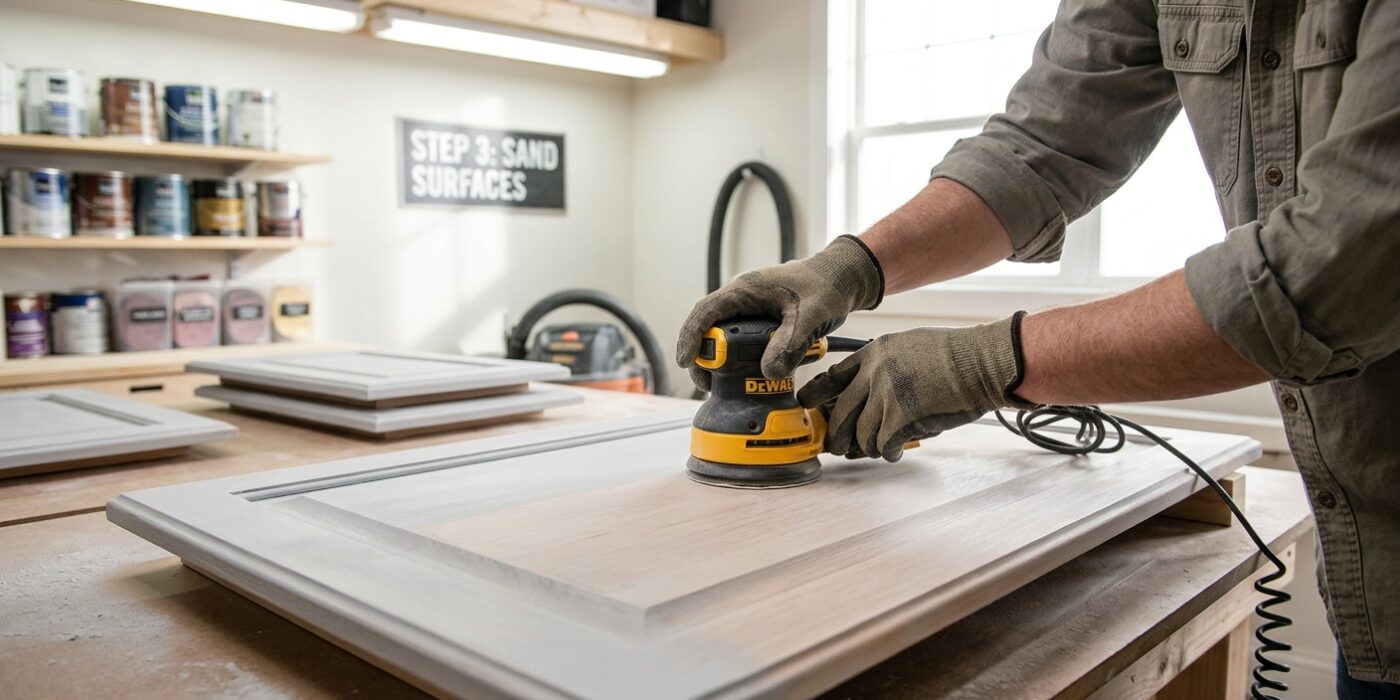
Now it is time to prep your surfaces. Use 120-grit sandpaper to scuff-sand all cabinet frames and doors. Your goal is not to strip away the original finish, but simply to create a “tooth” or tiny scratches that allow the primer to grip firmly. Think of it like scuffing the bottom of new shoes so you do not slip on a floor; you just want to take the shine off until the surface looks dull and matte. For flat, wide areas, use a random orbital sander moving in slow, steady overlapping lines. For doors with decorative grooves or raised panels, use a folded piece of sandpaper or a sanding sponge to work by hand, ensuring you reach every corner. Once finished, use a vacuum with a brush attachment to remove the bulk of the dust, then finish with a sticky tack cloth to grab the final microscopic particles. Skipping this cleaning step will lead to bumps in your paint finish.
Beginner Tip: Avoid pressing down hard with the sander. Let the machine do the work; applying too much pressure can create deep gouges or uneven spots that will show through your final coat of paint. Keep the sander moving constantly to ensure an even finish.
Pro Tip: To check if you have sanded enough, keep a strong flashlight nearby. Hold the light at a low angle across the surface; if you see any glossy spots reflecting the light, those areas still need a light scuffing before you move on to priming.
Step 4: Fill Imperfections and Re-Sand
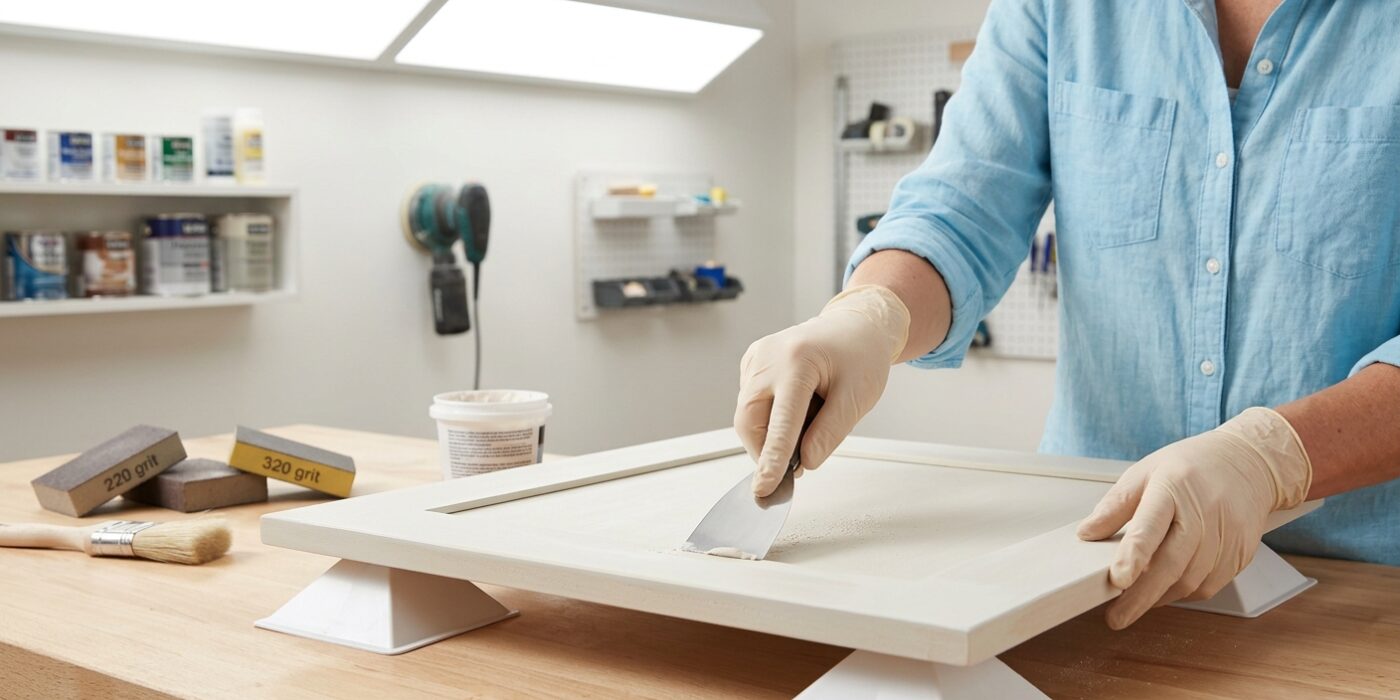
Now that your cabinets are clean, it is time to address any surface damage. Inspect your doors and frames for small dings, deep scratches, or holes left by old hardware. Using a small putty knife, press a high-quality wood filler into these areas. Aim to slightly overfill each hole, as filler tends to shrink as it dries. Once the filler is completely cured – check the product label for the exact wait time – use a sanding block with 120-grit sandpaper to sand the patches until they are perfectly flush with the wood. Finally, vacuum up the dust and use a tack cloth to remove any remaining particles. This step is crucial because paint is not a filler; if you can feel a dent with your finger, your paint will highlight it rather than hide it.
Beginner Tip: A common mistake is skipping the sanding step after filling. If you leave the dried filler bumpy or raised, your paint job will look uneven. Always run your bare hand over the area after sanding; if you can feel a transition between the filler and the wood, keep sanding until it feels completely smooth to the touch.
Pro Tip: When filling old hinge holes that you no longer need, push a wooden toothpick dipped in wood glue into the hole before adding the filler. This provides a solid “plug” for the filler to grab onto, ensuring the patch won’t crack or shrink over time, which creates a much more durable, seamless finish.
Step 5: Apply Bonding Primer
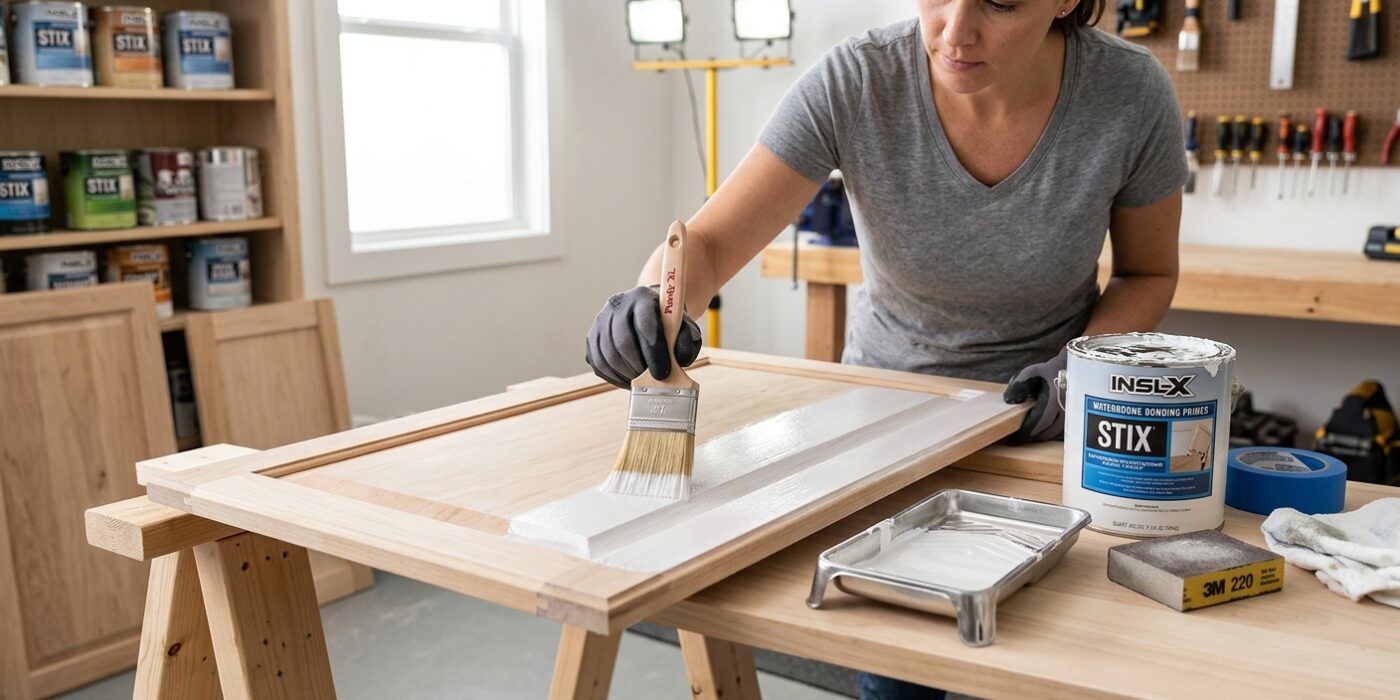
Now it is time to prime your cabinets. This is the most critical step for a professional finish. Because factory-finished cabinets are slick and non-porous, your topcoat paint will peel off if it doesn’t have a strong base to grip. Use a shellac-based primer like Zinsser BIN or an oil-based primer like Zinsser Cover Stain. Avoid general-purpose wall primers, as they will not bond to the cabinet material and will eventually chip.
Pour a small amount of primer into a paint tray and use a high-quality synthetic brush or a small foam roller to apply a thin, even layer. You do not need to hide the color of the cabinet completely; your goal is to create a “sticky” surface for the paint. If you see drips or heavy build-up in the corners, use the tip of your brush to smooth them out immediately. Allow the primer to dry completely according to the label instructions – shellac-based products often dry in as little as 45 minutes.
Beginner Tip: The most common mistake is applying the primer too thickly. It is much better to have a thin, slightly streaky coat than a thick one that creates uneven, bumpy ridges that you will have to sand down later. Always move your brush in long, steady strokes following the direction of the wood grain or the length of the cabinet door.
Pro Tip: Before you begin, wipe your cabinets down with a tack cloth or a damp, lint-free rag to remove every trace of sanding dust. Any tiny speck of dust left behind will be magnified by the primer, creating a rough texture that ruins that smooth, factory-look finish you are aiming for.
Step 6: Sand Primer and Apply First Paint Coat
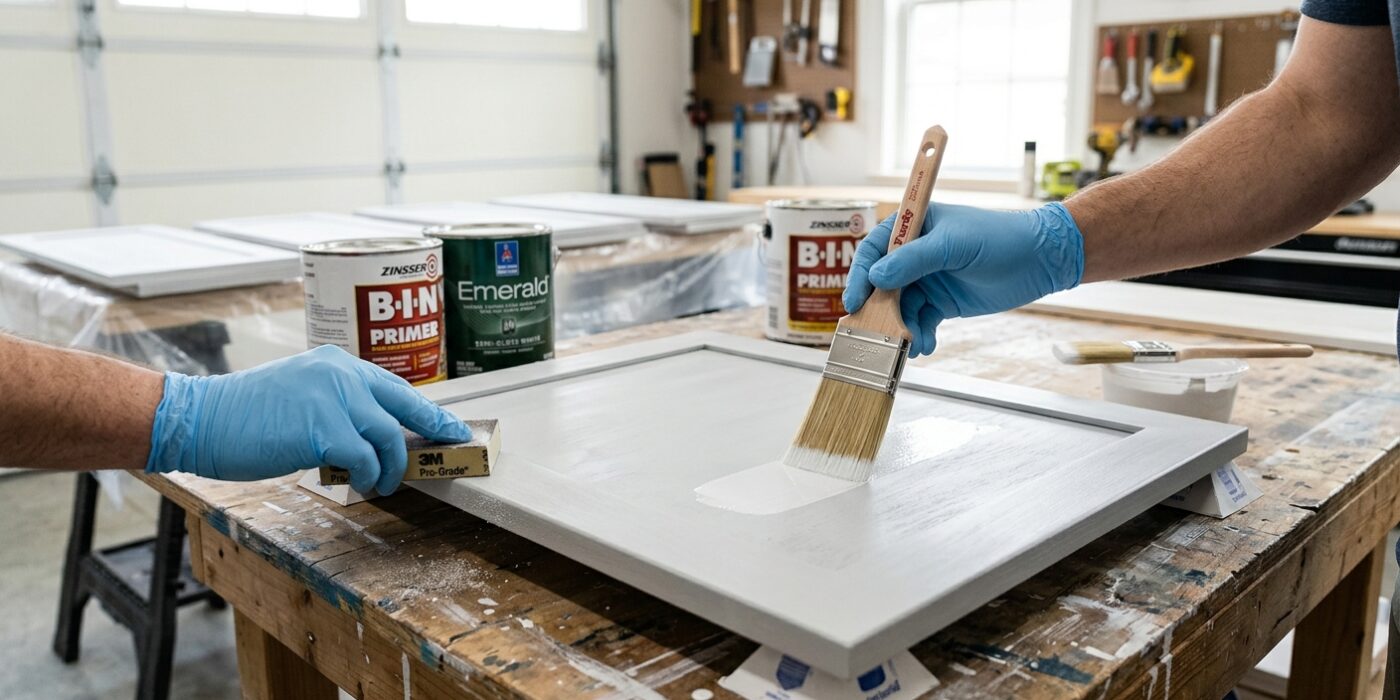
Now that your primer is bone-dry, it is time to create a glass-smooth foundation. Take a sheet of 220-grit sandpaper and fold it into a manageable square. Using light, circular pressure, gently sand the entire surface of your cabinet doors. You are not trying to remove the primer; you are simply “knocking down” any tiny dust nibs or raised wood grain to ensure a buttery-smooth feel. Once finished, use a vacuum with a soft brush attachment to remove the dust, then wipe everything down with a clean, damp tack cloth. If you skip this, those tiny bumps will be permanently locked under your paint finish.
When applying your first coat of cabinet-grade paint, use a high-density foam roller for flat panels to achieve a spray-like finish. Use a 2.5-inch synthetic-bristled brush for the crevices and raised edges. Because cabinet paint is thicker and designed to self-level, it stays wet longer. Apply the paint in long, steady strokes and resist the urge to keep “fixing” the area after a few minutes. Let the paint do the work of flattening itself out.
Beginner Tip: Avoid the “over-brushing” trap. Once you have laid down a section of paint, leave it alone. If you see a small ridge or bubble, let it level out on its own. Re-brushing paint that has already started to dry will create ugly, permanent drag marks.
Pro Tip: Add a small amount of an extender or conditioner to your paint. This slows down the drying time even further, giving you more window to smooth out your brush strokes for a professional, factory-quality appearance.
Step 7: Sand Between Coats and Apply Second Coat
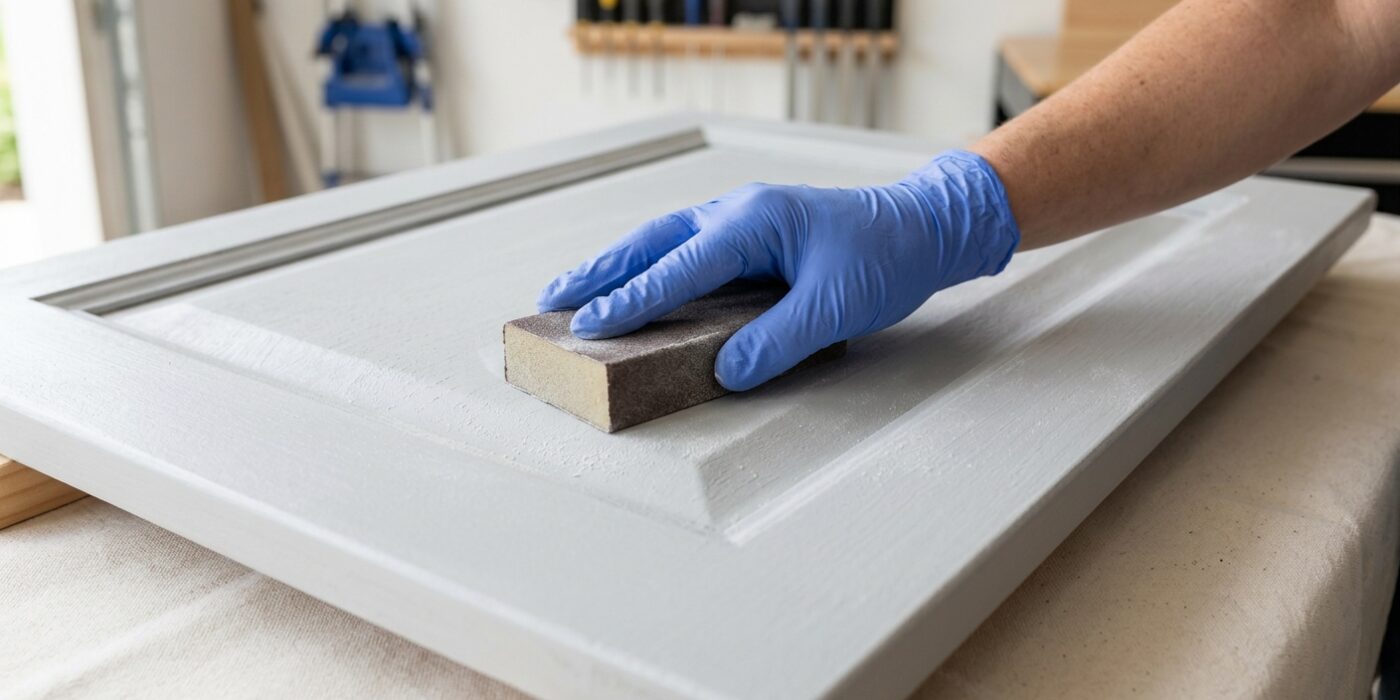
Once your first coat is completely dry, it is time for the finishing touches. Patience is your best tool here; wait at least 24 hours for waterborne alkyds or 8 hours for oil-based paints to ensure the surface is hard enough to sand. Take a piece of 220-grit sandpaper and gently glide it over the surface using light, circular motions. You aren’t trying to remove the paint, just “knock down” any tiny bumps or dust particles that landed while the paint was wet. After sanding, use a tack cloth or a slightly damp microfiber rag to wipe away all the fine white dust. Finally, apply your second coat using the same smooth, long strokes you used before. Applying two thin coats is much better than one thick one, as thin layers level out perfectly, whereas thick paint can pool, sag, or create unsightly drips.
Beginner Tip: Resist the urge to press hard while sanding. You only need the weight of your hand to smooth out imperfections. If you press too firmly, you might accidentally sand through the paint and expose the primer underneath, forcing you to touch up the spot.
Pro Tip: To get the most professional, glass-like finish, use a “light source trick.” Shine a flashlight at a very low angle across the cabinet door as you sand. This highlights every tiny imperfection or dust nib, allowing you to see exactly where you need to focus your sandpaper.
Step 8: Cure Before Reassembly
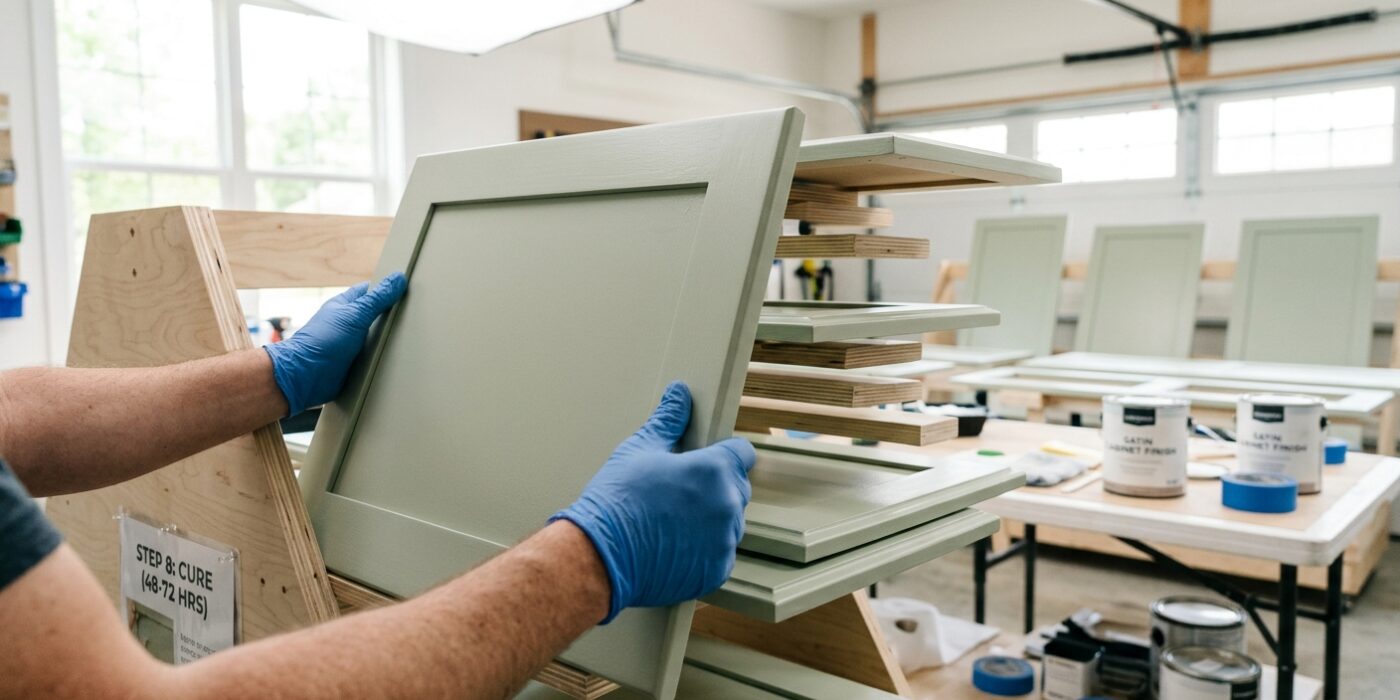
Even if your cabinets look perfectly dry, they are still quite fragile. Think of your fresh paint as being in two stages: “dry to the touch” and “fully cured.” While you can carefully reattach your doors and hardware after 48 to 72 hours, the paint is still technically soft underneath. It typically takes two to four weeks for the finish to harden into a durable, scratch-resistant enamel. During this period, treat your cabinets with extra kindness.
Avoid slamming doors, stacking heavy items against the sides, or aggressively scrubbing the surface. If you see a small smudge or dust particle, resist the urge to wipe it off with a damp cloth during these first few weeks, as the surface is still susceptible to picking up marks or marring.
Beginner Tip: The most common mistake beginners make is reattaching cabinet hardware, like handles or hinges, too quickly and tightening the screws with an electric drill. Use a manual screwdriver instead. Power tools can easily slip, spinning against your soft, fresh paint and causing deep scratches that are difficult to repair.
Pro Tip: To protect your work, place small, clear adhesive felt bumpers on the inside corners of your doors before reattaching them. These act as tiny shock absorbers that prevent the door from hitting the frame directly, saving your finish from chips and dents while the paint completes its final hardening process.