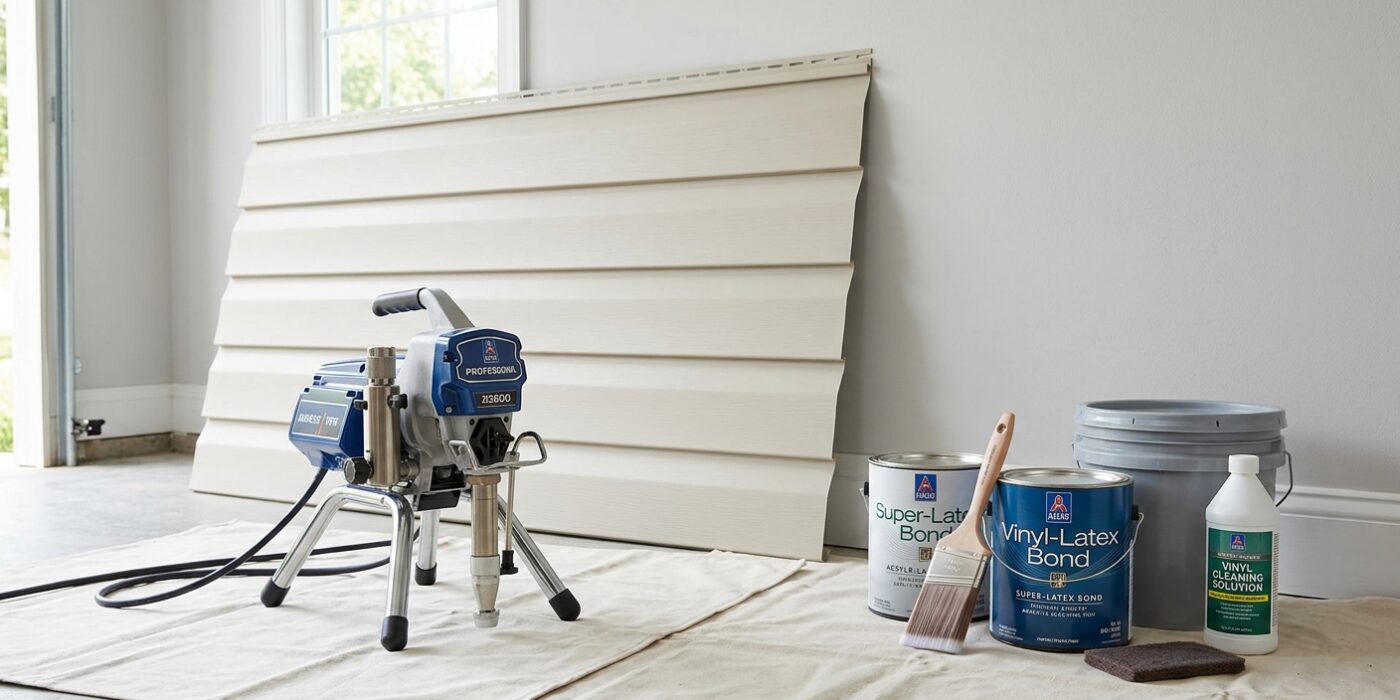
Project Shopping List
Vinyl siding holds paint – but only if you prep it correctly and choose the right product. Many homeowners who have tried painting vinyl siding ended up with peeling, bubbling, or color-faded results because they either used the wrong paint, skipped cleaning, or chose a color darker than the original and the siding warped from heat absorption. This guide explains how to do it right, including the single most important rule about color selection that most guides don’t mention.
Done correctly, painted vinyl siding looks fresh and clean, and properly bonding paint on vinyl can last 8 to 10 years before it needs refreshing.
What You’ll Need
Tools
- Power washer (1500 to 2500 PSI) or garden hose with strong spray nozzle
- Long-handled scrub brush
- Paint sprayer (airless, 0.015 to 0.017 tip) for large surfaces – or roller and brush for smaller areas
- Extension ladder and ladder standoffs
- Masking tape and plastic sheeting for windows, trim, and doors
- Caulk gun
Materials
- Vinyl siding cleaner or TSP substitute with mildewcide
- Exterior latex paint formulated for vinyl – must say “safe for vinyl” or “vinyl safe” on the label. Sherwin-Williams VinylSafe colors or Benjamin Moore’s vinyl-safe palette are specifically engineered for this.
- Paintable exterior caulk for gaps and cracks
- No primer needed if using vinyl-safe paint
Step-by-Step Instructions
Step 1: Understand the Color Rule
This is the most important step: never paint vinyl siding a color darker than the original. Vinyl expands and contracts with temperature. Dark colors absorb more solar energy than light colors – the same principle that makes a black car scorching in summer. Vinyl siding painted a significantly darker color than the original can warp, buckle, and pull away from the house because the additional heat absorption causes expansion the siding profile wasn’t designed to handle. When choosing your new color, use the original color as a guide and stay within that lightness range or go lighter, never significantly darker.
Step 2: Clean the Siding Thoroughly
Vinyl siding accumulates algae, mildew, chalk (from degraded paint on older siding), and airborne grime. Pressure wash the entire surface at 1500 to 2000 PSI – too high and you can drive water behind the siding. Work from top to bottom, holding the wand at a downward angle to prevent water intrusion. Follow with a scrub brush and vinyl siding cleaner with mildewcide for any visible green algae or black mildew streaks. Rinse thoroughly. The siding must be scrupulously clean – no chalking, no mildew, no dirt in the profile grooves.
Step 3: Allow Complete Drying
Vinyl siding must be completely dry before painting. Water trapped behind the siding or in the profile grooves can’t escape once painted and creates blistering. Allow 24 to 48 hours of dry weather after washing before painting. If rain is forecast, wait for a clear window of at least 2 to 3 days with temperatures between 50°F and 90°F.
Step 4: Caulk Gaps and Seal Penetrations
Inspect the siding for cracks in individual panels (especially at corners and around windows), gaps at j-channel seams, and any penetrations (electrical conduit, hose bibs, dryer vents) that aren’t fully sealed. Use a paintable exterior caulk – not silicone, which won’t accept paint – to seal all gaps. Silicone caulk applied in one spot and painted over shows as a visible non-paint area in the final job. Let caulk skin over (about 30 minutes) before painting over it.
Step 5: Mask Windows, Trim, and Foundation
Mask windows with plastic sheeting and painter’s tape – paint overspray from a sprayer covers glass quickly. Mask brick, stone, or painted wood trim if you’re not planning to repaint those surfaces. Cover foundation plantings with plastic. Tape the bottom of the wall where it meets the foundation to keep spray off the concrete.
Step 6: Apply Paint With a Sprayer
An airless sprayer is the professional standard for vinyl siding – it produces consistent coverage in the profile channels that rollers can’t reach, and covers large areas quickly. Use a 0.015 to 0.017 tip at 1800 to 2200 PSI. Hold the gun 12 to 15 inches from the surface and work in overlapping horizontal passes, following the siding panel direction. Back-roll or back-brush immediately after spraying each section (one person sprays, one follows with a roller or brush) to work paint into the channels and ensure even coverage.
Step 7: Brush-and-Roll Alternative for Small Areas
If you don’t have access to a sprayer, use a 3/8-inch nap roller on flat panel surfaces and a brush to work paint into the lap channels and profile edges. Roll horizontally following the siding panels, then use a 3-inch brush to work paint into the grooves and channels the roller can’t fully reach. This method is slower but completely effective on smaller areas like accent walls or siding sections.
Step 8: Apply Two Coats
One coat of paint on vinyl siding rarely provides sufficient coverage or durability. Apply two coats for full, uniform coverage. Let the first coat dry per the paint manufacturer’s instructions – typically 4 to 6 hours for exterior latex – before applying the second coat. The second coat is where the color becomes fully saturated and the finish becomes durable enough to withstand weather and UV exposure.
Pro Tips
- Paint in the shade when possible – direct sun dries the paint too quickly on vertical surfaces and causes lap marks and uneven sheen on large siding areas.
- On very chalky old vinyl siding, wipe a section with a damp dark cloth – if heavy white chalk transfers, use an exterior bonding primer before your topcoat even if using vinyl-safe paint.
- For a multi-story house, consider renting a boom lift for a half-day rather than constantly repositioning ladders – the time savings and safety improvement are both significant.
- Vinyl-safe paint is latex-based but formulated with a special binder package and low-VOC solvents that don’t attack the vinyl substrate the way some paints can.
- Touch up small areas immediately after noticing chips or gaps – vinyl siding paint that peels at one edge quickly lifts in a larger section from water intrusion behind the paint edge.
Frequently Asked Questions
Do I need to prime vinyl siding before painting?
With a quality vinyl-safe exterior paint, no primer is needed on clean, sound vinyl. Primer is required if: the vinyl is very chalky (old oxidized surface), there are areas where previous paint has peeled revealing bare vinyl, or you’re making a dramatic color change (lighter topcoats over dark originals). In those cases, a vinyl-compatible exterior primer improves adhesion and coverage.
How long will painted vinyl siding last?
With proper prep and quality vinyl-safe paint, expect 8 to 10 years before repainting is needed. The main failure modes are chalking, fading, and peeling at seams – all of which are delayed by proper surface prep and quality paint. UV-stable exterior paints fade less and maintain their sheen longer in sun-exposed areas.
Can I pressure wash painted vinyl siding?
Yes, carefully. Use a fan tip rather than a pinpoint tip, stay below 2000 PSI, and hold the wand at a slight downward angle. Direct high-pressure water under siding panels or at joints can drive water behind the siding and into the wall cavity. Pressure washing is fine for maintenance cleaning but should be done with care to avoid water intrusion.