Project Shopping List
Painting a bathroom is the one room where moisture prep and product selection make or break the job. A standard latex paint in a bathroom will begin peeling within 2–3 years – not because of bad technique but because the wrong product was chosen. The right bathroom paint, applied over properly cleaned and primed surfaces, will last 8–10 years even in a high-use, high-humidity bathroom.
This guide covers the complete process: surface prep for a high-moisture environment, choosing the right products, painting walls and ceilings correctly, and finishing the cut lines around tile and fixtures.
What You’ll Need
Tools
- Paint roller with 3/8-inch nap covers (for walls) and 1/4-inch nap (for ceilings)
- 2.5-inch angled sash brush for cutting in
- Random orbital sander or sanding sponge
- Vacuum
- Drop cloths
- Painter’s tape
Materials
- Bathroom-specific paint with mildewcide (Benjamin Moore Aura Bath and Spa, Sherwin-Williams Emerald Interior, or similar labeled “bathroom” or “high humidity”)
- Moisture-resistant primer (Zinsser Mold Killing Primer or similar)
- TSP substitute or bathroom cleaner
- 150-grit sandpaper
- Caulk (paintable, for gaps at trim lines)
Step 1: Prep the Surface – Cleaning is Everything
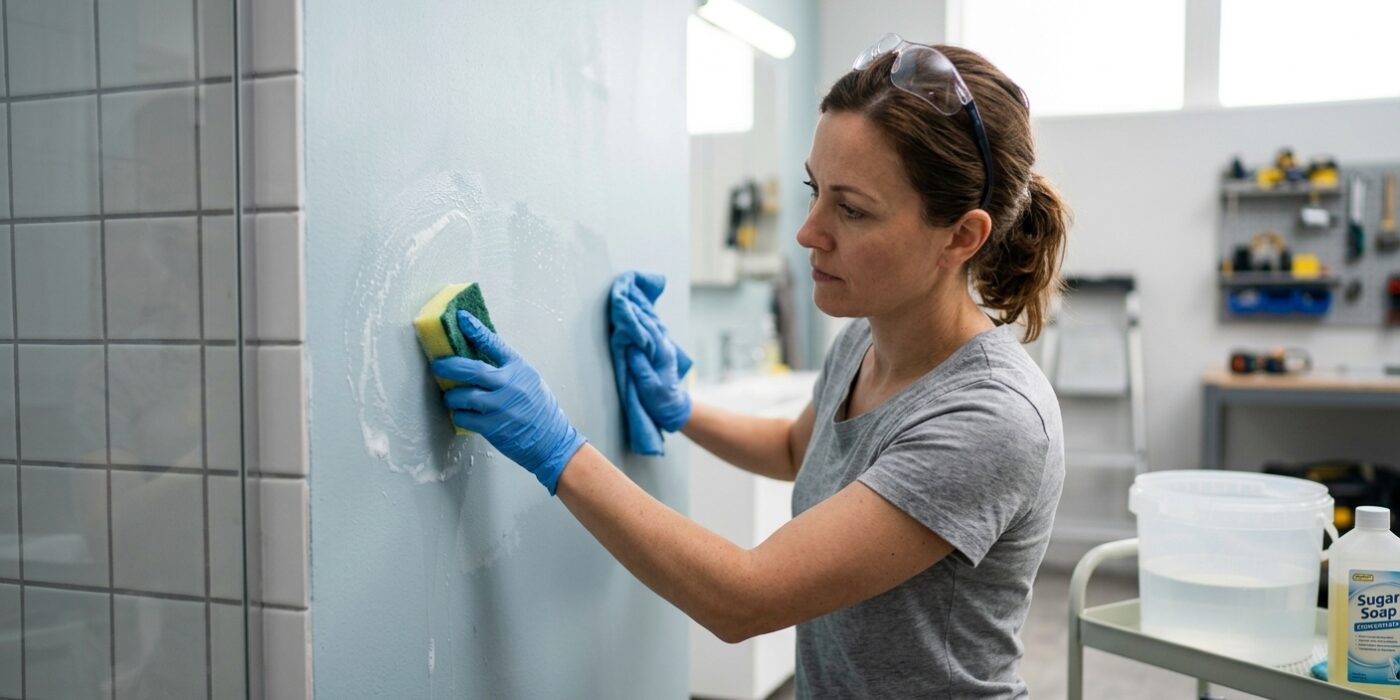
Before you even open a can of paint, you must create a perfectly clean foundation. Bathroom walls are magnets for invisible soap scum, body oils, and steam-borne grime. If you paint over these, the new finish will peel off like a sticker in just a few months. Start by mixing a TSP substitute according to the label directions – usually about half a cup per gallon of warm water. Using a large sponge or a microfiber cloth, wipe down every inch of your walls, ceiling, and trim. Focus extra energy on the areas immediately surrounding the shower, toilet, and sink, as these spots accumulate the thickest oily film. Once scrubbed, wipe everything down a second time with a fresh cloth dampened only with clean water to remove any soapy residue. Finally, let the room dry completely for at least 24 hours. Keep your exhaust fan running continuously and crack a window to ensure no hidden moisture remains trapped in the drywall.
Beginner Tip: Don’t try to speed up the drying process with a hairdryer or space heater. Rapid, uneven drying can cause the drywall compound under your paint to crack or bubble. Patience is your best tool here.
Pro Tip: To check if your walls are truly clean, run your hand over a section near the shower. If it feels smooth and “squeaky” like a clean plate, you are ready to paint. If it feels slightly waxy or tacky, give it another quick scrub with the cleaning solution.
Step 2: Treat Any Visible Mold
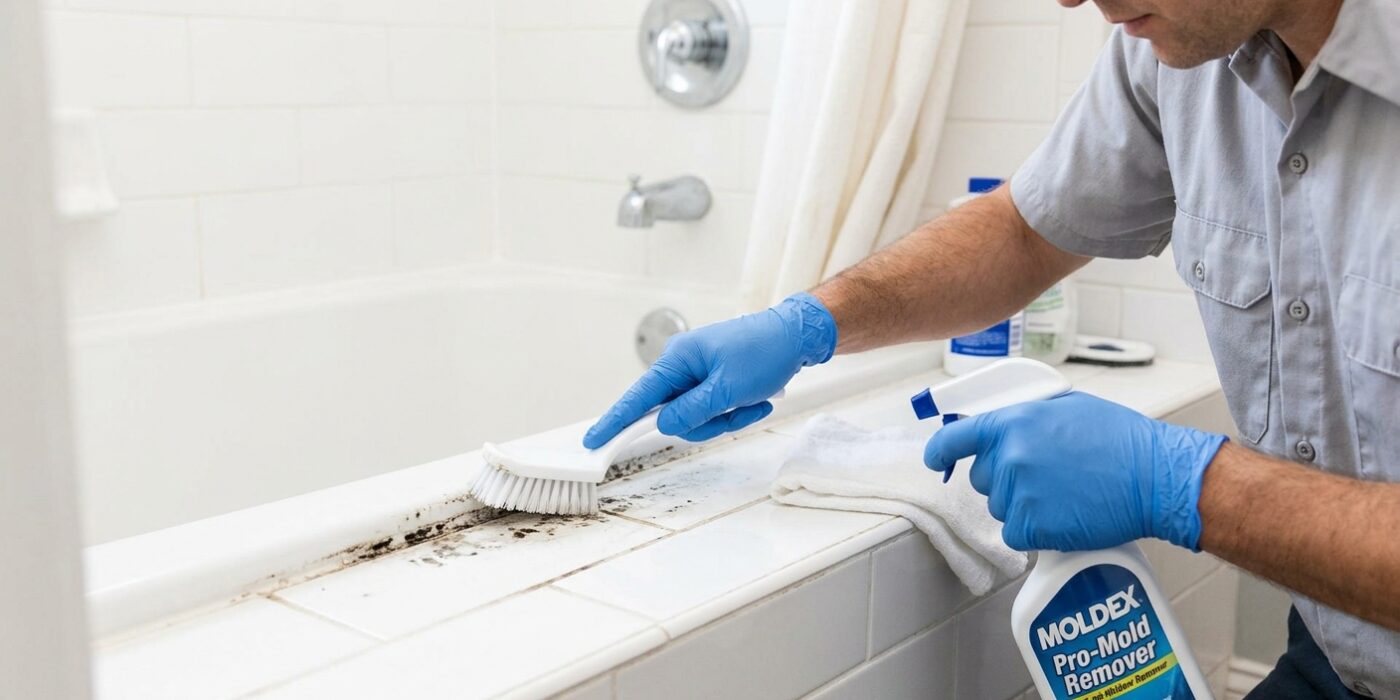
Before you even think about picking up a paintbrush, you must address any mold lurking on your bathroom walls. Bathrooms are damp environments, and if you paint over existing mold, the spores will continue to grow, eventually bubbling up through your fresh, beautiful paint job. If you spot black, green, or fuzzy patches, it is essential to kill them first.
Mix a solution of one cup of household bleach with one gallon of water in a bucket. Wearing rubber gloves to protect your skin, dip a clean sponge into the mixture and gently wipe the affected areas. You don’t need to scrub aggressively; just ensure the surface is thoroughly dampened. Let the solution sit for about 10 minutes to penetrate and neutralize the mold. Afterward, wipe the area down with a fresh sponge dipped in clean water to remove any bleach residue, then allow the wall to air-dry completely for several hours.
Beginner Tip: Never mix bleach with other household cleaners, especially ammonia or vinegar, as this creates dangerous, toxic fumes. Stick strictly to bleach and water only, and make sure your bathroom fan is running or a window is open while you work.
Pro Tip: Before you begin, use a small hand mirror to check the ceilings and corners behind the toilet or vanity. Mold loves to hide in these dark, hard-to-see spots, and catching it now ensures your hard work lasts for years to come.
Step 3: Sand and Repair
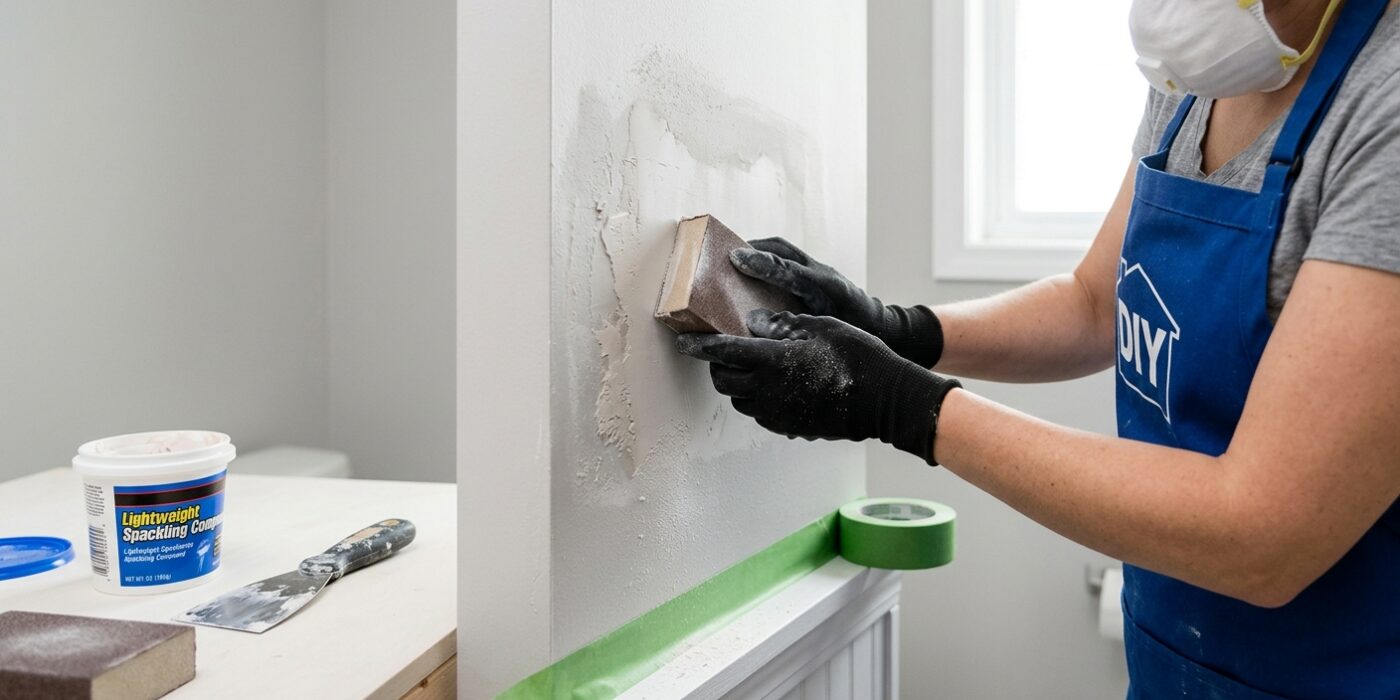
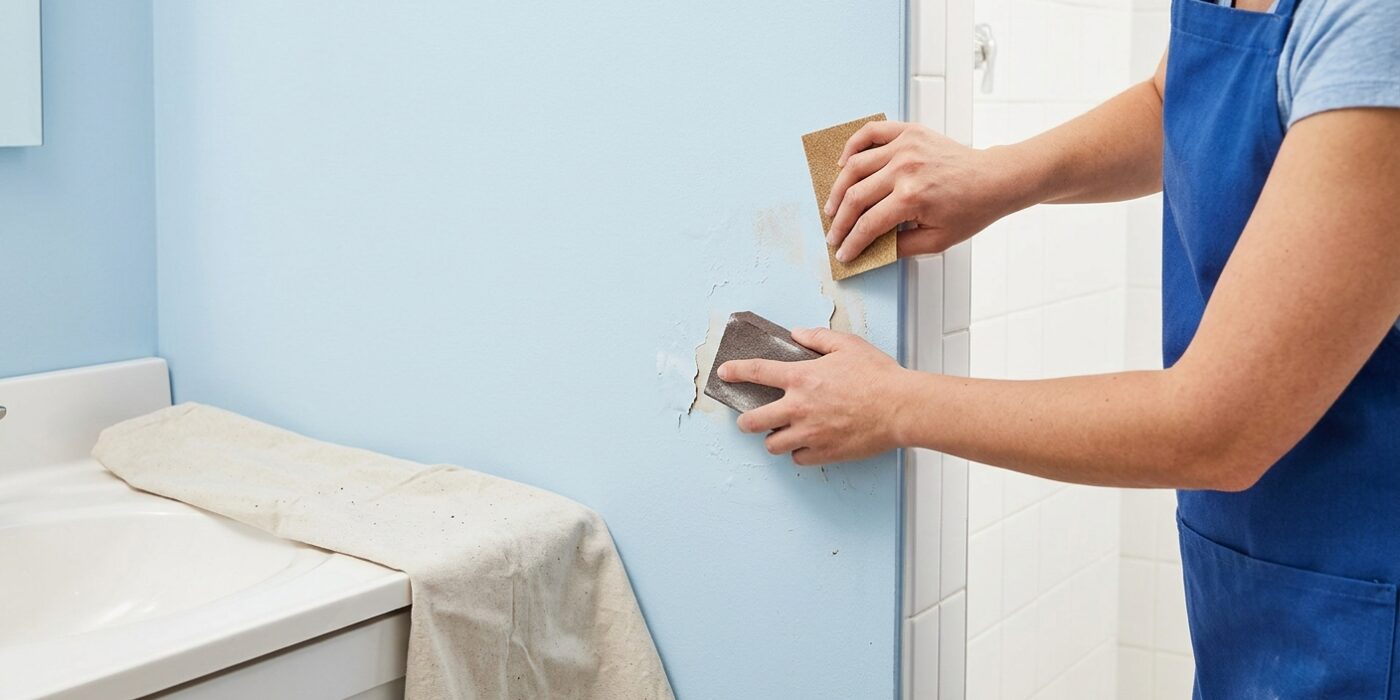
Before you open your paint can, we need to create a smooth, clean canvas. First, take a piece of 150-grit sandpaper and lightly rub your walls. You aren’t trying to remove the existing paint; you are just “scuffing” the surface to remove any shine. This creates tiny microscopic scratches that act like a velcro grip for your new primer and paint. If you skip this, your fresh coat might peel off in damp bathroom conditions.
Next, inspect your walls for holes or cracks. Use a small putty knife to press a dime-sized amount of spackling compound into the damage. Swipe it level and let it dry until it turns white. Once dry, sand it lightly until it feels flush with the wall. Finally, check your trim and tile edges. Apply a thin bead of moisture-resistant bathroom caulk to any gaps. Smooth the bead with a dampened finger, keeping a 45-degree angle to the wall for a crisp, professional finish that prevents water from seeping behind your fixtures.
Beginner Tip: Avoid over-sanding your drywall. If you press too hard, you might tear the paper layer of the drywall, which is difficult to fix. Use light, circular motions and check your progress frequently.
Pro Tip: To get a perfect, mess-free caulk line, apply a strip of painter’s tape to the wall and the trim before applying the caulk. Once you smooth the bead with your finger, peel the tape off immediately while the caulk is still wet to reveal a perfectly sharp line.
Step 4: Prime with Moisture-Resistant Primer
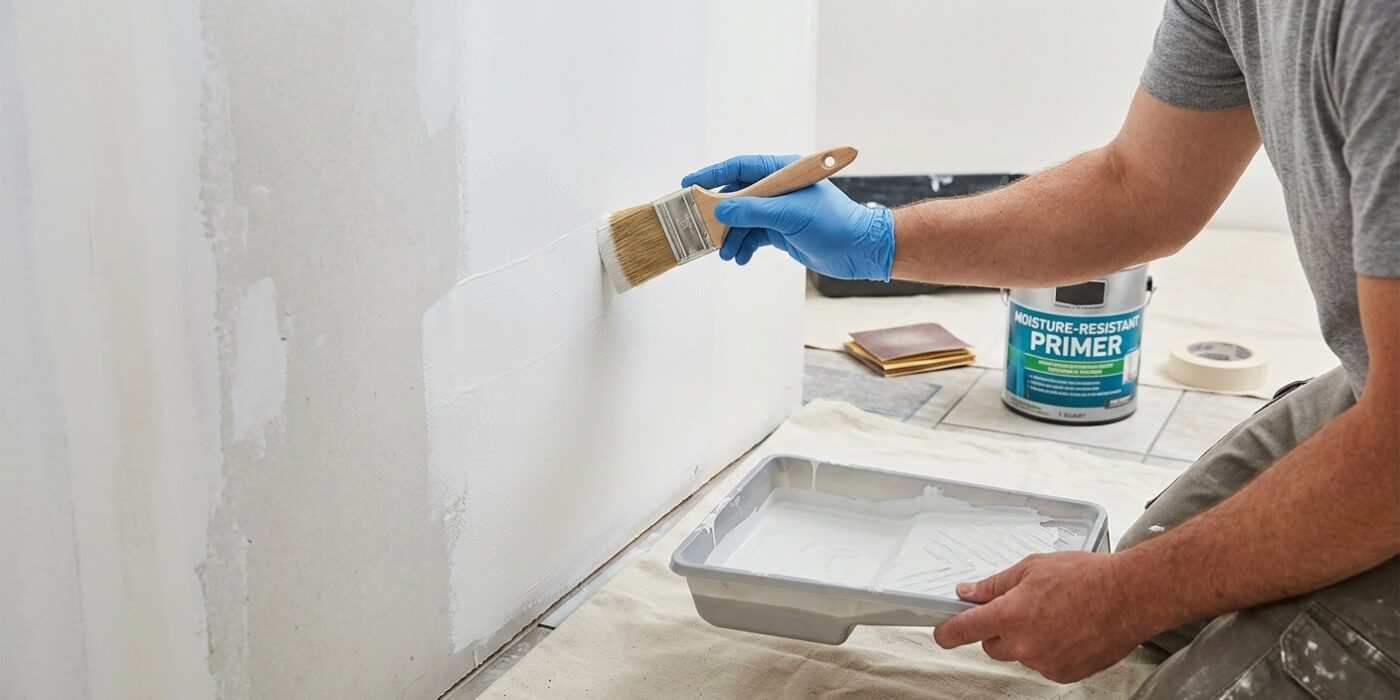
Now that your walls are clean and dry, it is time to prime. Using a primer formulated for high-humidity areas – such as Zinsser Mold Killing Primer or KILZ Premium – is the secret to a bathroom paint job that won’t peel or mildew after a few hot showers. Think of primer as double-sided tape; it seals the surface, hides old stains, and ensures your topcoat grips the wall permanently.
Pour a small amount of primer into your tray. Using a 2-inch angled brush, “cut in” around the edges of the ceiling, corners, and baseboards where your roller cannot reach. Once the edges are done, use your roller to fill in the larger wall areas using a “W” pattern to distribute the paint evenly without leaving heavy lines. Aim for one consistent coat across every surface. If you see stubborn dark spots or previous mold areas, touch them up with a second coat of primer once the first is dry to the touch, usually in about an hour.
Beginner Tip: Don’t overload your roller. A common mistake is dipping the roller so deeply that it drips. You want your roller to be damp and fully covered, but not dripping like a sponge. Roll it back and forth on the textured side of the tray until it sounds like bacon frying – that means it is perfectly loaded.
Pro Tip: To avoid the hassle of washing brushes between coats, wrap your wet brush tightly in a plastic grocery bag and place it in the refrigerator. This keeps the primer moist and ready to use for your second coat or even your final paint application the next day.
Step 5: Paint the Ceiling First
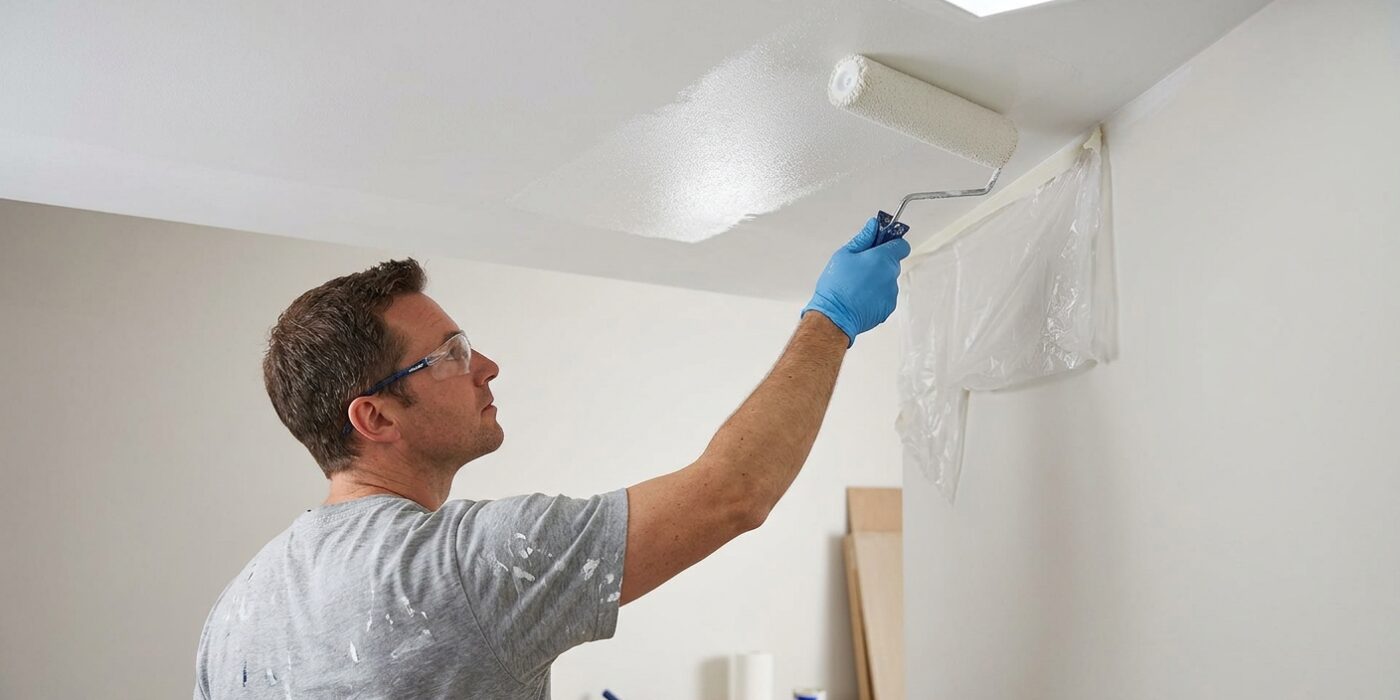
Always paint the ceiling before moving on to the walls. Gravity is your biggest enemy when painting, and painting the ceiling first allows you to easily wipe away any accidental drips or splatters that fall onto your unpainted walls. Start by choosing a paint specifically formulated for bathrooms; these are designed to resist mildew and moisture. For the ceiling, look for a “flat” sheen. While moisture-resistant, the flat finish helps hide small imperfections or textured drywall that glossy paints would otherwise highlight.
Begin by using an angled sash brush to “cut in” – carefully painting a two-inch strip along the perimeter where the ceiling meets the wall. Once the edges are outlined, use a roller with a 1/4-inch nap. This shorter nap is perfect for smooth ceilings because it holds less paint, which prevents excessive dripping. Work in small, three-foot sections, rolling in a “W” pattern to ensure even coverage without leaving visible track lines.
Beginner Tip: Avoid the urge to over-work the paint. If you go over the same spot repeatedly as it begins to dry, you will create “stippling” or rough patches. Get the paint on the ceiling, smooth it out with one or two passes, and then move on to the next section immediately.
Pro Tip: To avoid neck strain, attach your roller frame to an adjustable extension pole. This allows you to keep your feet planted firmly on the floor rather than constantly climbing up and down a ladder, making your work significantly faster, safer, and more consistent.
Step 6: Paint the Walls
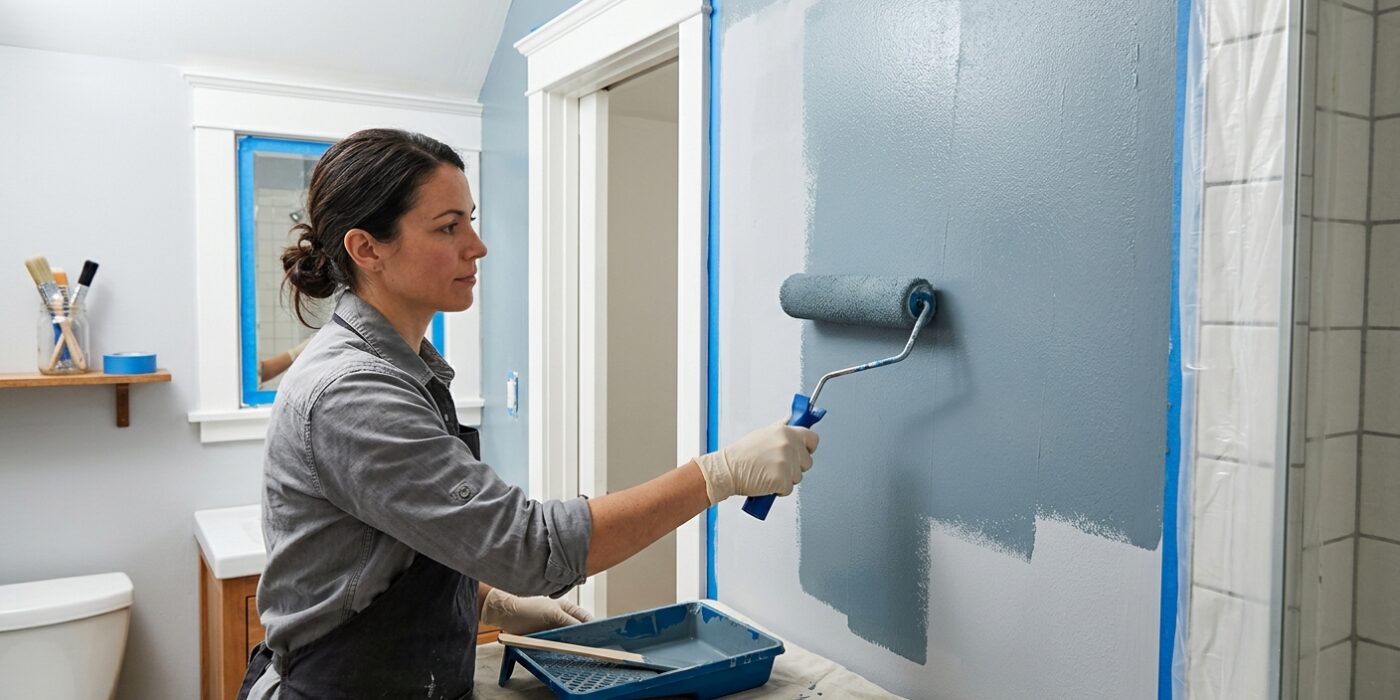
Now it is time to bring your bathroom to life! For bathroom walls, always choose a satin or semi-gloss finish. These sheens act like a raincoat for your walls, repelling moisture and allowing you to wipe away splashes easily, whereas matte paints can trap humidity and mildew.
Start by “cutting in,” which means using your angled brush to paint a two-inch border around the ceiling line, corners, door frames, and fixtures. Don’t worry about being perfect; just focus on getting the paint right up to the edge. Once the edges are done, use your roller to fill in the main wall space. Work in three-foot by three-foot sections, moving the roller in a large “W” or “M” pattern to ensure even coverage. Always overlap your strokes while the paint is still wet to avoid visible lines. Wait two to four hours for the first coat to dry completely before applying the second. This final layer is essential for blocking moisture and achieving that rich, professional color.
Beginner Tip: Avoid the urge to overwork your paint. If you see a spot you missed, let it dry rather than trying to touch it up while it is tacky, as this can pull the paint off the wall and create a textured, uneven surface.
Pro Tip: To keep your brush and roller fresh during the drying time between coats, wrap them tightly in a plastic grocery bag or plastic wrap. This prevents the paint from drying on the bristles, so you can pick up exactly where you left off without cleaning your tools twice.
Step 7: Final Details
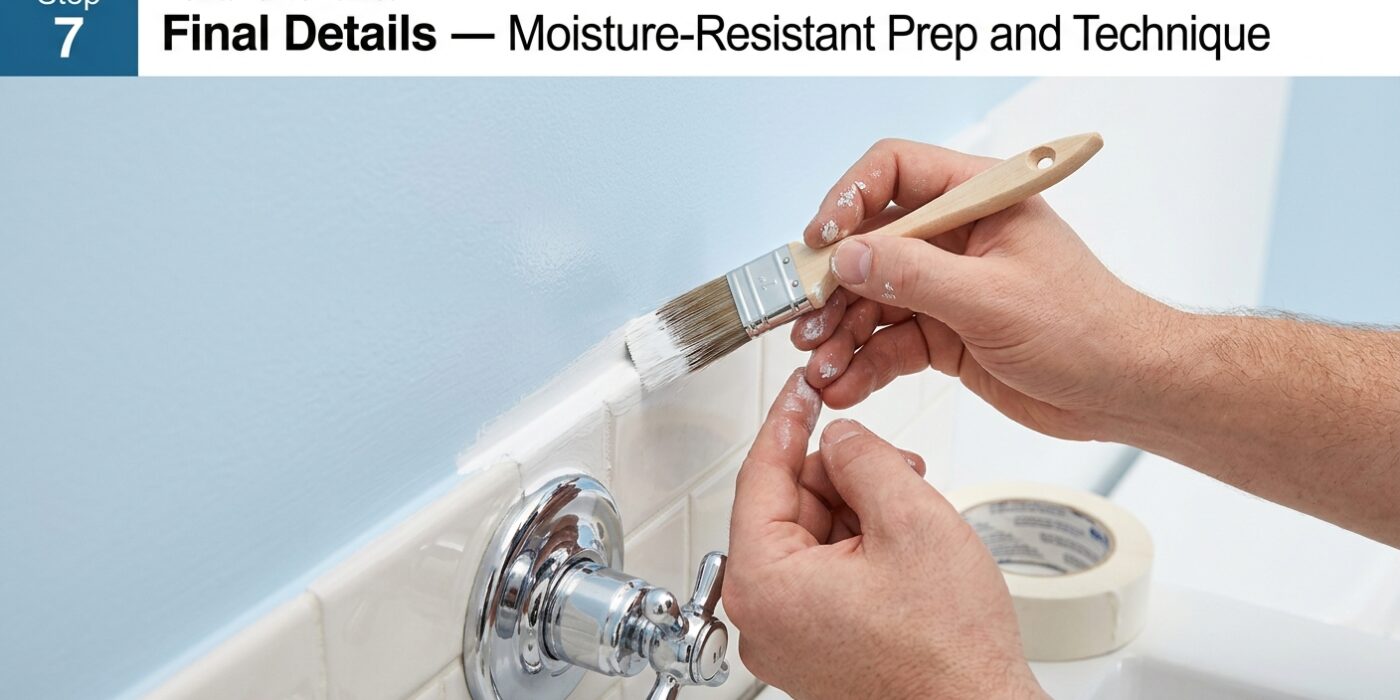
Now that your final coat is applied, it is time for the finishing touches. Remove the painter’s tape while the paint is still slightly damp to the touch. Pull the tape back slowly at a 45-degree angle; this ensures the paint edge stays clean and crisp rather than tearing or peeling away with the tape. If you discover any small spots where the paint bled underneath, wait for the wall to dry completely, then use a tiny artist’s brush to dab a little extra paint onto those specific spots for a seamless finish.
Beginner Tip: Resist the urge to hang your towel racks or shower curtains immediately. Even if the walls feel dry, the paint needs time to cure – a process where it hardens to its final strength. Wait at least 48 to 72 hours before using the shower or scrubbing the walls. Rushing this can lead to soft spots that are easily scratched or scuffed during your first post-painting clean.
Pro Tip: Moisture is the enemy of fresh paint. To speed up the hardening process, keep your bathroom exhaust fan running continuously for the first 24 hours. If your bathroom lacks a window or a powerful fan, place a small portable desk fan on the floor pointing toward the walls to promote airflow. Proper ventilation pulls humidity away from the surface, ensuring your moisture-resistant coating dries perfectly and locks out mold from day one.