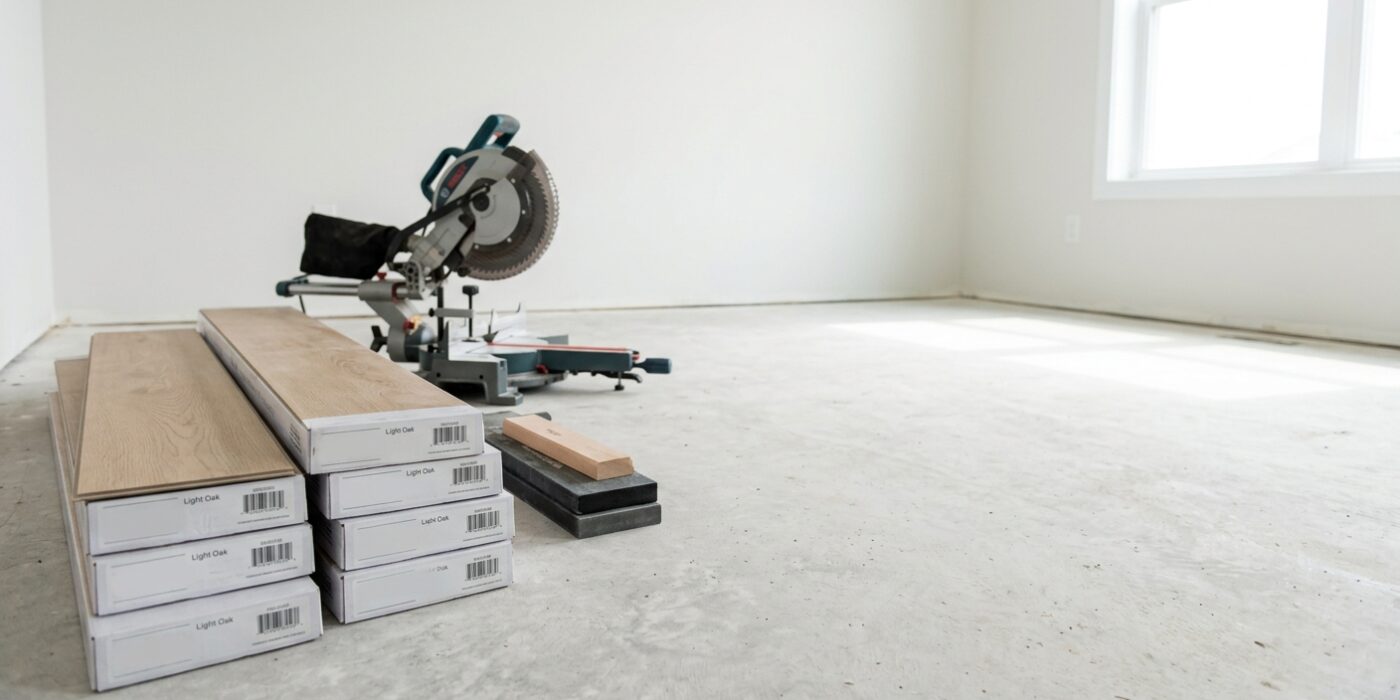
Project Shopping List
Luxury Vinyl Plank – LVP – has become the most popular flooring choice for DIYers in the last decade, and for good reason. It’s waterproof, dimensionally stable, comfortable underfoot, and clicks together without glue or nails. A competent DIYer with basic tools can float an entire room in a day. The most common mistakes – crooked rows, gaps at walls, clicking errors – are all preventable with proper planning and a few key techniques.
This guide walks through an entire room installation from subfloor inspection through the final cut row and transitions, with specific explanations of why each step matters and how to avoid the errors that require pulling up and redoing finished sections.
What You’ll Need
Tools
- Tape measure and chalk line
- Miter saw or circular saw with fine-tooth blade
- Jigsaw for notching around door frames and obstacles
- Pull bar and rubber mallet for tapping rows tight
- Tapping block (usually included in LVP packages)
- Spacers (1/4-inch) for maintaining expansion gap
- Utility knife with fresh blades for straight cuts on thin planks
- Knee pads
Materials
- LVP flooring (calculate square footage plus 10% waste factor)
- Underlayment (if not pre-attached to planks – check your product)
- Transition strips (T-molding, reducer, end cap) for doorways
- Baseboards or quarter-round to cover expansion gaps
Step-by-Step Instructions
Step 1: Inspect and Prepare the Subfloor
LVP flooring can float over concrete, plywood, OSB, and existing hard flooring (tile, hardwood) – but the subfloor must be flat within 3/16 inch over 10 feet and fully free of moisture issues. Check with a long straightedge or 6-foot level and mark any high spots with a pencil. Grind down high spots with a floor grinder or belt sander. Fill low spots with floor-leveling compound. Any lump or hollow in the subfloor will telegraph through LVP and cause the locking joints to stress and eventually open. This is the prep step most people rush and regret later.
Step 2: Acclimate the Flooring
LVP is dimensionally stable, but it still benefits from acclimation in the room where it will be installed. Leave the unopened boxes in the room for 24 to 48 hours at normal living temperature (65°F to 85°F) before installation. This is especially important if the planks are coming from a cold storage area – cold LVP can be slightly stiffer and harder to click together, and it may change dimension slightly when it warms to room temperature.
Step 3: Plan Your Layout
The most important layout decision is which wall to start from. Start from the wall that’s most visible when you enter the room – usually the wall opposite the entry door. Measure the room width and calculate how wide the last row will be: if the math leaves a last row narrower than 2 inches, shift your starting position by half a plank width so both the first and last rows are roughly equal and at least 2 inches wide. Narrow slivers at walls look cheap and are structurally weaker. Snap a chalk line parallel to your starting wall as a straight reference line.
Step 4: Install the First Row
Place 1/4-inch spacers against the starting wall. Lay the first row of planks with the tongue side facing the room (the groove side faces the wall) – this allows subsequent rows to click in from above and beside. Keep the chalk line as your straight guide – even small deviations from straight in the first row compound into crooked rows by mid-room. Click planks end-to-end in the first row, using the rubber mallet and tapping block to fully close the end joints. All end joints should be completely flush – no lips or steps. Check that the first row is perfectly straight before proceeding.
Step 5: Stagger End Joints Properly
End joints between rows must be staggered by at least 6 inches – most manufacturers require 8 to 12 inches minimum stagger. A pattern where all end joints line up in one column creates a weak spot that’s also visually obvious and looks unprofessional. Start every other row with a cut piece from the previous row’s end cut – this naturally creates stagger and reduces waste.
Step 6: Click Rows Together
For most LVP systems, click the long edge of a new row into the previous row at an angle (about 20 degrees), then lower it flat – you’ll hear a distinct click when the joint engages. On wider planks, use the tapping block along the long edge to ensure the joint is fully closed across the entire length – even a hairline gap means the joint isn’t fully locked. End joints are closed by using the pull bar hooked into the groove end and tapping the plank forward with the rubber mallet. Don’t use a regular hammer directly on the planks – you’ll damage the locking profile.
Step 7: Cut Around Door Frames and Obstacles
For door casings, undercut the casing with a flush-cut saw or oscillating tool at the height of your LVP plus underlayment – this lets the plank slide under the casing for a clean look rather than requiring a visible transition piece. Use a jigsaw to notch planks around door frames, columns, and other obstacles. Make a template from cardboard for complex shapes before cutting the actual plank. Measure twice; LVP is forgiving in that you can usually re-cut if you overshoot, but it’s slower.
Step 8: Install the Final Row
The final row almost always needs to be ripped to width. Measure the gap at multiple points along the wall (walls are rarely perfectly parallel) and cut each plank individually if the width varies. Use a pull bar to slide the final row into place – you won’t have room to angle and click it normally. The pull bar hooks the groove end so you can tap the row tight to the previous row with a mallet.
Step 9: Install Transitions and Baseboards
Remove the spacers. Install T-molding transitions in doorways where LVP meets other flooring. Install reducer strips where LVP meets a lower floor surface. Re-install or install new baseboards or quarter-round over the expansion gap at the walls. Never nail through the flooring – only nail the baseboard to the wall. The flooring must be free to expand and contract beneath the baseboard.
Pro Tips
- Open multiple boxes and mix planks from different boxes as you install – LVP can have slight shade variations between boxes and mixing avoids streaks or patches of different tone.
- For the last row, use a scrap piece of LVP as a scribing tool to transfer irregular wall profiles onto the plank – press the scrap against the wall and run a pencil along it to mark the exact cut line on the final row.
- Protect installed rows from dirt and damage as you work – LVP looks clean while you’re working but construction dust ground into the locking joints makes the floor look terrible and is hard to clean out.
- In rooms with radiant heat floors, verify your LVP is rated for radiant heat – the temperature cycles stress locking joints in products not designed for it.
- A utility knife can score and snap thin LVP planks cleanly in 10 seconds – faster than a saw for simple width cuts.
Frequently Asked Questions
Do I need underlayment under LVP?
Many LVP products come with underlayment pre-attached to the back – check your specific product. If underlayment is not pre-attached, you need to install a separate underlayment. Over concrete, use a vapor barrier underlayment (6-mil poly film or combination foam/vapor barrier pad). Over wood subfloor, a standard 2mm foam or cork underlayment is fine. Never install double underlayment (pre-attached plus a separate layer) – too much cushion destabilizes the locking joints.
Can I install LVP over existing tile?
Yes, if the tile is firmly bonded (no hollow-sounding tiles or loose grout). Fill any grout lines deeper than 1/8 inch with floor-leveling compound before installation to prevent the planks from cracking at the grout lines under foot traffic. LVP is 4 to 8mm thick, which adds height – account for transitions at doorways where the raised floor level meets adjacent rooms.
What happens if I get water under LVP?
LVP itself is waterproof, but underlayment and subfloor beneath it can be damaged by water if it has a way to get under. In areas with possible flooding (near exterior doors, dishwashers, bathroom vanities), run waterproof silicone caulk along the wall-floor junction under the baseboard rather than leaving a dry expansion gap. Remove the baseboard and LVP to dry the subfloor if significant flooding occurs – wet wood subfloor under a floating floor grows mold even though the LVP itself is fine.