Project Shopping List
Old flooring removal is the unglamorous first step of nearly every flooring project – and doing it wrong can damage the subfloor beneath, add cost to the project, and create disposal headaches. Whether you’re pulling up ceramic tile, carpet, or vinyl sheet, each material has its own removal quirks, tools, and gotchas.
This guide covers the three most common flooring types you’ll encounter in a renovation: ceramic/porcelain tile, carpet, and vinyl sheet flooring. By the end, you’ll have a clean subfloor ready for whatever comes next.
What You’ll Need
Tools
- Oscillating multi-tool with scraper blade
- Floor scraper (long-handle type) and handheld scraper
- Pry bar
- Utility knife with extra blades
- Chisel and hammer
- Shop vacuum
- Pliers (for carpet tack strips)
Materials
- Heavy-duty contractor bags (3-mil or thicker)
- Safety glasses, work gloves, knee pads
- Respirator mask (N95 minimum for tile and vinyl)
- Floor leveling compound (for patching after removal)
Removing Carpet
Step 1: Pull Up the Carpet
Start in a corner. Use pliers to grab the carpet and pull it away from the tack strip. Once you have a foot or two free, grab it with both hands and pull firmly – the carpet releases from the tack strip pins with a consistent peeling motion. Roll the carpet into 3-foot wide rolls as you go to make it manageable for disposal. Most carpet rolls weigh 50–100 lbs.
Step 2: Remove the Padding
Carpet padding is usually stapled directly to the subfloor in plywood construction, or glued to concrete slabs. On plywood, peel it up in sections and use pliers or a floor scraper to pull out staples – there will be hundreds of them. On concrete, the padding peels off and leaves a glue residue that must be scraped or ground flat before new flooring goes down.
Step 3: Remove Tack Strips
Slide a pry bar under each tack strip and lever it up. Wear thick gloves – the angled pins are extremely sharp. Pull remaining nails with pliers. Fill the nail holes and any damage with floor leveling compound if you’re installing hard flooring next.
Removing Ceramic and Porcelain Tile
Step 4: Break Up the First Tile
Start with a grout saw or oscillating tool to cut the grout around one tile completely. Then use a cold chisel and hammer to break that tile into pieces and pry them out. This creates your working space. Angle the chisel low and flat – you’re trying to pop the tile off the adhesive, not drive the chisel into the subfloor.
Step 5: Use a Floor Scraper for the Field
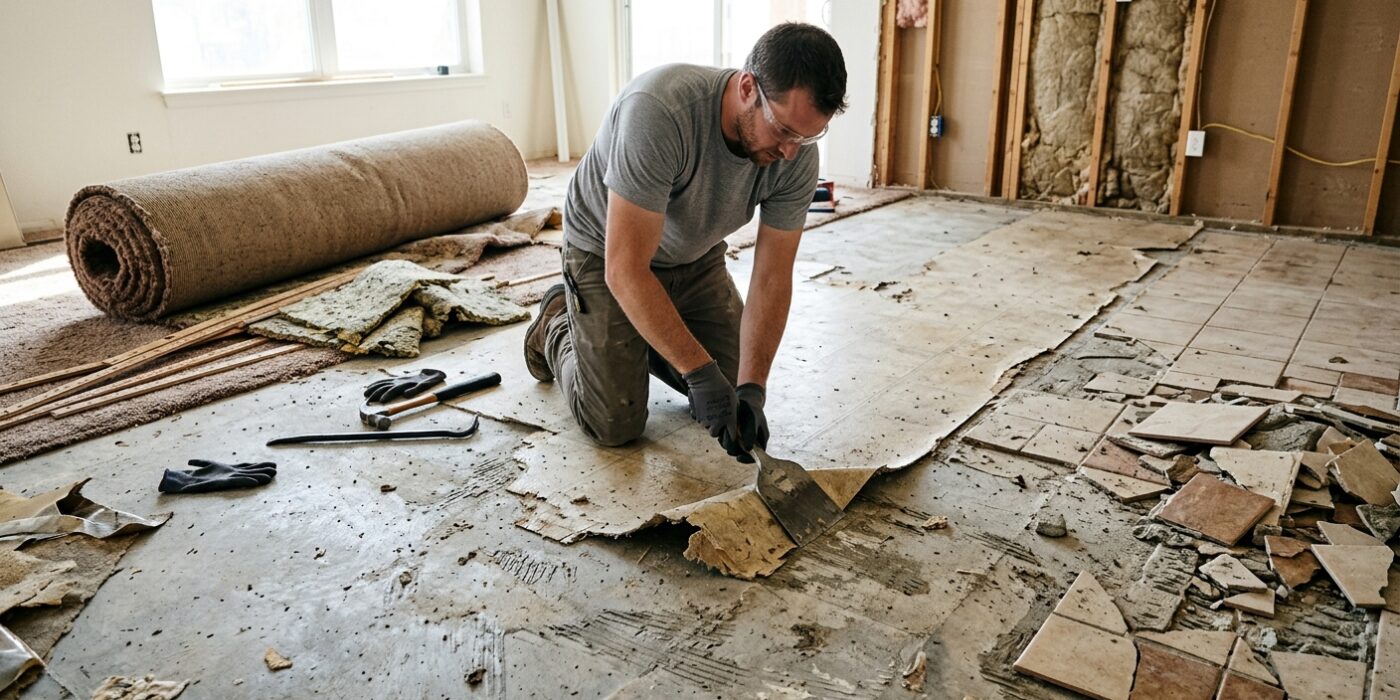
Once you have a starting area, a long-handle floor scraper is the most efficient tool. Drive it under tiles at a low angle and pop them off in sections. Some tiles come up in one piece; others shatter. Work in a consistent direction. Tile removal is loud, dusty, and physically demanding – wear hearing protection, eye protection, and a respirator.
Step 6: Remove Remaining Adhesive or Thinset
Thinset left on the subfloor must be scraped flat before new flooring – high spots will cause hollow spots under new tile or bumps under vinyl and LVP. Use a handheld scraper or oscillating tool to knock down high spots. The goal isn’t perfection; it’s getting the surface flat enough that a 10-foot straightedge doesn’t rock.
Removing Vinyl Sheet Flooring
Step 7: Score and Pull the Vinyl
Score the vinyl sheet into 12-inch strips with a utility knife – trying to remove it in one piece is nearly impossible. Pull each strip up from one end. Some vinyl peels up cleanly, leaving minimal residue. Vinyl installed before 1980 may contain asbestos – if you see a gray fibrous backing layer, stop work and have it tested before continuing.
Step 8: Scrape the Adhesive Layer
Older vinyl sheet flooring bonds with a full-spread adhesive that remains on the subfloor after the vinyl peels away. This layer can be scraped, dissolved with adhesive remover, or – if it’s well-bonded and flat – left in place and overlaid with 1/4-inch luan plywood. Never sand old vinyl adhesive – this creates dangerous dust.
Step 9: Deal with the Felt Backing
Some sheet vinyl leaves a fibrous felt backing bonded to the floor. Dampen it with hot water and a small amount of dish soap, let it soak for 5 minutes, then scrape. The water softens the adhesive beneath the felt enough to release it. Repeat as needed. This is tedious but important – felt backing left in place will cause adhesion problems for new flooring.
Pro Tips
- Rent a heavy-duty floor scraper with interchangeable blades for large jobs – the long handle saves your back and the power behind a proper scraper is far greater than hand tools.
- Call your local waste facility before disposal – tile and drywall debris may require a separate dumpster from general construction waste in many municipalities.
- When removing tile over a wood subfloor, check whether the subfloor itself is damaged – water under tile often rots the plywood below, requiring replacement before new flooring can go down.
- Take photos of the subfloor condition before laying new material – if problems appear later, you’ll want documentation of what the subfloor looked like at time of installation.
Frequently Asked Questions
How do I know if my vinyl flooring contains asbestos?
Vinyl sheet flooring and vinyl floor tiles installed before approximately 1980 are likely to contain asbestos. Visual inspection cannot identify asbestos – the only way to know is laboratory testing. Collect a small sample in a sealed bag (without sanding or breaking the material) and send it to a certified asbestos testing lab. Results typically return in 2–3 days and cost $25–50.
Do I always need to remove old flooring before installing new?
Not always. LVP and laminate can often float over existing hard flooring if it’s flat and structurally sound. However, adding floor height at doorways and transitions becomes an issue, and any flex or soft spots in the existing floor will telegraph through. When in doubt, removal gives you the best result and the opportunity to inspect the subfloor.
My subfloor has holes and gouges from removal. What do I do?
Fill small holes and voids with floor leveling compound or latex patching compound. For larger areas (over 4 square feet), it may be faster and stronger to cut out the damaged section and sister in new plywood. Let all repairs cure completely before installing new flooring – damp or uncured compound will cause adhesion failure.