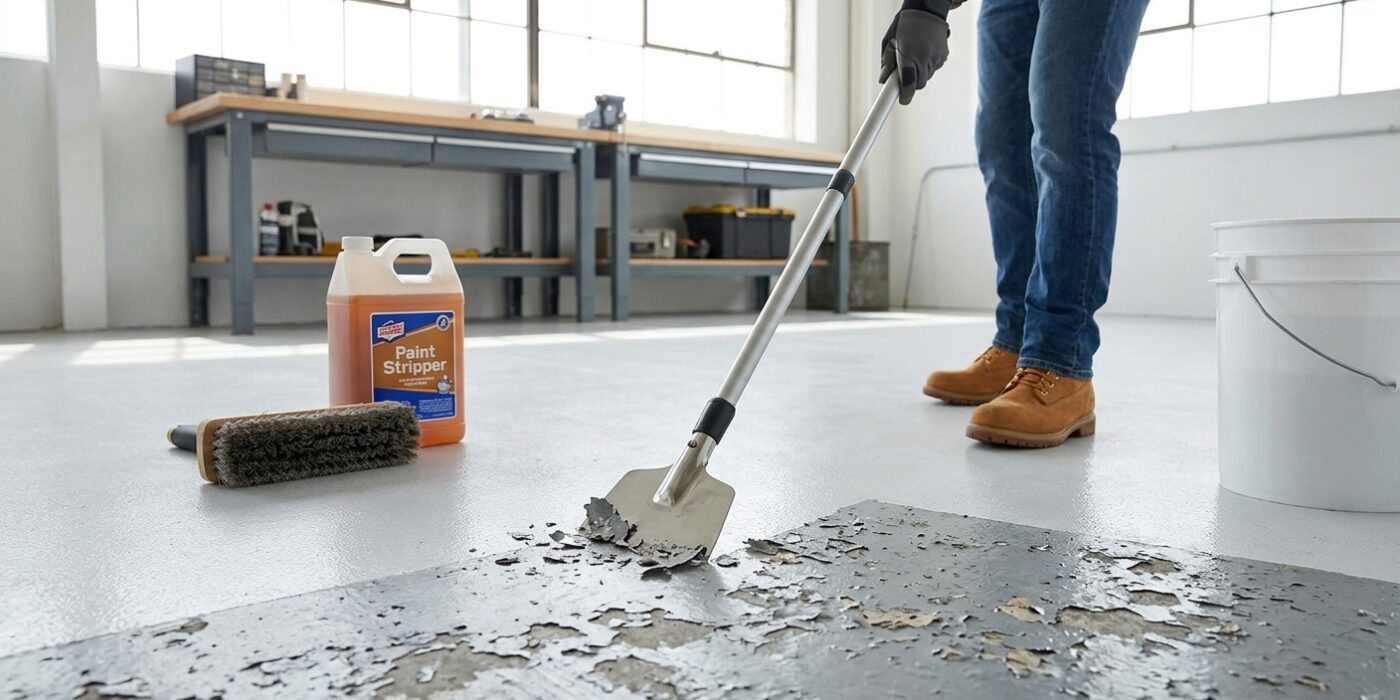
Project Shopping List
A previously painted concrete floor that is peeling, flaking, or debonding cannot simply be repainted over — the old failed coating will take the new coating with it. The only way to achieve a lasting result is to remove the old coating entirely, prepare the bare concrete correctly, and then apply the new coating system properly. This guide covers mechanical and chemical stripping methods and the complete prep-to-recoat process.
Why Painting Over Existing Coating Fails
If existing floor paint is peeling or lifting in any area, the adhesion has failed between the coating and the concrete at those points. New paint applied over old failing paint bonds to the old paint, not to the concrete. When the old paint continues to fail (which it will), it takes the new paint with it. The only permanent fix is to remove everything down to bare concrete and start the coating system fresh.
What You Will Need
Tools
- Floor grinder with diamond cup wheels (rented) or shot blaster (rented for large areas)
- Chemical paint stripper (methylene chloride-free formula preferred)
- Stiff scraper and wire brush
- Shop vacuum with HEPA filter
- Chemical-resistant gloves, safety goggles, P100 respirator
- Roller and tray for new coating
Materials
- Chemical paint stripper
- Acid etching solution or mechanical profile (post-grinding)
- Two-part epoxy coating system
Step 1: Assess the Existing Coating
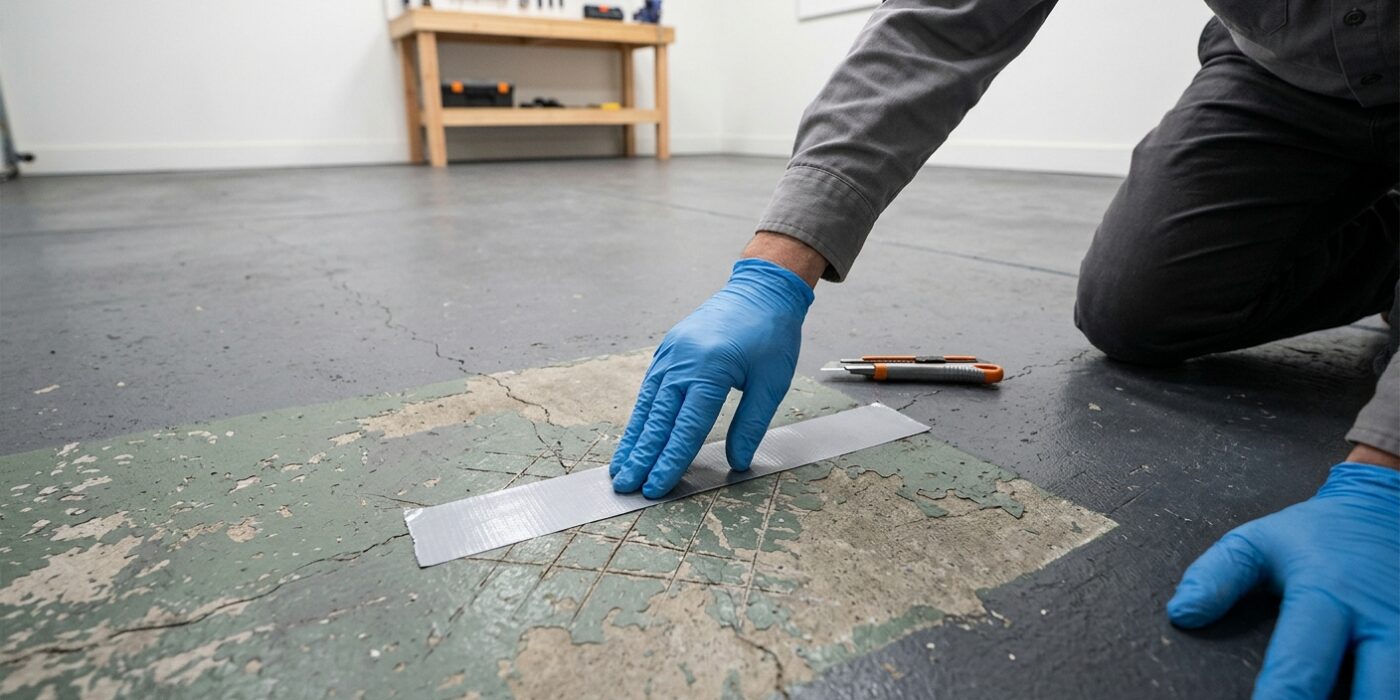
Before you dive into the hard work of repainting, you need to know if your current paint is sticking to the concrete. If you paint over a failing foundation, your beautiful new finish will peel off within months. Start by performing an adhesion test: cut four-inch strips of strong duct tape, press them firmly onto the floor in various spots, and yank them off quickly at a 90-degree angle. If you see paint flakes stuck to the tape, that section needs to be stripped. Next, check for moisture issues by taping 12-inch squares of clear plastic sheeting to the floor, sealing all four edges completely with tape. Leave them for 48 hours. If you see water droplets or dark damp patches under the plastic when you return, moisture is rising through your concrete, which means you will need a special moisture-blocking primer before proceeding.
Beginner Tip: Avoid testing only in the center of the room. Always place your test patches near heavy traffic areas, doorways, and low spots where moisture tends to pool. Testing only the “good-looking” spots will give you a false sense of security.
Pro Tip: Use a permanent marker to draw circles around the spots where the paint failed or moisture appeared. This creates a clear map of your problem areas, saving you from wasting time and energy stripping the parts of the floor that are actually in great shape.
Step 2: Chemical Stripping
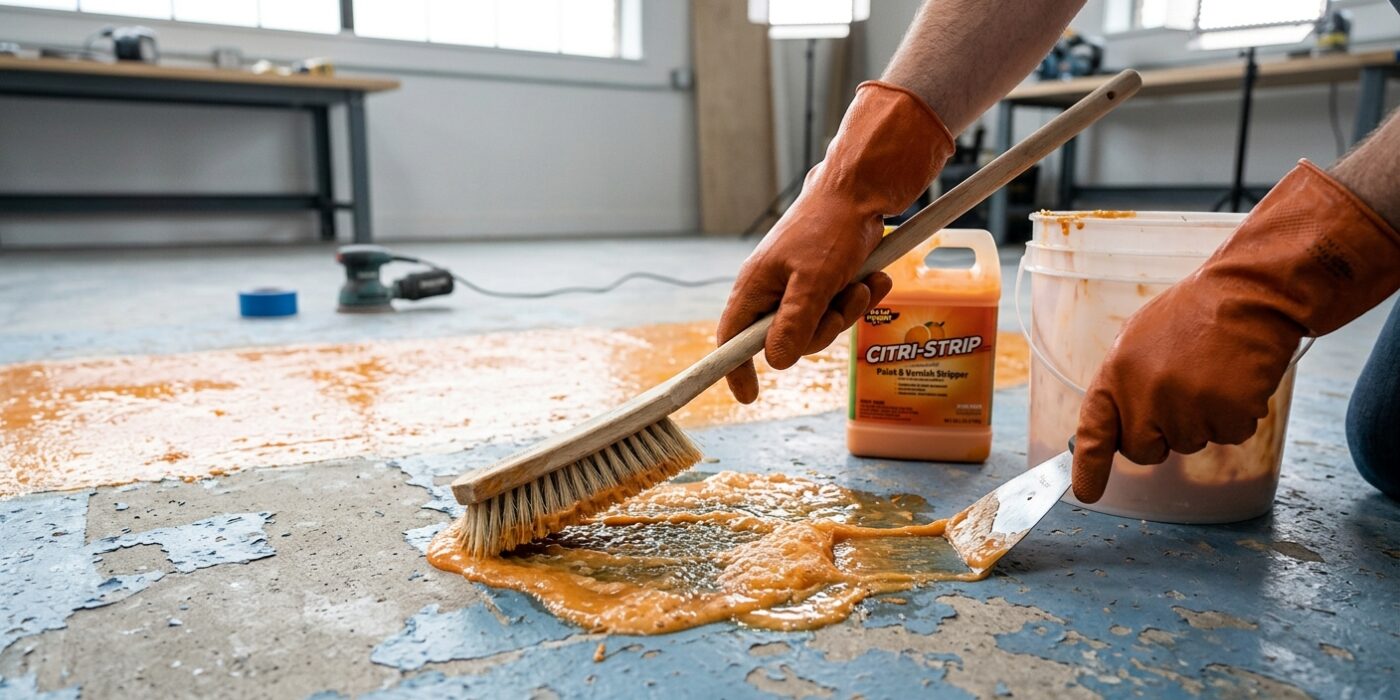
If your old paint is peeling or bubbling, chemical stripping is your best friend. This process breaks the chemical bond between the paint and the concrete so you can remove it without grinding. Start by wearing chemical-resistant gloves and safety goggles. Using a cheap paintbrush or a paint roller on a pole, apply a thick, even layer of stripper – aim for about 1/8 inch deep. The stripper needs time to work, so cover the wet area with plastic sheeting to stop it from drying out. Let it sit for 4 to 8 hours. Once the paint looks wrinkled or bubbly, use a long-handled floor scraper to push the gunk into a pile. Hold the scraper blade at a 30-degree angle to the floor to lift the material without gouging the concrete. You may need to repeat this for stubborn patches.
Beginner Tip: Never work in direct sunlight or in a room with high heat. If the stripper dries out before it has time to “dwell,” it will turn into a sticky, impossible-to-remove film. Keep your work area shaded and cool to ensure the chemical stays active.
Pro Tip: Before you begin, test the stripper on a small, hidden corner of the floor. This allows you to time exactly how long your specific floor needs to soften, saving you from having to scrub hardened paint later. Always neutralize the floor with the recommended cleaner afterward, as leftover chemicals will prevent your new paint from sticking.
Step 3: Mechanical Grinding
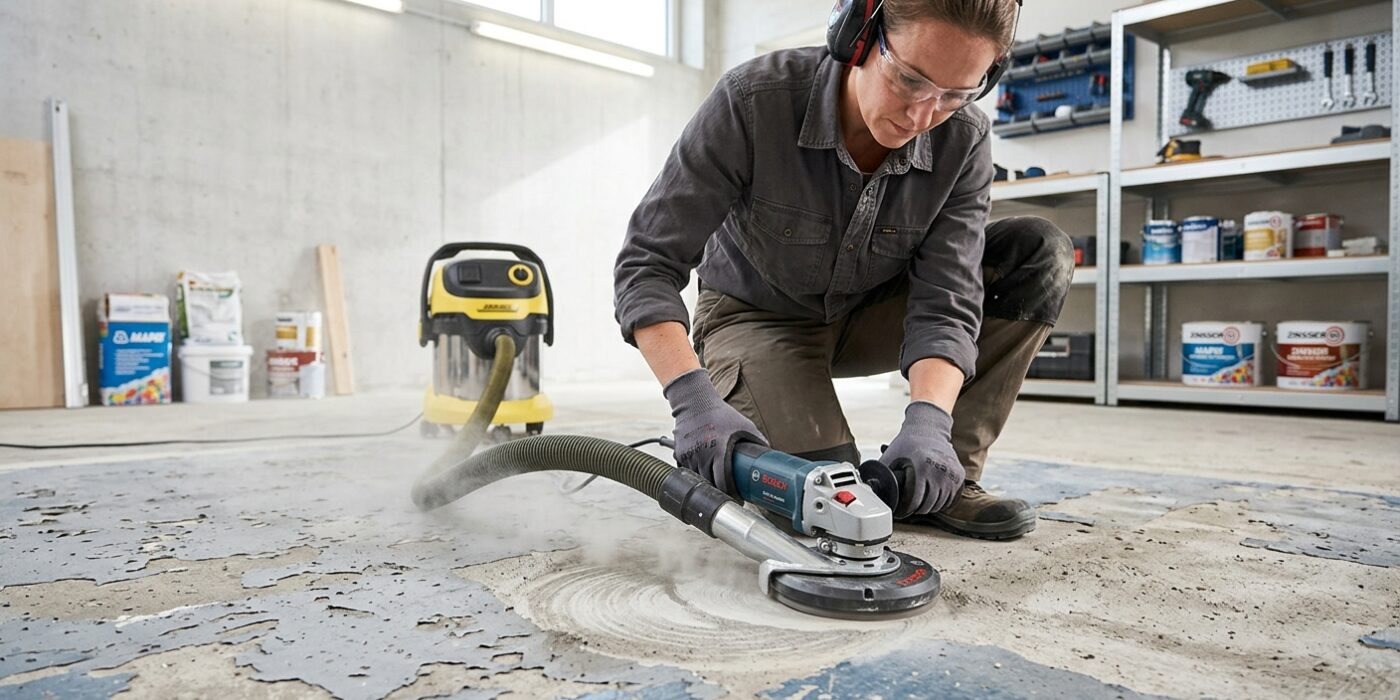
Now it is time to prepare the floor’s surface so your new paint will actually stick. If your old paint is stubborn and won’t budge with chemicals, mechanical grinding is your best friend. You will need to rent a walk-behind floor grinder equipped with diamond-segmented discs. Think of this machine like a giant, heavy-duty floor sander. Move the grinder in slow, overlapping passes – much like mowing a lawn – to ensure you remove the paint evenly across the entire surface. Your goal is to expose the raw concrete underneath, creating a slightly rough, sandpaper-like texture that acts as an anchor for your new coating.
Beginner Tip: The most common mistake is holding the machine in one spot for too long. If you linger, the grinder will carve a deep, circular “divot” into your concrete floor, which is very difficult to smooth out later. Keep the machine moving at a steady, consistent pace at all times.
Alternative Method: If you are working in a tiny space like a small laundry room or a closet where a large grinder won’t fit, use a handheld angle grinder equipped with a diamond cup wheel. It is much slower and requires you to work on your knees, but it provides the exact same precision for tight corners or small footprints.
Pro Tip: To avoid creating a massive dust cloud, always connect your grinder to an industrial-grade HEPA vacuum. Even better, tape off all doorways with plastic sheeting before you start; this keeps the inevitable dust contained, making your final cleanup significantly faster and easier.
Step 4: Clean and Profile
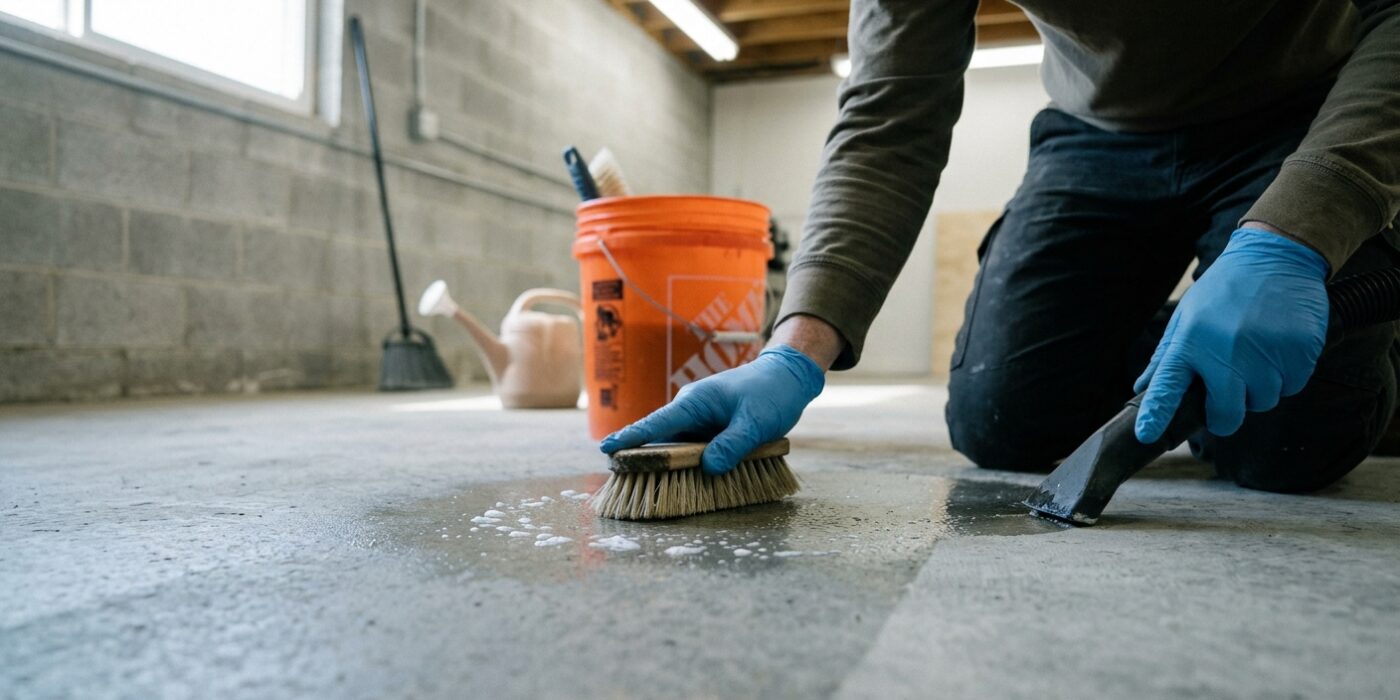
Now that your concrete is stripped, it is time to prepare the surface for a long-lasting finish. Think of this step as creating a “grip” for your new paint; if the concrete is too smooth, the paint will eventually peel off. Your floor should feel like medium-grit sandpaper (60 to 80 grit) to the touch. Start by vacuuming the entire area thoroughly to remove every trace of dust and debris, as trapped dirt prevents paint from sticking.
If you run your hand across the surface and it still feels smooth like glass, you must apply an acid etching solution. Carefully follow the manufacturer’s instructions to dilute the acid with water, apply it evenly using a plastic watering can, and scrub it into the pores with a stiff-bristled deck brush. Once the bubbling stops, neutralize the acid with a soda ash solution, rinse the floor with clean water until it runs clear, and let it dry completely – ideally for at least 24 hours. A damp floor will cause the new coating to bubble or fail.
Beginner Tip: Avoid the temptation to skip the rinsing step. Residual acid left on the concrete will eat away at your new paint from underneath, causing it to flake off in patches within weeks.
Pro Tip: To test if your concrete is porous enough, spill a small amount of water onto the floor. If it soaks in quickly, you are ready to paint. If the water beads up on the surface, you need to repeat the etching process.
Step 5: Apply New Coating System
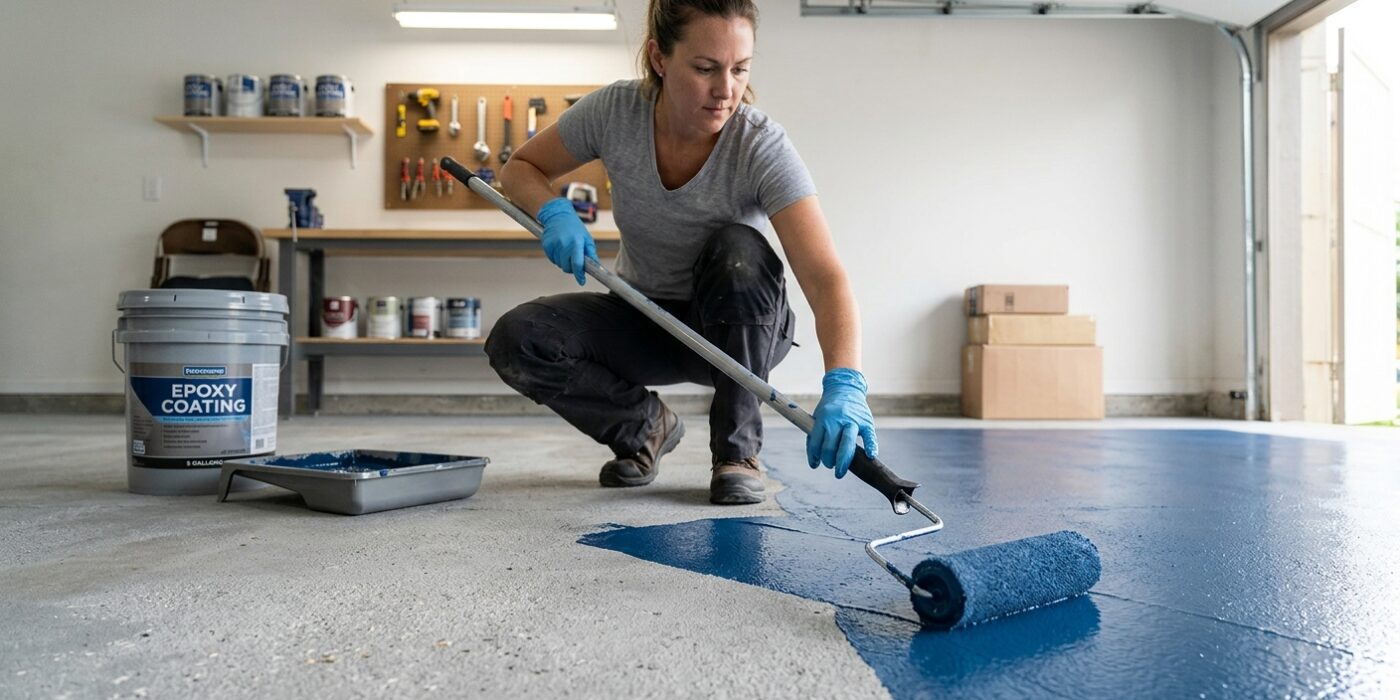
Now that your concrete is clean and properly profiled, it is time to protect it with a durable epoxy coating. Start by mixing your two-part epoxy primer according to the manufacturer’s exact ratios. Using a high-quality 3/8-inch nap roller, apply the primer in thin, even coats. Work in manageable sections, moving in a “W” pattern to ensure consistent coverage without leaving heavy puddles. Once the primer is “tack-free” – meaning it feels sticky but doesn’t leave residue on your finger – you are ready to roll on your topcoat. Follow the product’s specific recoat window, as waiting too long can prevent the layers from bonding.
Beginner Tip: The most common mistake is overworking the roller. Once you have applied the coating to a section, stop. Going back over partially dried epoxy can leave visible streaks and brush marks that are impossible to fix once the floor cures. Trust your initial application and move on to the next area.
Pro Tip: Invest in an extension pole for your paint roller. It allows you to stand upright, giving you better leverage to apply uniform pressure across the floor. This not only saves your back from unnecessary strain but also helps you maintain a more consistent, professional finish across the entire surface. Finally, ensure the room is well-ventilated and strictly adhere to the 24-hour wait for foot traffic and the 72-hour wait for vehicles to avoid permanent damage to your new finish.