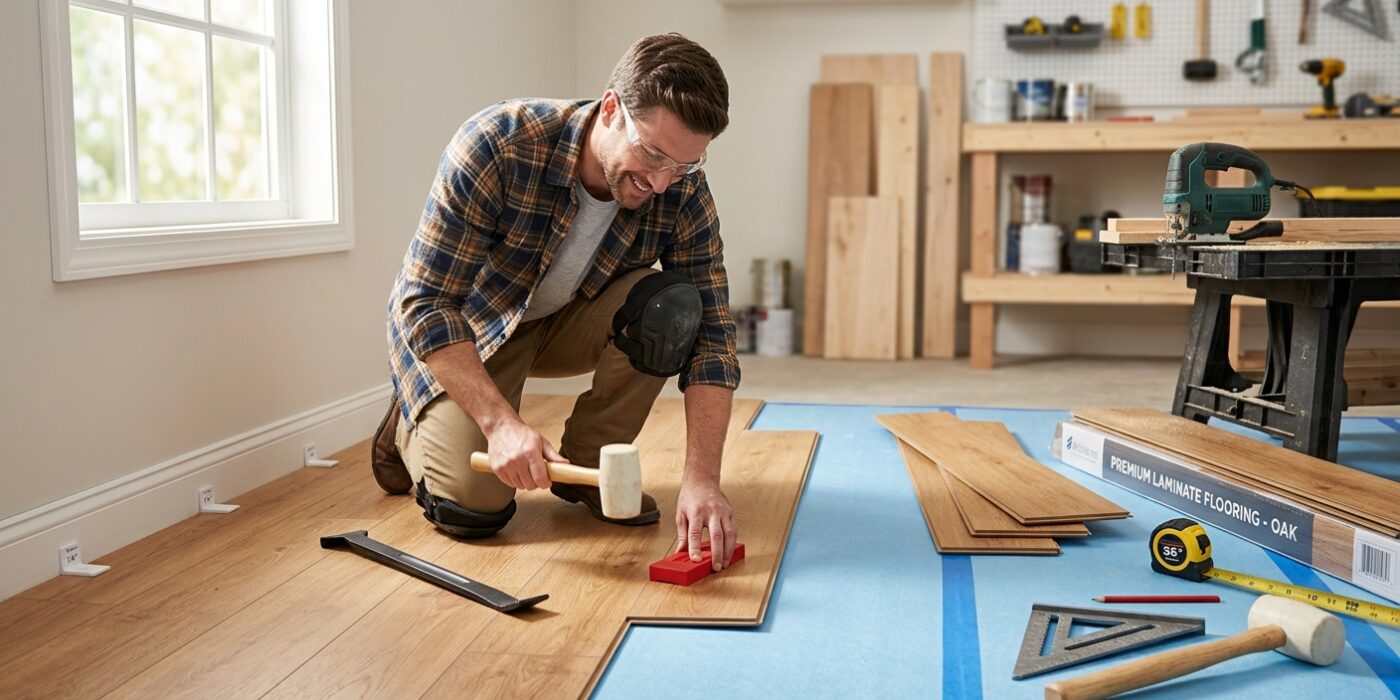
Project Shopping List
Laminate flooring is the most beginner-friendly DIY flooring option — the click-lock planks float on top of the subfloor without glue or nails, and installation mistakes are reversible. A first-timer can install a standard room in a weekend with basic tools. This guide covers the complete process from prep to finishing.
What You Will Need
Tools
- Tapping block (usually included with flooring or available at stores)
- Pull bar (for getting the last row tight against the wall)
- Rubber mallet
- Spacers (1/4 inch — for the expansion gap)
- Tape measure and chalk line
- Miter saw or circular saw for cutting planks
- Jigsaw for cuts around doorframes and obstacles
Materials
- Laminate flooring (measure room square footage plus 10% for waste and cuts)
- Underlayment (if not pre-attached to planks)
- Vapor barrier (6-mil poly film, required on concrete subfloors)
- Transition strips for doorways
- Baseboard or quarter round to cover expansion gaps at walls
Step 1: Acclimate the Flooring
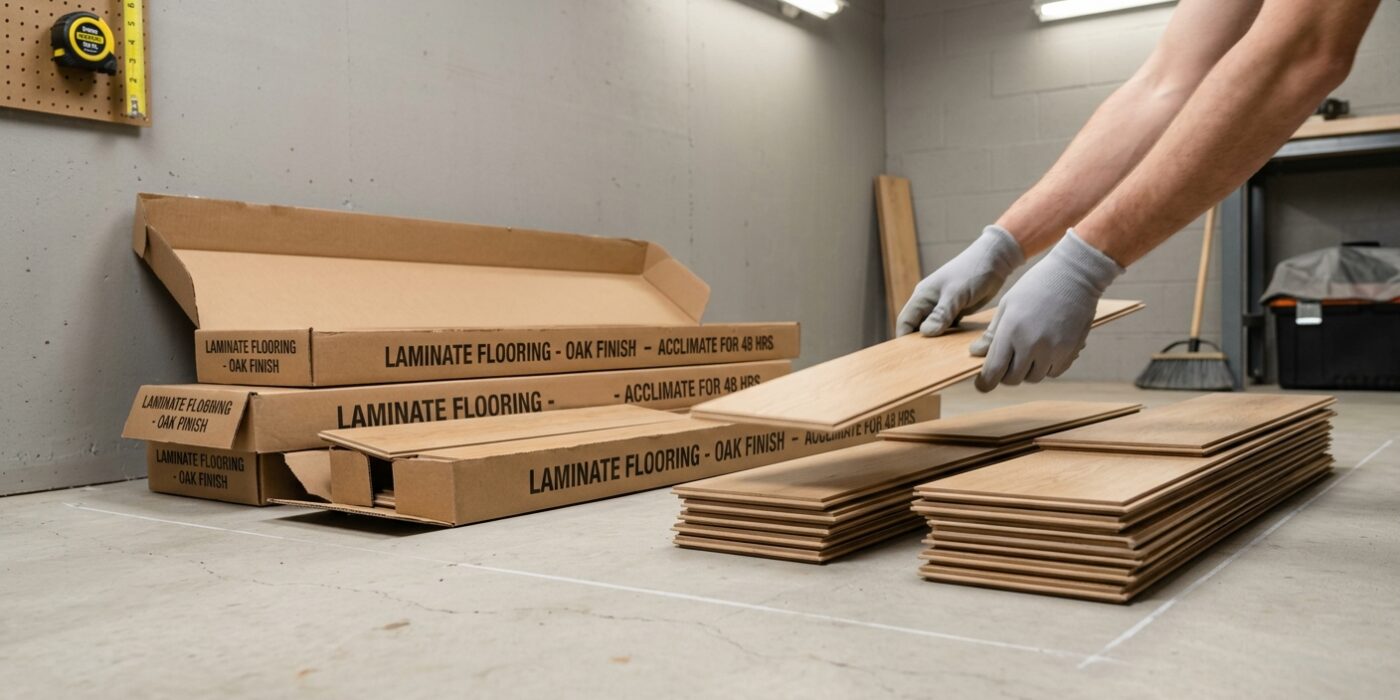
Before you begin your project, you must let your new laminate planks acclimate to the environment where they will be installed. Bring the boxes into the room, open the ends of the packaging, and let them sit undisturbed for at least 48 hours. If your home is particularly humid or very dry, extend this to 72 hours.
Laminate is essentially a wood-based product, meaning it naturally expands and contracts as the humidity and temperature in your home change. If you install the flooring while it is still adjusting, the planks may buckle, lift, or create unsightly gaps once they settle into their final shape. By giving the materials time to breathe, you ensure they are stable and ready for a long-lasting fit.
Beginner Tip: Never lean the boxes against a wall or stack them vertically. Always lay the boxes flat on the floor in a cross-hatched pattern or spread them out slightly. Stacking them on their sides can cause the planks to bow or warp before you even take them out of the box, making them nearly impossible to click together later.
Pro Tip: To get the best results, use a household hygrometer to check the room’s humidity levels before you start. Ideally, you want to maintain a consistent environment between 30% and 50% relative humidity. Keeping your HVAC system running at a normal, comfortable temperature during these 48 hours helps ensure the boards reach a stable state that matches your daily living conditions.
Step 2: Prepare the Subfloor
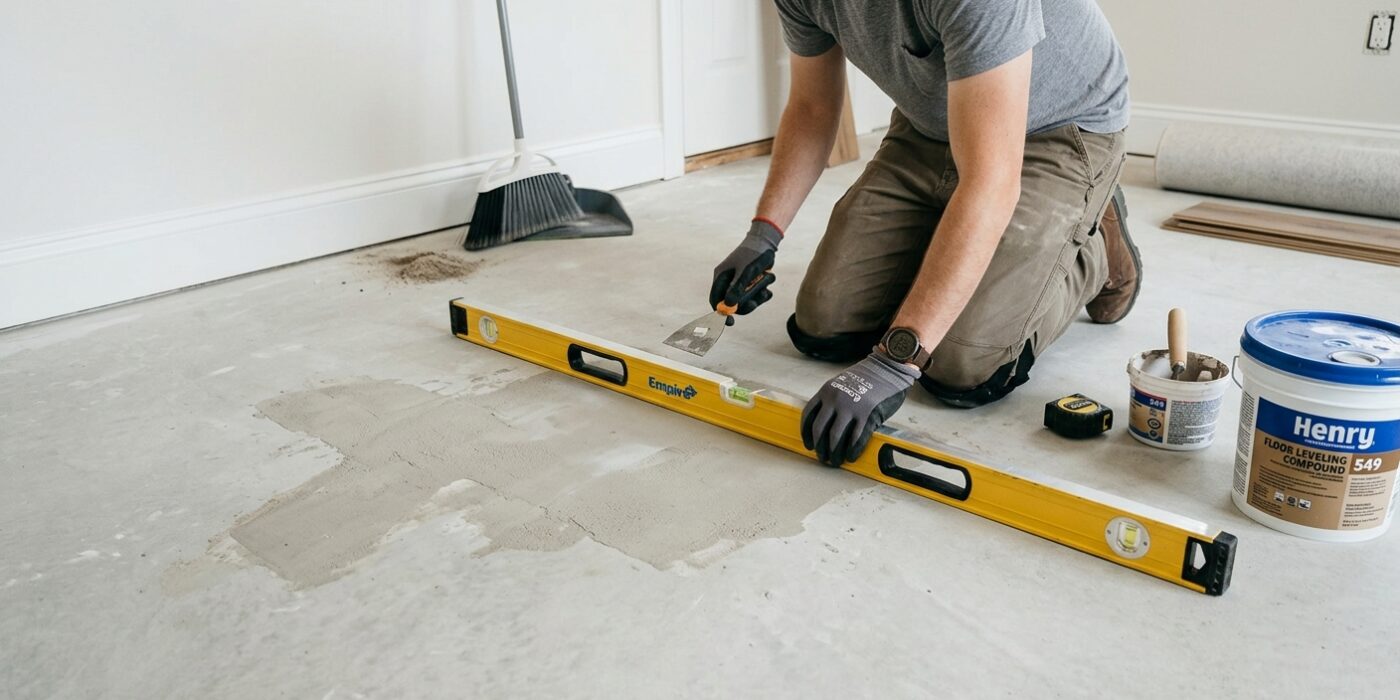
Before you lay a single plank, your subfloor must be perfectly prepared. Think of the subfloor as the foundation of your project; if it is uneven, your beautiful new floor will eventually shift, squeak, or even snap at the locking joints. Start by thoroughly sweeping and vacuuming the entire area to remove every speck of dust, grit, or stray nails.
Next, use a long, straight level or a straight board that is at least 10 feet long to check for levelness. Place the board flat against the floor and look for gaps underneath or bumps that cause the board to rock. You are looking for imperfections larger than 3/16 of an inch. If you find a “high spot,” use a sander or a masonry grinder to smooth it down. If you find a “low spot,” fill it with a self-leveling compound, which you can purchase as a simple mix-and-pour bucket at any hardware store.
Beginner Tip: Avoid the temptation to skip the vacuuming step. Even tiny pebbles left under your underlayment can feel like walking on marbles once the weight of the floor is applied, and they can eventually puncture or dent the underside of your new laminate.
Pro Tip: To quickly identify low spots without bending down, shine a flashlight low across the surface of the floor. The shadows cast by the light will instantly highlight any dips or dips in the surface that are otherwise invisible to the naked eye.
Step 3: Install Vapor Barrier and Underlayment
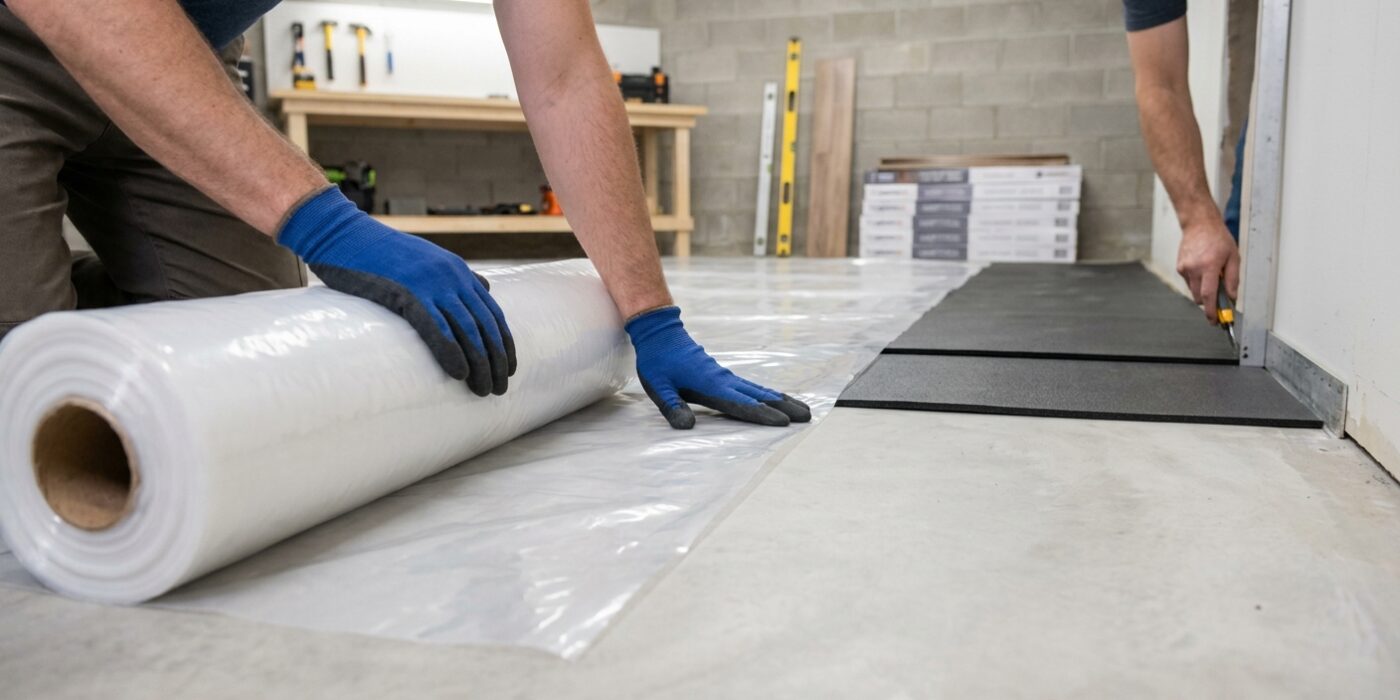
Before you lay your first plank, you must prepare the surface. Think of this as the foundation for your floor’s comfort and longevity. If your subfloor is concrete, you must first roll out a 6-mil polyethylene vapor barrier. This plastic sheet prevents moisture from creeping up from the slab and warping your beautiful new floor. Roll it out to cover the entire room, overlapping the seams by 6 inches and securing them tightly with moisture-resistant tape. On top of this (or directly on a wood subfloor), you will lay your underlayment.
The underlayment acts as a cushion, smoothing out tiny imperfections in the subfloor and muffling the sound of footsteps. Roll the underlayment out perpendicular to the direction your flooring planks will run. Unlike the vapor barrier, do not overlap your underlayment pieces; instead, butt the edges together tightly and tape them along the seam to keep them from shifting. If your laminate planks come with a padded backing pre-attached, you can skip this step entirely!
Beginner Tip: Avoid the temptation to leave gaps between the underlayment sheets. Even a small gap can lead to a “hollow” or clicking sound when you walk over that spot later. Take your time to ensure the edges meet perfectly flush.
Pro Tip: Use a simple utility knife with a fresh blade to trim the excess material against the walls. Keep a straight edge or a metal ruler handy to help you get a clean, crisp cut exactly where the floor meets the baseboard.
Step 4: Plan Your Layout
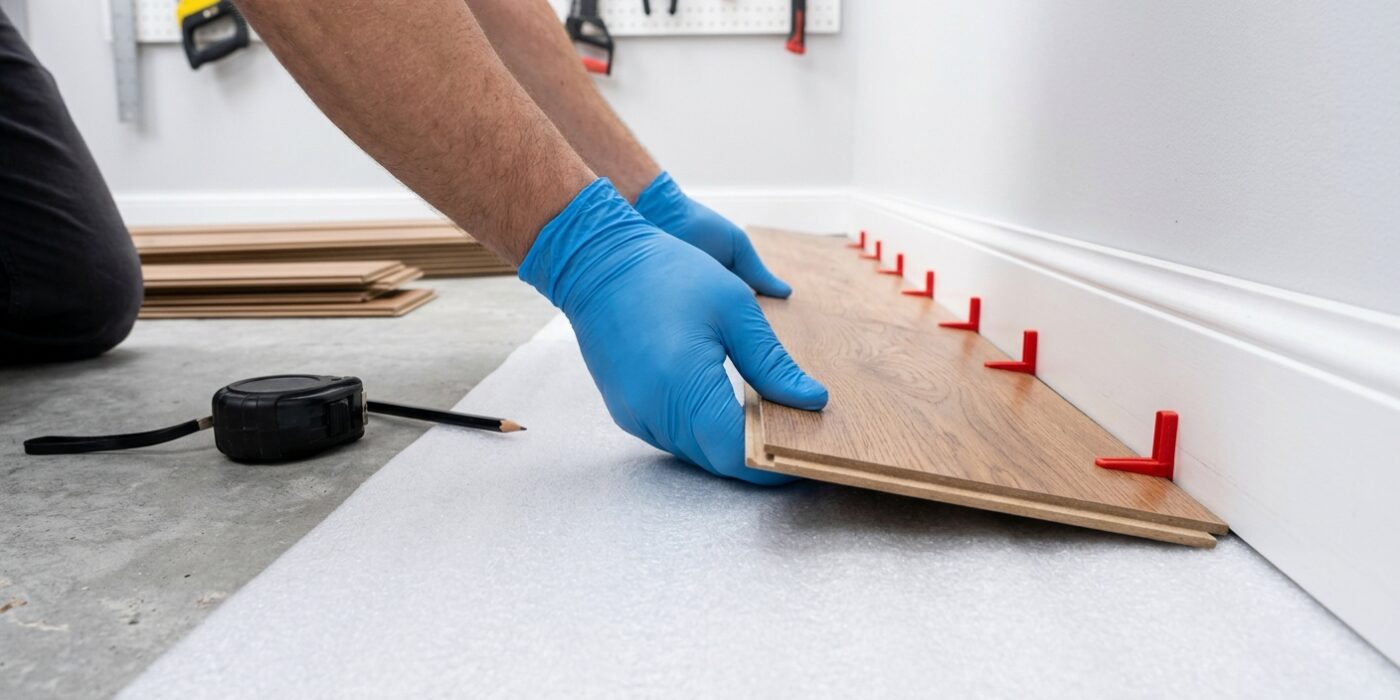
Before you lay down a single plank, you need to map out your room. The direction of your flooring has a huge impact on how your space feels. For the best look, lay your planks parallel to the longest wall or the primary light source entering the room; this draws the eye across the space, making the area feel much more open and intentional.
Next, grab a tape measure and calculate the width of the room. Divide this by the width of one laminate plank. If your remainder is less than half a plank, your final row will look like a sliver, which is difficult to install and looks unfinished. To fix this, simply trim your starting row so that both the first and last rows are of equal width. Once you decide on your starting position, snap a chalk line on the floor. This provides a perfectly straight reference point that ensures your entire floor stays square, preventing “fanning” or crooked lines as you progress.
Beginner Tip: Never start tight against the wall. Walls are rarely perfectly straight, and laminate needs room to expand as temperatures change. Use plastic spacers or small wood blocks to maintain a 1/4-inch gap between your first row and the wall to prevent future buckling.
Pro Tip: To avoid a “stair-step” or repeating pattern, open three boxes of flooring at once. Mix the planks from different boxes as you lay them down to ensure a natural, varied look that hides repetitive factory patterns.
Step 5: Install the First Row
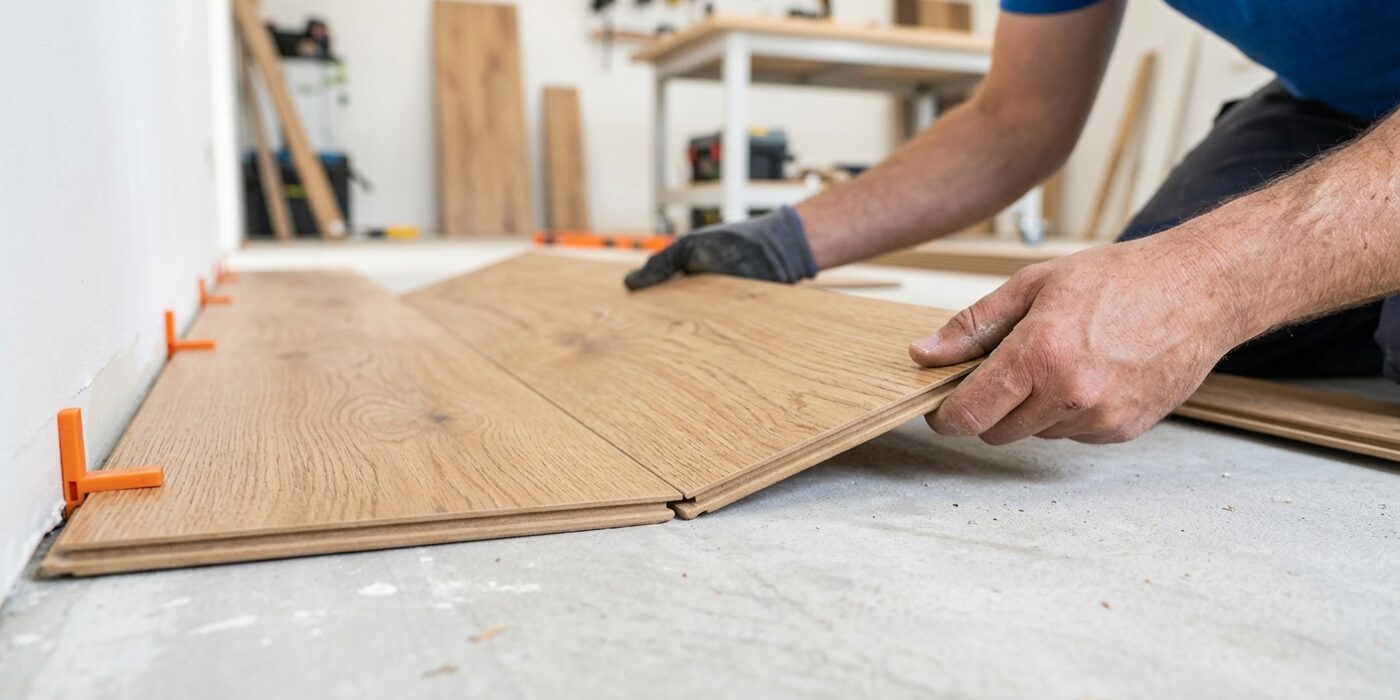
Now that your subfloor is prepared, it is time to lay your first row. This row serves as the foundation for your entire floor, so take your time to ensure it is perfectly straight. Begin by placing plastic spacers every 8 to 12 inches along the starting wall to maintain a consistent 1/4-inch expansion gap. This gap is vital because wood naturally expands and contracts with humidity; without it, your floor could buckle or crack.
Place your first plank with the grooved side facing the wall. Take your second plank, angle the end tongue into the groove of the first piece, and press it down until you hear a solid click. Repeat this process until you reach the end of the row. If the final plank is too long, measure the distance to the spacer, subtract 1/4 inch, and cut the board to fit. Always ensure the end joints of your planks are staggered by at least 6 inches from the joints in adjacent rows to create a stable, professional-looking pattern.
Beginner Tip: A common mistake is pushing the planks too tightly against the wall. If you remove the spacers and the board is touching the wall, it has no room to breathe. Always double-check that the gap remains consistent as you work.
Pro Tip: Use a scrap piece of flooring as a tapping block. Gently tap the edge of the plank with a rubber mallet to ensure the joints are fully seated and tight before moving on to the next row; a tiny gap left here can grow significantly as you progress across the room.
Step 6: Continue Installing Rows
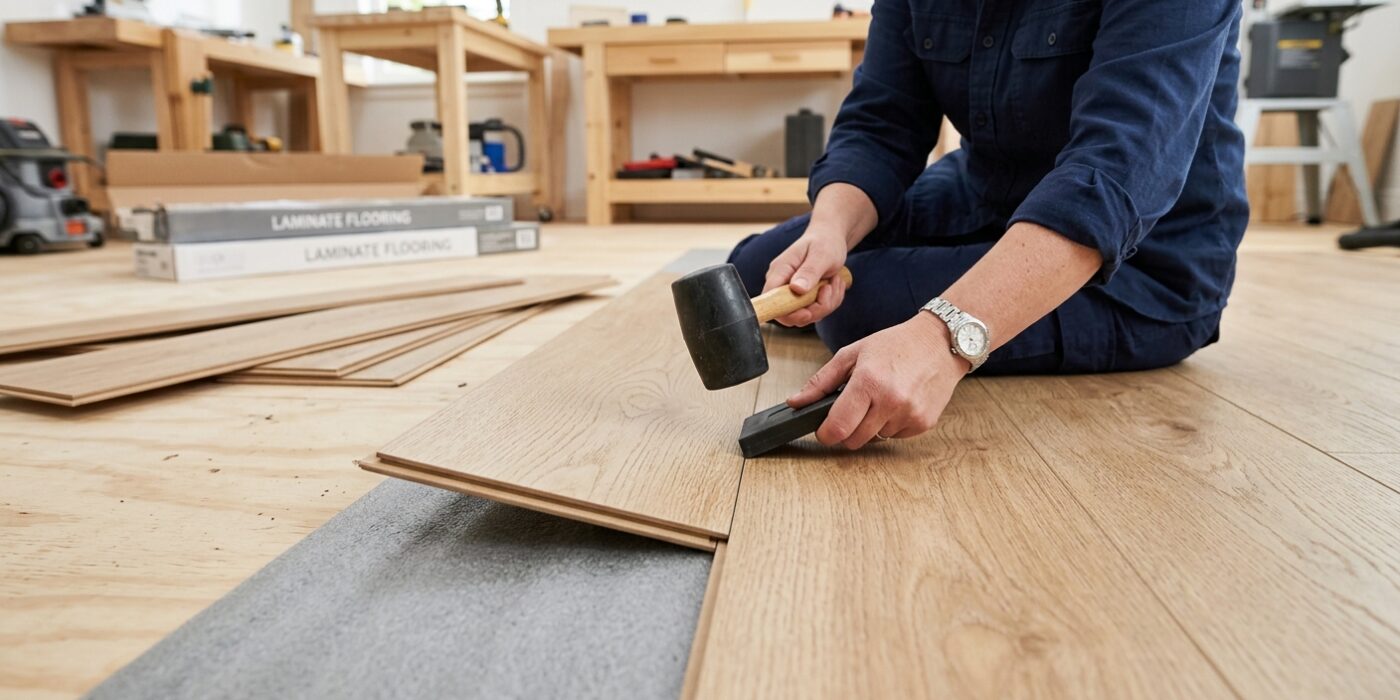
Now that your first row is complete, it is time to build outward across the room. To install each new plank, hold it at a slight angle – roughly 20 to 30 degrees – and insert the tongue into the groove of the plank already on the floor. Once it is seated, gently press the plank down until you hear a satisfying “click,” indicating the locking mechanism is engaged. If you see a tiny gap between boards, place your tapping block against the edge of the plank and strike it lightly with your rubber mallet to pull the seam closed. Always maintain a 1/4-inch gap between the ends of your planks and the wall using plastic spacers; this space allows the wood to expand and contract naturally without buckling.
Beginner Tip: A common mistake is forgetting to stagger the seams of your planks. Try to ensure the joints in adjacent rows are at least 8 to 12 inches apart. This isn’t just for aesthetics; it provides structural stability and prevents the floor from looking like a series of rigid columns.
Pro Tip: Before locking a new plank into place, check the groove for any debris or stray foam underlayment. Even a tiny piece of grit trapped inside the joint can prevent the boards from laying perfectly flat, leading to an annoying “bounce” or squeak later on. A quick swipe of your hand ensures a seamless fit every time.
Step 7: Cut Around Doorframes and Obstacles
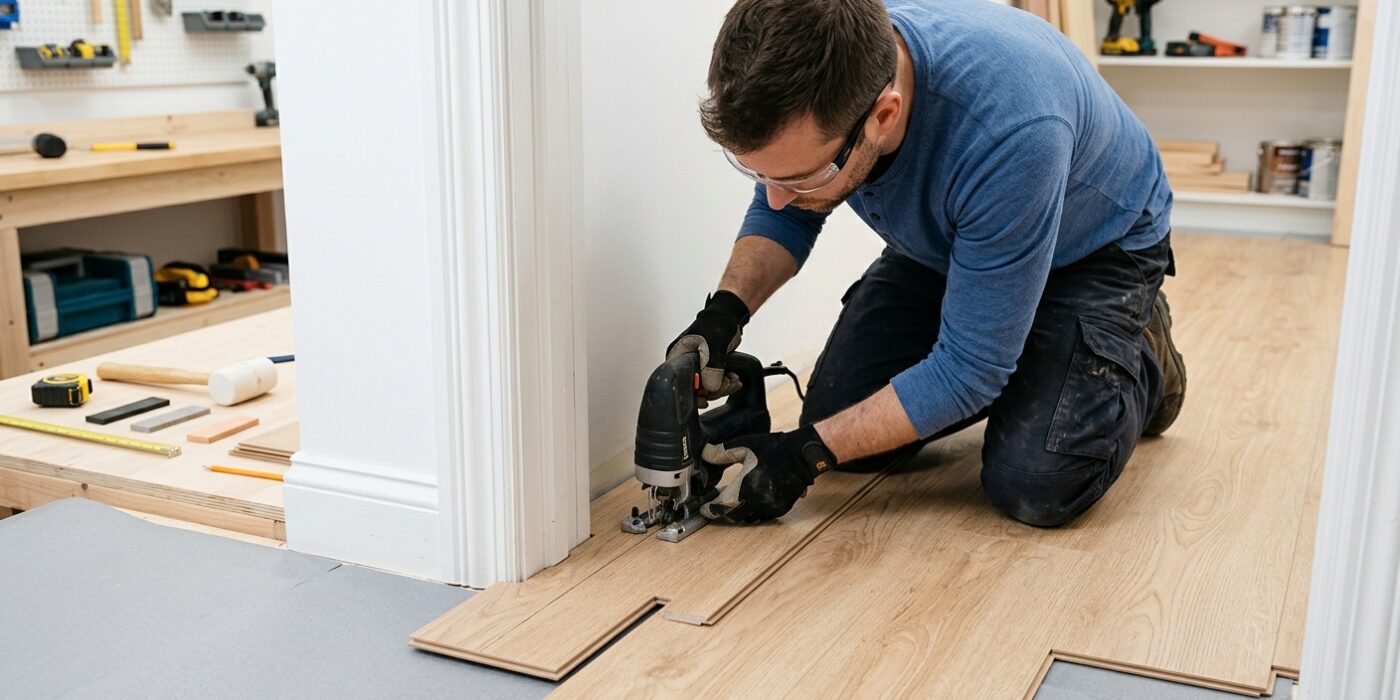
Achieving a professional finish means your flooring should slide seamlessly beneath your door casings rather than showing unsightly gaps. To do this, you need to “undercut” the door trim. Place a scrap piece of your new laminate and a sample of your underlayment flat on the floor against the door casing. Take a hand-held jamb saw or an oscillating multi-tool, rest the blade flat on top of the scrap piece, and carefully cut horizontally into the door casing. This creates a perfect clearance gap, allowing the flooring to glide underneath for a clean, built-in look.
For trickier obstacles like radiator pipes, use a jigsaw. Measure the distance from the wall to the center of the pipe, mark it on your plank, and drill a hole that is about 1/4-inch wider than the pipe itself to allow for natural floor expansion. Cut a straight line from the edge of the plank to the hole, fit the board around the pipe, and use the offcut piece to bridge the gap behind it.
Beginner Tip: Avoid cutting the door casing too high. If you cut it significantly thicker than your floor and underlayment combined, you will have an awkward, noticeable gap that is difficult to hide later.
Alternative Method: If you do not have an oscillating tool or a jamb saw, use a manual Japanese pull saw. It is affordable, easy to control, and very gentle on your door trim.
Pro Tip: Before cutting, use a piece of painter’s tape to mark your cut line on the door casing. This helps you visualize the height and prevents the tool from slipping and scratching the visible surface of the wood.
Step 8: Install the Last Row and Finishing
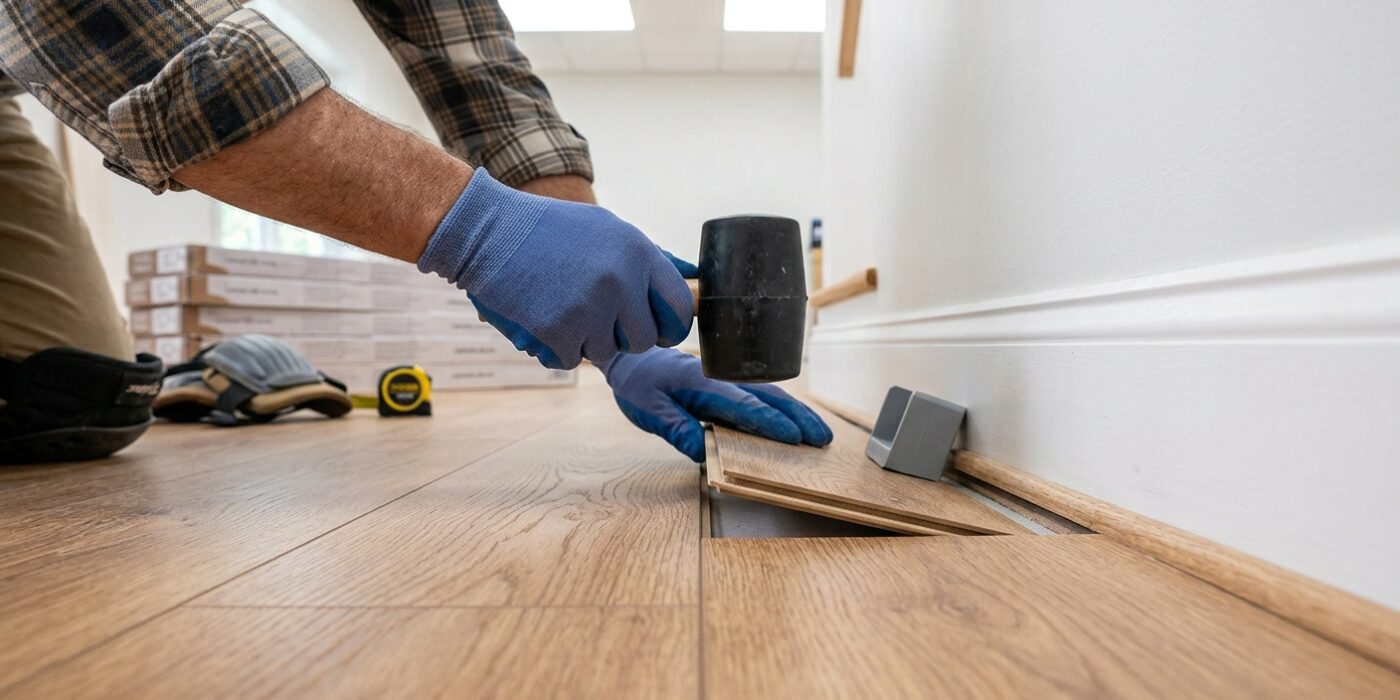
You have made it to the finish line! The final row is rarely a perfect fit, so you will need to cut your planks lengthwise to squeeze them into the remaining gap. Measure the distance from the wall to the edge of the second-to-last row, then subtract 1/4 inch to account for the necessary expansion gap. Mark this width on your planks and use a jigsaw or circular saw to rip them. To install these tight pieces, use a pull bar – a specialized metal tool – and a rubber mallet to gently tug the planks into the locking position. Once the floor is secure, remove all your plastic spacers from around the room’s perimeter. Finally, hide that 1/4-inch expansion gap by installing baseboards or quarter-round molding along the walls using a finish nailer or construction adhesive. Install transition strips at any doorways to create a smooth, clean boundary between rooms.
Beginner Tip: Do not skip the expansion gap! It is tempting to push the planks right up against the drywall for a “tighter” look, but laminate is a wood product that needs room to breathe as humidity changes. Without that gap, your beautiful new floor will eventually buckle or peak in the center of the room.
Pro Tip: When installing the last row, your drill or hammer might not fit between the wall and the plank. Use your pull bar at a low angle and tap it firmly with the mallet to draw the final joint closed without damaging your wall surface.