Project Shopping List
Floor transition strips are the unsung heroes of a flooring job – the thin metal or wood pieces that bridge the gap between two different floor surfaces at doorways, room entries, and elevation changes. Done right, they’re nearly invisible. Done wrong or skipped entirely, you end up with an exposed flooring edge that catches toes, traps debris, and eventually causes the flooring itself to chip or lift.
This guide covers the four most common transition types – T-molding, reducer, threshold, and end cap – and how to install each one cleanly. With the right strip for the situation and a few simple tools, this is a beginner-friendly project that makes your whole floor look more finished.
What You’ll Need
Tools
- Miter saw or handsaw with miter box
- Drill with masonry or wood bit
- Hammer
- Utility knife
- Tape measure
- Chalk line or pencil
Materials
- Transition strip appropriate to the situation (see below)
- Track/channel (comes with most strip kits)
- Concrete anchors (for slab installations)
- Wood screws (for wood subfloor)
- Construction adhesive (optional backup)
Choosing the Right Transition Type
T-molding bridges two floors at the same height – use it between two rooms with LVP, laminate, or hardwood at identical levels. A reducer transitions from a higher floor (hardwood, tile) to a lower one (vinyl, carpet). A threshold caps the end of flooring at an exterior door where it meets a different material at the threshold. An end cap covers the raw edge of flooring where it ends at a wall, fireplace, or sliding door track.
Step-by-Step Instructions
Step 1: Identify the Right Strip and Measure
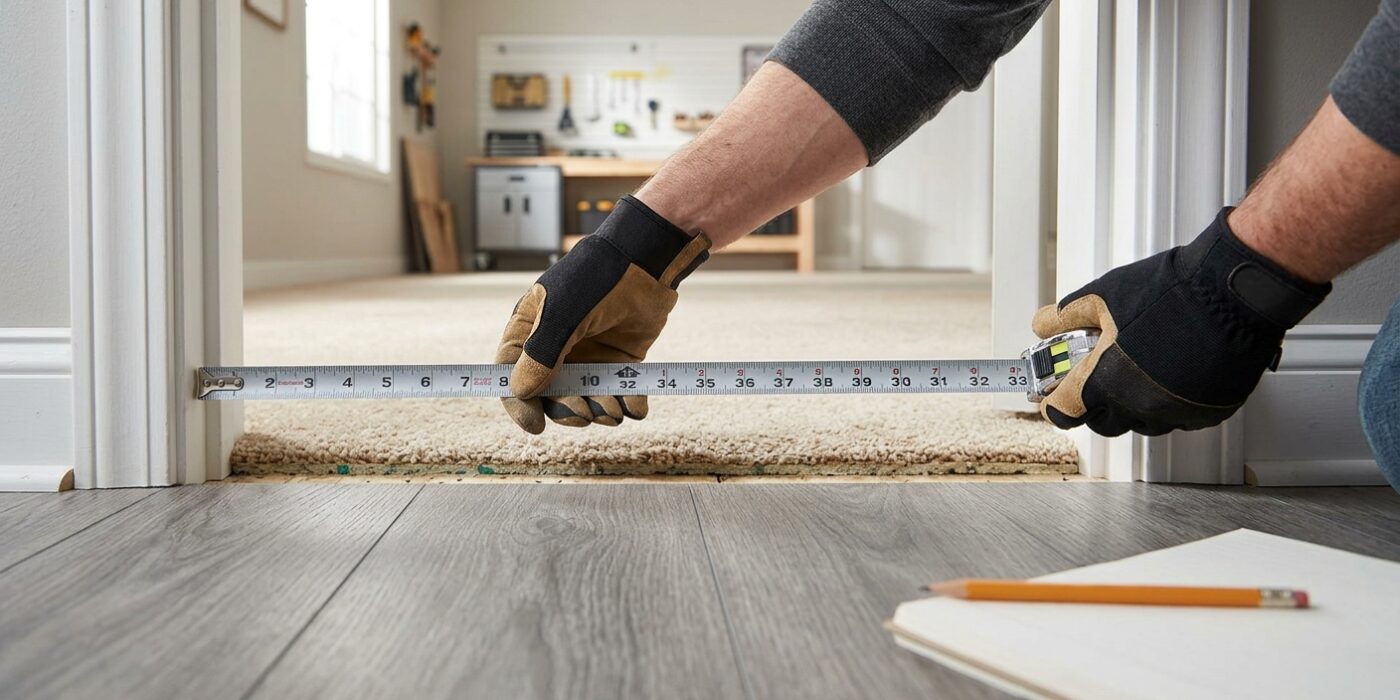
Stand in the doorway and look at the height difference between the two floors. If they’re within 1/4 inch of each other, T-molding works. If one is noticeably higher, you need a reducer. The transition strip should span from the edge of one floor material to the edge of the other, typically 1–1.5 inches total on each side. Measure the doorway width precisely – an off-cut of even 1/4 inch will show a gap.
Step 2: Cut the Track to Length
Most transition kits come with a separate metal track that anchors to the floor, and the decorative strip that snaps into the track. Cut the track 1/4 inch shorter than the doorway width to allow a small gap at each jamb. A hacksaw or metal-cutting blade on a miter saw works well. Deburr the cut ends with a metal file so they don’t snag the decorative strip.
Step 3: Position the Track
Center the track in the doorway so it straddles the gap between the two floors equally. Mark the screw hole locations on the floor through the pre-drilled holes in the track. The track should land fully on solid subfloor, not spanning unsupported flooring edges – this is critical for preventing squeaks and wobble in the finished strip.
Step 4: Drill and Anchor the Track
For wood subfloor, drill pilot holes and drive screws. For concrete slab, drill with a masonry bit and use expansion anchors or tapcons. Drive fasteners snug but not so tight that you distort the track shape – the decorative strip needs to snap in without the track being bowed. Space fasteners every 12 inches along the track.
Step 5: Cut the Decorative Strip to Length
Measure the doorway width again (between jambs, not wall to wall) and cut the decorative strip to length. For wood or laminate transition strips, use a fine-tooth miter saw blade for a clean cut. For metal strips, a hacksaw works. If you need a 45-degree miter at an angled doorway, measure both sides separately and cut accordingly – most miter saws handle this cut easily.
Step 6: Snap or Glue the Strip Into the Track
Most modern transition strips snap directly into the channel in the track. Start at one end and press the strip down with your palm, working toward the other end. You’ll hear and feel each section click in. For glue-down strips (common in older or commercial transition systems), apply construction adhesive to the track and hold the strip in place with painter’s tape until cured.
Step 7: Check for Rocking or Gaps
Once installed, press down on different points along the strip – it should feel solid with no rocking. Look at the gap between the strip and each floor surface: 1/8 inch or less on each side is acceptable and expected, as it allows for floor expansion. Larger gaps indicate the track wasn’t centered correctly – the strip can sometimes be repositioned if you haven’t used adhesive.
Step 8: Undercut Door Jambs If Needed
If the transition strip is thicker than the gap under the door casing, you’ll need to undercut the casing. Use an oscillating tool or a handsaw held flat against the floor to cut a notch in the bottom of the casing so the transition strip slides underneath it. This creates a professional, finished look – the strip disappears under the casing rather than butting awkwardly against it.
Pro Tips
- Match the transition finish to the dominant floor, not the secondary one – if you’re going from oak hardwood to tile, match the strip to the oak so it looks like a planned extension of the hardwood.
- Use construction adhesive as a backup on the track even when screwing – if a screw loosens, the adhesive keeps the track from rattling, which is the most common failure point.
- For long doorways over 6 feet (pocket doors, wide openings), check for bowing in the center of the strip and add an extra anchor point to prevent it from lifting in the middle.
- Stagger transition strips in adjacent doorways that are close together rather than aligning them – aligned strips across multiple doorways look institutional.
Frequently Asked Questions
Do I need a transition strip if both floors are at the same height?
Technically you could leave a small expansion gap and fill it with caulk, but transition strips serve an important structural purpose: they allow each floor section to expand and contract independently without buckling or telegraphing stress to the adjacent material. Skip them only on floating floors where both sections are the same product floating in the same direction.
My transition strip keeps popping up. What’s wrong?
The track is either not fully anchored to solid material, or the strip isn’t engaging the track properly because the track is distorted. Remove the strip, check that all track screws are tight and the track sits flat on solid subfloor, then re-snap the strip. If the track spans a hollow spot in the subfloor, add adhesive under the track at that location before re-fastening.
Can I use one type of transition strip for multiple situations?
No – each transition type is designed for specific height differences. Using a T-molding where you need a reducer creates a tripping hazard and won’t look right. That said, universal transitions with adjustable channels exist and can handle a range of height differences – worth considering if you’re not sure of the exact height difference between your two floors.