Project Shopping List
A damaged section of hardwood floor – whether from a water leak, deep gouge, or pet damage – doesn’t mean you need to replace the entire floor. If the boards are tongue-and-groove solid hardwood, you can cut out the bad section and weave in new boards so cleanly that the repair blends into the surrounding floor.
This is an intermediate repair that requires patience and a few specialized cuts, but it’s entirely doable without professional help. The hardest part isn’t the carpentry – it’s sourcing matching wood and getting the stain right. Get those two things right and the repair becomes invisible.
What You’ll Need
Tools
- Circular saw with edge guide
- Oscillating multi-tool with wood blade
- Chisel set (1-inch and 1/2-inch)
- Hammer
- Pry bar
- Drill and countersink bit
- Random orbital sander
- Tape measure and pencil
Materials
- Replacement hardwood boards – same species, width, and thickness
- Wood glue
- Finish nails or flooring cleats
- Wood filler
- Stain to match (test on scrap pieces)
- Polyurethane finish to match sheen level
Step-by-Step Instructions
Step 1: Source Matching Wood First
Before cutting anything, find your replacement boards. Take a pried-up piece of damaged wood to flooring suppliers – you need to match species (oak, maple, pine), width, and thickness exactly. Old-growth wood from houses built before 1950 often has tighter grain than modern boards, which affects how stain absorbs. Buy 20% more material than you think you need.
Step 2: Mark the Repair Area
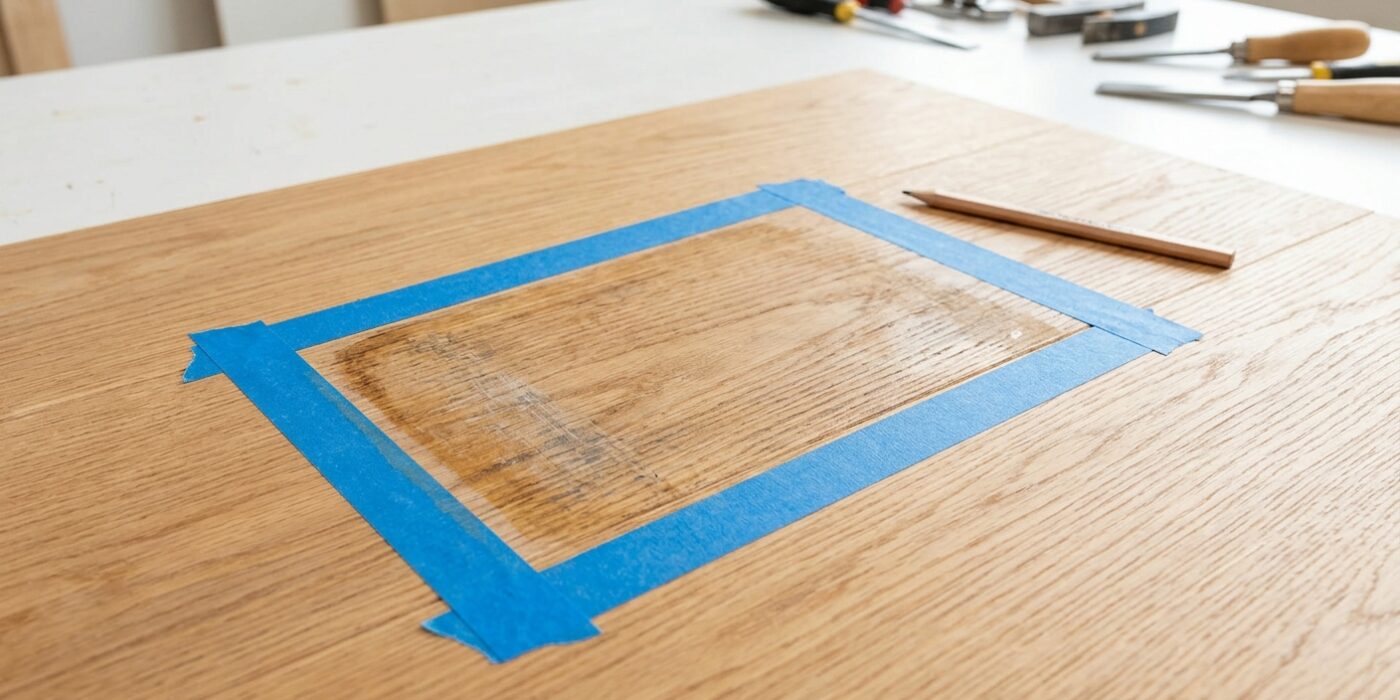
Mark out the section to remove, extending at least 6 inches past visible damage in all directions. End cuts must land in the middle of a board – never at a seam – so adjust your lines accordingly. Use a square to mark clean, perpendicular cut lines across the grain. Mark which boards to remove with tape so you don’t accidentally cut adjacent boards.
Step 3: Set Your Circular Saw Depth
Set your circular saw blade depth to just slightly deeper than the board thickness (typically 3/4 inch for solid hardwood) – you want to cut through the wood but not through the subfloor below it. Make a test plunge on scrap wood first. Cutting too deep into the subfloor creates problems when you try to nail the new boards down.
Step 4: Make the Cross Cuts
Make the two end cuts (across the grain) first using the circular saw with an edge guide clamped to the floor. Stop the cut about 1/2 inch from each long edge to avoid overcutting into adjacent boards. Finish these corners with an oscillating multi-tool – this gives you precise, square corners that a circular saw can’t reach.
Step 5: Make the Long Rip Cuts
For the long cuts parallel to the boards, use the circular saw with a guide. Set the blade to run exactly along the groove of the boards at the edge of your repair zone – this lets you pry out damaged boards without destroying the tongue of the adjacent board you’re keeping. Use the oscillating tool to finish corners.
Step 6: Remove Damaged Boards
Use a pry bar and hammer to lift out the cut sections. Work from the middle of the cut section outward. Be careful not to lever against the boards you’re keeping – pad the pry bar with scrap wood. Remove any staples or nails from the subfloor with pliers and vacuum the area clean.
Step 7: Prepare Replacement Boards
On boards that will sit against an existing wall edge, you’ll need to remove the bottom lip of the groove with a table saw or chisel – this allows the board to drop in from above without needing to slide in from the end. This is the classic “float and glue” technique for replacement boards in a field repair.
Step 8: Dry-Fit, Then Install
Dry-fit all replacement boards before applying any glue. They should drop in snugly. Apply wood glue to the subfloor and the tongue/groove joints, set boards in place, and weight or clamp them while the glue dries. Face-nail the first and last boards through the top face, countersink the nails, and fill with wood filler tinted to match.
Step 9: Sand Level
Sand the repair area with a random orbital sander, starting at 60 grit if there’s significant height difference, then progressing to 80, 100, and 120 grit. Feather out 12 inches beyond the repair into the existing floor so the transition is gradual. Vacuum and tack cloth before finishing.
Step 10: Stain and Finish
Test stain on scrap pieces of your new wood until you match the existing floor color. Apply pre-conditioner first if working with pine or birch – these woods blotch without it. Apply stain, wipe off, and let cure. Then apply two to three coats of polyurethane to match the surrounding sheen, feathering each coat into the adjacent floor.
Pro Tips
- New wood always absorbs stain differently than aged wood – budget time to do multiple stain tests. A combination stain is often necessary (e.g., two parts dark walnut, one part golden oak).
- If you can’t find matching boards at a lumber yard, try pulling boards from inside a closet – they’re the same floor but haven’t faded from sunlight, making them easier to stain-match to the damaged area.
- Oscillating multi-tools are the secret weapon for flooring repairs – their ability to make plunge cuts right to a corner is unmatched for this kind of work.
- Sand across the repair, not just along it – this helps blend the height of new boards with slightly worn surrounding boards.
Frequently Asked Questions
Can I repair engineered hardwood the same way?
Engineered hardwood can be repaired similarly, but it cannot be sanded as aggressively since the wear layer is only 1/8 to 3/16 inch thick. For deep damage to engineered flooring, board replacement is the better option. Floating engineered floors are actually easier to repair since you can often unsnap and replace boards from the wall.
What if the subfloor is also damaged?
Address subfloor damage before installing replacement flooring boards. Cut out the damaged subfloor section, add blocking between joists if needed, and screw in a patch of the same thickness plywood. The repair must be solid – any flex in the subfloor will cause the new hardwood to creak and potentially split at the seams over time.
How do I find the right sheen level for the finish?
Look at the existing floor at a raking angle in bright light. Matte finish shows almost no reflection; satin shows a slight sheen; semi-gloss reflects shapes clearly. Most modern hardwood floors are satin. Apply your topcoat in thin coats and check the sheen when fully dry – wet polyurethane always looks glossier than it dries.