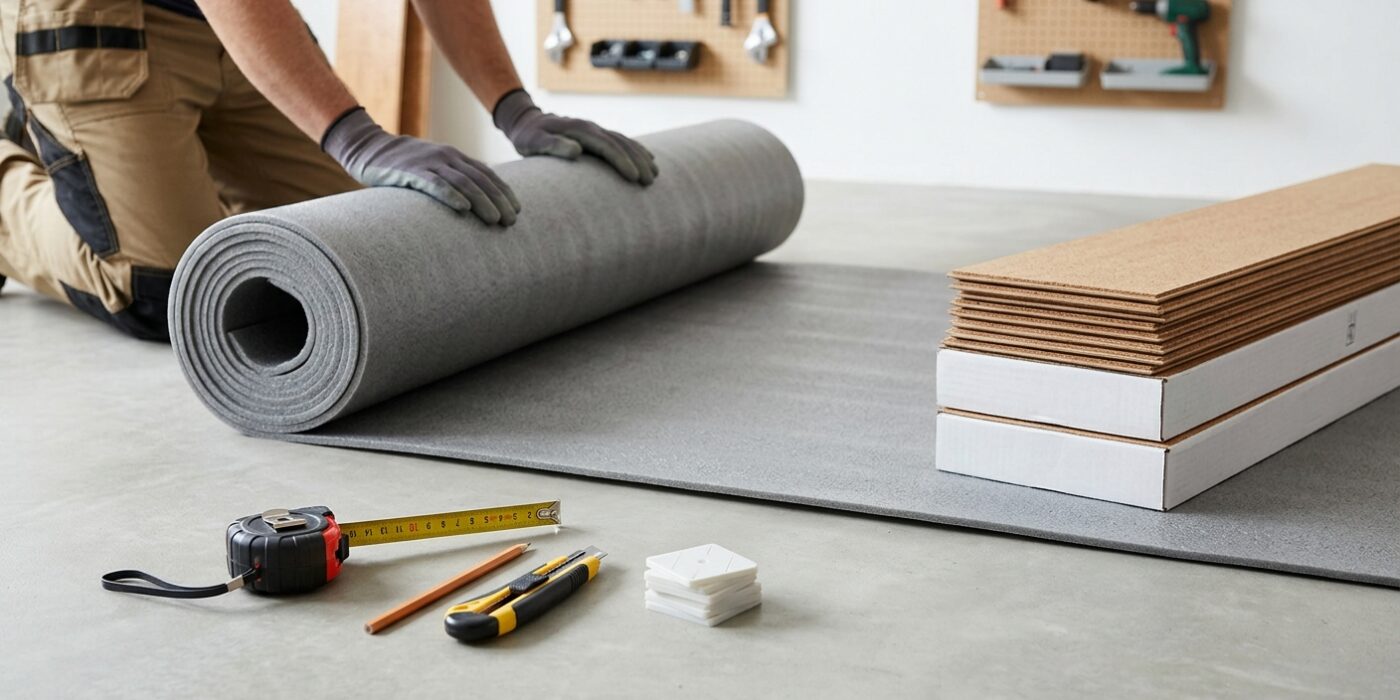
Project Shopping List
Cork flooring is one of the most underrated flooring options for DIYers – it’s naturally warm underfoot, absorbs sound better than any hard flooring, and is genuinely comfortable to stand on for long periods. It also installs in two ways: as a floating click-lock floor (similar to laminate) or as glue-down tiles, each with different applications and tradeoffs.
This guide covers both methods. Floating cork is faster and great for living spaces; glue-down cork tiles are more stable in humid environments like basements and kitchens. Choose based on your space, and this will be one of the more satisfying flooring installs you’ll tackle.
What You’ll Need
Tools
- Tape measure
- Chalk line
- Miter saw or circular saw
- Pull bar and tapping block (for floating)
- Notched trowel (1/16-inch V-notch, for glue-down)
- Rubber mallet
- Roller (100 lb for glue-down)
- Utility knife
Materials
- Cork flooring planks (floating) or tiles (glue-down)
- Cork underlayment (for floating over concrete)
- Pressure-sensitive cork adhesive (for glue-down only)
- Spacers (1/4-inch expansion gaps)
- Transition strips and baseboard trim
Before You Begin: Acclimation
Cork must acclimate to your home’s temperature and humidity for at least 72 hours before installation. Stack planks horizontally in the room where they’ll be installed. This is not optional – cork installed cold will expand after installation and buckle, or shrink and open gaps. Ideal installation conditions are 65–85°F and 40–60% relative humidity.
Floating Cork – Step-by-Step
Step 1: Prepare the Subfloor
The subfloor must be flat to within 3/16 inch over 10 feet, clean, and dry. Cork floating floors are very unforgiving of low spots – they flex over hollows and can crack the cork veneer over time. Fill low spots with floor leveling compound and sand down high spots. Floating cork can go over most existing hard flooring if flat and well-bonded.
Step 2: Install Underlayment (If Required)
Over concrete, a moisture barrier underlayment is essential – cork absorbs moisture and will swell and distort without one. Roll out the underlayment with seams butted (not overlapped) and tape them with the manufacturer’s recommended tape. Over wood subfloor, the cork plank itself often has an integral underlayment – check your product specs.
Step 3: Plan the Layout
Snap a chalk line 12 inches from the starting wall, parallel to the long dimension of the room. This gives you working room and a straight reference. Plan so that border planks on opposite walls are equal width and at least half a plank wide – this requires adjusting your starting line if the room width doesn’t divide evenly by plank width.
Step 4: Install the First Row
Place the first plank with the groove side facing the wall and 1/4-inch spacers between the plank and wall on both the end and side. Click subsequent planks in the same row end-to-end. Use a pull bar and rubber mallet at the end of each row to fully seat the end joints. Never force a joint – if it doesn’t click, check for debris in the groove.
Step 5: Stagger the Joints
Begin each subsequent row with a cut piece from the end of the previous row, or a piece cut to create a stagger of at least 12 inches from the seams in the previous row. Cork planks click together side-to-side with an angling motion – angle the tongue into the previous row’s groove and fold flat. Never use a hammer directly on the cork surface.
Step 6: Cut and Fit the Final Row
Measure the remaining space at the far wall, subtract 1/4 inch for expansion, and rip the final row to width on a miter saw or table saw. If the wall isn’t perfectly straight, scribe each plank individually. Use a pull bar at the wall to pull final row planks tight – you can’t swing a mallet into the wall.
Glue-Down Cork Tiles – Additional Steps
Step 7: Establish Working Lines for Tile Layout
Find the center of the room and snap perpendicular chalk lines. Dry-lay tiles from the center to all four walls and adjust the center point so border tiles are equal and at least half a tile wide. This is identical to the layout process for ceramic tile.
Step 8: Apply Adhesive in Sections
Apply pressure-sensitive cork adhesive with a 1/16-inch V-notch trowel in sections of 40–50 square feet. Follow the manufacturer’s open time – cork adhesive typically becomes tacky in 20–30 minutes and must be tiled before it becomes too dry. Don’t apply more than you can tile in that window.
Step 9: Set and Roll Tiles
Set each tile in the adhesive, pressing firmly, and immediately check for square alignment. A 100-lb roller passed over every tile ensures full adhesive contact – skipping the roller is the most common cause of glue-down cork failures (hollow spots, edge lifting). Roll within 30 minutes of setting tiles.
Pro Tips
- Cork seals itself against moisture ingress better when finished – apply two coats of water-based polyurethane to unfinished cork tiles after installation. Most floating cork comes prefinished.
- Felt pads under furniture legs are non-optional with cork – heavy point loads leave permanent impressions in the soft material.
- In bathrooms, use glue-down cork with a full-coat sealant on the surface and at all seams. Floating cork in wet areas will swell at the joints over time.
- Cork’s natural color variation is part of its appeal – mix tiles from multiple boxes before installation to blend color lots evenly across the floor.
Frequently Asked Questions
Is cork flooring durable enough for kitchens?
Yes, with the right product and maintenance. Glue-down cork tiles with a polyurethane finish hold up well to kitchen traffic. The concern is water – spills must be wiped up promptly, and the floor should be resealed every 2–3 years. Avoid cork in front of the sink or dishwasher where water exposure is most frequent.
Can cork flooring be refinished if it gets worn?
Unfinished cork tiles can be sanded and refinished – sand with an orbital sander (not a drum sander, which removes too much material) through 80 and 120 grit, then apply new finish. Prefinished floating cork planks with a thin veneer layer should not be sanded – the veneer is only 1/16 inch thick and can sand through quickly.
Will cork flooring reduce sound from foot traffic?
Significantly. Cork has a natural cellular structure that absorbs impact sound better than any other hard flooring option. It won’t eliminate sound entirely to the floor below, but it dramatically reduces the “clacking” of footsteps. Adding a cork underlayment beneath even non-cork floating floors is a popular trick for improving sound performance.