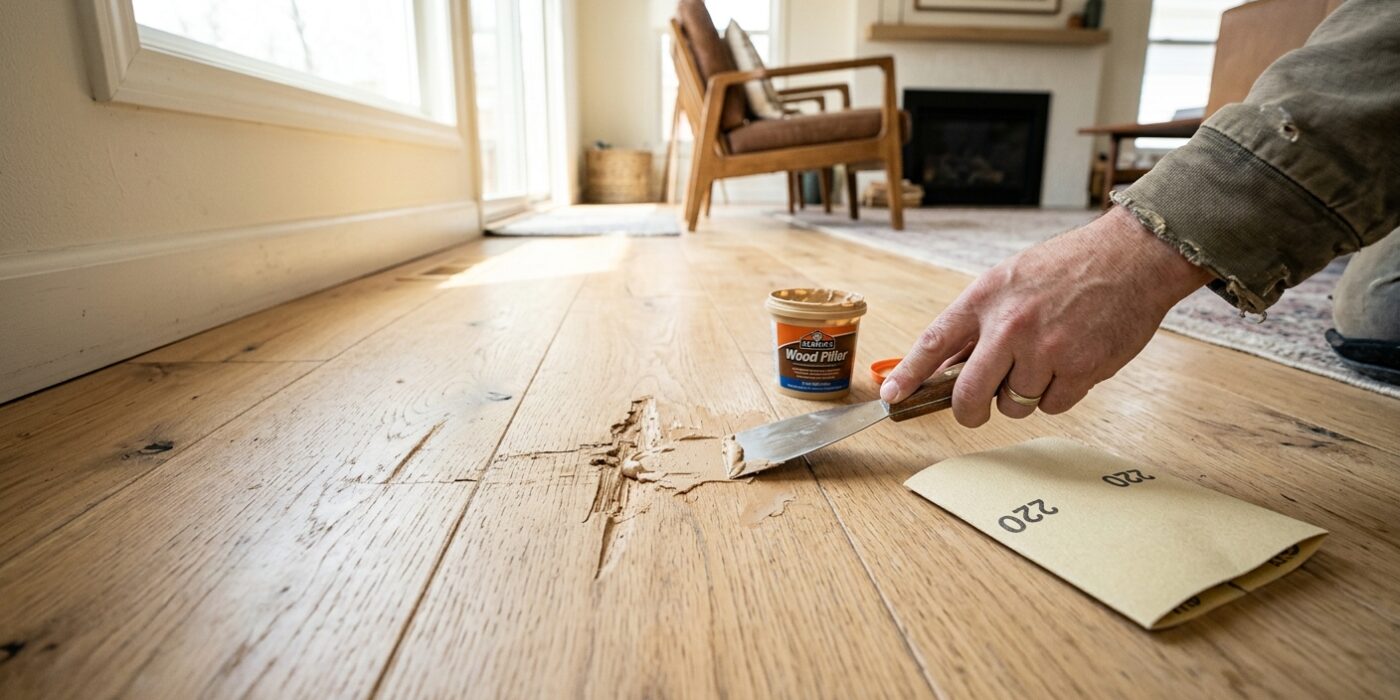
Project Shopping List
Deep scratches and gouges in hardwood floors catch light at an angle and look terrible, but they’re almost never as structural as they appear. Most can be repaired to near-invisibility without professional equipment – the challenge is matching the color. Color-matching is the real skill here; the actual repair takes under an hour.
This guide covers both wood filler repairs (for gouges deep enough to need filling) and burn-in stick repairs (the professional approach for deep surface damage). You’ll also learn how to handle finish touch-ups, which is the step most DIYers skip and then regret.
What You’ll Need
Tools
- Putty knife or plastic scraper
- Fine steel wool (0000 grade)
- Soft cloths and tack cloths
- Paintbrush (small, 1-inch)
- Heat gun or burn-in knife (for burn-in stick method)
Materials
- Wood filler or stainable wood putty – multiple colors for blending
- Burn-in sticks (optional – professional repair material)
- Stain markers or wax crayon fillers in matching colors
- Polyurethane (same sheen as existing floor)
- Mineral spirits
Assessing the Damage
Run your fingernail across the scratch. If it catches noticeably, you have a true scratch or gouge in the wood itself. If it’s smooth but colored, the damage is only in the finish layer. Finish-only damage is easiest to repair – light sanding and a new finish coat may be all that’s needed. Wood damage requires filling.
Step-by-Step Instructions
Step 1: Clean the Damaged Area
Wipe the area with mineral spirits on a soft cloth to remove any wax, oil, or cleaning product residue. Wax especially prevents fillers and stains from bonding. Let the area dry completely (10–15 minutes) before applying anything. This step is consistently skipped and consistently regretted.
Step 2: For Surface Scratches – Stain Marker or Wax Fill
For scratches that are shallow but colorful – meaning the scratch shows the lighter wood under the finish – use a stain marker or wax crayon in a matching color. Apply, let dry for a minute, then buff with a soft cloth. These products fill the scratch optically rather than structurally and work surprisingly well for light surface damage. The Minwax and Old English product lines offer the widest color range for common wood species.
Step 3: For Deep Gouges – Select and Mix Wood Filler
Wood fillers come in a range of colors, but no single color will match your floor. Buy two or three adjacent colors and mix them on a palette (an old lid works fine) until you approximate the background wood color – the mid-tone, not the grain. You’ll add grain color as a separate step. Test on a scrap or in a hidden spot before committing to the repair.
Step 4: Apply Filler in Thin Layers
Overfill the gouge slightly – fillers shrink as they dry. Press the filler firmly into the gouge with a putty knife to eliminate air voids, then leave a slight crown above the floor surface. Let the first application dry completely (30–60 minutes for water-based fillers), then apply a second thin layer to top off any shrinkage. Don’t rush this – underfilled repairs are the most visible outcome.
Step 5: Sand Level
Once fully cured (2+ hours for water-based filler), sand the patch level with the surrounding floor using 120-grit paper, then 180 grit. Use a small block to keep the sanding flat – finger pressure alone will create a low spot over the softer filler. Vacuum and wipe with a tack cloth before checking the level in raking light.
Step 6: Add Grain Lines (Optional but Recommended)
Filled patches look flat without grain lines. Use a fine-tipped artist’s brush and a slightly darker shade of stain to draw 2–3 grain lines across the patch that blend with surrounding grain direction. Practice on paper first – this step is purely artistic but adds enormous realism. Let dry completely.
Step 7: Apply Finish Coats
Apply two thin coats of polyurethane to the repair area, feathering 6 inches into the surrounding floor on each pass. Use the same sheen (matte, satin, semi-gloss) as the existing finish. Let each coat dry per the product instructions. Lightly scuff with 0000 steel wool between coats for adhesion and smoothness. Buff the final coat with a soft cloth to blend sheen levels with the surrounding floor.
Pro Tips
- Burn-in sticks (shellac-based repair sticks melted into the gouge with a burn-in knife) give a harder, more durable repair than wood filler and can be polished to a glass-smooth finish. The technique has a learning curve but is worth mastering for frequently trafficked areas.
- Never use super glue or epoxy for wood repairs on hardwood floors – they create an extremely hard patch that telegraphs through the finish as a shiny spot and cannot be sanded flat without removing too much surrounding finish.
- Raking light (a flashlight held at floor level) reveals every imperfection – use it as a quality check before applying finish, not after.
- Apply new finish in the same direction as the wood grain for the most invisible blend.
Frequently Asked Questions
Will the repair be visible after it’s done?
A well-executed color-matched repair is nearly invisible in normal lighting. It may show slightly at certain angles in direct sunlight – this is true of even professional repairs on solid hardwood. Engineered hardwood repairs are more visible because the thin wear layer limits how much material can be removed, making feathering harder.
Can I repair a scratch in polyurethane-finished floors without refinishing the whole board?
Yes – spot repairs are the standard approach. The key is using the same sheen level and feathering the repair out at least 6 inches in each direction. Complete board refinishing is only necessary when the damage is so widespread that spot repairs would cover more than 30–40% of a single board’s surface.
My floor has wax on it – do I need to remove the wax before repairing?
Yes, completely. Wax prevents filler and new finish from adhering. Use a wax remover product (mineral spirits work on paste wax) and scrub with a soft brush, then wipe clean. You may need two or three passes. After repairing, you can re-wax, but consider switching to a polyurethane-compatible cleaner going forward – wax makes future repairs harder every time it’s applied.