Project Shopping List
A mudroom bench with cubbies is one of the most practical pieces of furniture you can build – it corrals shoes, coats, backpacks, and sports gear at the entry, creates a place to sit while putting on boots, and makes a chaotic entry look organized. And because it’s built-in, it looks custom and adds real value to the home.
This guide covers a floor-to-ceiling mudroom unit with a bench seat, open cubbies above, and a lower shoe shelf below – sized for a standard 8-foot wall. The construction is simple: plywood carcass, solid wood face frames, and a painted finish. No advanced joinery required.
What You’ll Need
Tools
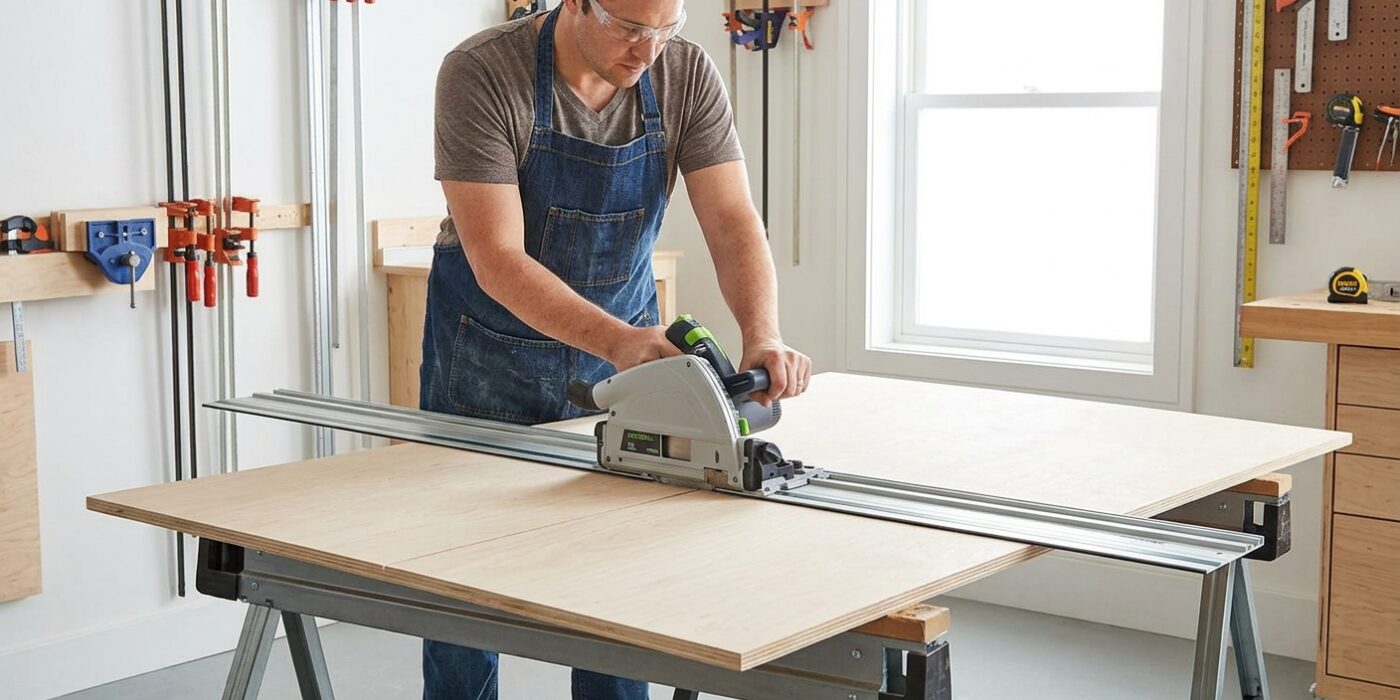
- Table saw or circular saw with guide
- Miter saw
- Drill and pocket hole jig (Kreg)
- Random orbital sander
- Level and tape measure
- Stud finder
- Nail gun (finish nailer)
Materials
- 3/4-inch cabinet-grade plywood – 4 sheets
- 1/4-inch plywood for cubby backs
- 1×3 and 1×4 poplar or pine for face frames
- 1-1/2-inch pocket screws
- 2-inch finish nails
- Construction adhesive
- Wood filler and sandpaper
- Primer and cabinet paint
- Coat hooks (5–6 total)
Step-by-Step Instructions
Step 1: Plan the Layout
Measure your wall and decide on cubby dimensions. A standard cubby for school backpacks should be at least 14 inches wide by 16 inches deep by 18 inches tall. The bench should sit at 18 inches from the floor – comfortable for adults and accessible for children. Sketch a dimensioned drawing before cutting anything. Account for the floor baseboard by scribing the unit to the wall or installing over it.
Step 2: Build the Lower Cabinet Box
Cut the lower cabinet sides, bottom, and top (which becomes the bench seat support) from 3/4-inch plywood. Assemble using pocket holes – drill two pocket holes per joint, apply glue, and drive 1-1/2-inch pocket screws. Build a simple rectangular box: two sides, a bottom, and a top panel. Add a horizontal shelf inside at shoe height (6–8 inches from the bottom) to create the shoe storage area.
Step 3: Build the Upper Cubby Section
The upper section mounts on top of the bench and rises to ceiling height (or to a defined upper height). Build individual cubby boxes from 3/4-inch plywood – a three-cubby unit needs two outer sides, a center divider, top and bottom panels, and optional back panels. Pocket hole assembly works here too. Add 1/4-inch plywood backs for a clean look and to prevent items from falling behind.
Step 4: Level and Anchor the Lower Cabinet
Set the lower cabinet in place and shim until perfectly level – the bench seat must be level or it looks wrong from across the room. Locate studs behind the wall and drive 3-inch screws through the cabinet back into studs. Hiding the fasteners with 1/4-inch plywood or the face frame is the key to a built-in look.
Step 5: Install the Upper Cubby
Set the cubby unit on top of the bench cabinet. Fasten through the cubby bottom into the top of the lower cabinet with pocket screws. Then anchor the upper unit through its back into wall studs. Check plumb in both directions before final fastening.
Step 6: Build and Install Face Frames
Face frames from 1×3 poplar give the unit a furniture quality appearance and cover plywood edge grain. Cut all stiles (vertical pieces) and rails (horizontal pieces), assemble with pocket holes, and glue-and-nail the frame to the plywood carcass. The frame should be flush with the inside edges of the cubbies and overhang the outside edges by 3/8 inch to hide wall gaps.
Step 7: Add the Bench Seat Top
The bench seat can be 3/4-inch plywood covered with primed and painted MDF for a smooth finish, or solid hardwood for a more premium look. Fasten from below through the top panel of the lower cabinet. Round the front edge with a router or sand to a soft radius – sharp plywood edges at bench height are uncomfortable.
Step 8: Fill, Sand, and Paint
Fill all nail holes, pocket holes (use wood filler plugs), and any gaps between the unit and the wall with spackle or paintable caulk. Sand all surfaces starting at 80 grit, then 120, then 150. Apply two coats of primer (critical for a smooth topcoat on MDF and plywood), then two to three coats of cabinet enamel. Semi-gloss holds up best to mudroom abuse.
Step 9: Install Coat Hooks and Accessories
Mount coat hooks on the back panel of each cubby or on the wall above the bench. Space hooks 10–12 inches apart and place them at heights that work for both adults and children (about 60 inches for adults, 48 inches for children). Use screws into studs or toggle anchors – hooks loaded with wet winter coats and bags are surprisingly heavy.
Pro Tips
- Scribe the sides of the unit to the wall rather than leaving a gap – a scribing strip of 1/4-inch plywood glued to the side allows you to run a compass along the wall and cut the exact profile of any irregularities.
- Paint the inside of cubbies a different, darker color than the face frames – this makes the cubbies visually pop and hides the inevitable scuffs and marks from daily use.
- Use pocket holes for nearly every joint in this build – they’re fast, strong enough for this application, and require no clamping time compared to dowels or biscuits.
- Wainscot the wall behind the bench seat with beadboard panel – it adds a finished look and protects the wall from boot marks and bag scuffs at bench height.
Frequently Asked Questions
What’s the best paint to use for a mudroom unit?
A water-based alkyd hybrid cabinet enamel (brands like Benjamin Moore Advance or Sherwin-Williams Emerald Urethane) offers the best combination of hardness, scrubbability, and ease of brush application. These paints self-level well and cure to a hard, furniture-quality finish that holds up to the daily abuse of a mudroom far better than standard wall paint.
My ceiling is 9 feet. How do I handle the gap above the cubby unit?
Build the unit to the ceiling and add a filler piece, or design the unit to stop at a designed height (7 feet is common) and add crown molding at the top to fill the space to the ceiling. Crown molding is faster and looks more intentional than trying to fill every inch of an odd-height ceiling. Cut the crown at 45 degrees where it meets the wall on each side.
Can I add a cushion to the bench seat?
Yes – a custom or ready-made bench cushion makes the bench significantly more comfortable. Size the seat to accommodate standard cushion widths (typically 16 or 18 inches). Build a small lip on the front edge of the seat or use non-slip grip pads under the cushion to prevent it from sliding forward when sat on.