Project Shopping List
Every woodworker encounters gaps, tear-out, dents, and over-sanding. These are not signs of failure — they are solvable problems with established fixes. Knowing how to correct mistakes before finishing is what separates a mediocre result from a professional one. Most surface defects are fixable in 15-30 minutes if you catch them before the finish goes on.
What You Need
- Wood filler, wood putty, or epoxy filler
- CA glue (cyanoacrylate) and accelerator
- Sandpaper: 80 through 220 grit
- Cabinet scraper
- Sharp chisel
- Matching wood stain or touch-up markers
Fixing Common Problems
Gaps at Joints
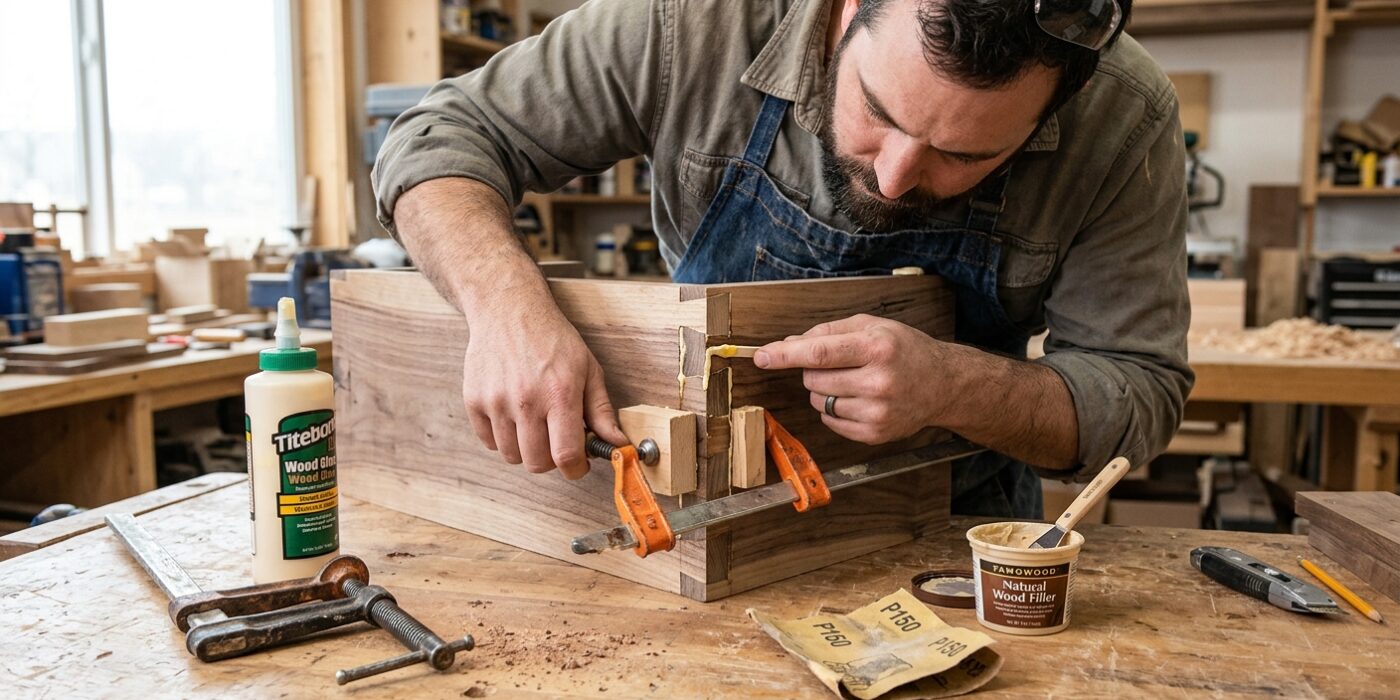
Small gaps (under 1/8 inch) at glue joints or miters can be filled with a mix of fine sawdust from the same wood and wood glue — the result matches the wood color better than any commercial filler. Press the mixture into the gap, let it dry, and sand flush. For larger gaps, use a solid wood spline or re-cut the joint if the gap is structural. Gaps at outside corners (miters in picture frames or trim) look worse and should always be re-cut — filler at a corner never holds paint or stain well.
Tear-Out on End Grain
Tear-out occurs when wood fibers lift instead of cut cleanly, leaving a ragged surface. Prevention is easier than repair: always rout or plane with the grain direction, make climb cuts on routers for the final pass, and use sharp bits. To fix existing tear-out: if shallow (less than 1/16 inch), sand it out, starting with 80 grit to remove the ridges, then progressing through 120 and 180. For deeper tear-out, a cabinet scraper used across the grain followed by with-the-grain produces a cleaner result than sandpaper alone.
Dents and Dings
Fresh dents in raw wood can often be raised with steam: lay a damp cloth over the dent and apply a hot iron briefly. The steam causes the compressed wood fibers to swell back to their original position. This works best on soft and medium-hard woods; very hard woods like maple respond less. After steaming, let the wood dry completely and sand smooth. For old dents or dents in finished wood, fill with CA glue (thin viscosity): wick it into the dent in drops, letting each drop cure before adding more, until the dent is slightly overfilled. Sand flush when fully cured.
Over-Sanding — Going Through Veneer
Sanding through a veneer exposes the substrate (MDF or plywood core) and the color difference is impossible to hide with stain. Prevention: on veneered panels, sand by hand with a block — never with a random orbital sander. If you have sanded through, the only real fix is to patch the veneer or use a painted finish that covers both surfaces uniformly. This is why checking veneer thickness before sanding is critical — modern veneers can be as thin as 1/40 inch.
Over-Sanding — Rounded Edges and Profiles
Power sanding rounds over crisp edges and detail profiles. If an edge has been sanded round, restore it with a block plane or sharp chisel to re-establish the crisp arris, then hand-sand to blend. Going forward: always sand profiles with a shaped sanding block that matches the profile, never with a flexible pad that rounds the details.
Squeeze-Out in Visible Areas
Glue squeeze-out that dries in a visible area blocks stain and shows as a light spot under the finish. Dry glue is easier to remove than wet — let it gel to a rubbery consistency (30-45 minutes for most yellow glue), then peel it off with a chisel. Fully dried glue must be sanded off, which risks scratching adjacent surfaces. To prevent it: tape off glue surfaces before assembly, or use very small amounts of glue where appearance matters.
Scratches from Coarser Grits
Scratches visible through the finish are almost always from a previous grit that was not fully removed before moving to the next. Fix: re-sand the area with the grit that left the scratches, then sand all the way through to your final grit again. You cannot sand out 80-grit scratches starting at 150 — you must go back to 80 and work forward. Good lighting at a low angle reveals scratches that are invisible under overhead light.
Pro Tips
- Check your work in raking light (a single light source at a very low angle) before applying any finish — this reveals every scratch, dent, and glue spot that overhead light hides.
- Fill screw holes in stained projects with color-matched wood plugs cut from the same board, not with filler — filler never matches grain or stain color perfectly.
- Keep a bottle of thin CA glue at the bench for quick fixes — it cures in seconds with accelerator and can be sanded and stained.
Frequently Asked Questions
Can wood filler be stained to match?
Most water-based wood fillers absorb stain unevenly — they either go too dark or too light compared to surrounding wood. Test on scrap first. The most reliable match is homemade filler from the same wood’s sanding dust mixed with wood glue. Some manufacturers make tinted fillers that are pre-colored to match common wood species — these work better than plain fillers for stained projects.
My glue joint has a gap after the glue dried. Did I fail?
Small gaps after drying usually mean the mating surfaces were not flat or the clamps pushed the joint out of alignment. For a structural joint, disassemble (heat the joint with an iron to soften hide glue, or cut it apart for yellow glue), re-flatten the mating surfaces, and re-glue. For a cosmetic gap on a non-structural joint, fill with the sawdust-and-glue method and sand flush.