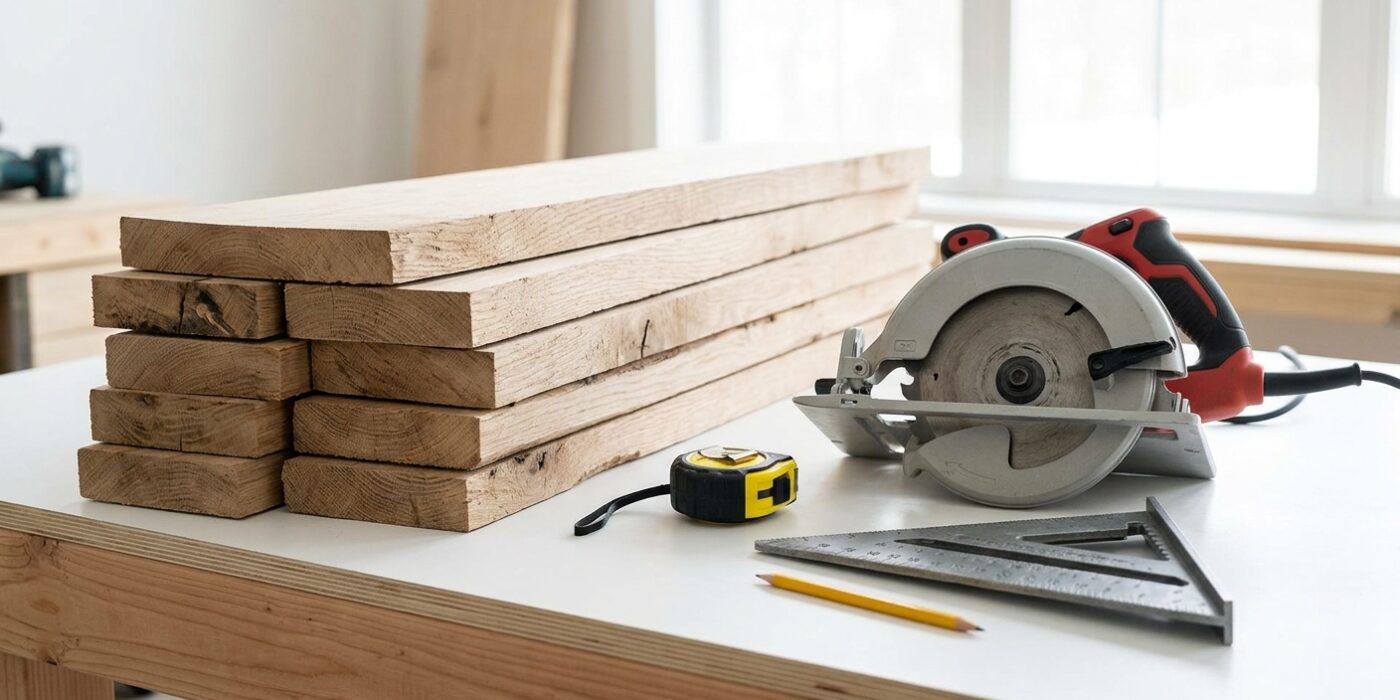
Project Shopping List
Building a bookcase from scratch – not from a flat-pack kit – lets you choose the dimensions, wood species, shelf spacing, and finish that work for your space. It’s one of the best first furniture projects because it teaches essential woodworking skills (ripping plywood to width, dadoes, face frames, finishing) without requiring advanced joinery or expensive tools.
This guide builds a 36-inch-wide by 78-inch-tall by 12-inch-deep bookcase with adjustable shelves, a face frame, and a painted finish. The techniques here scale to any size and can be adapted for built-in applications.
What You’ll Need
Tools
- Table saw or circular saw with guide
- Router with straight bit (for dadoes) or table saw dado stack
- Miter saw
- Drill and pocket hole jig
- Random orbital sander
- Clamps (at least 4 bar clamps)
- Level, square, tape measure
Materials
- 3/4-inch cabinet-grade plywood – 2 sheets
- 1/4-inch plywood for back panel
- 1×3 and 1×2 poplar or pine for face frame
- Shelf pin holes and shelf pins (for adjustable shelves)
- Wood glue
- 1-1/4-inch and 2-inch finish nails
- 150 and 220 sandpaper
- Primer and paint or stain and polyurethane
Step-by-Step Instructions
Step 1: Calculate and Cut All Parts
Make a cut list before touching the saw. For a 36x78x12-inch bookcase: two side panels at 3/4x12x78 inches, a top and bottom panel at 3/4×11.25×34.5 inches (accounting for side thickness), a fixed center shelf at the same dimensions, and adjustable shelves slightly shorter for clearance. The back panel is 1/4 plywood cut to the full exterior dimensions minus the frame. Cut all parts from plywood before beginning assembly.
Step 2: Cut Dadoes for Fixed Shelves
A dado joint (a groove cut into one piece that a shelf slides into) creates a much stronger fixed shelf than a butt joint with screws alone. Set your router or dado blade to cut a 3/4-inch-wide, 3/8-inch-deep groove in each side panel at the location of your fixed bottom shelf. The dado should be perpendicular to the length of the side and exactly 3/4 inch from the bottom edge. Test the fit with a scrap piece of 3/4 plywood – it should slide in snugly without force.
Step 3: Drill Shelf Pin Holes
Before assembly, drill the shelf pin holes in the side panels using a shelf pin jig. Mark the hole column positions (typically 1.5 and 3.5 inches from each edge), clamp the jig in place, and drill 1/4-inch holes every 1-1/4 inches along each column. Consistent depth is critical – use a drill stop collar set to 1/2 inch. Drill all holes before assembly; it’s nearly impossible to drill them accurately after the case is assembled.
Step 4: Assemble the Case
Dry-fit all parts first to verify everything fits. Apply wood glue to all joints, then assemble: set the two sides on a flat surface, slide the bottom shelf into its dado, set the top panel, and square everything up. Nail through the top panel into the sides with 2-inch finish nails, and nail through the sides into the top of the bottom shelf. The back panel goes on last and squares the whole case – apply glue to all edges, set the back panel, check for square by measuring diagonals (equal = square), and nail around the perimeter.
Step 5: Build the Face Frame
The face frame covers all plywood edges on the front of the case and gives it a furniture appearance. Cut 1×3 stiles (vertical pieces running the full height) and 1×2 rails (horizontal pieces between the stiles at top and bottom). Assemble with pocket holes and glue, then glue and nail the assembled frame to the front of the case with 1-1/4-inch nails. The frame should be flush with the inside edges of the case on all openings and overhang slightly on the outside edges.
Step 6: Add a Top Cap
A solid wood or MDF top cap (a piece that sits on top of the case and overhangs the front and sides by 3/4 inch) gives the bookcase a more substantial, furniture appearance. Attach it with pocket screws from inside the case through the top panel. Round or profile the front and side edges with a router for a finished look.
Step 7: Fill and Sand
Fill all nail holes with wood filler. Fill the exposed plywood edge grain on any surfaces not covered by the face frame (typically the top) with multiple coats of spackle or grain filler, sanding between coats until smooth. Plywood edge grain is highly absorbent and shows through paint badly without proper filling. Sand all surfaces through 120, then 150 grit.
Step 8: Prime and Paint
Apply two coats of a quality oil-based or shellac primer – this fills the grain in MDF and wood surfaces and provides a hard base for paint. Sand lightly with 220 grit between coats. Apply two to three coats of paint in your chosen color and sheen. For a bookcase, satin finish strikes the right balance between cleanability and warmth.
Step 9: Install Adjustable Shelves
After the finish cures, insert shelf pins in the desired positions and set the adjustable shelves. Cut shelves from 3/4-inch plywood at 1/8-inch shorter than the interior width for easy removal. Cover the front edge of each shelf with 3/4×3/4-inch iron-on edge banding or a thin strip of face frame material to hide the plywood edge when the shelves are loaded with books.
Pro Tips
- Build the bookcase in your shop or garage, then carry it to the room – trying to build in place is far more difficult. A standard 36-inch bookcase will fit through most interior doorways on its side.
- Make the back panel from 1/4-inch plywood – it’s strong enough, lighter than 1/2-inch, and saves money on a large case without sacrificing structural integrity.
- Cut all face frame parts 1/16 inch long and plane or sand to final fit – this is faster than trying to cut to perfect length and adjust for gaps.
- For a painted finish, lightly scuff the primer coat with 220-grit paper before painting – this knocks down any nibs or brush marks and gives the paint coat an excellent tooth to adhere to.
Frequently Asked Questions
How do I prevent the bookcase from tipping forward?
Any freestanding bookcase taller than 3 feet needs to be anchored to the wall – especially in homes with children. Use L-brackets screwed into a stud through the back panel near the top of the case. Anti-tip furniture straps (marketed for baby-proofing) also work and are less visible than metal brackets.
Can I build this from solid wood instead of plywood?
Yes, but solid wood panels wider than 8 inches are prone to warping and splitting with seasonal wood movement unless edge-glued from narrower pieces. Plywood is dimensionally stable and significantly cheaper per square foot. If you want the look of solid wood, use plywood for all the panels and solid wood only for the face frame – this gives you the appearance of solid wood furniture at much lower cost.
My shelves sag in the middle after loading with books. How do I fix this?
Shelf sag is a span problem – 3/4-inch plywood sags noticeably over spans greater than 30 inches under book loads. The fixes: add a center vertical divider to reduce the span, use 1-1/2-inch thick shelves (two pieces of 3/4 glued together), or add a 1×2 hardwood nosing to the front edge of the shelf – this creates an I-beam effect that dramatically increases stiffness without adding much weight.