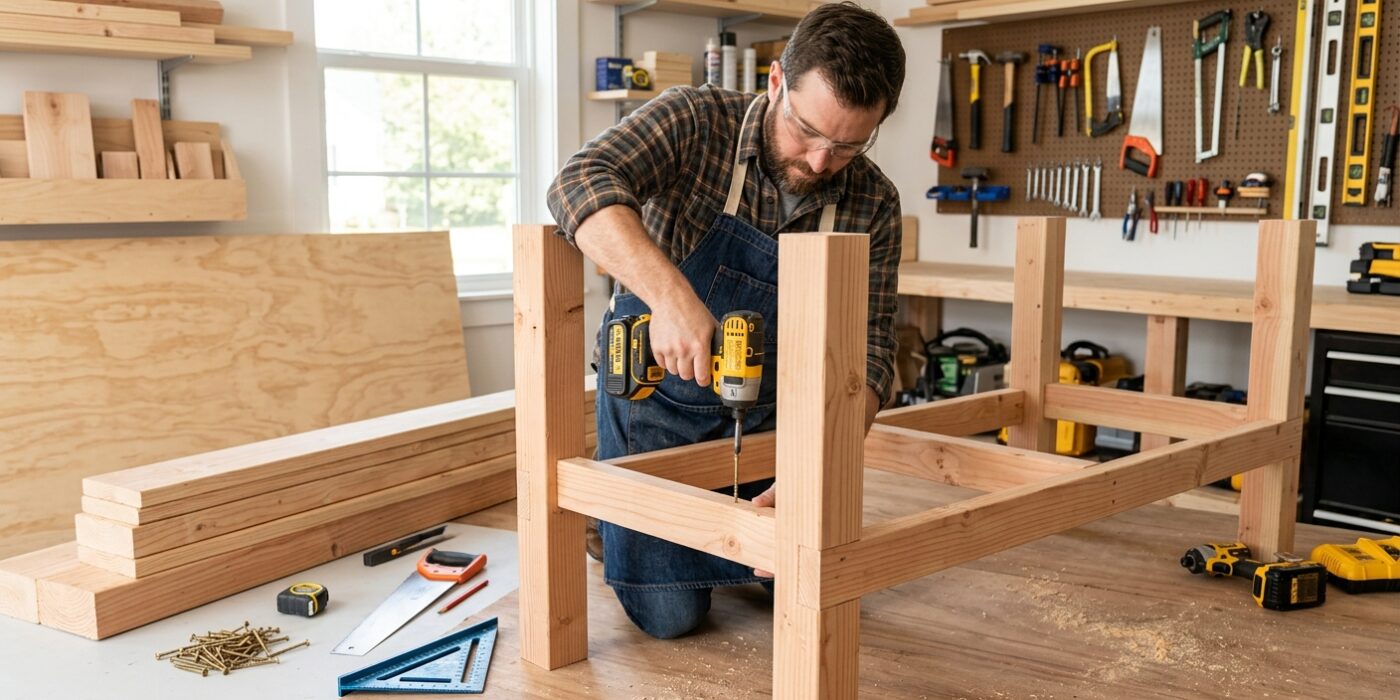
Project Shopping List
The Foundation of Every Workshop
A solid workbench makes every other project better. This simple 2×4 design is strong, cheap, and takes one day to build. Materials cost about $150 at any hardware store.
Step 1: Cut All Your Lumber
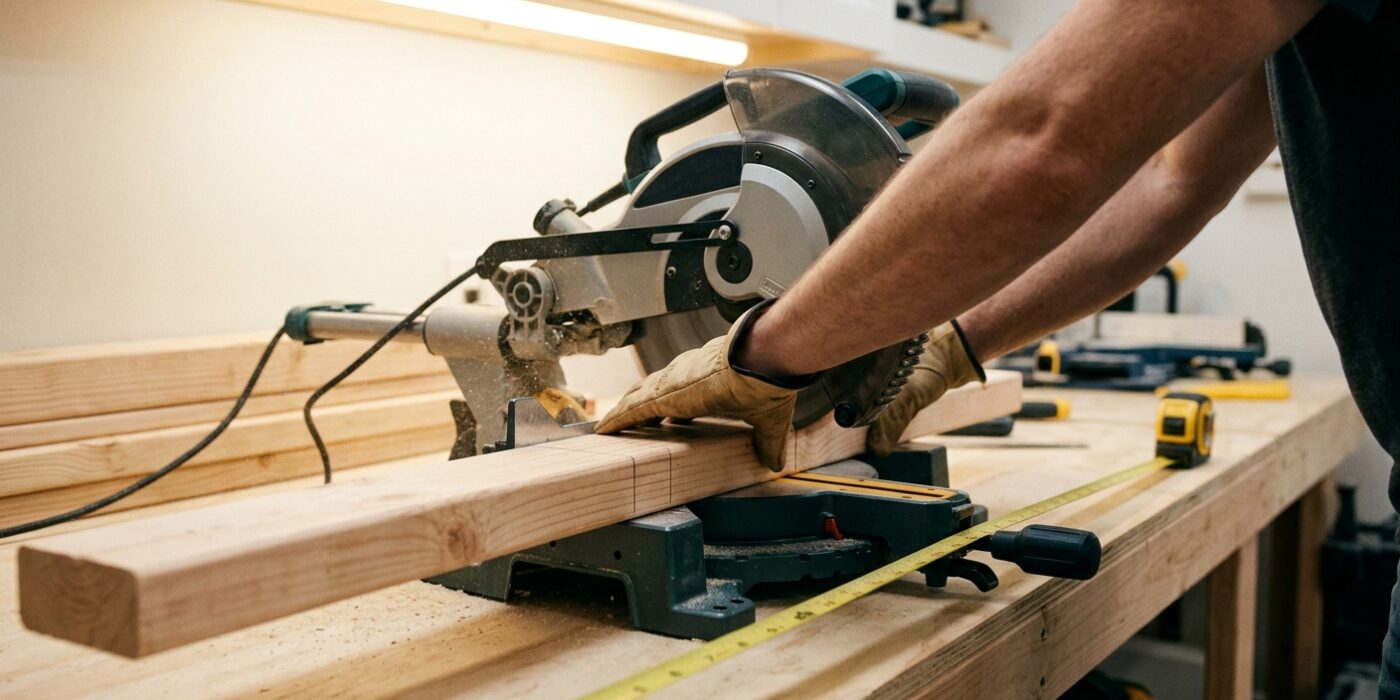
Before you begin assembling your workbench, you need to cut your lumber down to size. Think of this as preparing your ingredients before you start cooking; having everything ready makes the assembly process smooth and stress-free. Using a circular saw or a miter saw, carefully measure and cut the following pieces from your 2×4 boards:
- Four legs at 34 inches long.
- Four long rails at 72 inches long.
- Four short rails at 24 inches long.
You will also need to cut your 3/4 inch plywood sheet to 72 inches by 24 inches to serve as your workspace top. Ensure every cut is perfectly square – meaning the ends are at a 90-degree angle – so that your workbench sits level and doesn’t wobble later on.
Beginner Tip: The most common mistake is forgetting to account for the “kerf,” which is the width of the saw blade itself. When you mark your wood, draw your line, then cut on the “waste side” of the line rather than directly through the middle. If you cut right on top of the line, your board will end up slightly shorter than you intended.
Alternative Method: If you do not own a power saw, most home improvement stores will cut the lumber to your exact measurements for free or a very small fee when you purchase the materials. Just bring your list of cuts to the lumber department, and they will handle the heavy lifting for you.
Pro Tip: Use a speed square to draw your cut lines. By pressing the lip of the square firmly against the edge of the board, you can quickly draw a perfectly straight, 90-degree line every single time.
Step 2: Build the End Frames
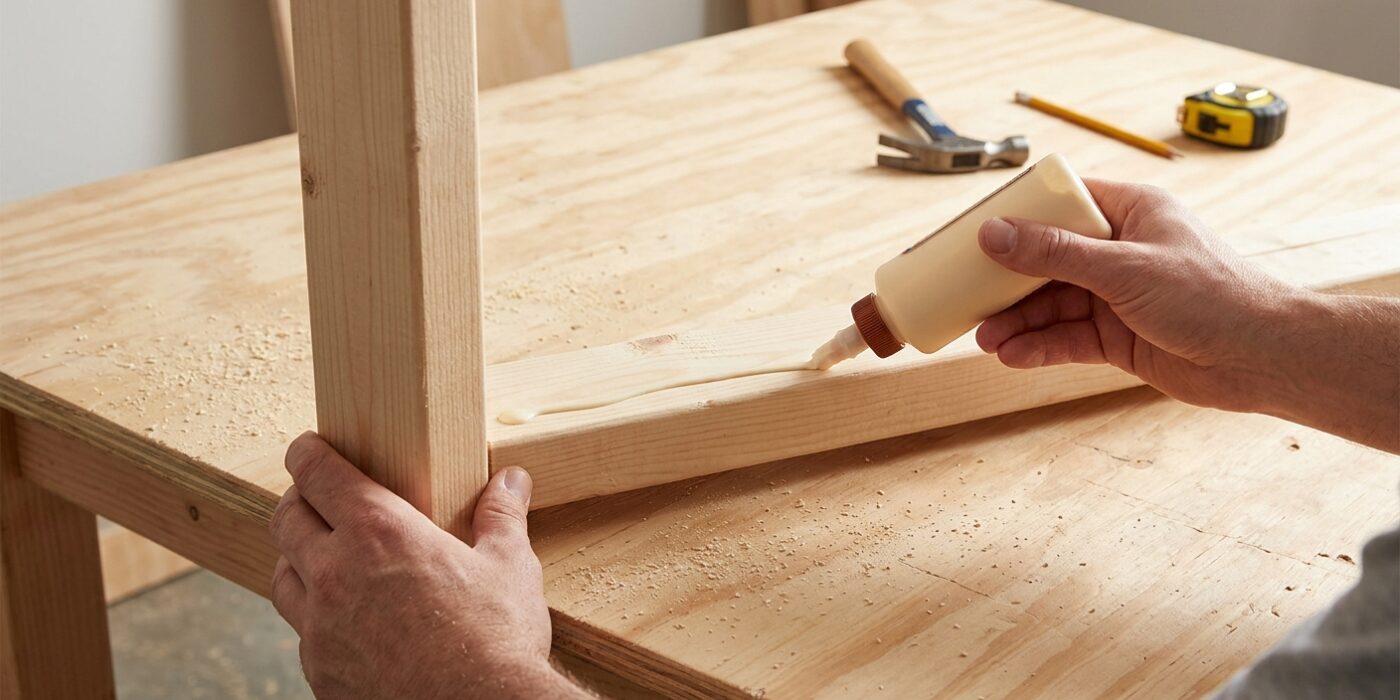
Now that your wood is cut, it is time to build the two end frames that will support your workbench. Each frame consists of two vertical legs connected by one top rail and one bottom rail. Lay your two legs on a flat surface, spacing them exactly 24 inches apart. Position your top rail flush with the very top of the legs and your bottom rail 6 inches from the floor. Using a square to ensure every corner is at a perfect 90-degree angle is vital; if your frames aren’t square now, your finished bench will wobble later.
Apply a thin bead of wood glue to the joints before assembly. This acts as a permanent bond that strengthens the connection as it cures. Once positioned, use your drill to create pilot holes – small holes slightly thinner than your screws – before driving in your 3-inch screws. Pre-drilling prevents the wood from splitting, which is a common frustration for newcomers.
Beginner Tip: Resist the urge to skip the wood glue. While screws hold the frame together initially, the glue creates a chemical bond that is actually stronger than the wood itself, ensuring your bench stays sturdy for years.
Pro Tip: To keep your pieces from sliding while you drive the screws, use a spring clamp to hold the rail against the legs. It acts as an extra pair of hands, allowing you to focus entirely on driving the screws straight.
Step 3: Connect the Frames
Now it is time to give your workbench its shape. Position your two end frames upright, keeping them roughly four feet apart. Take your four long side rails and align them between these frames – two at the top for the tabletop support and two near the bottom to act as footrests. Using your drill, drive two wood screws through the outside of the end frames and into the ends of each rail. The goal is to create a rigid, rectangular skeleton that will hold your project together.
Before you tighten all your screws completely, check that your workbench is square. Measure diagonally from one corner to the opposite corner, then repeat for the other side. If the two measurements are identical, your frame is perfectly square. If they differ, gently nudge the frame until the numbers match. This step is crucial because a square base ensures your workbench won’t wobble once you finish construction.
Beginner Tip: Avoid the urge to fully tighten your screws immediately. Leave them slightly loose until all eight connections are made. This allows for small adjustments to ensure the frame is perfectly level before you lock everything into place.
Pro Tip: Use a simple carpenter’s square held against the interior corners while you drive the screws. It keeps the rail flush against the frame, preventing the wood from shifting or “walking” as the screw bites into the grain, ensuring a professional, sturdy result.
Step 4: Attach the Top
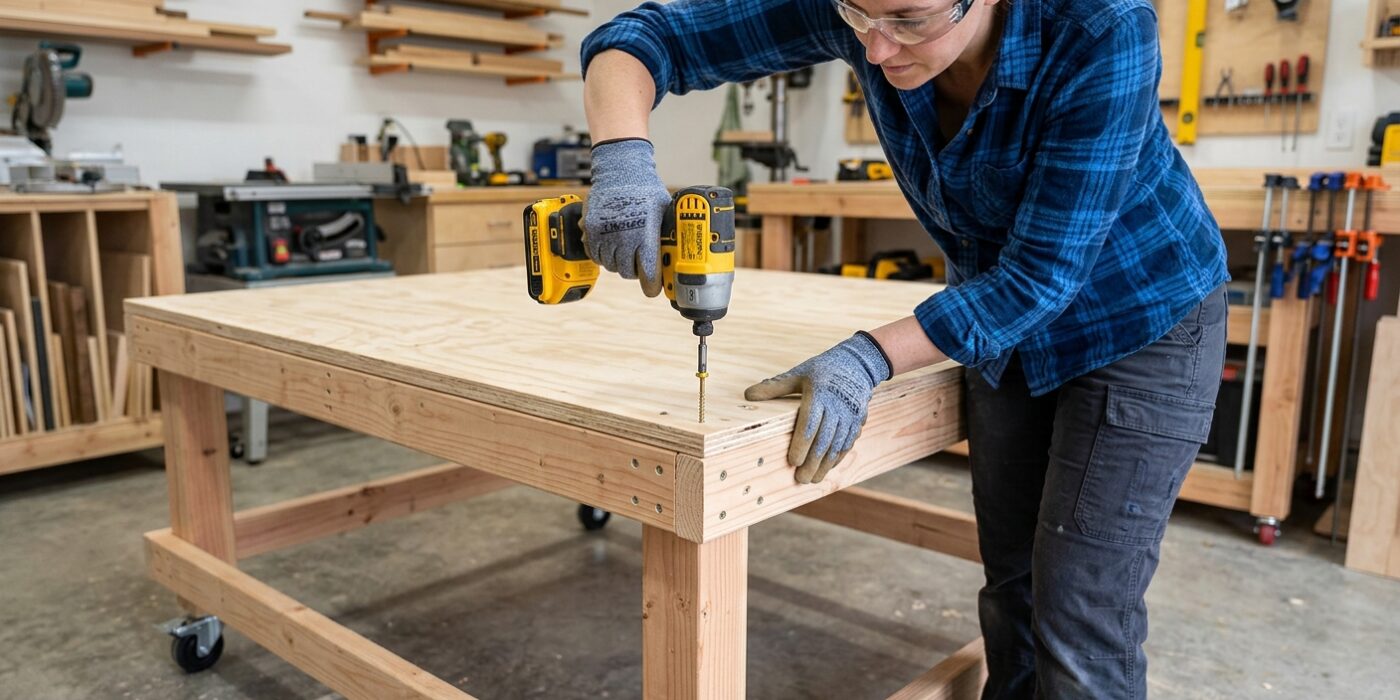
Now that your frame is sturdy, it is time to give your workbench a surface. Take your 24×72 inch piece of plywood and center it carefully over the top frame. You want an even overhang on all sides to keep the frame protected. Using a drill with a countersink bit, drive 2-inch wood screws through the plywood and into the top rails every 8 to 10 inches. By countersinking, you ensure the screw heads sit slightly below the wood surface so they do not catch on your projects later. Once secured, use 120-grit sandpaper to smooth out any rough edges or splinters, moving in the direction of the wood grain until the surface feels consistent and clean.
Beginner Tip: A common mistake is driving screws too close to the edge of the plywood, which can cause the wood to split. Aim for the center of the wooden rails beneath the surface and stay at least one inch away from the outer edges of the plywood sheet to keep the connection strong and crack-free.
Alternative Method: If you do not have a countersink bit, you can use a slightly larger drill bit to manually widen the opening just a fraction of an inch deep. This creates a small divot, allowing the screw head to sit flush with the surface instead of protruding.
Pro Tip: Before fastening, apply a thin bead of wood glue along the top of the rails. This creates a permanent bond that prevents the tabletop from developing annoying squeaks or wobbles as the wood expands and contracts over the years.