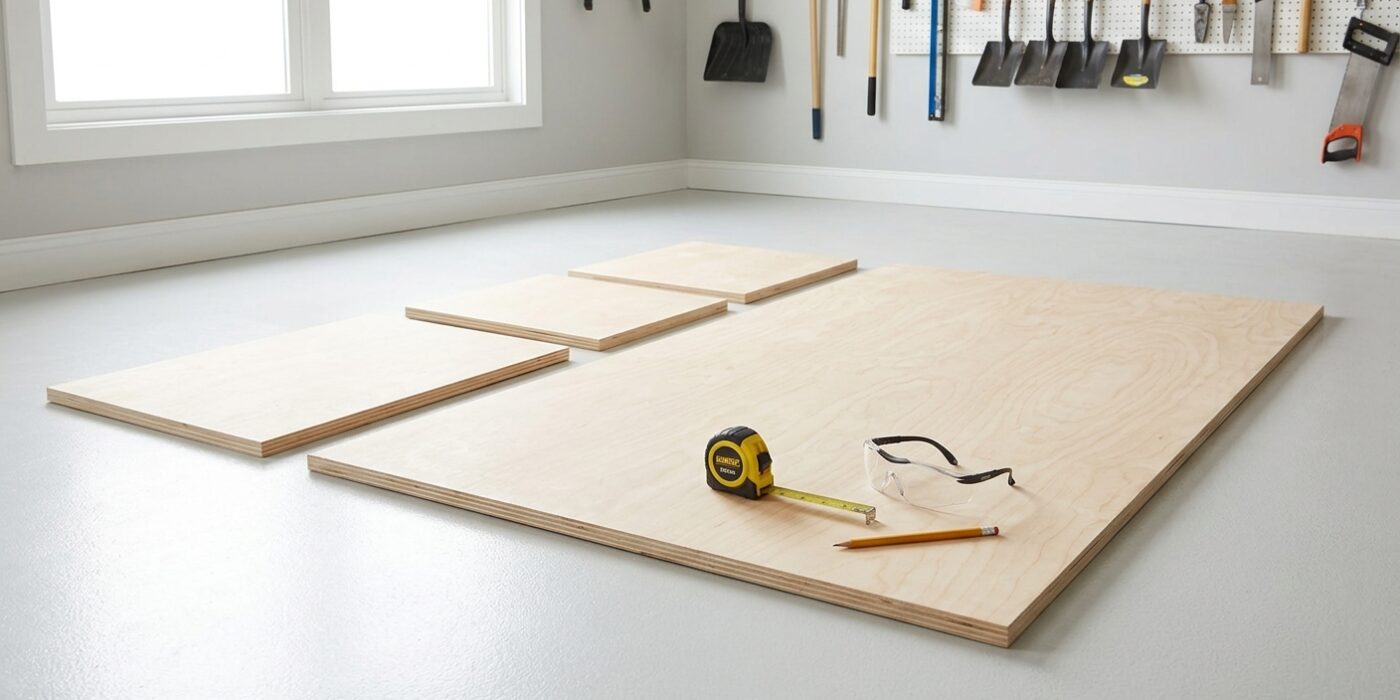
Project Shopping List
Kids spend hours at a crafting table, so it’s worth building one that holds up to paint, glue, scissors, and the full chaos of creative play. This project combines a simple, sturdy table with integrated storage – cubbies underneath for bins, a wide surface for spreading out projects, and a raised backsplash that keeps supplies from rolling off the back. The whole thing is sized for ages 4 to 10 and can be repainted or repurposed as a homework desk later.
The build uses 3/4-inch plywood for the main structure and 2×4 legs for strength. Total material cost is under $80 if you use pine plywood and scrap 2x4s. The finish should be durable – children’s art tables need at least two coats of semi-gloss paint over a good primer to survive the inevitable marker attack.
What You’ll Need
Tools
- Circular saw or table saw
- Miter saw
- Drill and driver
- Pocket hole jig
- Clamps
- Square
- Sandpaper 80 through 150 grit
Materials
- 3/4-inch plywood: one 4×8 sheet (table top, shelf, and cubby dividers)
- 2×4 lumber: four legs at 22 inches (for a 24-inch finished table height)
- 1×4 pine: apron rails and backsplash
- 2-inch and 1-1/4-inch pocket screws
- Wood glue
- Sandpaper and sanding block
- Primer (shellac-based) and semi-gloss latex paint
- Plastic storage bins (fit to cubby dimensions)
Step 1: Plan for the Child’s Height
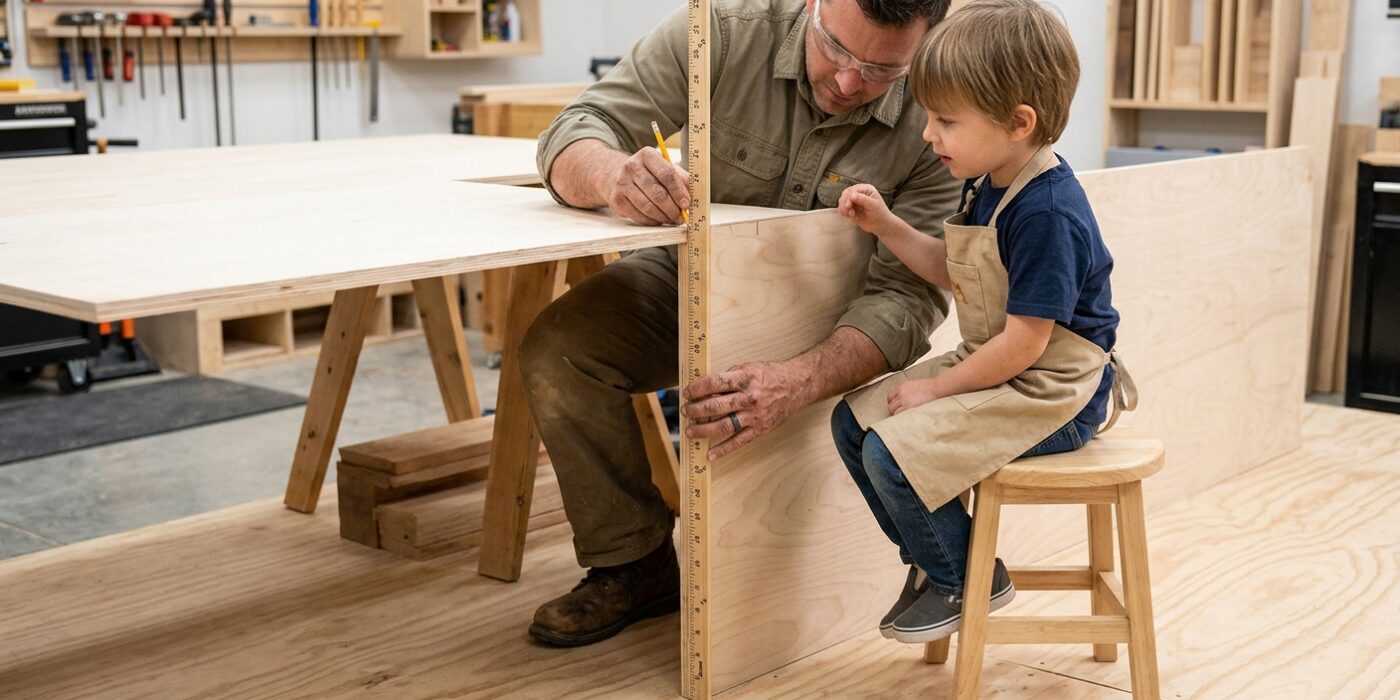
Before you make a single cut, you need to ensure this table is perfectly sized for your little artist. Ergonomics matter: if the table is too high, their shoulders will hunch; too low, and they will slump, making art time uncomfortable. The secret is to base your design on their elbow height when they are seated upright in a chair with their feet flat on the floor.
For children ages 4 to 6, aim for a tabletop height of 18 to 20 inches. For ages 7 to 10, aim for 22 to 26 inches. To get your exact target, have the child sit in their favorite chair, measure from the floor to the bottom of their elbow, and subtract 2 inches. This final number is your target table height, which will be the baseline for calculating how long to cut your table legs. Write this number down clearly on a piece of paper and keep it at your workstation – it is the most important measurement you will make.
Beginner Tip: Don’t forget to account for the thickness of the tabletop material itself. If your target height is 20 inches and your plywood board is 3/4-inch thick, your legs must be exactly 19 1/4 inches long to reach your goal. Forgetting this math error is a classic mistake that results in a table that is always slightly taller than planned.
Pro Tip: If you are nervous about your child outgrowing the table too quickly, build the legs to the 24-inch height now and use an adjustable chair until they catch up. It is much easier to add a simple platform base later than it is to replace shortened legs.
Step 2: Cut the Tabletop
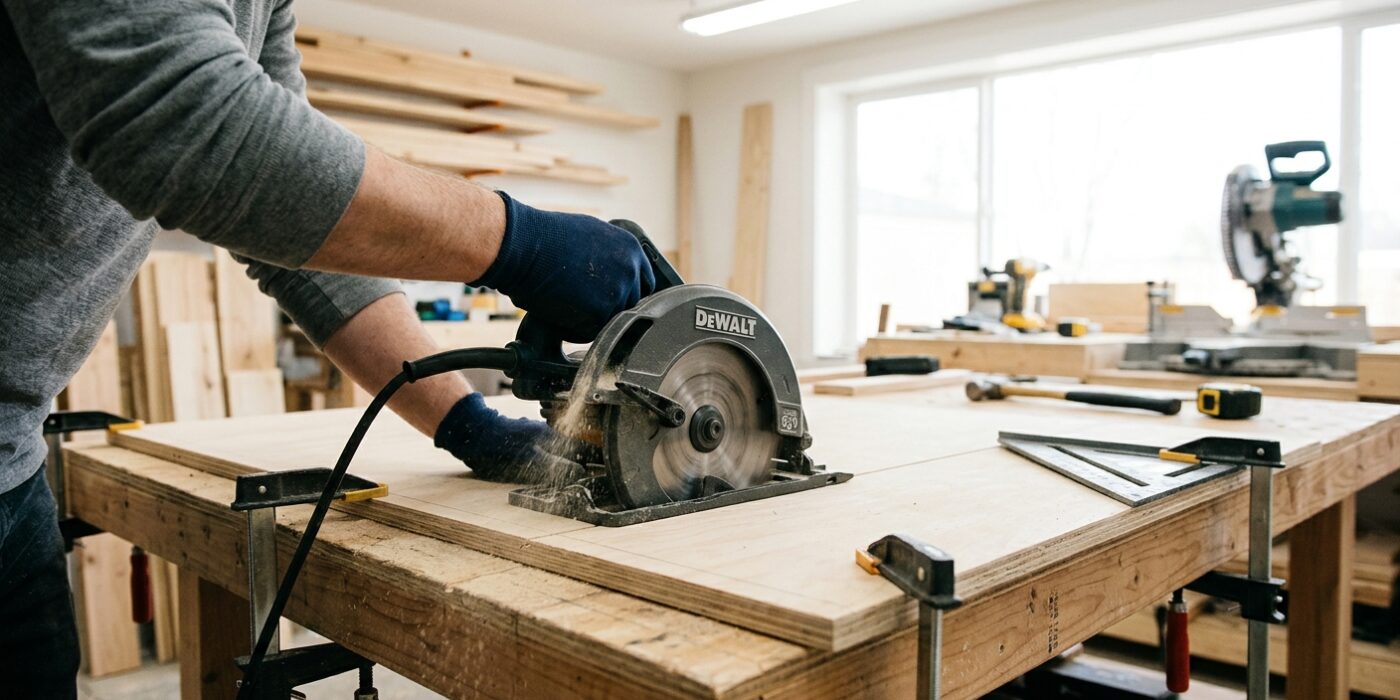
Now it is time to create the heart of your workspace: the tabletop. Using a circular saw or jigsaw, cut your 3/4-inch plywood sheet to 30 x 48 inches. This generous size comfortably seats two children, though you can scale it down to 24 x 36 inches for a single user. Once cut, use an orbital sander with 120-grit sandpaper to smooth all surfaces and edges. Removing splinters now is crucial to prevent scrapes later.
To finish, apply iron-on edge banding to the four sides. This adhesive-backed tape hides the layered plywood core, prevents paint from soaking unevenly into the wood fibers, and creates a soft, rounded finish that won’t irritate little arms. Simply align the tape, press it with a household iron on the cotton setting, and trim the excess with a utility knife.
Beginner Tip: When using a circular saw, never rest your plywood directly on the floor. Use two sawhorses or scrap blocks to elevate the wood. If you cut into the floor, you will quickly ruin your saw blade and potentially damage your workspace surface.
Alternative Method: Don’t own a saw? Most home improvement stores offer a free or low-cost panel-cutting service. Bring your exact measurements to the store, and they will use a large industrial saw to give you a perfectly square, factory-grade cut right from the start.
Pro Tip: After ironing on your edge banding, take a small block of wood and firmly press it against the hot tape as it cools. This pressure ensures the glue bonds tightly to the plywood, preventing the edges from peeling off over time.
Step 3: Cut and Assemble the Leg Frame
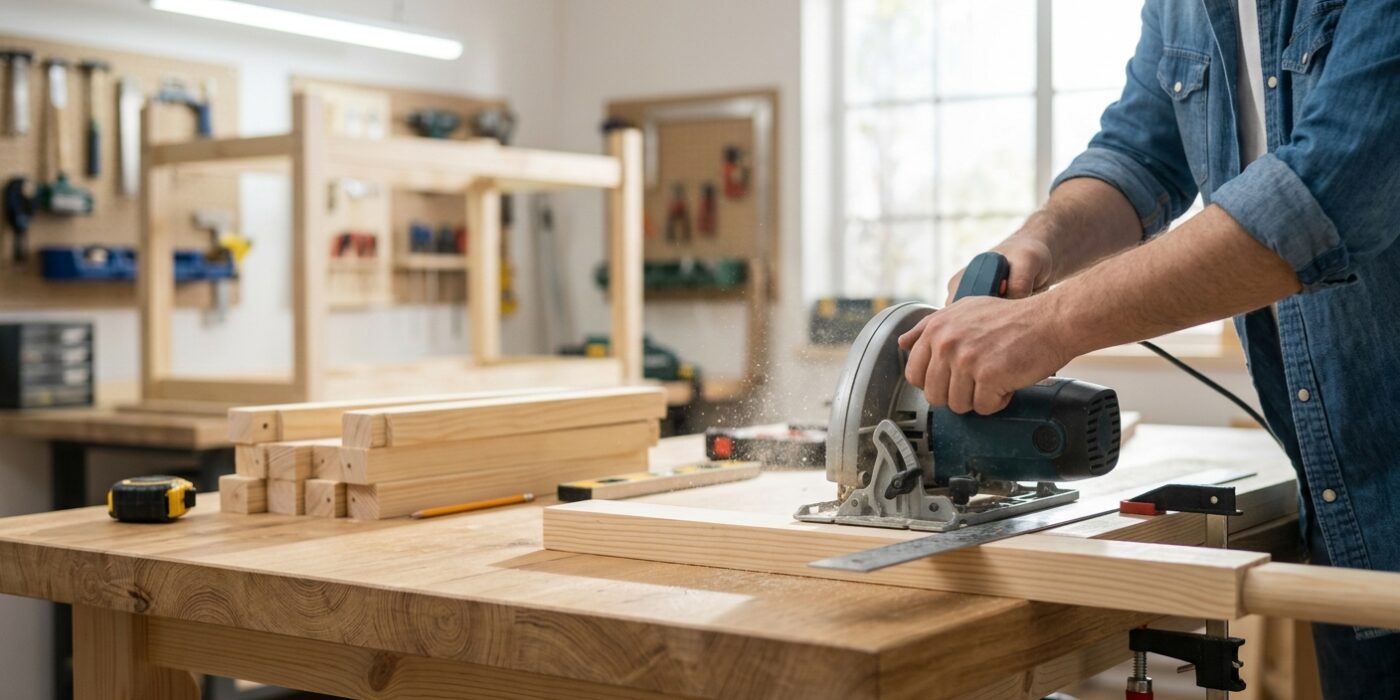
Now it is time to build the sturdy skeleton of your table. You will need four 2×4 legs and four apron rails (the horizontal supports). To find your leg height, take your desired finished table height and subtract the 3/4-inch thickness of your tabletop; this ensures your table ends up exactly the size you planned. Cut two short rails to match your desired table depth minus the width of two legs, and two long rails for the sides. Creating a frame that is perfectly square is vital, as it prevents your table from wobbling.
Use a pocket hole jig to drill two holes into each end of your four rails. Apply a thin bead of wood glue to the ends of the rails before attaching them to the legs with 2 1/2-inch pocket screws. Glue acts as a permanent bond that strengthens the joint, while the screws hold everything in place while it dries.
Beginner Tip: The most common mistake is over-tightening your screws, which can cause the wood to split or the pocket hole to strip. Use your drill’s clutch setting on a lower torque to stop the screw automatically once it is flush with the pocket hole pocket.
Pro Tip: Before you drive in your screws, place a heavy book or a large framing square against your joint to keep the pieces perfectly aligned. If the pieces shift while driving the screw, the tiny movement can throw your entire frame out of square.
Step 4: Add the Under-Table Storage Shelf
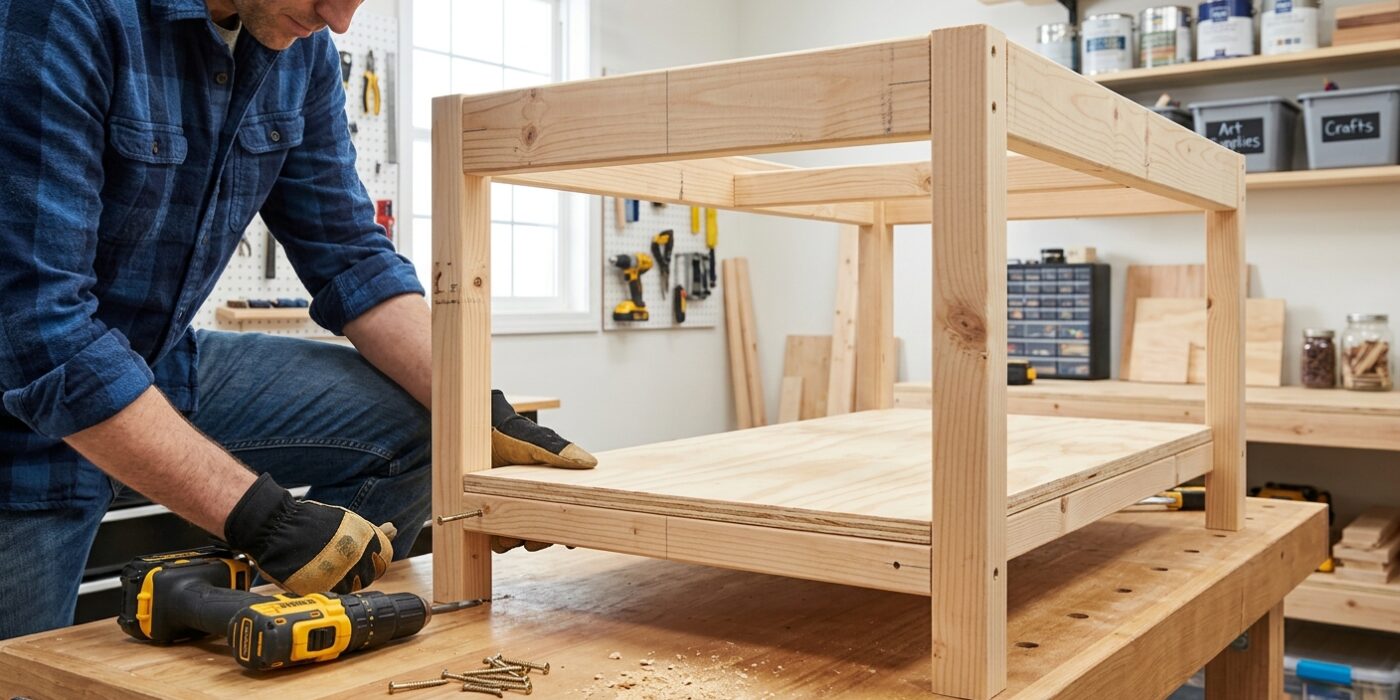
Now it is time to build the storage area, which will keep your craft supplies organized and off the floor. Start by cutting your plywood shelf so it fits snugly inside the four legs of your table frame. Position this shelf exactly 6 inches up from the bottom of the legs; this height is perfect for kids to reach their bins easily. To secure the shelf, use a drill to drive pocket screws through the inner faces of the apron rails and directly into the shelf edges. Once the base is secure, measure the width of your storage bins. Cut vertical plywood dividers to fit between the shelf and the underside of the table frame, spacing them about 12 inches apart to give 11-inch bins plenty of room to slide in and out without snagging.
Beginner Tip: Before you screw anything permanently into place, place your storage bins on the shelf to double-check the spacing. A common mistake is measuring your dividers based on the top rim of a bin, but the bottom is often narrower; always measure the widest part of the bin to ensure it actually fits through the opening!
Pro Tip: Use a simple scrap wood “spacer block” cut to exactly 6 inches. Hold this block against the inside of each leg while resting your shelf on top of it. This ensures your shelf is perfectly level on all four sides without needing to fiddle with a tape measure for every screw.
Step 5: Build the Backsplash
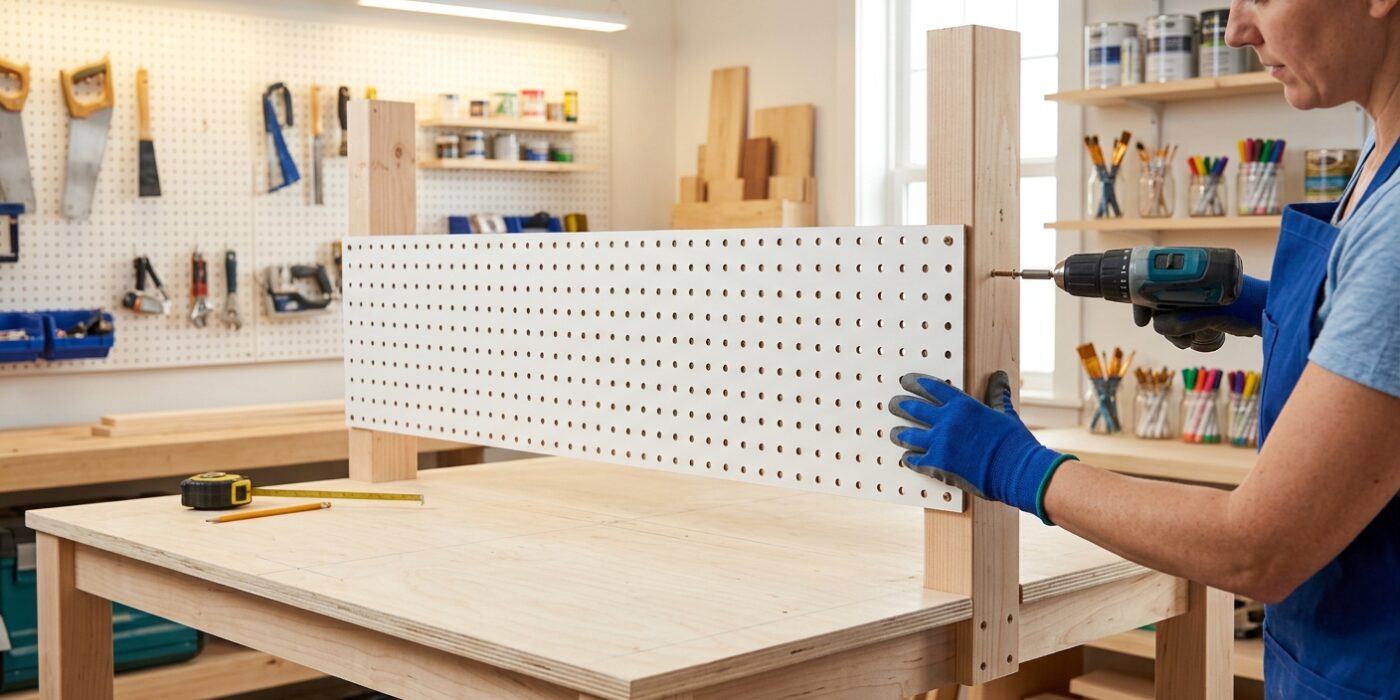
Now it is time to add the backsplash, which acts as a handy barrier to keep crayons, markers, and scissors from tumbling off the back of the table. You will need a 1×6 pine board cut to match the total width of your table. Position this board along the back edge of the tabletop so that the bottom sits flush against your back apron rail.
To secure it, use a drill to drive pocket screws upward through the apron rail and into the bottom edge of the backsplash. Aim to have the backsplash sit about 1/4 inch higher than the tabletop surface. This slight lip is the secret to creating a clean, professional finish that stops art supplies in their tracks before they hit the floor.
Beginner Tip: A common mistake is driving your screws in too deep, which can cause the wood to split or the screw to poke through the front of the backsplash. Before you start, measure the thickness of your board and the length of your screws to ensure you have plenty of room to work safely without breaking through the surface.
Alternative Method: If you do not have a pocket hole jig, you can simply use L-brackets. Screw the brackets to the back of the apron and the back of the backsplash board. While slightly visible, this method is very sturdy and requires nothing more than a standard screwdriver or drill.
Pro Tip: Use a bit of wood glue along the bottom edge before you screw the piece into place. The glue provides a permanent bond that keeps the board from shifting or rattling over time, resulting in a much sturdier workspace for your little artist.
Step 6: Attach the Tabletop
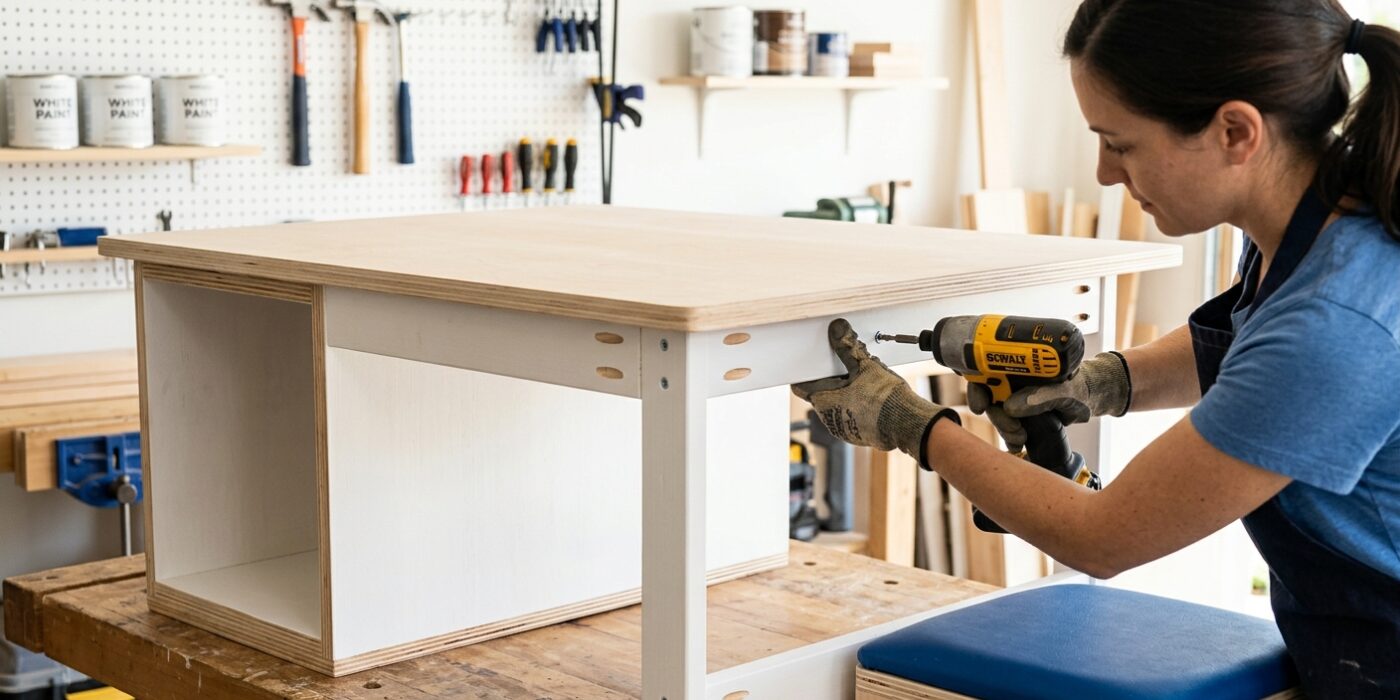
Now it is time to unite the top with the base. Lay your tabletop face-down on a flat, soft surface – like a rug or a piece of cardboard – to prevent scratches. Carefully center your assembled leg frame onto the back of the tabletop. Because you are using plywood, which is dimensionally stable and won’t expand or contract like solid lumber, you can create a rigid, permanent bond. From the inside of the apron rails, drive 2-inch wood screws through the pre-drilled holes in the frame and into the underside of the tabletop. Space these screws approximately 8 inches apart around the entire perimeter. This technique ensures the table stays completely rattle-free, providing a sturdy foundation for all those future art projects.
Beginner Tip: Before you drive the screws, make sure you are using a drill bit slightly smaller than the shank of your screw to create a pilot hole. If you skip this, the wood might split, which is frustrating to repair. Always double-check that your screws are the correct length; if they are too long, they will poke right through the top of your table, ruining the surface!
Pro Tip: To keep your frame from shifting while you drive the screws, use a couple of small clamps or have a friend hold it firmly in place. If you don’t have a helper, place a small weight on the frame to keep it locked in position so your alignment stays perfect while you work.
Step 7: Round All Corners and Edges
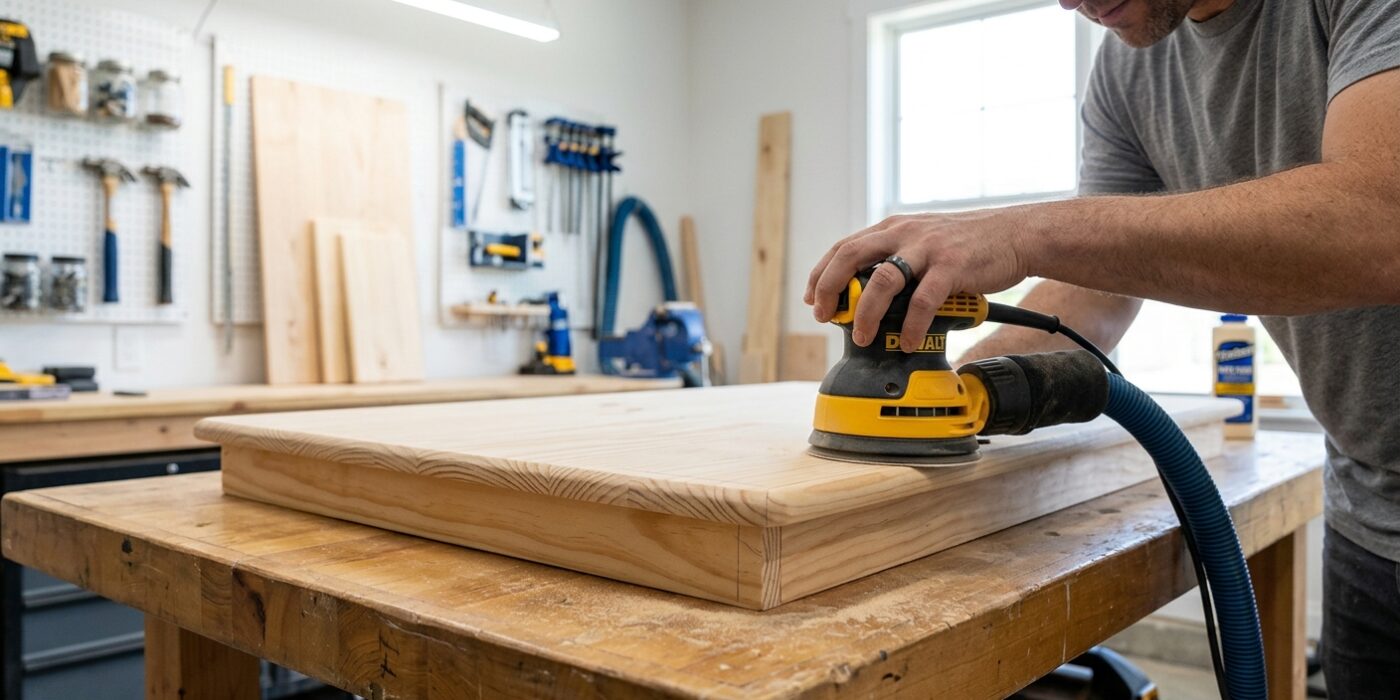
Because this table is designed for children, safety is your top priority. Sharp, 90-degree corners are hazards for active kids, so we need to soften them. Your goal is to create a smooth, rounded profile on every exposed edge of the tabletop and legs. Using a 1/4-inch roundover router bit is the gold standard here; it removes the sharp edge and replaces it with a gentle, consistent curve that feels soft to the touch. If you are using a router, ensure the base is flat against the wood before you start, and maintain a steady, continuous speed to prevent burning the wood.
Beginner Tip: A common mistake is moving the router too slowly, which creates dark burn marks on the wood. If you notice a smoky smell or brown streaks, speed up your pace slightly. Always test your depth and speed on a scrap piece of wood before touching your finished table!
Alternative Method: If you do not have a router, you can achieve a professional finish using a sanding block. Wrap 80-grit sandpaper around a firm wooden block and sand at a 45-degree angle until the sharp edge is gone. Follow this by sanding with 120-grit and then 220-grit sandpaper to ensure the surface is perfectly smooth and splinter-free.
Pro Tip: After you finish, run your bare hand slowly along every inch of the table while keeping your eyes closed. Your skin is far more sensitive than your eyes; if you feel even a tiny “catch” or sharp point, you know exactly where to sand a little more.
Step 8: Prime and Paint
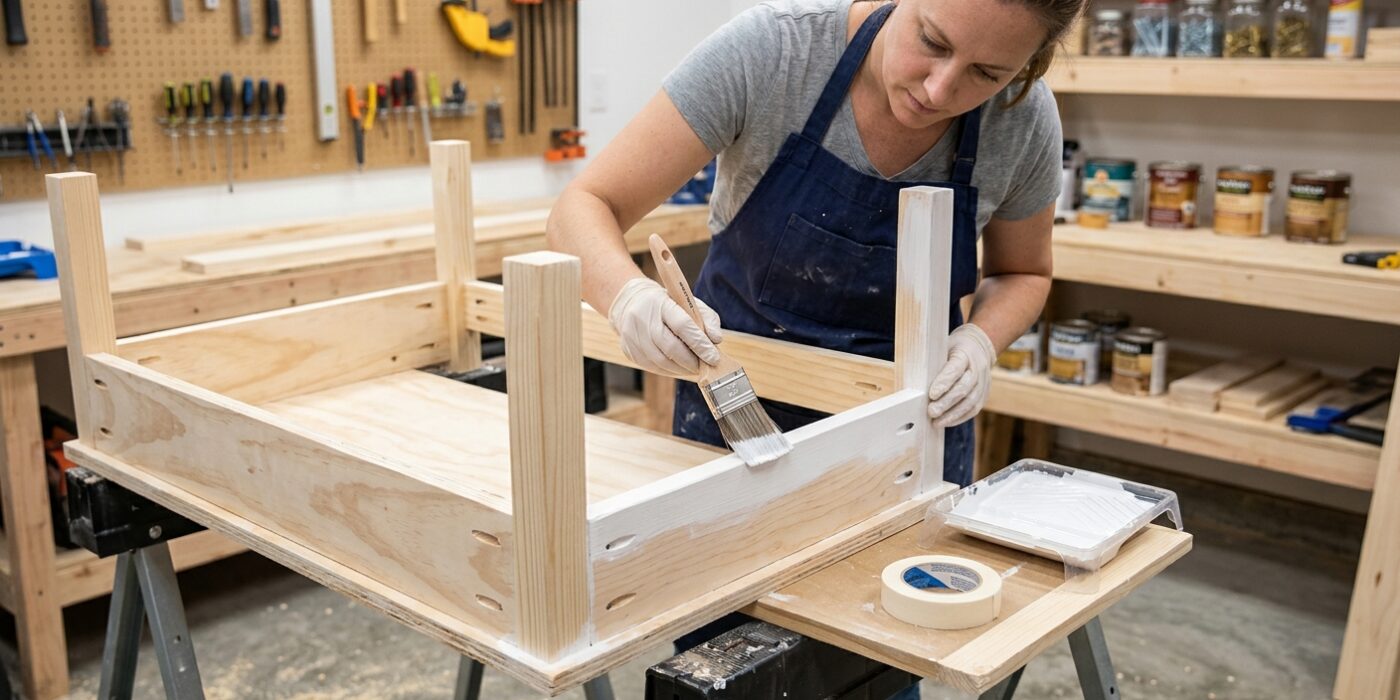
Now that your table is assembled, it is time to give it a professional finish. Start by applying a thin, even coat of shellac-based primer over the entire structure. This step is crucial because it seals the porous plywood edges and locks in the natural resins from the pine, preventing ugly yellow stains from bleeding through your final color. Once the primer is dry – usually in about 45 minutes – lightly sand the surfaces with 150-grit sandpaper to remove any raised wood fibers. After wiping away the dust with a tack cloth, apply two coats of semi-gloss latex paint. We choose semi-gloss because it creates a smooth, durable barrier that allows you to wipe away messy markers and glue spills with just a damp sponge.
Beginner Tip: Avoid the urge to rush the process by applying thick layers of paint. Thick coats often drip or leave messy brush marks. Instead, apply multiple light, thin layers, allowing each coat to dry completely according to the paint can’s instructions. Patience here prevents unsightly globs and ensures a finish that looks like it came from a furniture store.
Pro Tip: To keep your paint job looking flawless for years, attach a 1/8-inch sheet of tempered hardboard to the tabletop using a few small finishing nails. This “sacrificial” surface takes the brunt of the abuse from scissors and markers. When it eventually gets too scuffed up, you can simply pull it off and replace it without ever needing to touch the main table with a paintbrush again.