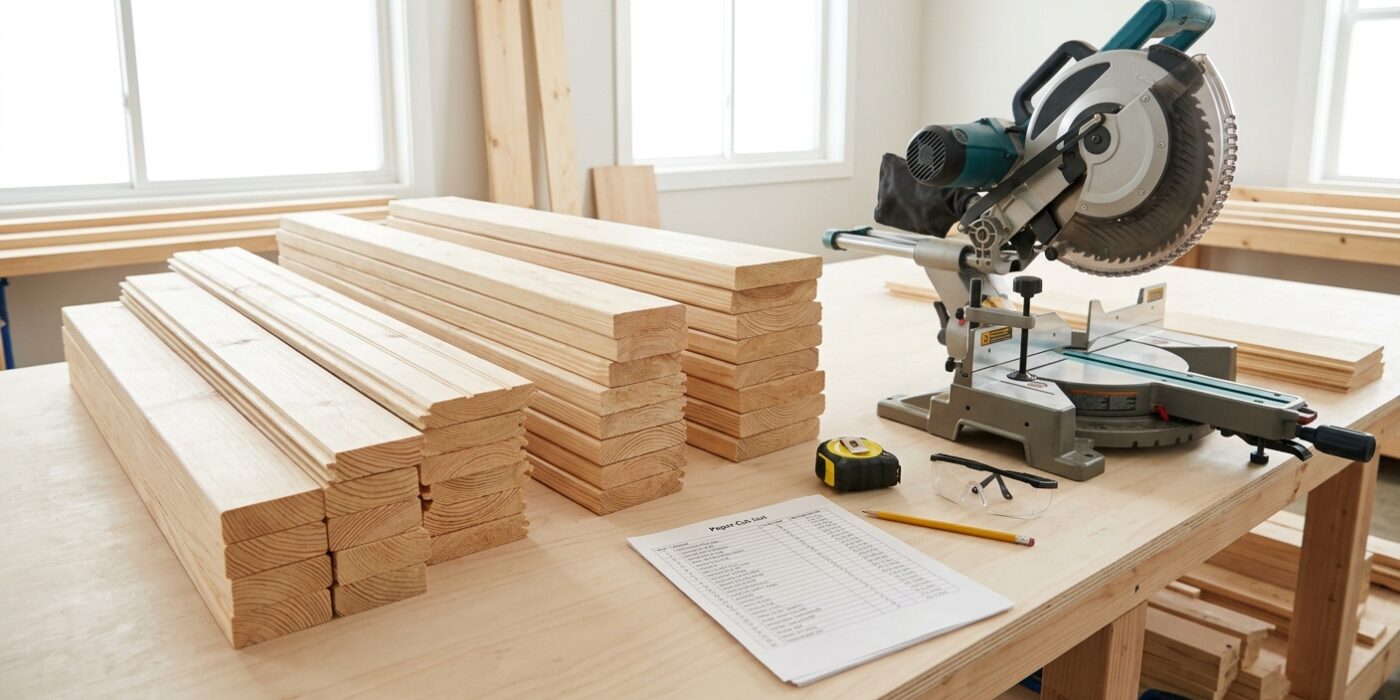
Project Shopping List
A barn door makes a design statement, saves floor space over a swinging door, and is a genuinely practical solution for closets, laundry rooms, bathrooms, and bedroom openings. Building the door from scratch lets you size it exactly, choose your materials, and get a custom look without the retail price tag. This guide covers building a classic Z-frame barn door from 1×6 pine boards and installing the hardware — track, rollers, and floor guide.
Barn doors look simple but require precise construction for the door to hang flat and slide without binding. The Z-frame on the back transfers racking loads and keeps the door from warping. Getting the track mounted level and at the right height is the most critical installation step. Expect to spend a day on the door build and a few hours on the hardware installation.
What You’ll Need
Tools
- Miter saw and circular saw
- Drill and driver
- Pocket hole jig
- Level (4-foot minimum)
- Stud finder
- Clamps
- Brad nailer
- Tape measure and combination square
Materials
- 1×6 pine boards (vertical planks for door face): quantity based on door width
- 1×4 pine (Z-frame bracing on back)
- 2-inch pocket screws
- 1-1/4-inch construction screws (for face boards to frame)
- Wood glue
- Barn door hardware kit: track, rollers, door hanger bolts, floor guide, and wall spacers
- 3-inch lag bolts (for track mounting into studs)
- Header board: 2×6 or doubled 2×4 (for mounting track in stud-free sections)
- Stain or paint and finish
Step 1: Calculate Door Size
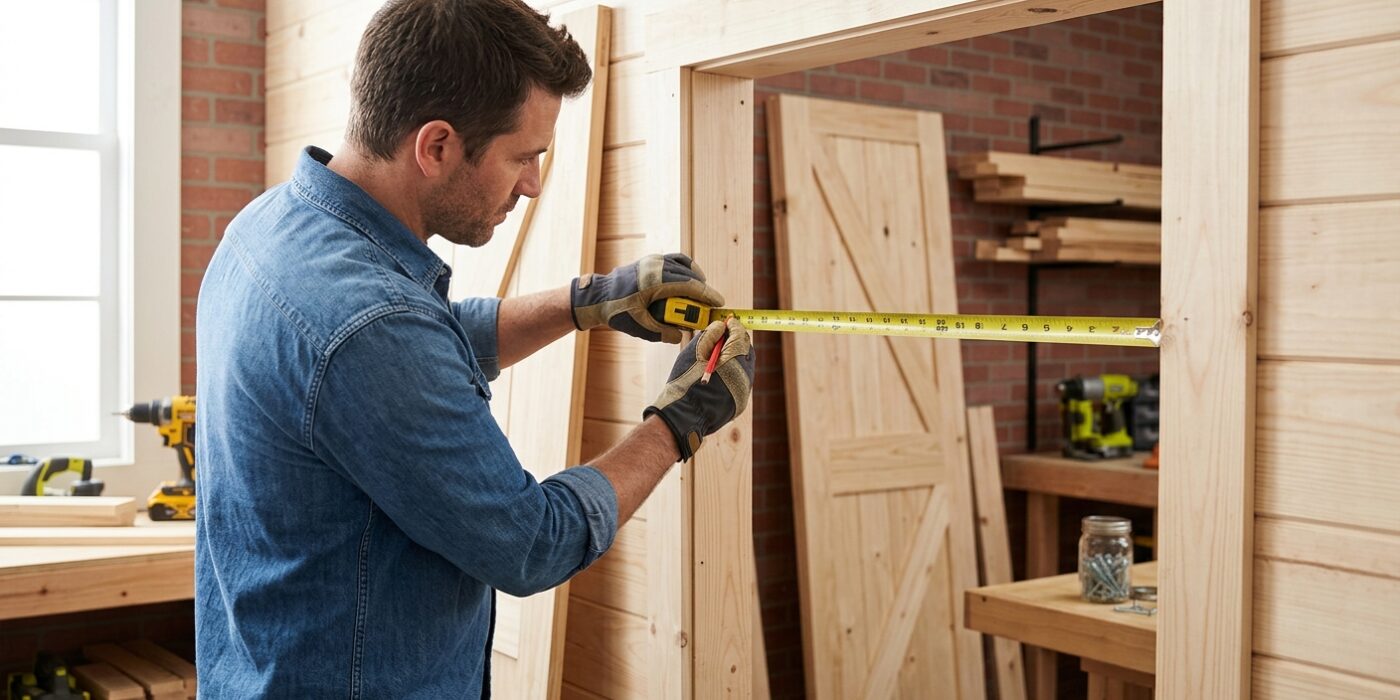
Before you make your first cut, you need to ensure your door will fully cover the opening and block out light or drafts. A barn door needs to be slightly larger than the door frame. For the width, add 2 inches to both the left and right sides of your doorway opening; for a standard 36-inch wide opening, you should plan for a 40-inch wide door. This ensures a clean, professional overlap on all sides.
For the height, start by measuring from the floor to the top of your door header. Add 1 inch to the height of the actual opening to ensure full coverage, but remember that the door hangs from a track and usually sits 1 inch above the floor to glide smoothly without scratching your flooring. Calculate your final height as the floor-to-header measurement minus the gap for your specific hardware track. Write these final dimensions down clearly and double-check your math before touching any lumber.
Beginner Tip: Never assume your door frame is perfectly square. Measure the width of your opening at the top, middle, and bottom, then use the largest measurement of the three to determine your door size. This prevents unsightly gaps where the door meets the wall.
Pro Tip: Use a piece of painter’s tape to mark the finalized dimensions directly on the wall or floor near your workspace. Having a visual reference of the exact door size helps you avoid cutting errors and keeps your measurements top-of-mind throughout the building process.
Step 2: Cut and Lay Out the Face Boards
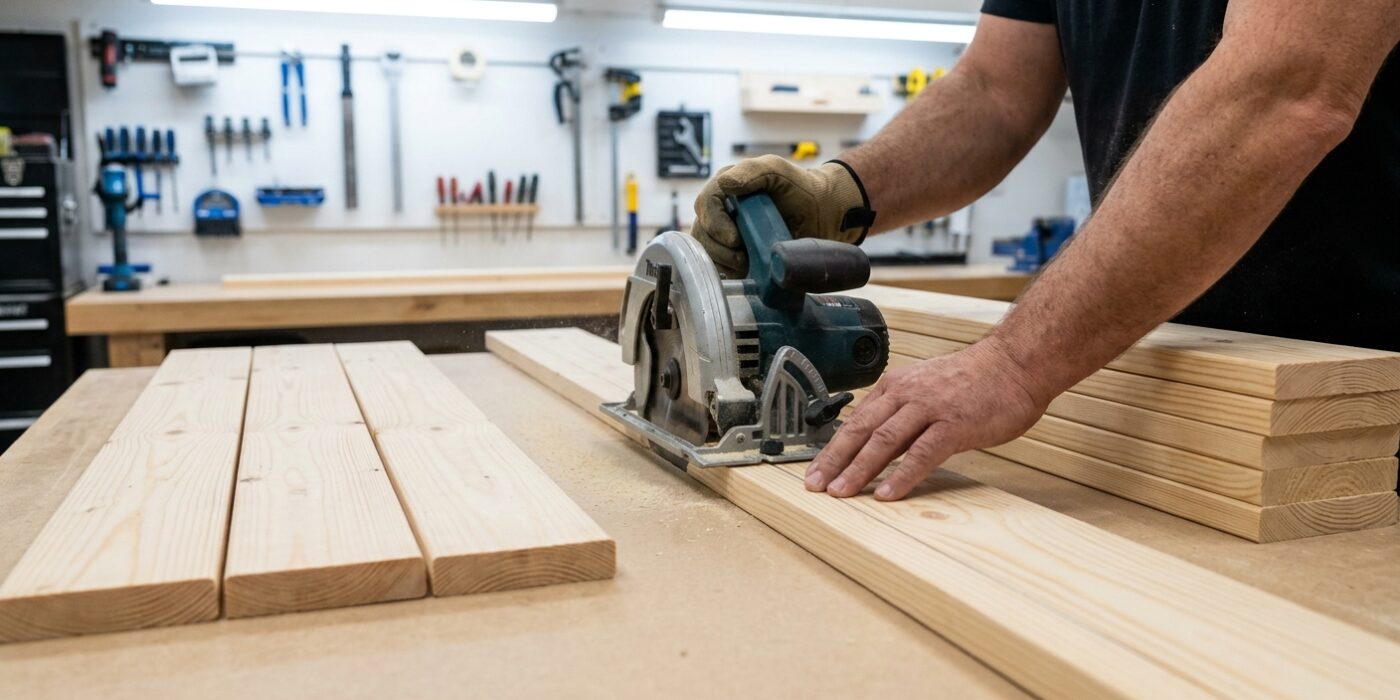
Now that you have your lumber, it is time to assemble the “canvas” for your barn door. Even though 1×6 boards are labeled as such, their actual width is 5.5 inches. To achieve a 40-inch wide door, you will need seven of these boards placed side-by-side. Lay them face-down on a flat, clean floor, ensuring each edge is pressed tightly against the next with no gaps. If your measurements are slightly off, don’t panic; you can rip a final board down to size using a circular saw to hit your exact target width.
Once aligned, clamp the boards together at the top and bottom. This stability is crucial. To get a perfectly straight top and bottom edge, use a long, straight board as a guide for your circular saw. By clamping this guide across all seven boards simultaneously and running your saw along it, you guarantee that every board is cut to the exact same length in one pass, creating a professional, square finish.
Beginner Tip: The most common mistake here is rushing the alignment. Before you cut, use a carpenter’s square to ensure the ends of your boards are perfectly perpendicular to the sides. If your boards aren’t perfectly square to begin with, your door will look like a parallelogram rather than a rectangle.
Pro Tip: Before clamping, mark a line across all boards using a carpenter’s square. If the boards shift slightly during the cutting process, these marks act as a reference point, letting you quickly re-align them to ensure the door remains perfectly square.
Step 3: Build the Z-Frame
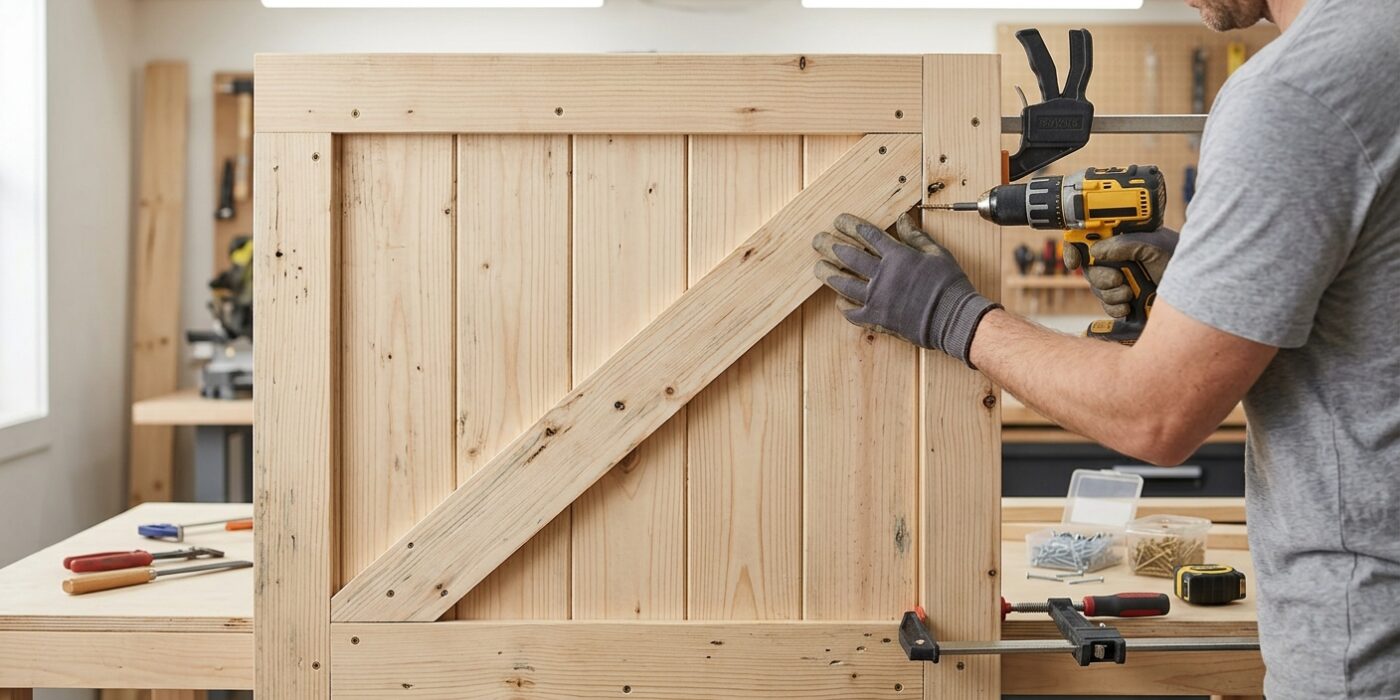
Now it is time to add the Z-frame to the back of your door. This frame isn’t just for looks; it provides essential structural support. Without it, the weight of the door would eventually cause it to lean and sag, pulling it out of its rectangular shape – a process called racking. By adding these 1×4 boards, you are transferring that downward pressure into the solid frame of the door, keeping it hanging perfectly straight for years to come.
Start by measuring and cutting two 1×4 boards to match the full width of your door; these will be your top and bottom horizontal rails. Secure them flush with the top and bottom edges of the door using wood glue and finish nails. For the diagonal brace, place a 1×4 board across the gap. You will need to create a miter cut on both ends so the board sits flat against your horizontal rails. Use a sliding T-bevel tool to find the exact angle where the boards meet, then transfer that angle to your miter saw.
Beginner Tip: The most common mistake is cutting the diagonal brace at the wrong angle, resulting in gaps where the wood meets. Before cutting your final piece, practice the angles on a scrap piece of wood to ensure a tight, seamless fit against the horizontal rails.
Pro Tip: When attaching the diagonal brace, always ensure the bottom end of the “Z” points toward the side where the door is hinged. This directs the weight of the door back toward the wall mount, preventing the door from sagging over time.
Step 4: Assemble the Door
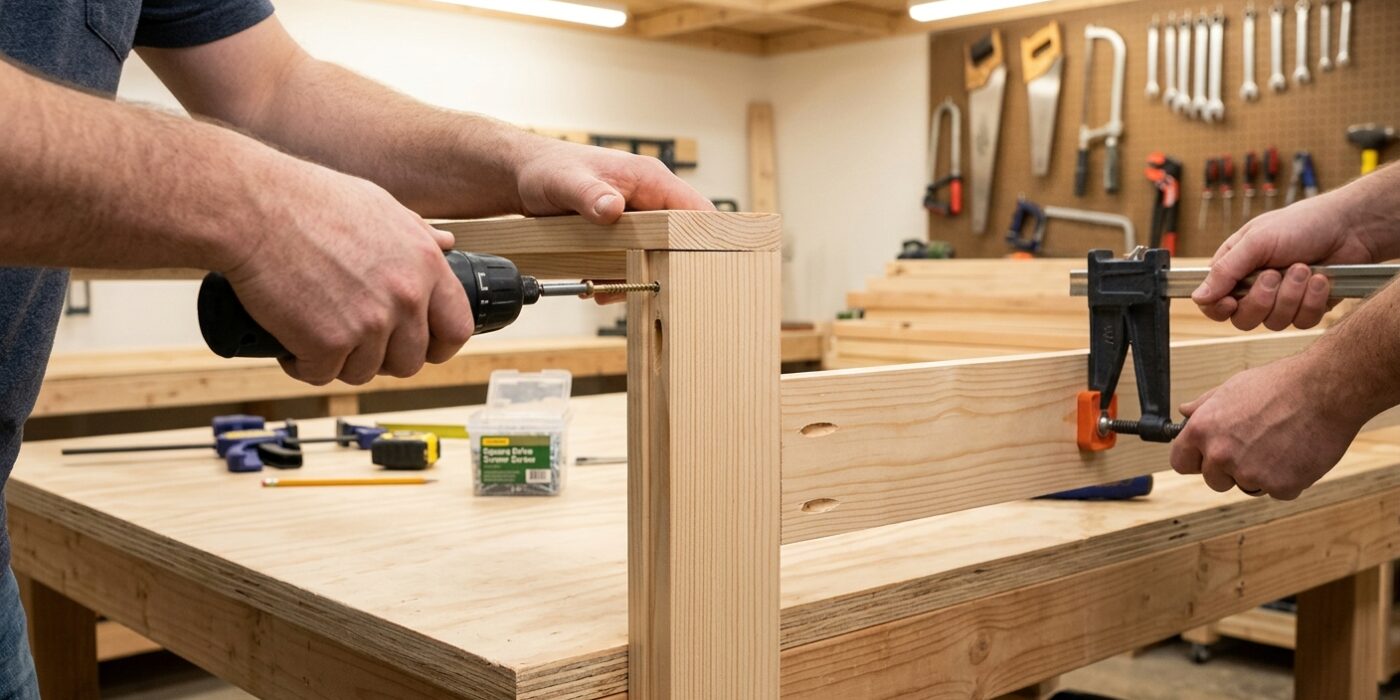
Now that your boards are arranged, it is time to turn your collection of wood into a sturdy door. Start by flipping your face boards face-down on your flat workspace. Apply a thin, continuous bead of wood glue along the contact points where your top and bottom horizontal rails will sit. The glue is essential here; while screws hold the boards together, the glue creates a permanent, structural bond that prevents the door from sagging or warping over time.
Position your rails carefully, ensuring they are perfectly square to the edges. Using your drill, drive 1-1/4-inch screws through the rails into each face board, using two screws per board to prevent rotation. Once the horizontal rails are secure, attach your diagonal brace. For maximum stability, use a pocket hole jig to drill angled holes at the ends of your rails, allowing you to hide the screws and pull the boards tightly against the outer frame. Before the glue sets, stand the door upright and look along the edges; you are checking for “twist,” which means the door isn’t perfectly flat. If it looks wavy, gently nudge it into alignment on your flat surface before the glue dries.
Beginner Tip: Avoid over-tightening your screws. If you drive them too deep, the screw head will crush the wood fibers and weaken the connection. Stop just as the screw head sits flush with the surface of the rail.
Pro Tip: To keep your door perfectly square during assembly, measure diagonally from one corner to the opposite corner. If the two measurements are identical, your door is perfectly square.
Step 5: Finish the Door
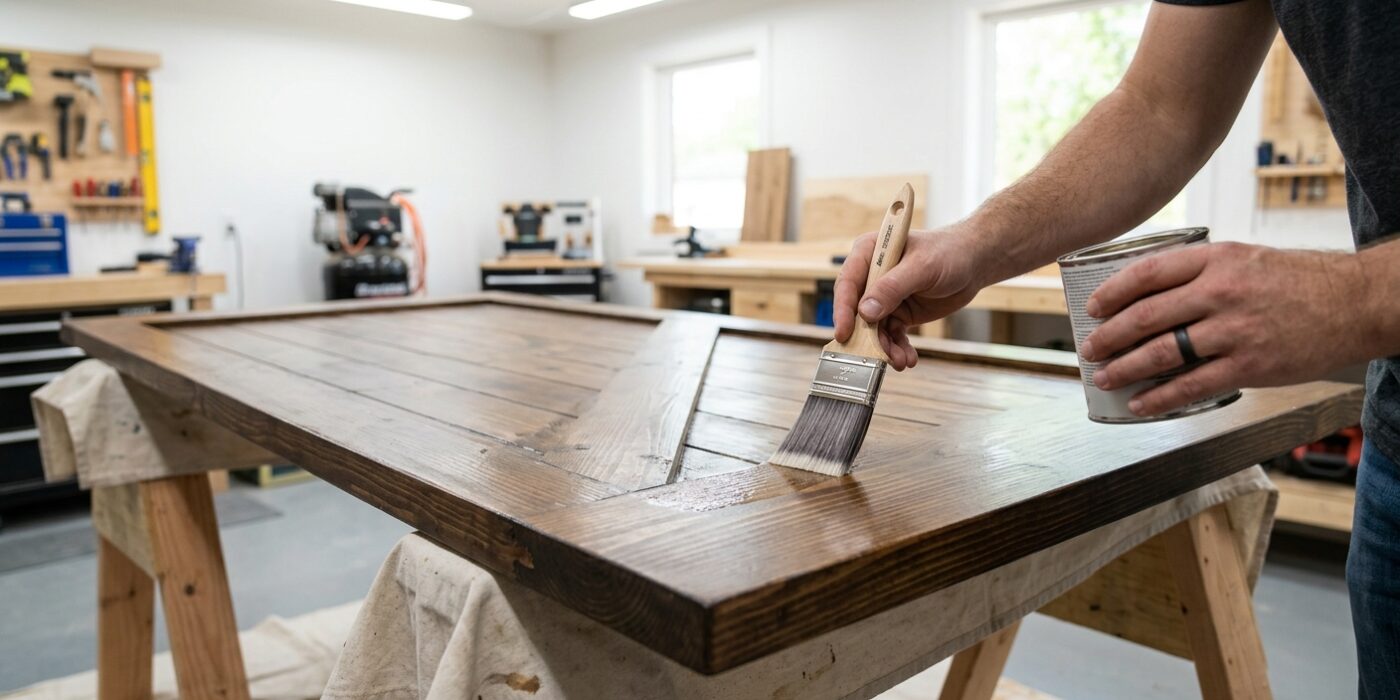
Now that your barn door is assembled, it is time to make it look professional. Start by filling every screw hole with wood filler. Once dry, sand the entire surface of the door, moving from 80-grit sandpaper to remove rough edges, then 120-grit for smoothing, and finally 150-grit for a professional finish. Sanding in the direction of the wood grain is essential to prevent unsightly scratches.
For a painted look, apply a coat of shellac-based primer, which seals the wood and prevents knots from bleeding through. Follow this with two coats of semi-gloss paint. If you prefer a natural aesthetic, apply a wood conditioner first to ensure the stain absorbs evenly. Finish with two coats of satin polyurethane for durability. Allow the door to cure undisturbed for at least 48 hours; patience here prevents fingerprints or smudges during the heavy lifting of installation.
Beginner Tip: Never skip the sanding steps. Beginners often rush to paint, but any minor imperfection or uneven wood fiber will be magnified once the paint or stain is applied. Run your hand over the surface frequently to feel for bumps that your eyes might miss.
Pro Tip: To get an ultra-smooth finish, lightly sand with 220-grit paper between your two coats of paint or polyurethane. This removes tiny dust nibs that settle while the finish is wet, giving your DIY project a high-end, factory-made feel.
Step 6: Install the Header Board
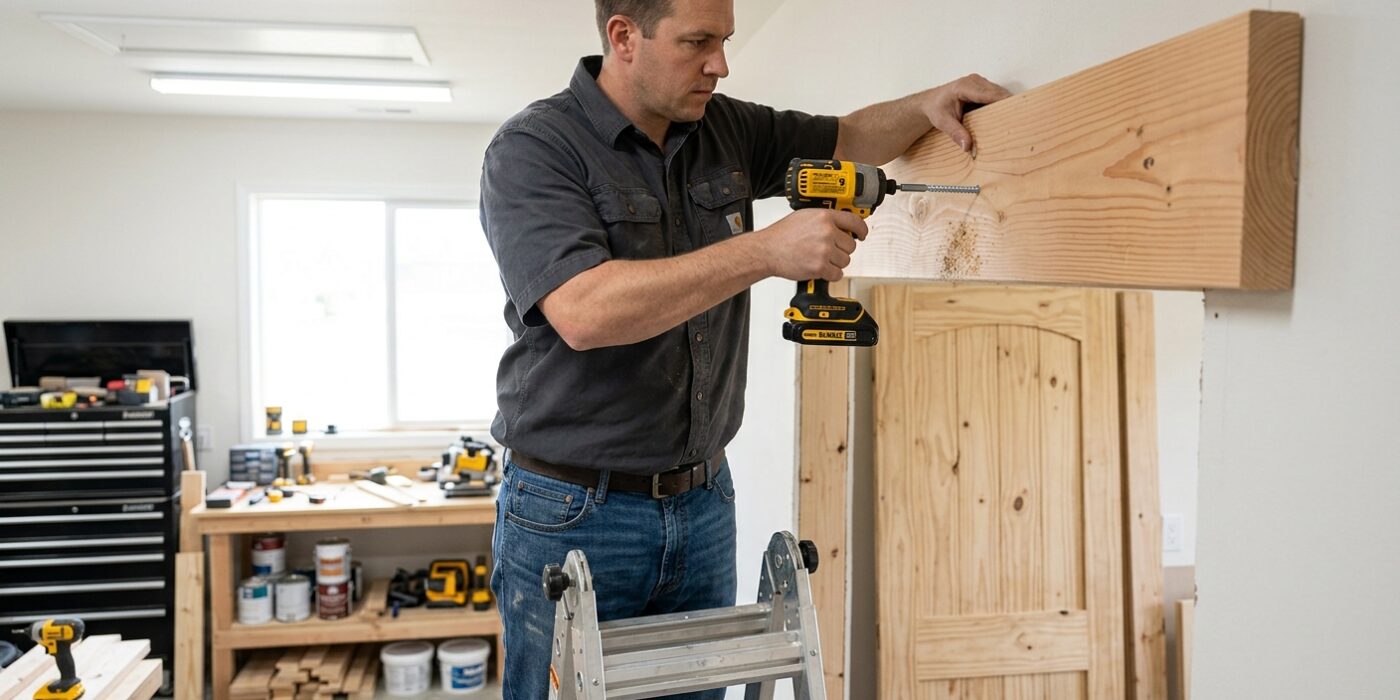
Because barn doors are heavy and move constantly, the track cannot be mounted to drywall alone; the weight will eventually pull the screws right out of your wall. To fix this, we install a header board – a sturdy piece of 1×6 or 2×6 lumber that acts as a bridge between your wall studs.
First, use a stud finder to locate the studs above your doorway. Mark their center points with a pencil. Your header board should be cut to the exact length of your track, which is usually twice the width of your door. Hold the board level against the wall, centered over the doorway, and drive two 3-inch wood screws through the board and into every stud you marked. This creates a solid, uniform “anchor” for your track, ensuring that no matter where the track’s mounting holes are located, they will all bite into solid wood.
Beginner Tip: Double-check your level before driving the screws. If the header board is crooked, your barn door will naturally want to roll toward one side, causing it to slide open or closed on its own. Use a spirit level to ensure the board is perfectly horizontal.
Pro Tip: Paint your header board the same color as your wall before installation. Once it is mounted and the track is covering it, it will blend seamlessly into the room, making the hardware look like it is floating effortlessly on the wall rather than mounted to a bulky piece of lumber.
Step 7: Mount the Track
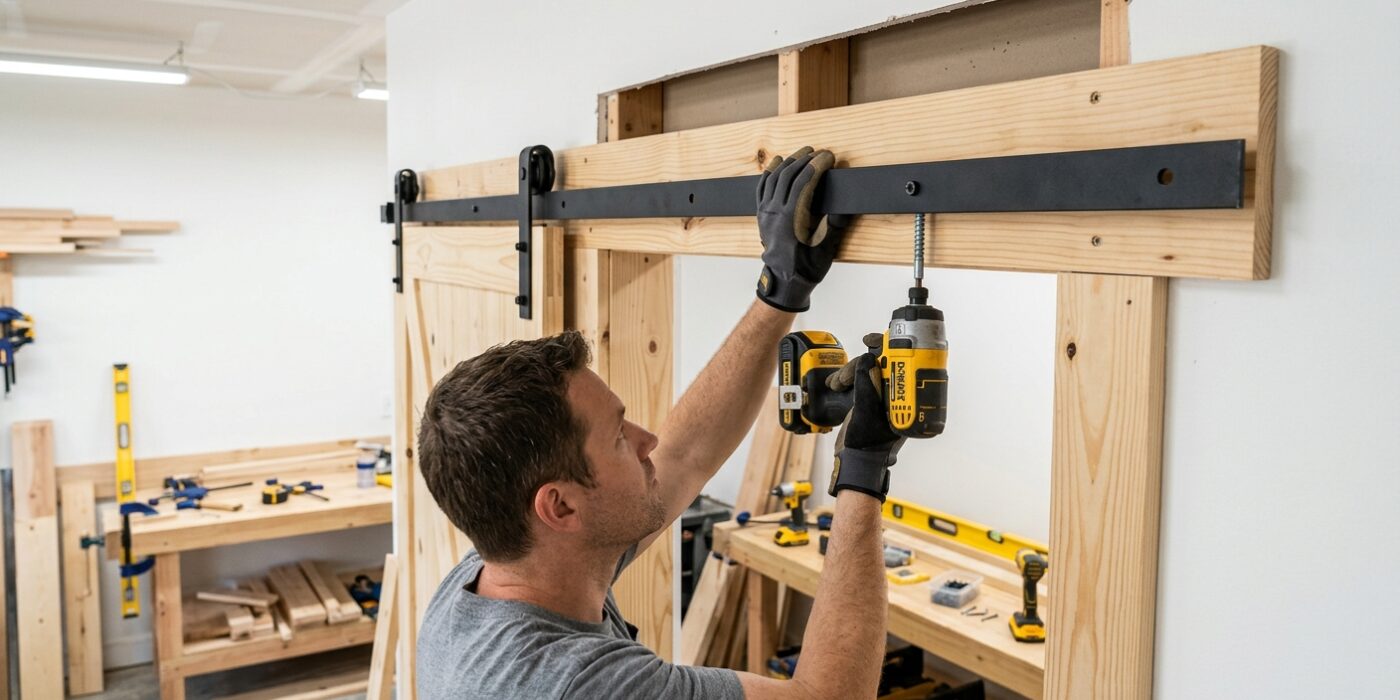
Now it is time to give your door its home on the wall. To calculate exactly where to place your track, you need a little bit of math: take the height of your door, add one inch for the floor clearance, and then add the specific distance from the top of your door to the center of the wheel on your roller hardware (this is the “roller drop”). Mark this total distance from the floor up the wall. Use a four-foot level to draw a long, perfectly horizontal line across your doorway. This level line is vital because if the track is tilted, your door will slide open or closed on its own.
Hold the track against your line and drill pilot holes into the wall studs or the mounting header board. Secure the track using the lag bolts provided, ensuring each one bites deeply into solid wood. Before tightening everything permanently, hang your door rollers onto the track. It is much safer and easier to thread the rollers onto the track while you are on the floor rather than trying to balance the door and thread them while elevated.
Beginner Tip: Double-check that your lag bolts are hitting the center of your wall studs. If you drive a bolt into a hollow space in the drywall, the heavy door will eventually pull the track right off the wall. Use a stud finder before you drill!
Pro Tip: Use a helper to hold the track in place against your level line while you drive the first two bolts. If you are working alone, use a few pieces of painter’s tape to hold the track against your marks, which keeps your hands free to drive the fasteners.
Step 8: Hang the Door and Install the Floor Guide
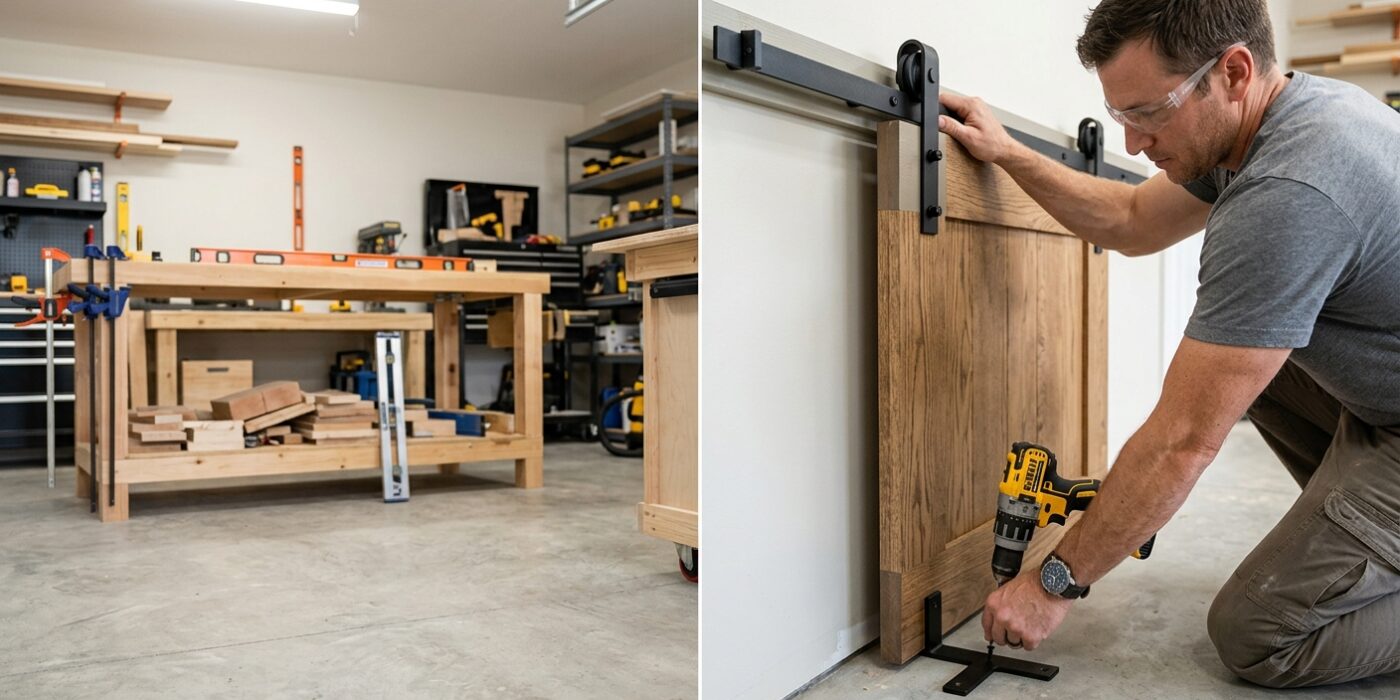
Now it is time to bring your project to life! Start by drilling the pilot holes for your hanger bolts at the top of the door – check your kit’s manual for the exact distance from the edge, typically 2 to 4 inches. Once the bolts and rollers are secured, lift the door with a helper and carefully hook the rollers onto the track. The goal here is to ensure the door weight is evenly distributed so it glides without friction.
Next, install the floor guide. This piece is vital; it acts as a track for the bottom of the door, preventing it from swinging out into the room or banging against the wall. Position it so the door’s bottom groove fits snugly inside, but not so tight that it scratches the wood. Check that the door slides smoothly from end to end; if it tilts, you may need to adjust your track mounting height slightly using a level to ensure it sits perfectly straight.
Beginner Tip: A common mistake is tightening the floor guide too much. You want the door to glide effortlessly. Before screwing the guide into the floor, test it by sliding the door back and forth – if you feel resistance or hear a grinding noise, loosen the hardware slightly to give the door more “breathing room.”
Pro Tip: Place a folded towel or a piece of cardboard on the floor directly under the door while you work. This protects your flooring from accidental scratches if the door slips or while you are testing the floor guide alignment.