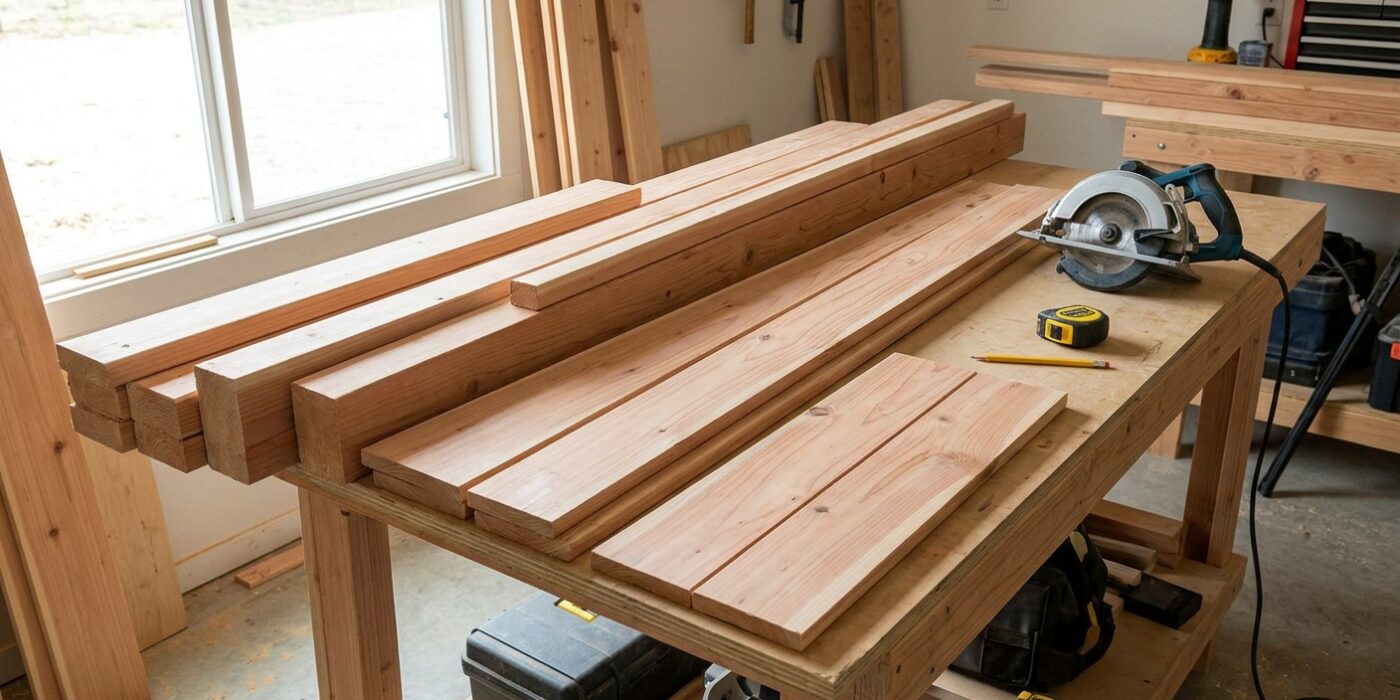
Project Shopping List
A garden potting bench brings order to one of the messiest outdoor tasks. It gives you a dedicated surface for transplanting, a place to store tools within arm’s reach, and a way to keep soil, pots, and fertilizers organized and off the ground. This build is designed for a beginner: the joinery is entirely pocket screws, the lumber is cedar (which requires no finish outdoors), and the design can be completed in a single day.
The bench includes a main work surface at standing height, a lower shelf for large pots, an upper shelf for smaller items, and hooks on the vertical back board for hanging tools. Cedar weathers beautifully and resists rot for many years without any treatment — paint it if you want color, or let it silver naturally.
What You’ll Need
Tools
- Miter saw
- Drill and driver
- Pocket hole jig
- Clamps
- Tape measure and square
- Sandpaper 80 and 120 grit
Materials
- Cedar 2×4: legs and main structure (approximately 40 linear feet)
- Cedar 1×6 or 1×8: decking boards for work surface, lower shelf, and upper shelf (approximately 50 linear feet)
- 2-inch and 3-inch exterior pocket screws (stainless or galvanized)
- Exterior wood glue (weatherproof)
- S-hooks and a 1/4-inch dowel rod or wooden hooks for tool hanging
- Outdoor finish (optional — cedar can be left natural)
Step 1: Plan Your Dimensions
Before you make your first cut, you need to determine the final size of your bench. A comfortable working height is 34 to 36 inches, which matches a standard kitchen counter; this prevents back strain while you work. For the footprint, a depth of 24 inches is ideal, as it provides plenty of workspace without making it hard to reach items at the back. For length, aim for 48 to 60 inches to fit your available wall space. We recommend placing your lower shelf 12 inches from the ground to accommodate large bags of soil, while keeping the upper shelf 18 to 20 inches above the main surface for easy access to your seed trays and smaller tools.
Beginner Tip: The most common mistake is failing to account for the thickness of your lumber. If you measure your wood pieces exactly to your target width, your finished bench might end up an inch or two wider than you planned. Always draw a quick sketch on a piece of paper and label your board lengths, including the width of the wood itself, before heading to the hardware store.
Pro Tip: Use masking tape to mark the dimensions of your bench directly onto the ground or the wall where it will live. This lets you “feel out” the space and ensure you have enough room to move around the bench comfortably without blocking pathways or garden access points before you commit to building.
Step 2: Cut the Legs
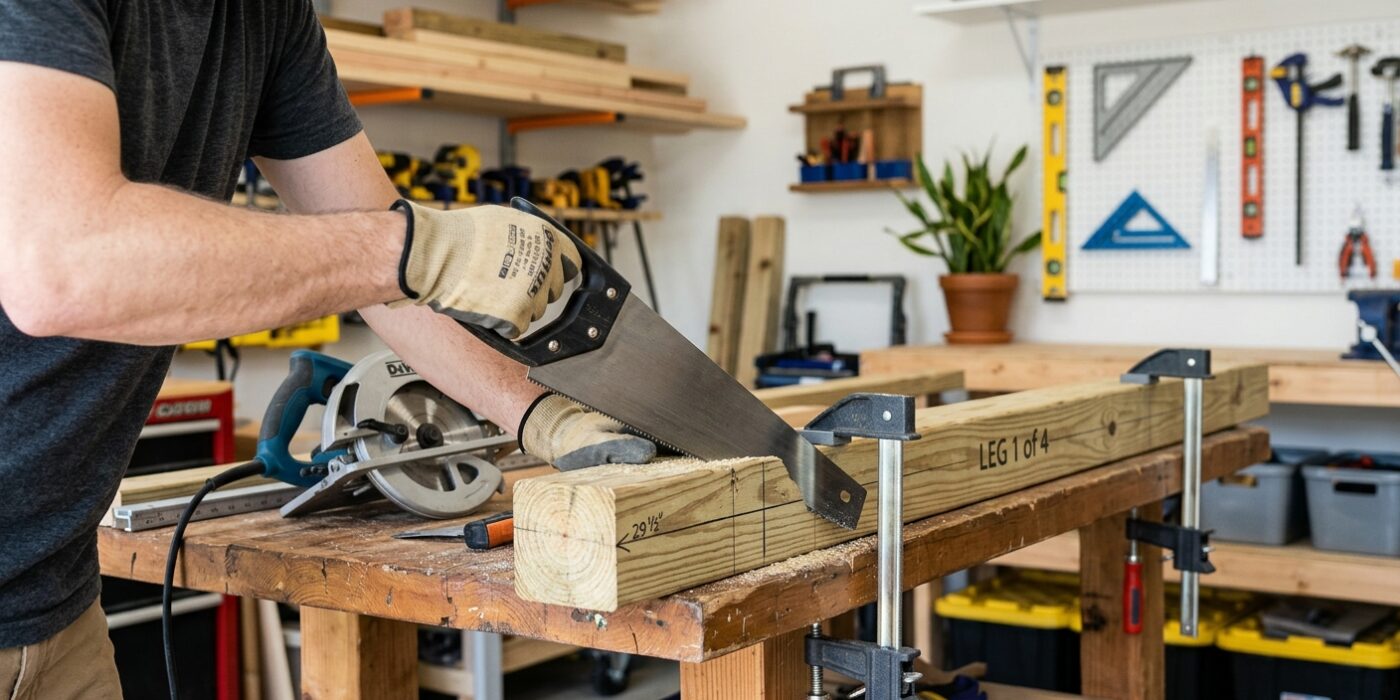
Now it is time to give your potting bench its foundation. You will need four 2×4 cedar boards for the legs. The front legs determine your comfortable working height; cut these to 35 inches. The rear legs provide structural support for the backboard and upper shelf, so these should be cut to 74 inches. Because you want your bench to sit perfectly level on the ground, accuracy is key. Set your miter saw to a 90-degree square angle to ensure your cuts are perfectly flat, allowing the bench to stand without wobbling.
Beginner Tip: The most common mistake is failing to label your pieces. Cedar boards look identical once cut, and it is easy to mix up a 35-inch leg with a 74-inch one. Use a pencil or masking tape to write “Front Left,” “Front Right,” “Rear Left,” and “Rear Right” on each piece immediately after it leaves the saw. This simple habit will save you a massive headache during assembly.
Alternative Method: If you do not own a powered miter saw, do not worry! You can use a simple hand saw and a speed square. Draw a straight line across your board using the square as a guide to ensure your cut is perfectly perpendicular, then cut slowly along your line. It takes a little more muscle, but it is highly effective.
Pro Tip: To get identical lengths every time, clamp a scrap piece of wood to your saw’s fence to act as a “stop block.” Slide your board against the block before cutting; this ensures every leg of the same type is exactly the same length without you needing to measure each one individually.
Step 3: Build the Side Frames
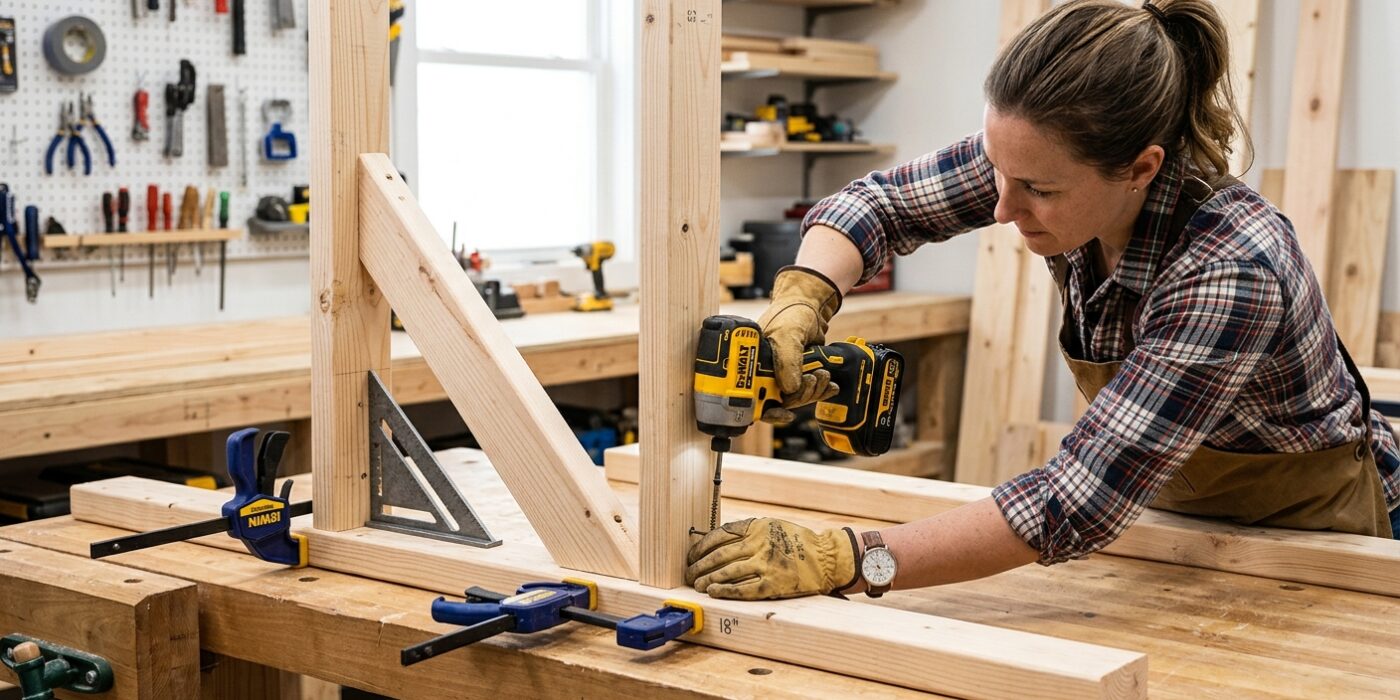
Now it is time to give your potting bench some structure by building the two identical side frames. Each frame acts as the skeleton for your bench, using two 36-inch legs connected by three horizontal cross members. Position the bottom support 4 inches from the floor, the middle support at 32 inches for your work surface, and the top support at 36 inches to define the upper shelf height.
To join these pieces, use a pocket-hole jig to drill two holes into each end of your cross members. Apply a thin bead of exterior wood glue to the ends before driving 2.5-inch exterior pocket screws into the legs. The glue creates a permanent bond, while the screws hold the pieces in place while the glue dries. Before the glue sets, use a tape measure to check the diagonal distances between opposite corners of the frame; if the two measurements are identical, your frame is perfectly square.
Beginner Tip: Ensure your pocket holes are drilled on the side of the boards that will face inward or underneath the bench. This hides the hardware from view once the project is finished, giving your potting bench a much cleaner, more professional appearance.
Alternative Method: If you do not have a pocket-hole jig, you can use “L” brackets or corner braces to attach the cross members. Simply screw the metal brackets into the legs and the cross members for a sturdy, reliable hold that requires only a standard drill.
Pro Tip: Use a speed square to hold your cross members at a perfect 90-degree angle against the legs while you drive your screws. This simple trick prevents the boards from shifting as you tighten the fasteners, ensuring your bench won’t wobble.
Step 4: Connect the Two Side Frames
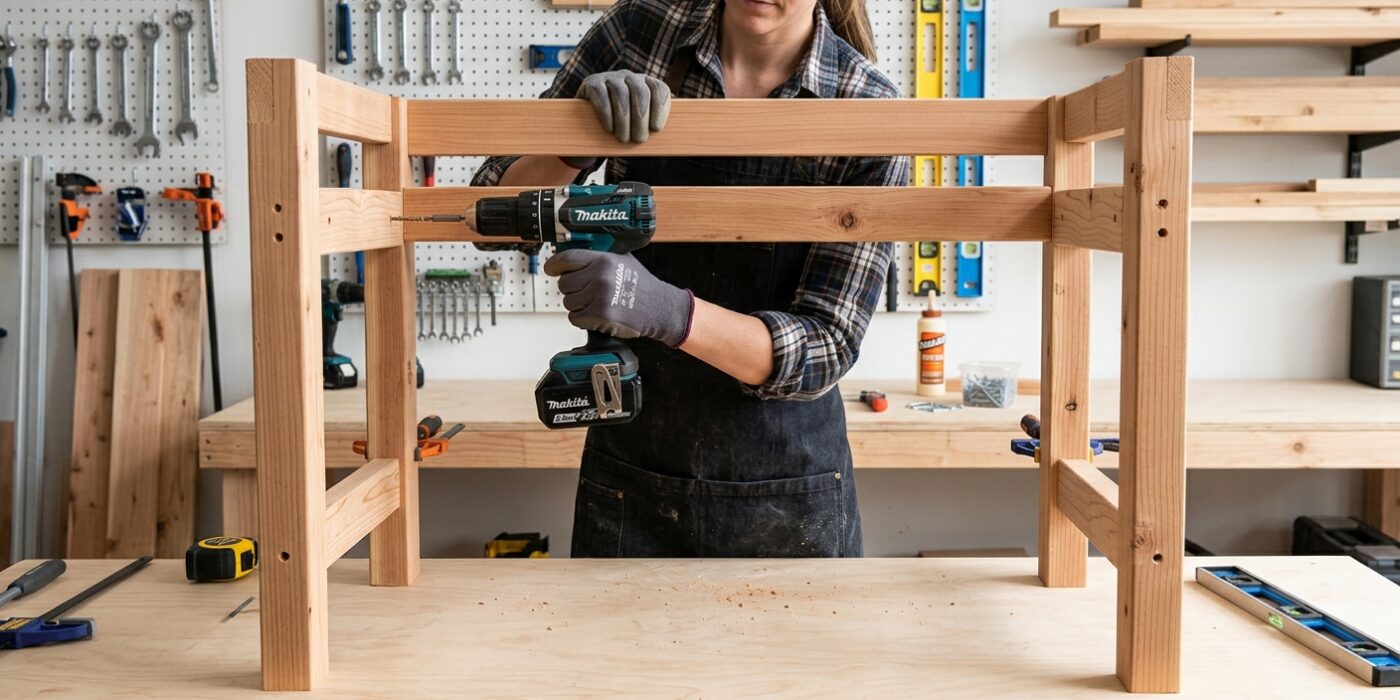
Now that your two side frames are built, it is time to turn them into a sturdy bench skeleton. You will connect these frames by attaching horizontal rails across the front. Position one rail at your intended lower shelf height, one at the work surface height, and one across the very top of the rear legs to provide stability. These rails act as the “bones” of your bench, ensuring the structure remains square and rigid. Finally, attach the 1×8 back board to the rear legs; this piece provides essential structural bracing while creating a convenient surface to hang your gardening tools.
For each connection, apply a thin bead of waterproof wood glue to the ends of your rails before securing them. Use 3-inch exterior pocket screws driven through your pre-drilled pocket holes. The glue creates a permanent chemical bond, while the screws hold everything tightly in place while the glue cures, resulting in a joint that will easily withstand the weight of heavy pots and damp soil.
Beginner Tip: Before driving your screws, use a carpenter’s square to ensure your frames are standing perfectly upright. If the frame leans even slightly while you screw it in, the finished bench will wobble, and your work surface will be uneven. Always check for “square” at every connection point.
Pro Tip: Use a scrap piece of wood cut to the exact height you want for your shelf or workspace to act as a “spacer.” Rest the rail on this spacer while you fasten it; this ensures that both sides of your bench are perfectly level without needing to measure and mark with a pencil for every single board.
Step 5: Install the Work Surface Decking
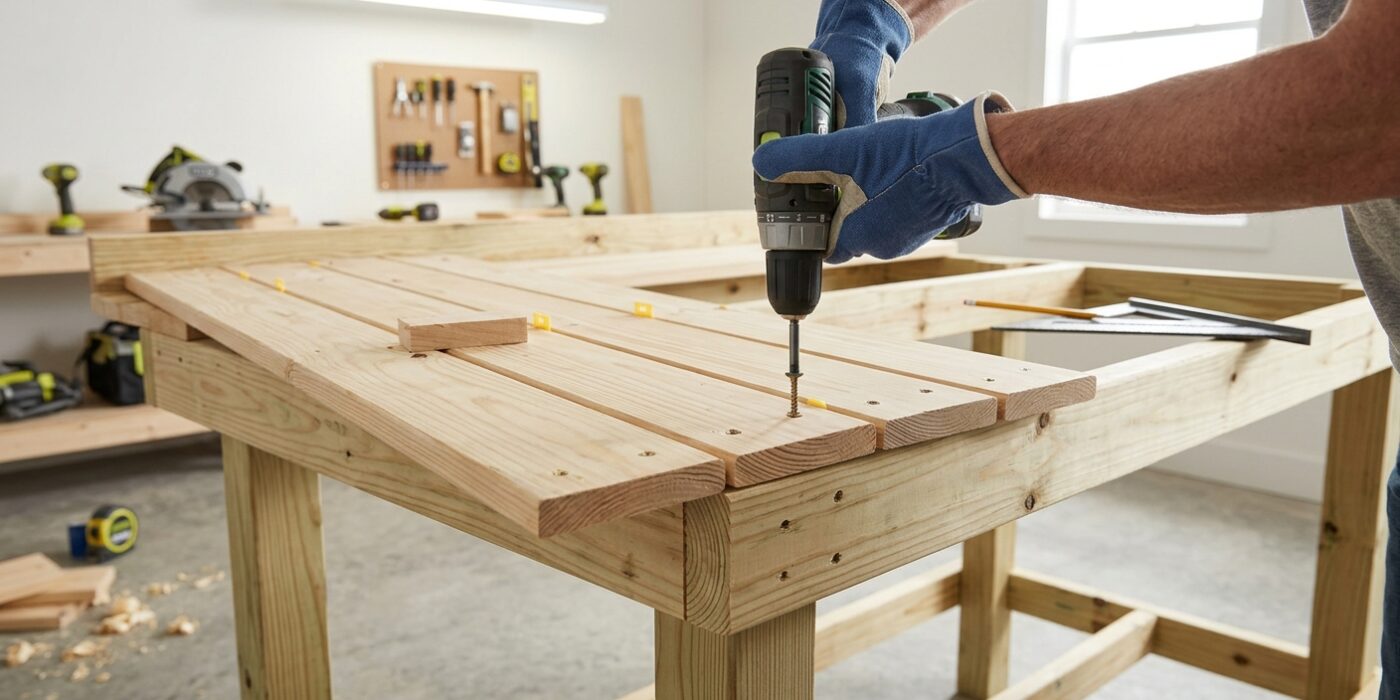
Now it is time to create the heart of your potting bench: the work surface. You will be using cedar 1×6 boards placed across the frame, running from the back of the bench to the front. Lay these boards out so they overhang the front rail by exactly one inch; this creates a professional, finished look and helps keep debris off your bench legs. Space each board about 1/4 inch apart. This gap is vital because it allows stray soil, water, and potting mix to fall through rather than sitting on your workspace, keeping your bench tidy.
Before driving in your exterior screws, use a drill bit slightly smaller than the shank of your screw to create pilot holes. Cedar is a soft wood and tends to split near the edges, so this step is essential to ensure a clean, long-lasting build. Place two screws at every point where a board crosses the frame to keep everything secure.
Beginner Tip: Resist the urge to eyeball your spacing. Use a scrap piece of 1/4 inch plywood or even a thick nail as a spacer between your boards. Keeping your gaps consistent makes a huge difference in the final aesthetic of the project.
Pro Tip: To keep your rows perfectly straight without constantly measuring, drive your screws into the two outer boards first. Then, run a piece of string tightly across the bench between them. You can use this line as a visual guide to ensure every board in between is perfectly aligned.
Step 6: Install Lower and Upper Shelves
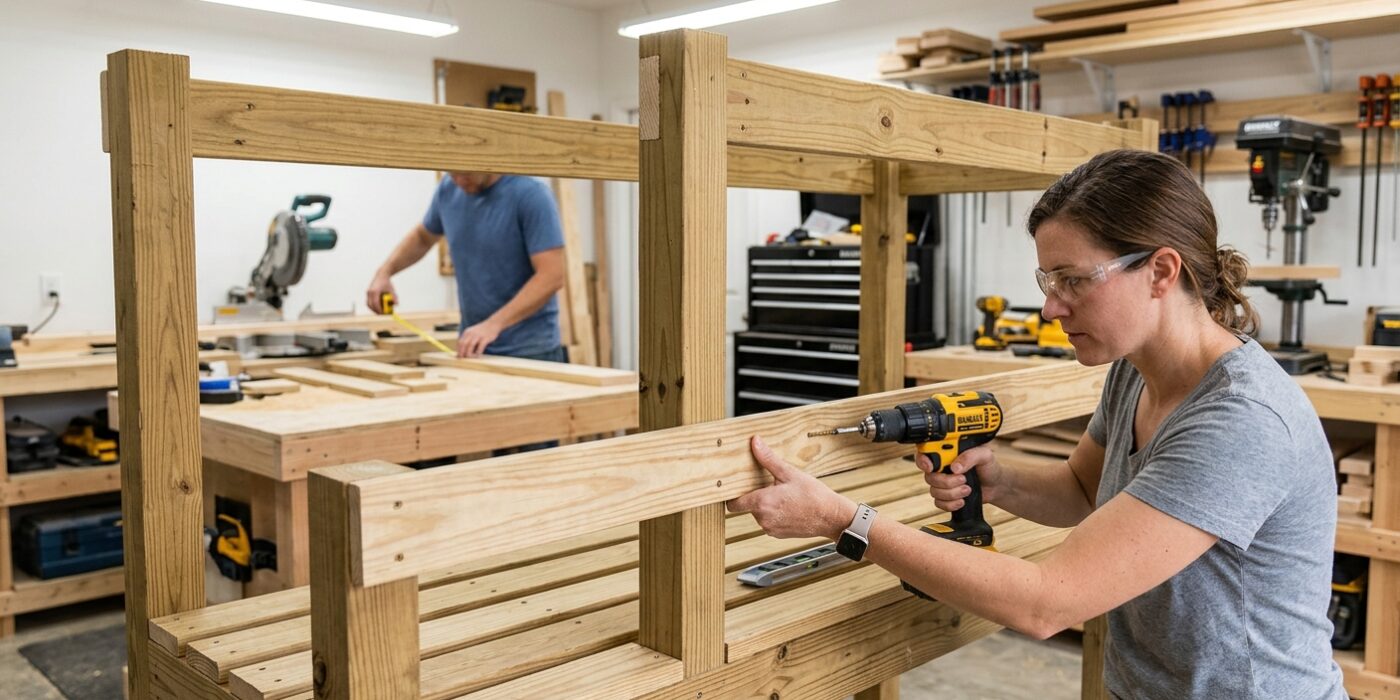
Now it is time to give your potting bench storage. For the lower shelf, take your 1×6 decking boards and lay them across the lower support braces. You want a 1/4-inch gap between each board to allow water and dirt to fall through instead of pooling. Run these boards all the way to the back of the frame, as this provides a sturdy, level base for your heaviest bags of soil and ceramic pots. Secure these with two exterior-grade screws at every connection point.
The upper shelf is for your lighter tools and supplies. Keep this shelf between 14 and 16 inches deep. This specific depth is crucial because it creates enough storage space without looming over your workspace, which ensures you have plenty of room to lean over the bench comfortably. Center this shelf between the two rear legs and fasten it by driving your screws upward through the support braces into the underside of the shelf boards; this hides the screw heads for a professional look.
Beginner Tip: Avoid the mistake of using nails instead of screws. While nails are faster, they can pull loose over time as the wood shrinks and expands outdoors. Screws provide superior holding power that will keep your shelves rigid for years.
Pro Tip: Before you drive your screws, use a scrap piece of wood as a spacer. Hold it between your deck boards to maintain a perfectly consistent 1/4-inch gap across the entire surface; it is much faster than measuring every single board individually with a tape measure.
Step 7: Add the Back Board and Hooks
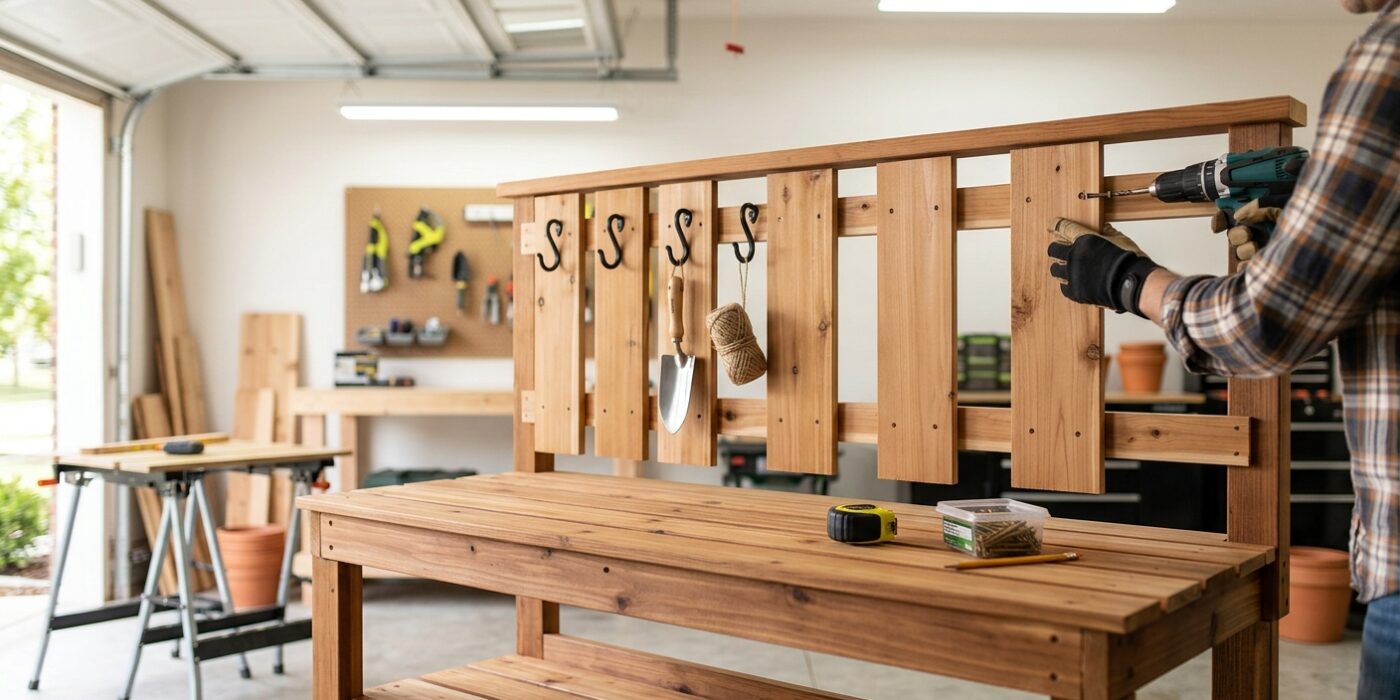
Now that your frame is sturdy, it is time to enclose the back to keep your potting soil contained and your tools organized. Measure the height between your work surface and the underside of the upper shelf. Cut your 1×6 cedar boards to this exact length using a circular saw or miter saw. Starting from one side, attach the boards to the back frame using 1 5/8-inch exterior-grade deck screws. You can butt the boards tightly together for a solid wall, or use a 1/4-inch spacer – like a small piece of plywood – between them for a rustic, airy look.
Once the panel is complete, attach a 1×2 cedar rail horizontally across the top section. Pre-drill small pilot holes before driving in your cup hooks or S-hooks at 6-inch intervals. This allows you to hang your most-used hand tools, pruners, and gloves within arm’s reach, keeping your workspace clutter-free while you work.
Beginner Tip: Ensure your first board is perfectly vertical by using a bubble level before you drive in the screws. If your first board is tilted, every subsequent board will also be crooked, creating a noticeable gap at the end of the run.
Pro Tip: Use a scrap piece of wood as a "spacer block" to keep your hooks perfectly aligned. Hold the block against the top rail while you mark each hole location, ensuring every hook sits at the exact same height for a clean, professional finish.
Step 8: Sand and Finish
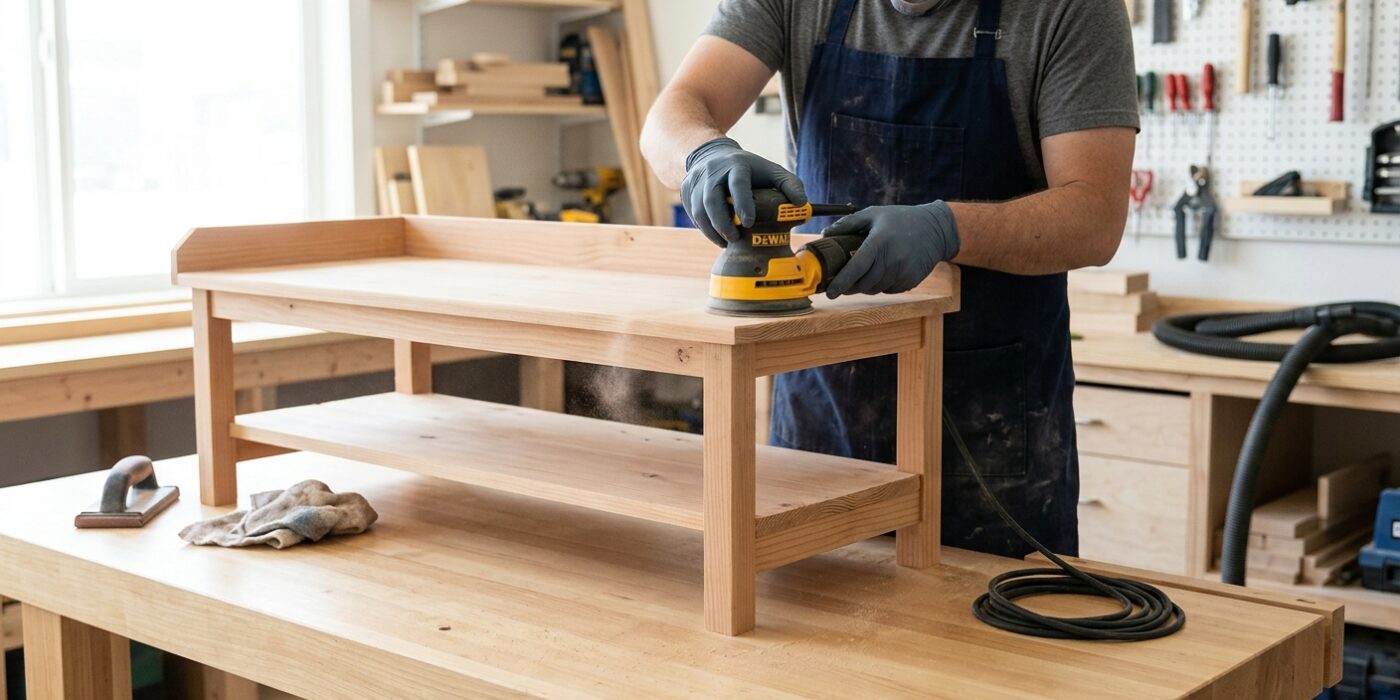
Now that your potting bench is assembled, it is time to smooth the surfaces and protect your hard work. Start by sanding the entire structure with 120-grit sandpaper. This grit is coarse enough to remove pencil marks and minor rough spots without digging too deeply into the cedar. Always sand in the direction of the wood grain to avoid unsightly scratches. Once smooth, wipe away all dust with a damp cloth.
For a natural, weathered look, you can leave the cedar untreated; it will eventually turn a beautiful silver-grey. If you prefer to keep the warm, reddish hue, apply a cedar-toned, UV-protective wood oil using a clean rag or foam brush. If you choose to paint your bench, always apply a high-quality exterior primer first, followed by at least two coats of exterior-grade paint to seal the wood from moisture.
Beginner Tip: A common mistake is sanding too aggressively or unevenly. You do not need to apply heavy pressure; let the sandpaper do the work. If you find yourself pushing hard to remove a blemish, stop and check that your sandpaper isn’t worn out. Replacing the sheet frequently will give you a professional finish in half the time.
Pro Tip: To keep your bench looking brand new, ensure you use stainless steel or hot-dipped galvanized screws during assembly. Standard zinc screws react with the natural tannins in cedar, which will eventually create ugly black streaks around your screw heads that are nearly impossible to sand away later.