Project Shopping List
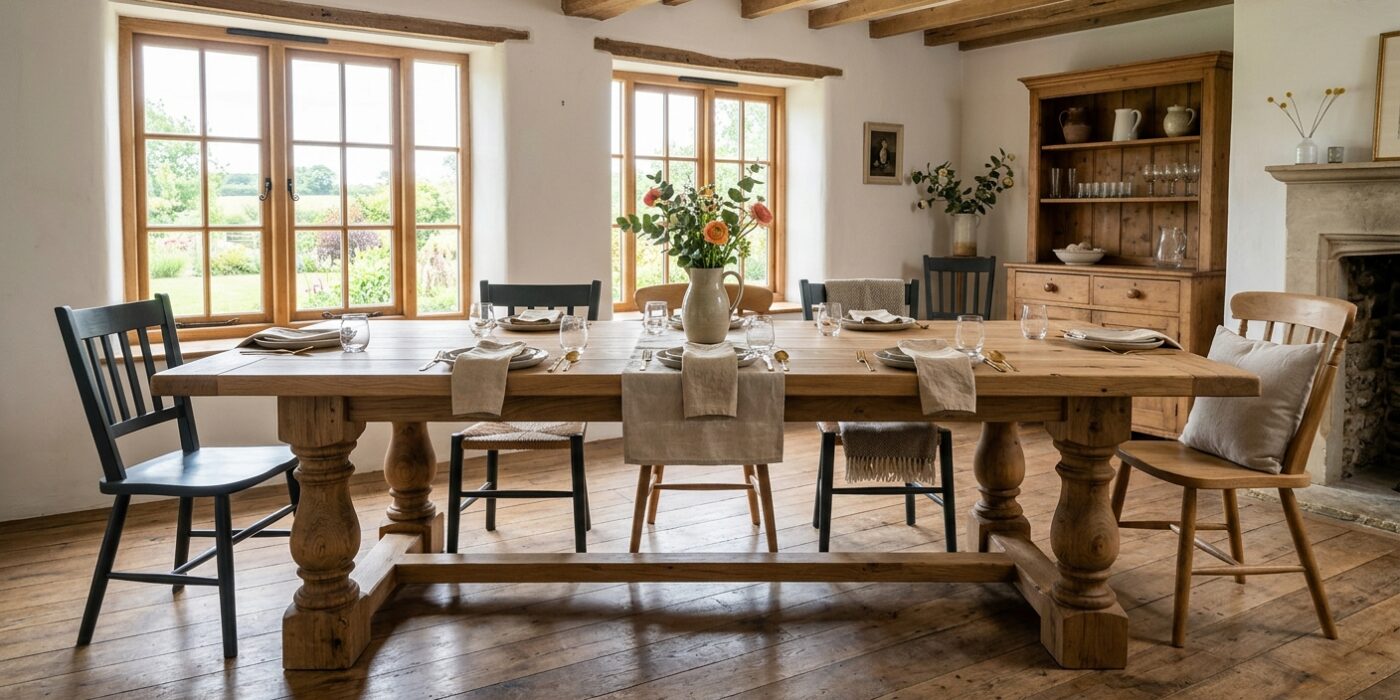
A farmhouse dining table is one of the most used and most visible pieces of furniture in any home, and building one that actually seats six people comfortably is a significant but achievable woodworking project. The classic farmhouse design — a thick plank top, sturdy trestle or leg base, and generous proportions — is inherently forgiving of minor imperfections and looks better with a few honest tool marks.
This guide builds a 36×84-inch table that seats six adults comfortably. The construction uses dimensional lumber and basic joinery throughout — no mortise and tenon, no dovetails, no advanced machinery required.
What You Need
Tools
- Circular saw with guide
- Miter saw
- Drill and pocket hole jig
- Pipe clamps (4-6) and bar clamps (2-4)
- Random orbital sander
- Level and tape measure
Materials
- 2×10 or 2×12 pine boards for the tabletop planks — enough for 36 inches of width
- 4×4 lumber for legs (4 legs at 29-1/2 inches)
- 2×6 lumber for the aprons and stretcher
- Wood glue
- 3-inch pocket screws and structural screws
- Sandpaper (60, 80, 120, 150 grit)
- Stain and topcoat or whitewash and poly
Steps
Step 1: Plan the Top Glue-Up
A 36-inch-wide top from 2×10 boards requires three boards edge-joined. Orient the boards so end grain rings alternate direction — one curved up, the next curved down — to cancel out the natural tendency of each board to cup. Joint or hand-plane the mating edges until they mate with no light showing when held together. Apply glue and clamp with pipe clamps every 12 inches. Use cauls across the top to keep the glue-up flat during curing.
Step 2: Trim the Top to Size
After the glue-up cures (24 hours minimum), trim both ends square with a circular saw and guide. Trim both long edges to final width if needed. Sand the face starting at 80 grit to level any height differences between boards, then progress to 120 and 150. A belt sander used diagonally across the joint lines is the fastest way to level board-to-board height differences in a glue-up.
Step 3: Cut and Assemble the Base
Cut four legs from 4×4 at 29-1/2 inches (the finished height with the top added is 30 inches). Cut two long aprons from 2×6 at 72 inches and two short aprons at 30 inches. Assemble two end frames first: two legs connected by one short apron at the top, pocket-screwed and glued. Then connect the end frames with the two long aprons. Check for square and level before the glue sets.
Step 4: Add a Lower Stretcher
A lower stretcher (a 2×6 running the length of the table at mid-leg height) dramatically stiffens the base and is a characteristic farmhouse table detail. Position it at 8-10 inches from the floor, attach it to the end frame legs with 3-inch structural screws at each end. This stretcher also serves as a foot rest during meals, which family members will appreciate.
Step 5: Attach the Top
Use tabletop fasteners or figure-8 connectors to allow the top to expand and contract. Never glue the top directly to the aprons — wood movement across the grain width of a 36-inch solid wood top can crack glued joints in a single heating season. Position the top with equal overhang on all sides (typically 1-1/2 inches on the long sides, 2 inches on the ends). Drive screws through the fasteners into the top.
Step 6: Distress the Surface (Optional)
Farmhouse tables look best with a few character marks. Before finishing, use a chain, keys, or a wire brush to add subtle wear marks and surface texture. Do this lightly and inconsistently — random marks look natural; systematic marks look artificial. Distressing is optional and irreversible, so decide before finishing and test the technique on scrap from the top glue-up first.
Step 7: Stain and Finish
For a classic farmhouse look, apply a medium-brown stain (Early American, Provincial, or Ebony mixed to taste) then two coats of water-based polyurethane in a satin sheen. For a painted base with stained top (a very popular combination), paint the base first in a neutral white or gray before attaching the top. Apply finish to the underside of the top as well to equalize moisture absorption.
Pro Tips
- Buy boards at least 2 weeks before building and let them acclimate in your shop — this reduces the chance of significant post-construction movement that could open glue joints.
- Choose the best face of each board (the face with fewer and smaller knots) for the top surface and orient it upward during the glue-up.
- A painted base hides construction imperfections that would be visible under a natural finish — if your joinery is not perfectly tight, paint the base.
- Round or slightly chamfer all the table edges — sharp corners on a dining table cause daily discomfort when forearms rest on the edge during meals.
FAQ
What size farmhouse table seats 6 comfortably?
For six people (two on each long side, one at each end), you need a minimum of 72 inches long by 36 inches wide. Allow 24 inches of width per person along the sides. 84 inches long gives more comfortable spacing at the ends. Longer tables (96+ inches) work better in open plan spaces where the visual scale of the table is appropriate to the room.
Will a pine tabletop hold up to daily use?
Pine is softer than oak or maple and will show dents from daily use. This is actually desirable in a farmhouse aesthetic — the wear marks become part of the table character over time. Apply a durable polyurethane topcoat (at least 3 coats) for protection. If you want a harder surface that resists scratches more, use #2 common oak boards which are similar in cost to clear pine and significantly harder.
How do I flatten a warped board before glue-up?
Mild cupping can be corrected by dampening the concave face, placing it concave-side down, and weighting it for 24 hours. More severe warping requires running the board through a planer or using a hand plane to flatten the high face. Any board with a twist (different corners at different heights) needs to be hand-planed or jointed to remove the twist before glue-up — twisted boards cannot be successfully clamped flat in a glue-up.