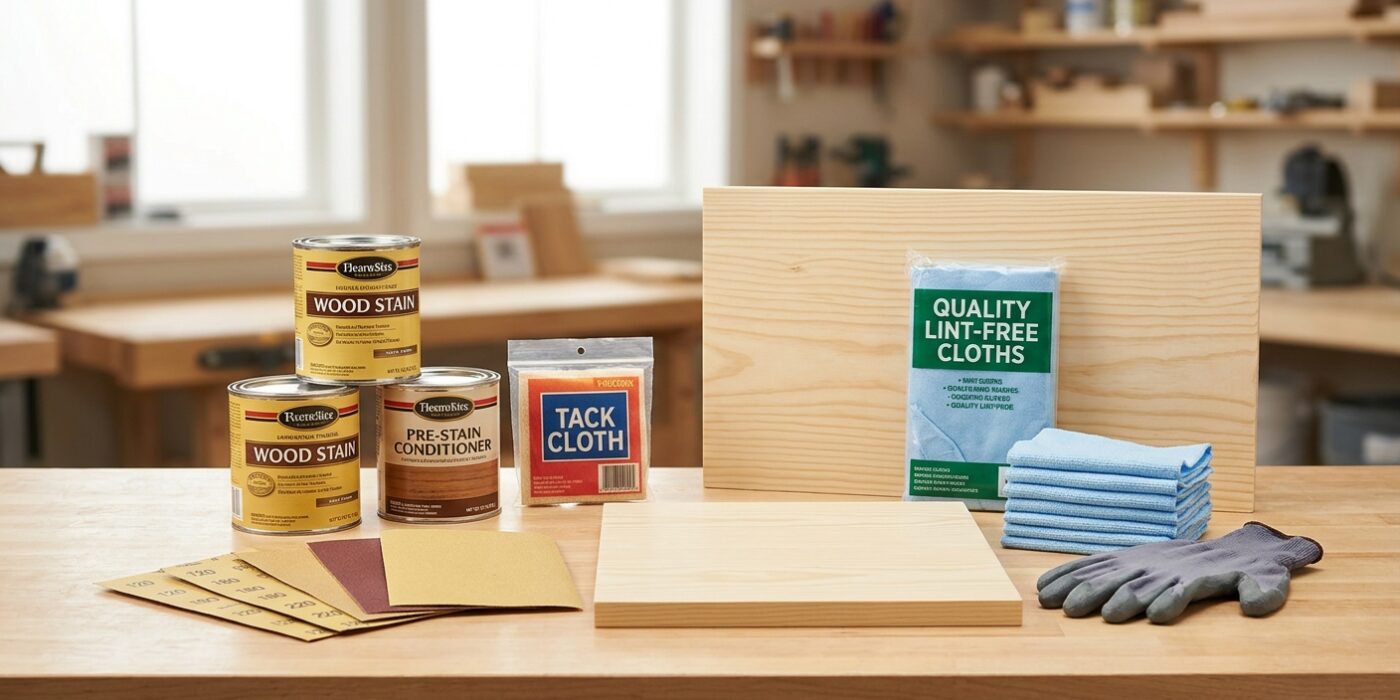
Project Shopping List
Stain blotching ruins more woodworking projects than any other finishing mistake. Soft woods like pine and cherry absorb stain unevenly because their grain density varies — some areas drink in stain and go dark, others barely take any and stay light. The result is a splotchy, unprofessional look that no amount of additional coats will fix. Getting even color requires preparation before the stain ever touches the wood.
What You Need
- Wood conditioner or gel stain (for blotch-prone woods)
- Oil-based or water-based wood stain
- Foam brushes or lint-free rags
- Sandpaper: 120, 150, 180, 220 grit
- Tack cloth and mineral spirits
- Nitrile gloves and good ventilation
Step-by-Step Instructions
Step 1: Sand to the Right Grit — No Higher
Sand your project through 120 and 150 grit, then stop at 180. Do not sand to 220 before staining — finer grits burnish the wood surface and close the pores, causing stain to sit on the surface rather than penetrate. The result is lighter color and uneven absorption. Sand with the grain at every stage. Finish with 180 grit, vacuum, and wipe with a tack cloth.
Step 2: Apply Pre-Stain Wood Conditioner (Blotch-Prone Woods)
Pine, cherry, birch, alder, and maple are notorious blotchers. Apply a pre-stain wood conditioner (Minwax, General Finishes, or equivalent) with a brush or rag, let it soak in for 5-15 minutes, then wipe off the excess. Do not let it dry completely — apply stain while the conditioner is still slightly wet. The conditioner partially fills the pores and evens out absorption. Skip this step on oak, walnut, and mahogany — they accept stain evenly without it.
Step 3: Test on Scrap First
Always test your stain color on a scrap piece of the same wood, sanded the same way. Apply conditioner if using it, then stain with the same timing you plan to use on the project. Let it dry fully and apply your topcoat over it — stain color changes significantly under polyurethane. What looks right wet often looks too dark or too orange after a topcoat. Adjust your stain choice or wiping time based on the test piece, not guesswork.
Step 4: Apply Stain with a Rag, Not a Brush
Pour stain onto a folded lint-free rag and wipe it onto the wood in long, even strokes with the grain. Work in sections small enough to wipe off before the stain becomes tacky — typically 2-3 square feet at a time on open-grain woods, less on tight-grain blotch-prone woods. Apply liberally enough to wet the entire surface, but do not let puddles sit.
Step 5: Wipe Off the Excess on Time
The most common staining mistake is leaving stain on too long. For most oil-based stains, wipe off excess with a clean dry rag after 3-5 minutes. On blotch-prone woods, wipe off even sooner — 1-2 minutes. Stain left too long becomes tacky, does not dry properly, and creates a gummy surface that will not accept a topcoat cleanly. Wipe in the direction of the grain with firm, consistent pressure.
Step 6: Let It Dry Completely
Oil-based stain needs 8-24 hours to dry before topcoating. Water-based stain dries in 2-4 hours. Do not rush this step — applying polyurethane over incompletely dried stain traps solvents and causes the finish to remain soft or peel. The surface should feel dry to the touch with no tackiness. In humid conditions, add time rather than guessing.
Step 7: Second Coat for Deeper Color
If the first coat is too light, apply a second coat without sanding between coats. Apply and wipe using the same technique. A second coat typically adds 20-30% more depth. Do not apply more than two coats of penetrating stain — additional coats seal the pores and prevent the topcoat from bonding. For very deep color, use a darker stain or a gel stain, which sits on the surface rather than penetrating.
Pro Tips
- Gel stain is the easiest solution for blotch-prone woods — it does not penetrate deeply, so density variations matter less.
- End grain always absorbs more stain than face grain and goes darker. Seal end grain with a 50/50 mix of finish and mineral spirits before staining to equalize absorption.
- Wipe stain in the direction of the grain on the final pass — streaks perpendicular to the grain are visible under any topcoat.
- If you get a drip or lap mark after the stain has dried, lightly sand with 220 grit and apply a thin second coat over the area.
Frequently Asked Questions
Why does my stain look blotchy even after using conditioner?
The conditioner may not have been applied wet enough, or the stain was applied too long after the conditioner dried. Apply conditioner generously and get stain on the wood within 15 minutes. Also check that you are not using a water-based conditioner with an oil-based stain — they must be compatible (same base).
Can I fix blotchy stain after it has dried?
Minor blotching can be minimized by applying a second coat of stain — it darkens the light areas more than the already-dark areas and reduces contrast. For severe blotching, sand back to bare wood and start over with a conditioner or gel stain. There is no topcoat trick that hides bad blotching.
Oil-based or water-based stain?
Oil-based stain penetrates more deeply, has a longer working time, and produces warmer tones. Water-based stain dries faster, has lower odor, and cleans up with water — but it raises the wood grain slightly and gives a cooler tone. Both work well; the choice comes down to the look you want and how much time you have to wait between coats.