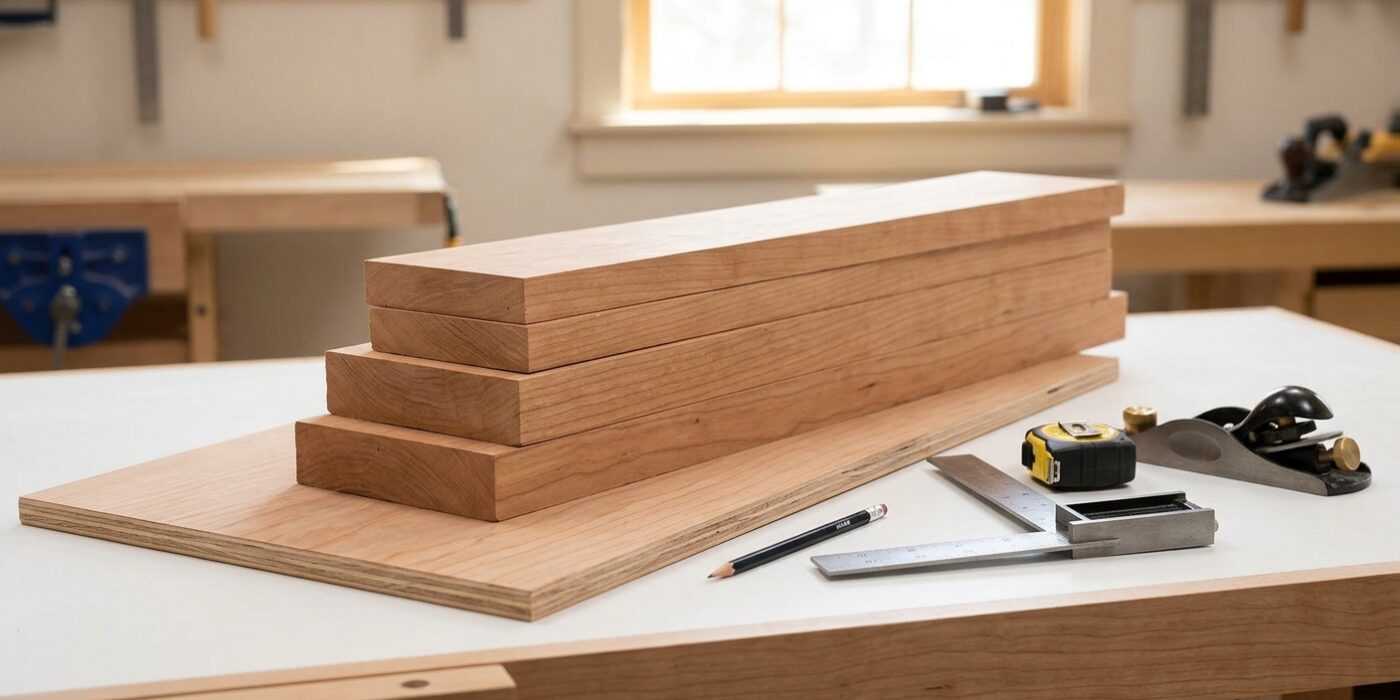
Project Shopping List
An end table is one of the most satisfying pieces of furniture to build. The result is immediate and tangible, and the skills you use here form the foundation of virtually every other furniture project you will tackle. Simple joinery, real wood, and a clean finish are all it takes to produce something that looks like it came from a furniture store.
This guide builds a classic end table approximately 24 inches square by 24 inches tall, using hardwood and straightforward apron-to-leg joinery. No advanced techniques required — just careful measuring, good glue-ups, and patience through the finishing process.
What You Need
Tools
- Miter saw
- Table saw or hand saw
- Drill and pocket hole jig
- Random orbital sander
- 4 bar or pipe clamps
- Tape measure and combination square
Materials
- 1×6 or 1×8 hardwood for the top — poplar, oak, or maple
- 2×2 or purchased leg stock for 4 legs at 23-1/4 inches
- 1×4 hardwood for the four aprons
- Wood glue
- 1-1/4-inch pocket screws
- Sandpaper (80, 120, 180 grit)
- Stain and polyurethane or wipe-on finish
Step-by-Step Instructions
Step 1: Choose Your Wood
Poplar is the best beginner hardwood — inexpensive, takes paint perfectly, and easy to work with both hand and power tools. For a stained finish, oak or maple give a more traditional furniture appearance. Avoid pine for an end table because it dents easily in daily use. Buy all wood from the same source to ensure consistent color and moisture content.
Step 2: Cut All Parts to Size
Cut a precise parts list before sawing: four legs at 23-1/4 inches, four aprons at 21 inches each (for a 24-inch square table), and the top panel at 24×24 inches. Label each part immediately after cutting. The 3/4-inch top adds to the leg height to reach the 24-inch finished height. Verify each piece against your cut list before assembly begins.
Step 3: Cut Pocket Holes in the Aprons
The aprons connect the four legs and give the table its rigidity. Drill two pocket holes at each end of all four aprons using a pocket hole jig set for 3/4-inch material. These holes angle into the inside face of the leg at assembly, keeping fasteners completely hidden from the outside of the table. Dry-fit each joint before applying glue to confirm the fit.
Step 4: Assemble Two End Frames
Build the table in two stages: assemble two opposite end frames first, then connect them. For each end frame: apply glue to the apron ends, clamp each apron to two legs with the apron face set 3/4 inch in from the leg’s outside face, and drive pocket screws. Check diagonal measurements — equal diagonals mean a square frame. Let each end frame cure completely before moving on.
Step 5: Connect the End Frames
Join the two cured end frames with the remaining two aprons. Apply glue, position the aprons, drive pocket screws, and clamp the whole assembly diagonally to maintain square while the glue cures. Set the assembled base on a flat workbench surface and check that all four legs contact the surface without rocking. Even a slight rock should be corrected now, not after the glue cures.
Step 6: Build the Top
If your top requires two boards edge-joined to reach 24 inches wide, joint or sand the mating edges perfectly flat, apply a bead of glue, and clamp across the width with cauls on top to prevent bowing. After curing, sand the face smooth starting at 80 grit, then 120, then 180, always with the grain. A straightedge laid diagonally across the top will reveal any remaining high spots.
Step 7: Attach the Top
Never glue the top directly to the aprons — wood movement across the grain will crack the top. Instead, use figure-8 tabletop connectors or wooden buttons that ride in a groove cut in the apron’s inside face. These allow the top to expand and contract with seasonal humidity changes. Position the top with equal overhang on all sides, mark fastener locations, and attach.
Step 8: Sand and Finish
Final sand all surfaces to 180 grit. Vacuum thoroughly and wipe with a tack cloth. If staining, apply pre-conditioner first on poplar or birch to prevent blotching. Apply stain, wipe off, allow to cure. Then apply two to three coats of polyurethane, sanding lightly with 220 grit between each coat. Finish the underside of the top as well — sealing all faces prevents differential moisture absorption and warping.
Pro Tips
- Clamp aprons flush with the top of the legs — this creates a clean, flat reference surface for the tabletop fasteners and makes the table look professionally made.
- Square every assembly step before the glue cures — fixing a twisted table after curing requires disassembly and is extremely frustrating.
- Sand with the grain at all stages — cross-grain scratches show through any finish and require going back to a much coarser grit to remove.
- Wipe-on polyurethane (thinned poly applied in many thin coats) is more forgiving for beginners — faster drying, fewer brush marks, and a very durable result with 6-8 coats.
Frequently Asked Questions
What size should an end table be?
An end table should sit within 2 inches of the height of the sofa arm it sits beside — typically 24-28 inches tall. Width and depth vary: 18×18 inches is a small accent table; 28×28 inches is a more substantial bedside table. The most common size is 24×24 inches, which fits a lamp, book, and glass without looking awkward beside a standard sofa.
Can I use pine instead of hardwood?
Pine works for a painted finish but dents noticeably with daily use when finished naturally. For a table used daily for years, poplar or oak is worth the modest extra cost. The finished product holds its appearance far longer and the wood machines more cleanly, making the build more satisfying.
My legs wobble after assembly. How do I fix it?
Leg wobble comes from aprons not square to legs, or legs not equal in length. Check leg lengths first by standing all four on a flat surface. If lengths match, the wobble is in the joinery. Disassemble the loose joint before the glue fully cures, re-square, and re-clamp. After curing, furniture leveler glides on the leg bottoms provide a practical fix for minor remaining variation.