Project Shopping List
Polyurethane is the most durable and widely available wood finish for furniture, floors, and cabinets. Three application methods exist — wipe-on, brush-on, and spray — and each has a specific best use. Understanding the differences saves you from runs, brush marks, and soft finishes that never fully cure.
What You Need
- Polyurethane (oil-based or water-based)
- Natural bristle brush (oil-based) or synthetic brush (water-based)
- Lint-free rags for wipe-on application
- 220-grit and 400-grit sandpaper
- Mineral spirits (for oil-based thinning and cleanup)
- Tack cloth and good lighting
Three Application Methods
Wipe-On Polyurethane
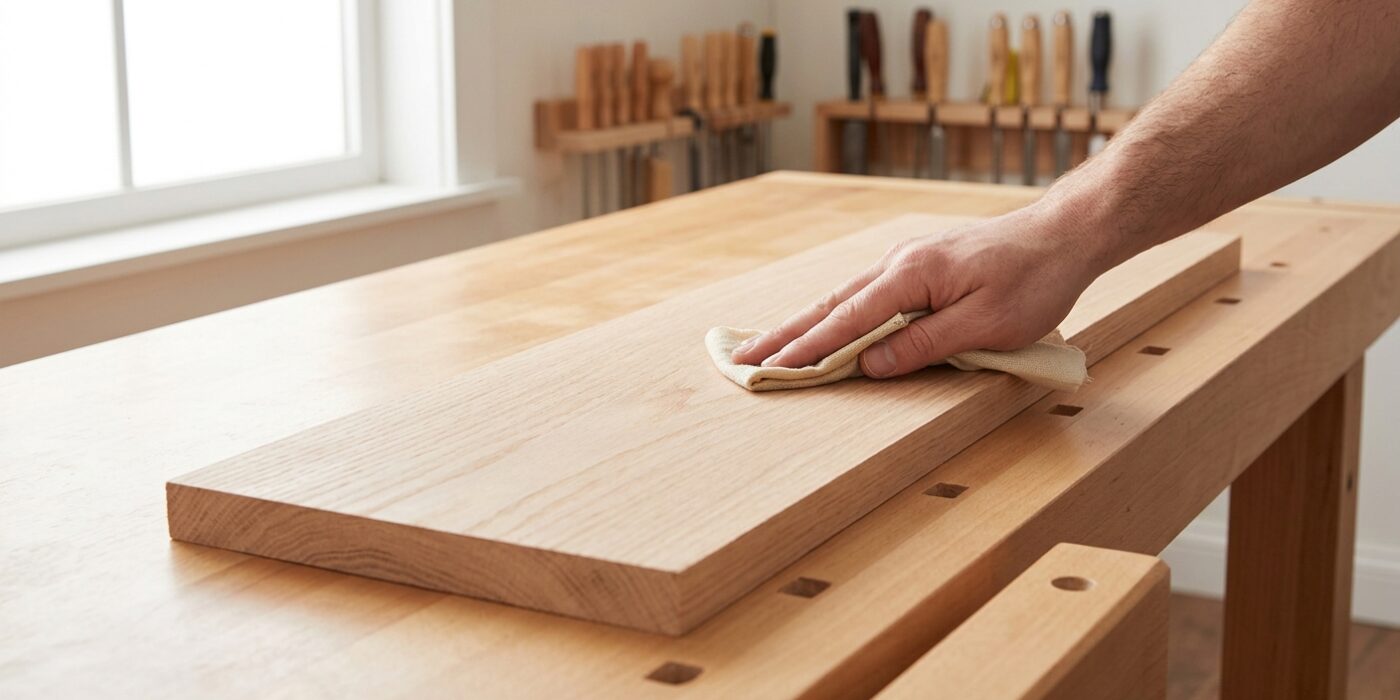
Wipe-on poly is regular oil-based polyurethane thinned 50/50 with mineral spirits, or a pre-mixed product (Minwax Wipe-On Poly). You apply it with a lint-free rag in thin coats. Each coat dries in 2-4 hours. It takes 6-8 coats to build equivalent protection to 3 brush-on coats, but each coat is nearly impossible to mess up — no runs, no brush marks, and very little skill required. Wipe-on is the best choice for beginners and for furniture with complex shapes, turnings, or carved details where a brush leaves drips.
Brush-On Polyurethane
Brush-on poly builds a thicker film per coat and requires fewer coats (typically 3) to reach full protection. Use a high-quality natural bristle brush for oil-based poly, or a synthetic brush for water-based. The technique: do not shake the can (bubbles transfer to the finish). Flow the finish on in long, smooth strokes with the grain. Do not overwork it — brush marks self-level if you leave them alone. Tip off each section with a nearly-dry brush using the lightest possible strokes to pop any bubbles. Brush-on is best for flat panels, tabletops, and floors where you want maximum build in minimum coats.
Spray Polyurethane
Aerosol spray poly (rattle-can) is fast, leaves no brush marks, and works well on spindles, chair legs, and pieces with many angles. The film per coat is thin, so plan for 4-5 coats. Hold the can 10-12 inches from the surface, keep it moving, and overlap each pass by 50%. The downsides: it is expensive per square foot compared to brushed finish, and overspray requires masking or a spray area. A spray gun and compressor produces better results on large projects but requires more setup and cleanup.
Step-by-Step: Brush-On Application
Step 1: Prepare the Surface
The wood should be clean, dry, and sanded to 180 grit. If applying over stain, confirm the stain is fully dry. Wipe with a tack cloth immediately before applying finish. Any dust that settles into the first coat will telegraph through all subsequent coats.
Step 2: Thin the First Coat
Thin the first coat 10-15% with mineral spirits (for oil-based) or water (for water-based). A thinned first coat penetrates the wood fibers and bonds better than a full-strength first coat. This is your sealer coat. Let it dry fully — 8 hours for oil-based, 2 hours for water-based.
Step 3: Sand Between Coats
After the first coat, lightly sand with 220 grit to knock down any dust nibs or raised grain. Wipe with a tack cloth. Do not sand through the finish — you just want to smooth bumps, not remove material. After subsequent coats, 320 or 400 grit gives an even smoother surface between coats.
Step 4: Apply Full-Strength Second and Third Coats
Apply second and third coats at full strength without thinning. Sand lightly with 400 grit between coats. Three coats of brush-on poly over stain is the standard for furniture protection. For tabletops that see heavy use, apply a fourth coat.
Step 5: Final Rub-Out (Optional)
After the final coat cures fully (72 hours minimum), wet-sand with 400 grit, then 600 grit, then buff with paste wax or finishing compound. This eliminates any remaining texture and produces a factory-smooth finish. It is optional but transforms the feel of a piece.
Pro Tips
- Oil-based poly yellows slightly over time — beautiful on warm-toned woods, but problematic on painted or white-stained surfaces. Use water-based for a clearer finish.
- Temperature matters: apply finish at 65-80 degrees F. Cold slows curing; heat causes bubbles and accelerates drying too fast to self-level.
- Store brushes in mineral spirits between coats rather than cleaning and re-loading for each coat — this saves time and preserves brush condition.
- If you get a run, let it dry completely, then sand it flat with 220 grit. Never try to brush out a run while it is wet — you will make it worse.
Frequently Asked Questions
How many coats of polyurethane do I need?
For furniture: 3 brush-on coats or 6-8 wipe-on coats. For floors: 3-4 brush-on coats. For decorative items that get minimal handling: 2 coats is adequate. More coats always mean more durability, but the improvement diminishes significantly after 3 brush-on coats.
Can I apply oil-based poly over water-based stain?
Yes, as long as the water-based stain is fully dry (minimum 4 hours, preferably overnight). The oil in the poly will not reactivate a dried water-based stain. The reverse — water-based poly over oil-based stain — requires the stain to be fully cured (24-48 hours) before topcoating.
My finish has bubbles. What went wrong?
Bubbles come from shaking the can (agitating air into the finish), overworking the brush, or applying in direct sunlight which dries the surface before bubbles can pop. Stir gently instead of shaking. Flow the finish on and tip off lightly. If bubbles have dried in, sand with 320 grit and recoat.