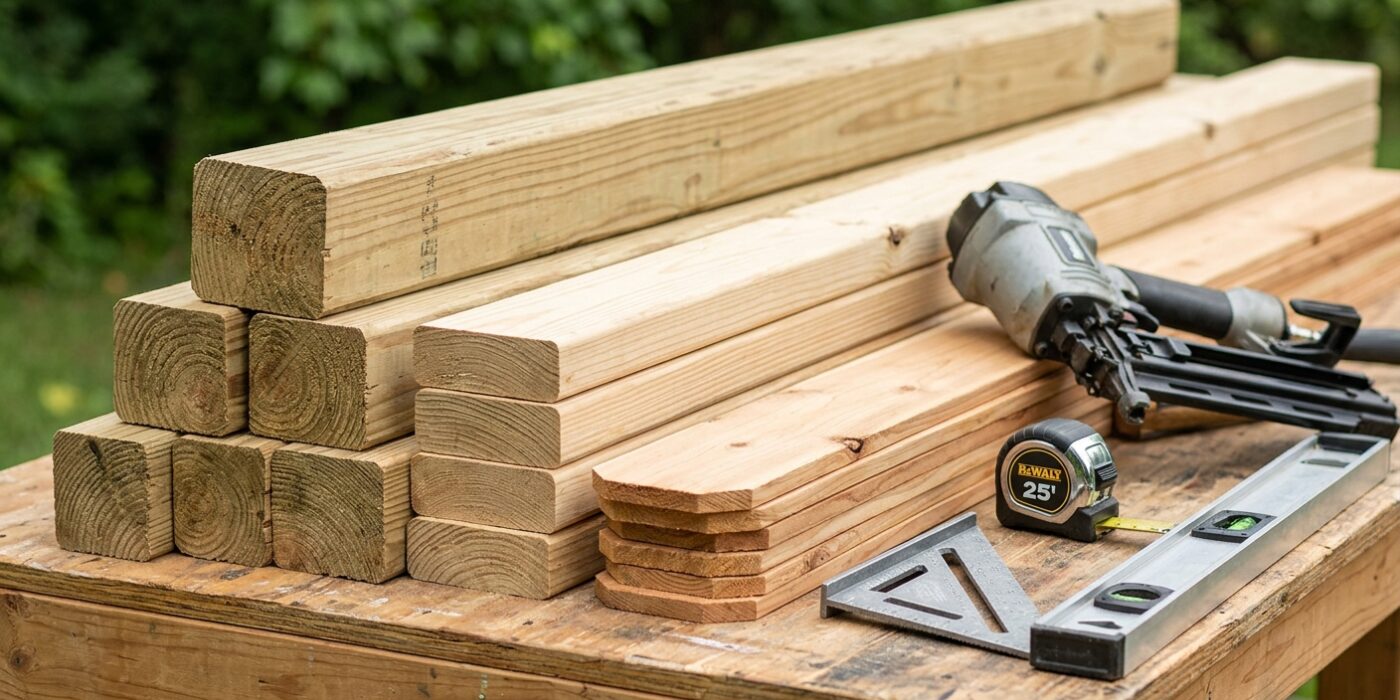
Project Shopping List
A wood privacy fence defines your property, blocks sightlines, and lasts decades when posts are set correctly. Building it yourself saves 40-60% over contractor pricing. The critical work is in the posts — a fence is only as good as its footings.
This guide covers a 6-foot cedar or pressure-treated fence with posts in concrete, 2×4 rails, and vertical pickets.
What You Need
- Post hole digger or power auger
- 4-foot level and string line
- Circular saw and drill
- 4×4 cedar or pressure-treated posts at 10 feet
- 2×4 rails and 6-foot dog-ear pickets
- Fast-setting concrete mix (1-2 bags per post)
- Exterior screws (2-1/2 inch for rails, 1-5/8 inch for pickets)
Step-by-Step Instructions
Step 1: Verify Property Lines and Get Permits
Confirm property lines before placing any posts. Fences built on a neighbor’s property must be removed at your expense. Most jurisdictions require permits for fences over 6 feet in back yards. Some HOAs restrict height, material, or color. Confirm requirements before purchasing materials.
Step 2: Lay Out Post Locations
Stake corner locations and pull a string line between them at finished post height. Mark post positions every 8 feet — the maximum practical span for 2×4 rails without sagging. Adjust spacing if the total length does not divide evenly; slightly shorter panels look better than one very narrow end section.
Step 3: Dig and Set Corner Posts
Dig holes 12 inches in diameter, to below your frost line (typically 36-42 inches). Add 6 inches of gravel for drainage. Set corner posts first and let them cure before setting line posts. Brace each post plumb in two directions. Pour fast-setting concrete dry into the hole, add water per bag directions, and let set 30-45 minutes. Slope the concrete crown away from the post to shed water.
Step 4: Set Line Posts
Pull a string between corner posts at finished post height. Set each line post touching the string — never above it. Plumb in two directions and brace before pouring concrete. Check alignment against the string for both height and fence line position.
Step 5: Snap Post Tops to Height
After concrete cures, mark all posts at 6 feet (or your finished post height) using a level and chalk line or a laser level. Cut all posts to the same height with a circular saw. This ensures the rail and picket top lines are consistent.
Step 6: Install Rails
Install three 2×4 rails per panel: 8 inches from top, 8 inches from bottom, and centered. Face-mount rails to posts with 3-inch screws — simple and fast. For a cleaner look, use metal rail hangers mortised between the posts. Drive two screws per rail end into each post face.
Step 7: Install Pickets
Snap a chalk line at picket top height on the outside rail face. Start at a corner post. Use a 1/4-inch spacer block between pickets for consistent gaps without measuring each one. Drive two screws per rail per picket. Pre-drill near picket ends to prevent splitting. Check plumb every 5-6 pickets and adjust if needed.
Pro Tips
- Cedar grays naturally — if you prefer original color, apply a penetrating deck sealer within the first year and every 2-3 years after.
- Use ground-contact rated posts (UC4B) even in an all-cedar fence — post rot at the ground line is the most common cause of fence failure.
- Never skip the gravel drainage layer at the base of each post hole — it prevents water from pooling around the post base.
Frequently Asked Questions
Concrete or gravel to set posts?
Concrete is best for corners, gate posts, and any climate with freeze-thaw cycles. Gravel-only setting works for interior line posts in warm climates with stable soil. Fast-setting concrete (Quikrete Fast Setting) is the simplest choice for most projects — pour dry mix, add water, done in 30 minutes.
How long does a cedar fence last?
Cedar pickets and rails last 15-20 years. Ground-contact cedar posts last 10-15 years — less if drainage is poor. Pressure-treated ground-contact posts (UC4B) significantly outlast cedar posts and are worth using even in an otherwise all-cedar fence.