Project Shopping List
A rain garden is a shallow, planted depression that collects and absorbs stormwater runoff from roofs, driveways, and other hard surfaces. Unlike a pond, a rain garden drains completely within 24 to 48 hours after a storm – it is a functional landscape feature, not a water feature. Rain gardens reduce runoff volume, filter pollutants before water reaches streams, and reduce basement flooding by capturing water near the source. They also provide a beautiful naturalistic planting area for natives and water-tolerant perennials.
This guide covers siting, excavating, and planting a basic residential rain garden capturing runoff from a roof downspout.
What You’ll Need
Tools
- Flat spade and garden spade
- Wheelbarrow
- Level and stakes
- Garden hose for layout
- Soil amendment tools (compost spreader or wheelbarrow)
Materials
- Rain garden soil mix: 50-60% sand, 20-30% compost, 20-30% topsoil
- Native plants, sedges, and water-tolerant perennials
- Mulch (2-3 inches of shredded bark or hardwood)
- Downspout extension or flexible drain pipe (to route water from downspout to garden)
- River rock or gravel (for inlet and overflow areas)
Step 1: Choose the Location
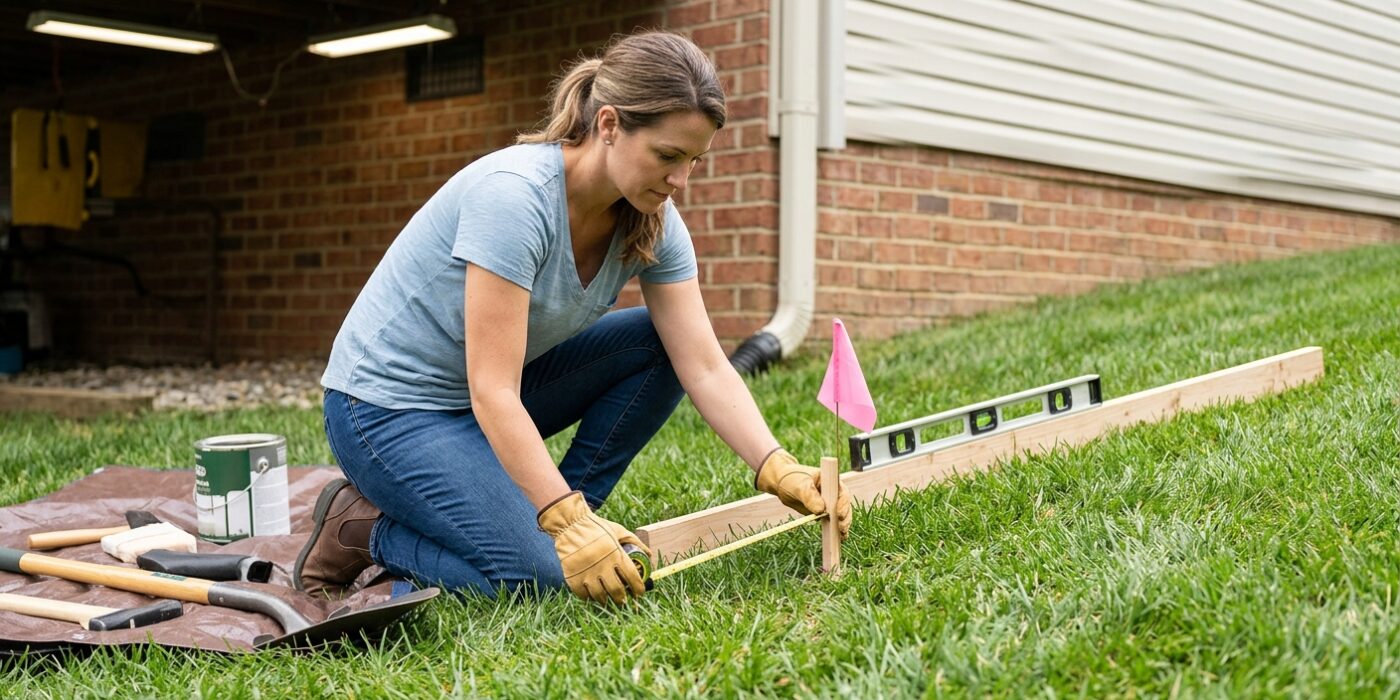
Selecting the right spot is the most important step in building a successful rain garden. You want to place your garden at least 10 feet away from your home’s foundation; this safety buffer ensures that water you collect doesn’t accidentally seep into your basement or weaken your house structure. Similarly, keep at least 25 feet of distance from any septic drain fields.
Look for a naturally occurring gentle slope in your yard. Placing the garden on a slight decline allows gravity to do the heavy lifting, making it easier to build a small mound – called a berm – on the downhill side using the soil you dig out. Avoid areas that stay swampy year-round, as these spots have poor drainage. To be certain, dig an 8-inch hole, fill it with water, and wait. If it doesn’t empty within 24 hours, the soil is too dense, and you should pick a different location.
Beginner Tip: Before you break ground, always call 811 to have your underground utility lines marked. Hitting a gas or electric line is dangerous and expensive, so make this your very first move before choosing your site.
Pro Tip: To find the perfect location, watch your yard during the next heavy rainstorm. Observing exactly where water naturally pools or flows across your lawn will show you the ideal “catchment area” for your garden without any guessing involved.
Step 2: Calculate the Size
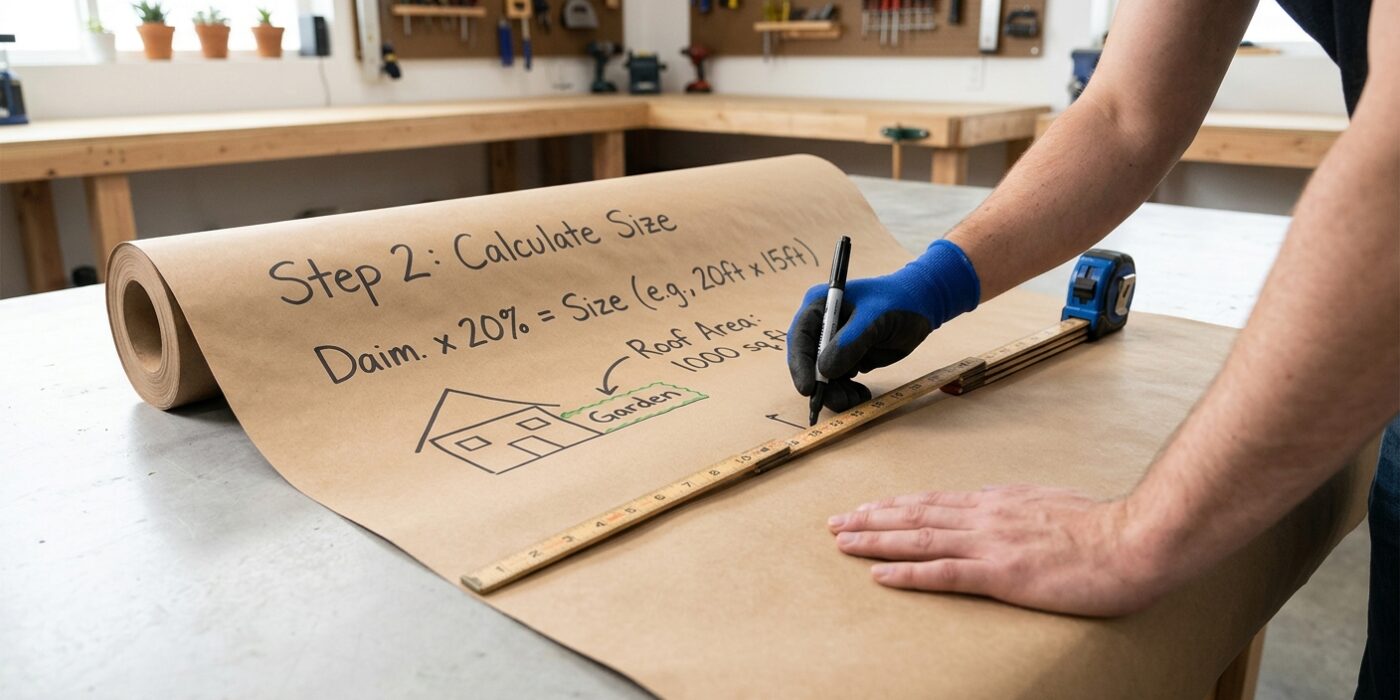
Before you start digging, you need to determine the right size for your rain garden. Think of this step as matching a funnel to a bottle; you want the garden large enough to catch the runoff without letting it overflow. Start by calculating the surface area of the roof that drains into your downspouts. For most yards with average soil, your rain garden should cover about 20 percent of that drainage area. For example, if you are capturing water from 1,000 square feet of roof, aim for a 200-square-foot garden.
Soil type changes your math, too. If your ground is heavy clay, the water will soak in slowly, so increase your garden area to 30 percent to give that water extra space to settle. If you have sandy soil, which drains quickly, you can scale back to 15 percent. For the shape, keep it simple: kidney or crescent shapes look beautiful on slight slopes, while ovals or circles are perfect for flat areas.
Beginner Tip: A common mistake is building the garden too deep. You only need a shallow depression, usually about 4 to 8 inches deep. If you dig too deep, you create a “pond” that stays soggy, which can attract mosquitoes and drown your plants.
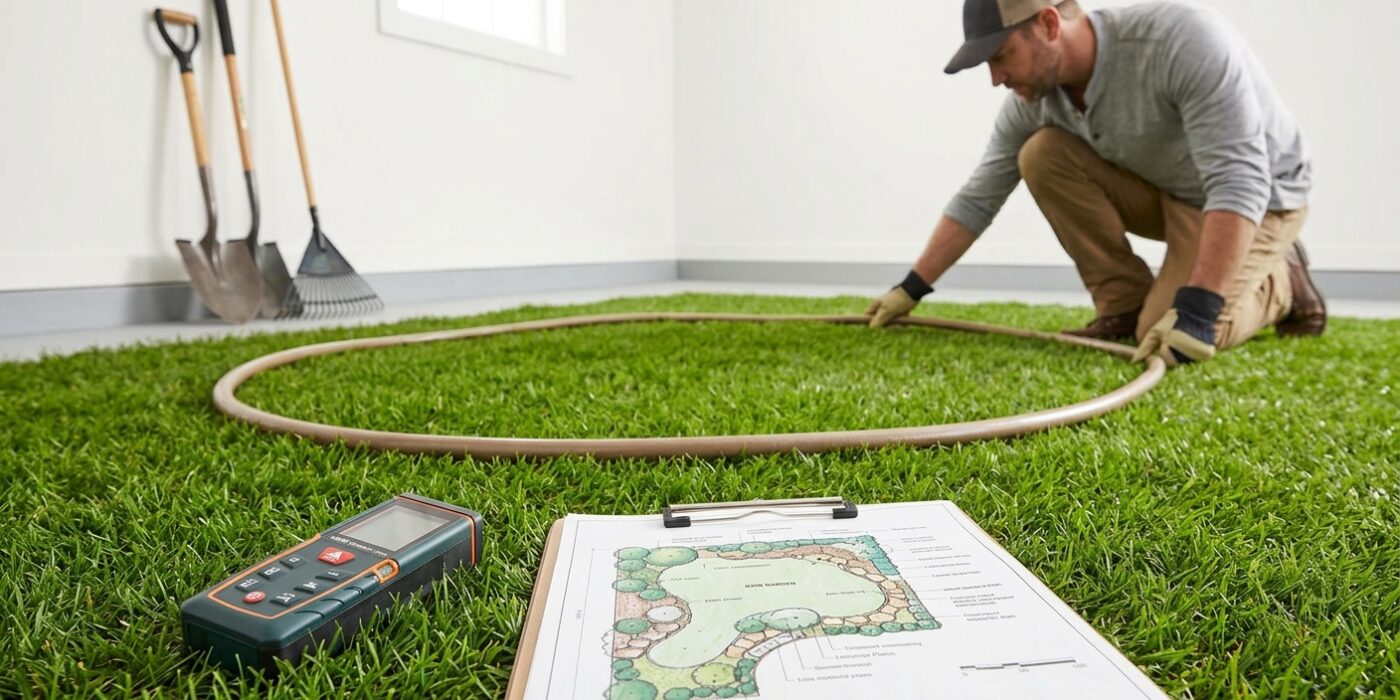
Pro Tip: Use a garden hose to outline your desired shape on the lawn before you start digging. This allows you to walk around the area, adjust the curves to fit your landscape, and visualize the footprint without committing to a permanent shape.
Step 3: Excavate the Basin

Now that your garden outline is marked, it is time to shape your basin. Using a spade or shovel, dig out the interior area to a depth of 4 to 8 inches. The goal is to create a shallow, bowl-like depression that collects rainwater rather than letting it run off into the street. If your yard is on a slope, keep the uphill edge of your basin level with the surrounding ground. As you dig, move the excess soil toward the downhill edge to construct a berm – a raised wall of earth. This berm acts as a dam to trap water, so ensure it stands at least 6 inches higher than the lowest point of your basin floor. Finally, use a rake to smooth the bottom of the basin until it is as level as possible; this ensures that water distributes evenly across your plants instead of pooling in just one corner.
Beginner Tip: A common mistake is to create a basin that is too steep. Avoid vertical walls, which are prone to collapsing; instead, create gentle, sloping sides that look like a shallow dish. This makes the garden safer, easier to maintain, and much less likely to erode during heavy rain.
Pro Tip: To keep your basin level without fancy equipment, place a long, straight board across the center of your site and set a bubble level on top of it. Adjust the depth of your floor until the bubble sits perfectly in the center as you move the board around the area.
Step 4: Amend the Soil
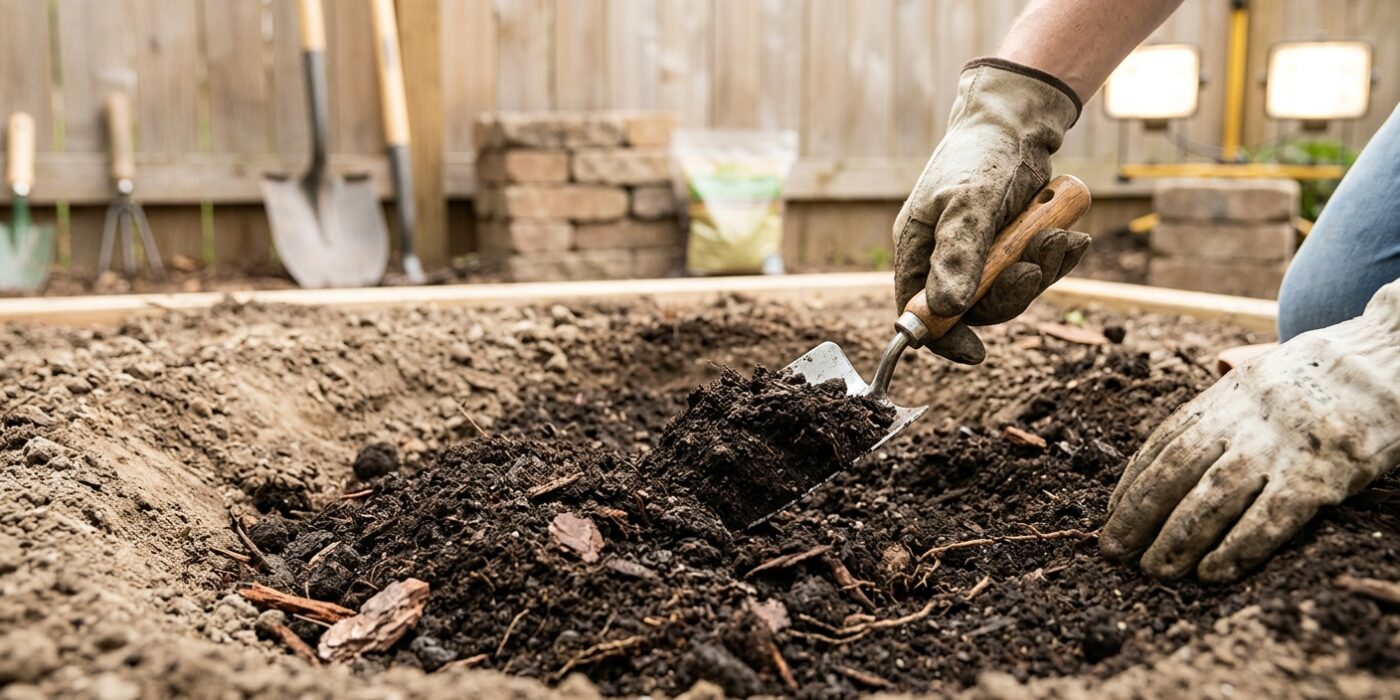
Now that your basin is dug, it is time to prepare the soil. Because your rain garden needs to soak up water quickly, you cannot rely on standard yard dirt. You need to create a porous, sandy mixture that encourages drainage. To do this, blend a mix of 50% coarse sand, 25% compost, and 25% topsoil. Use a garden tiller or a sturdy digging fork to loosen your existing soil to a depth of 12 to 18 inches, then thoroughly incorporate your new mixture. This specific depth is critical because it creates a deep, sponge-like reservoir that prevents water from sitting on the surface for too long. If water ponds for more than 48 hours, it can drown your plants and create a breeding ground for mosquitoes.
Beginner Tip: A common mistake is using potting soil or dense garden soil from a bag. These hold too much moisture like a sponge. Always look for “coarse” or “masonry” sand rather than fine play sand, as finer grains can actually pack together and block water flow.
Alternative Method: If you do not own a tiller or a digging fork, you can use a shovel to turn the soil by hand. Simply dig out a section of soil, place your amendments on top, and use the shovel to “flip” and chop the earth until the colors of the sand, compost, and soil look evenly mixed.
Pro Tip: Before you start mixing, lightly dampen your existing soil with a hose. Slightly moist soil is much easier to work with and prevents dust from flying around while you are turning it over.
Step 5: Create the Inlet and Overflow
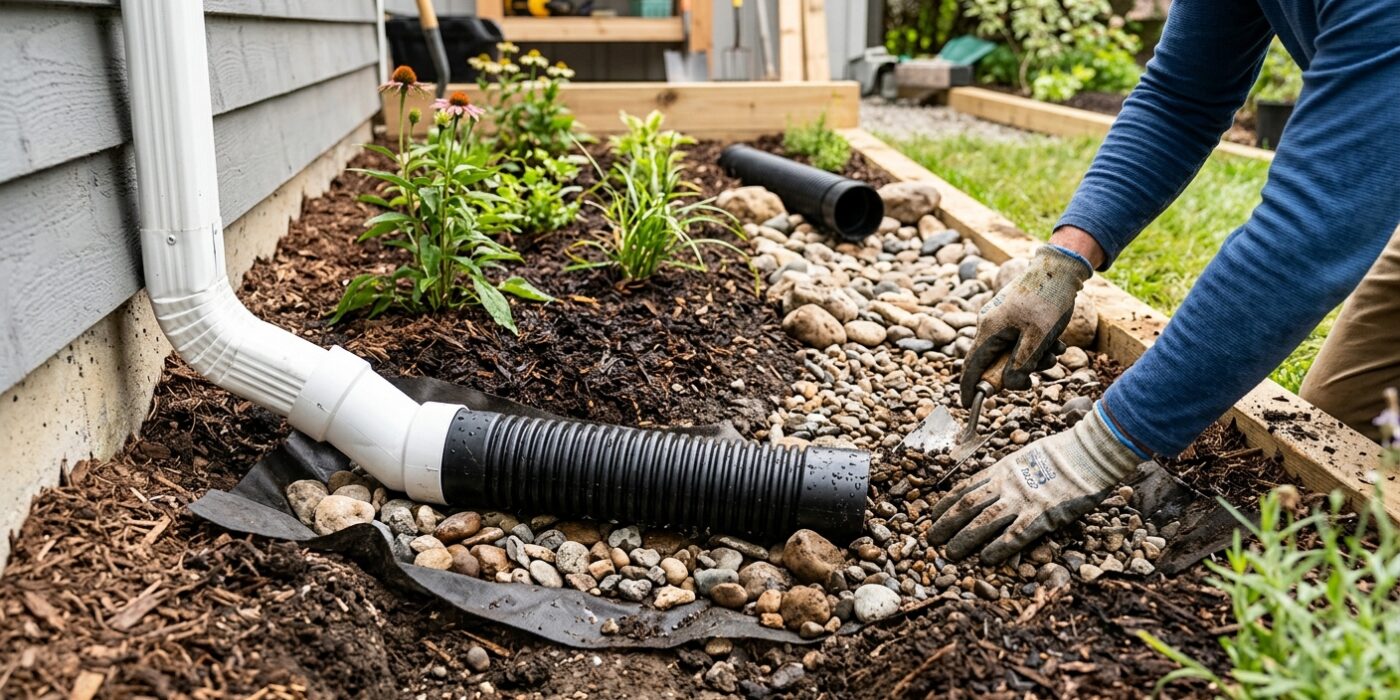
Your rain garden needs a way to handle incoming water and a safe exit strategy for heavy storms. First, extend your gutter’s downspout using a flexible corrugated drain pipe so that it empties directly into the top edge of your basin. To prevent the water from carving a hole in your soil, line this inlet area with a small bed of river rocks. Think of these rocks as a speed bump that dissipates the water’s energy before it hits your plants.
Next, move to the lowest point of your garden’s outer rim (the berm). You need to create a shallow notch, roughly three inches deep, to act as an overflow spillway. Line this notch with larger, flat river stones to keep the soil from washing away. Direct this path away from your home’s foundation and toward a lawn or drainage area to ensure your basement stays dry.
Beginner Tip: A common mistake is aiming the overflow path back toward your house or a neighbor’s property line. Always verify the slope with a level or simply watch where water flows during a light rain to ensure it heads toward a neutral area like the open lawn.
Pro Tip: Place a piece of landscape fabric underneath your river rocks at both the inlet and the overflow. This creates a barrier that keeps the stones from sinking into the mud over time, saving you from having to dig them out and reset them every few seasons.
Step 6: Plant the Garden
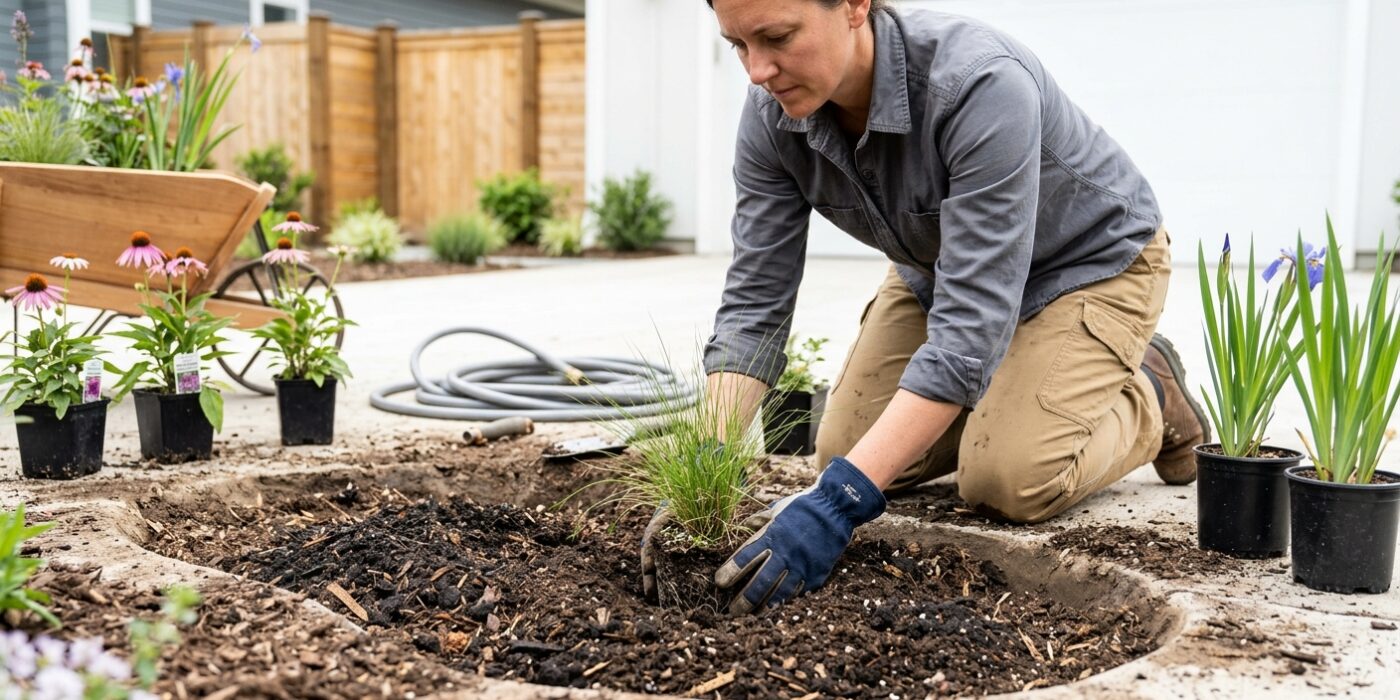
Now it is time to bring your garden to life! Your rain garden is divided into three zones based on how much water they hold. In the deepest center, plant water-loving species like sedges and swamp milkweed. On the middle slopes, choose moisture-tolerant plants like black-eyed Susans. Finally, place drought-tolerant perennials along the upper edges where the soil stays drier. Dig holes twice as wide as the nursery pots, but keep the top of the root ball level with the surrounding soil line to ensure healthy growth. Space your plants according to their mature size – check the plant tags to see how wide they will grow – to create a dense, weed-suppressing canopy. Once finished, add a 2 to 3-inch layer of hardwood mulch to hold in moisture and prevent erosion.
Beginner Tip: Avoid the common mistake of planting too deeply. If you bury the stem or cover the base of the plant with too much mulch, the plant can rot. Ensure the flare where the roots meet the stem is slightly visible at the soil surface.
Alternative Method: If you find digging individual holes difficult, you can clear a larger section of the soil at once using a spade. This allows you to arrange your plants in a group to visualize the spacing before you commit to the final depth for each one.
Pro Tip: Arrange all your plants in their pots across the garden before you pick up your shovel. This “dry run” lets you adjust the composition until you are happy with the layout without having to move plants once they are already in the ground.