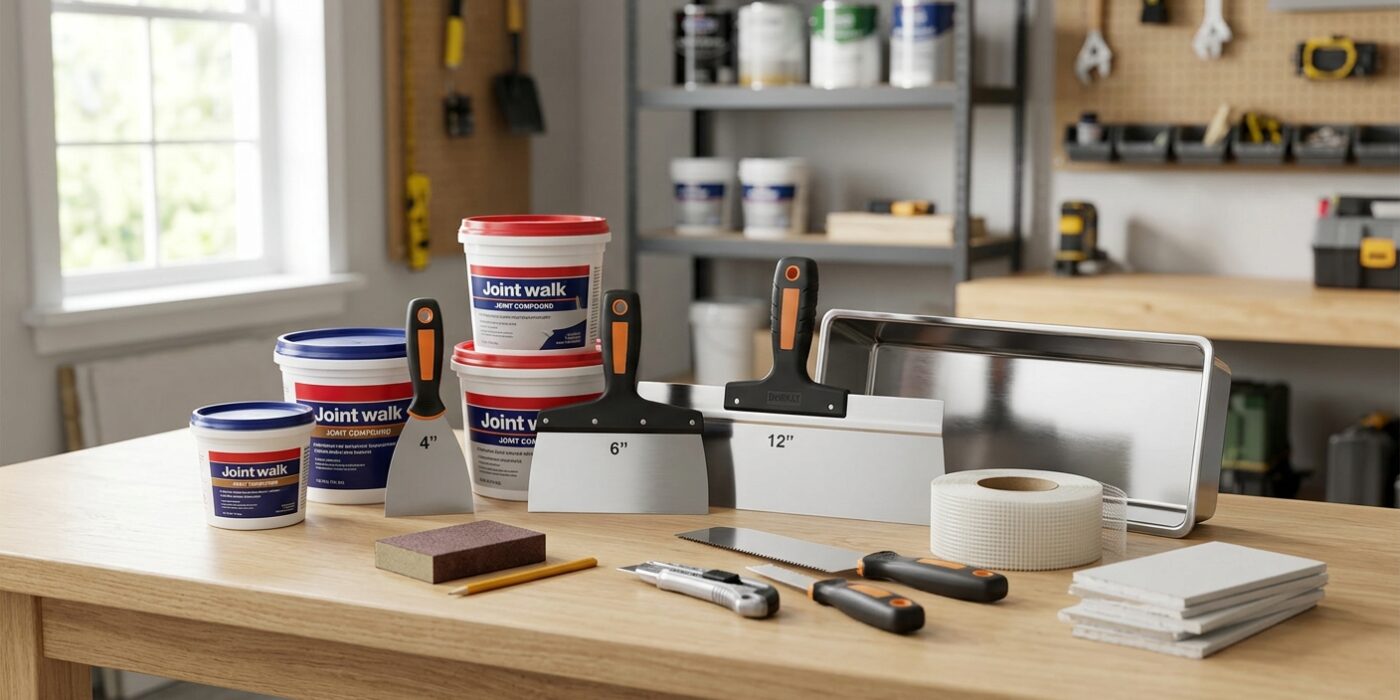
Project Shopping List
Drywall damage comes in three sizes, and each size has a right method. Use the wrong method for the hole size – like bridging a 6-inch gash with mesh tape and spackle – and you’ll be sanding and repainting within a year when it cracks. Match the method to the hole and the patch disappears.
What You’ll Need (all three methods)
- Lightweight spackle or joint compound (not vinyl spackling for large holes)
- Putty knife (3″ and 6″)
- Fine-grit sandpaper (120 and 220 grit)
- Primer
- Matching paint + brush or roller
Method 1: Small Holes Up to 1/2 Inch (Nail Holes, Small Anchors)
Use for: picture hooks, drywall anchor holes, small dings and dents.
Materials
- Lightweight spackle (pre-mixed)
- Putty knife or your finger
Steps
- Remove any loose drywall paper around the hole. If an anchor left a ragged edge, press the paper back flat or trim it off with a utility knife.
- Apply a small amount of spackle with the putty knife, pressing it into the hole and drawing the blade across the surface to leave it flush. Slightly overfill – spackle shrinks as it dries.
- Let it dry completely. Lightweight spackle dries white when ready (it goes on pink or the label will indicate). Usually 1–2 hours.
- Sand flush with 120-grit wrapped around a small block, then finish with 220-grit.
- Wipe off dust, prime the spot, let it dry, paint.
Common mistake: painting directly over spackle without priming. Unprimed spackle flashes – the patched area looks shinier or flatter than the surrounding wall under raking light.
Method 2: Medium Holes 1/2 Inch to 4 Inches (Doorknob Dings, Screw Blowouts)
Use for: holes from doorknobs, broken drywall anchors, holes up to about 4 inches where there’s nothing to screw a patch to.
Materials
- Self-adhesive fiberglass mesh patch (sold in 4″×4″ or 6″×6″ squares)
- Joint compound (all-purpose, not spackle – it’s stronger over mesh)
- 6″ putty knife
Steps
- Clean up the hole edges. Remove any loose paper or crumbled drywall with a utility knife. The cleaner the hole edge, the flatter the patch will sit.
- Peel and stick the mesh patch over the hole, centered. Press the edges down firmly.
- Apply a thin coat of joint compound over the mesh with a 6″ putty knife. Feather the edges out 2–3 inches beyond the mesh on all sides. The mesh texture will show through this first coat – that’s fine.
- Let it dry fully (overnight is safest). It will shrink and you may see the mesh pattern.
- Apply a second coat, feathering out even wider (4–5 inches). This coat should be smooth enough that the mesh is no longer visible.
- Sand with 120-grit once dry, then 220-grit. Run your hand across the repair – if you feel an edge, sand more.
- Prime thoroughly – the compound absorbs primer, so use a full coat. Paint.
Common mistake: using spackle over mesh. Spackle is too soft and will crack as the mesh flexes slightly with humidity changes. Use proper joint compound.
Method 3: Large Holes Over 4 Inches (Fist-Sized and Bigger)
Use for: any hole too large to bridge with a mesh patch. You need something solid to attach a drywall patch to.
Materials
- Piece of drywall (same thickness as your wall – usually 1/2″)
- Two 1×3 or 1×4 furring strips or scrap lumber, cut about 4″ longer than the hole height
- Drywall screws (1-1/4″)
- Drywall joint tape (paper or fiberglass mesh)
- All-purpose joint compound
- 6″ and 10″ putty knives (wider knife = smoother final coat)
Steps
- Square up the hole. Use a drywall saw or utility knife to cut the hole into a clean rectangle or square. Straight edges are easier to patch than jagged ones.
- Install backing strips. Slide a furring strip into the hole, hold it vertically so it spans the hole with a few inches above and below, and drive two drywall screws through the existing drywall into it on each side of the hole. Do this on both sides of the hole. Now you have solid backing to screw the patch into.
- Cut the patch. Cut a piece of drywall to fit snugly in the hole. Cut slightly smaller rather than larger – you can fill a 1/8″ gap, but you can’t shave drywall in place.
- Fasten the patch. Drive screws through the patch into each backing strip. The screw heads should sit just below the surface (dimpled in) without breaking the paper.
- Tape the seams. Apply joint compound along each seam, embed paper tape into the wet compound, and smooth it out. Let dry.
- Apply 3 coats total. First coat (tape coat): cover the tape and screws. Second coat (fill coat): feather out wider with a 10″ knife. Third coat (finish coat): ultra-thin, feathered out 8–10 inches from center. Sand between coats with 120-grit and after the final coat with 220-grit.
- Prime and paint. Prime twice if the compound still feels absorbent after the first prime coat. Painting without sufficient primer is the most common reason patches remain visible.
Common mistake: skipping the backing strips and gluing the patch in from behind. Glued patches work for a month and then the seasonal movement of your house cracks the compound at the seams. Always screw into solid backing.
Getting the Paint to Match
Even a perfectly flat patch can stand out if the paint doesn’t match. Take a chip to the hardware store for a color match – peel a dime-sized piece of paint from an inconspicuous spot (inside a closet) to get a fresh sample. Flat finishes blend more easily than eggshell or satin; if your wall is eggshell, prime the patch and roll the repair area slightly larger than the patch so the sheen level blends.
If you can’t get a perfect match, roll an entire wall from corner to corner. Patches are invisible when the whole plane is repainted.
Pro Tips
- Joint compound dries – it doesn’t cure. Sanding slightly damp compound clogs your sandpaper and leaves a rough surface. Wait until it’s fully white and dry to the touch through the thickest spot.
- Thin compound beats thick compound. Multiple thin coats with full drying between them give a flatter result than one thick coat that cracks.
- Wet your putty knife before spreading compound. The compound drags less on a damp knife and leaves a smoother surface.
- Prime with a brush first on the patch area before rolling. A brush gets compound into any voids or pin holes that a roller would skip.