Project Shopping List
Cutting drywall cleanly and accurately is a fundamental skill for any drywall project. The good news is that drywall cuts with simple hand tools – a utility knife and a T-square for straight cuts, a jab saw for curves and cutouts. The key is a sharp blade and a confident scoring stroke. Dull blades tear rather than cut, leaving ragged edges that are harder to tape and require more finishing work.
This guide covers the standard score-and-snap method for straight cuts, circular cuts for electrical boxes, and how to cut openings for doors and windows.
What You’ll Need
Tools
- Utility knife with fresh blades (change blades frequently)
- Drywall T-square (48-inch or longer)
- Tape measure and pencil
- Drywall jab saw
- Circle cutter or compass saw (for round cutouts)
- Rasp or drywall file
- Chalk line (for long cuts without a T-square)
Step 1: Measure and Mark
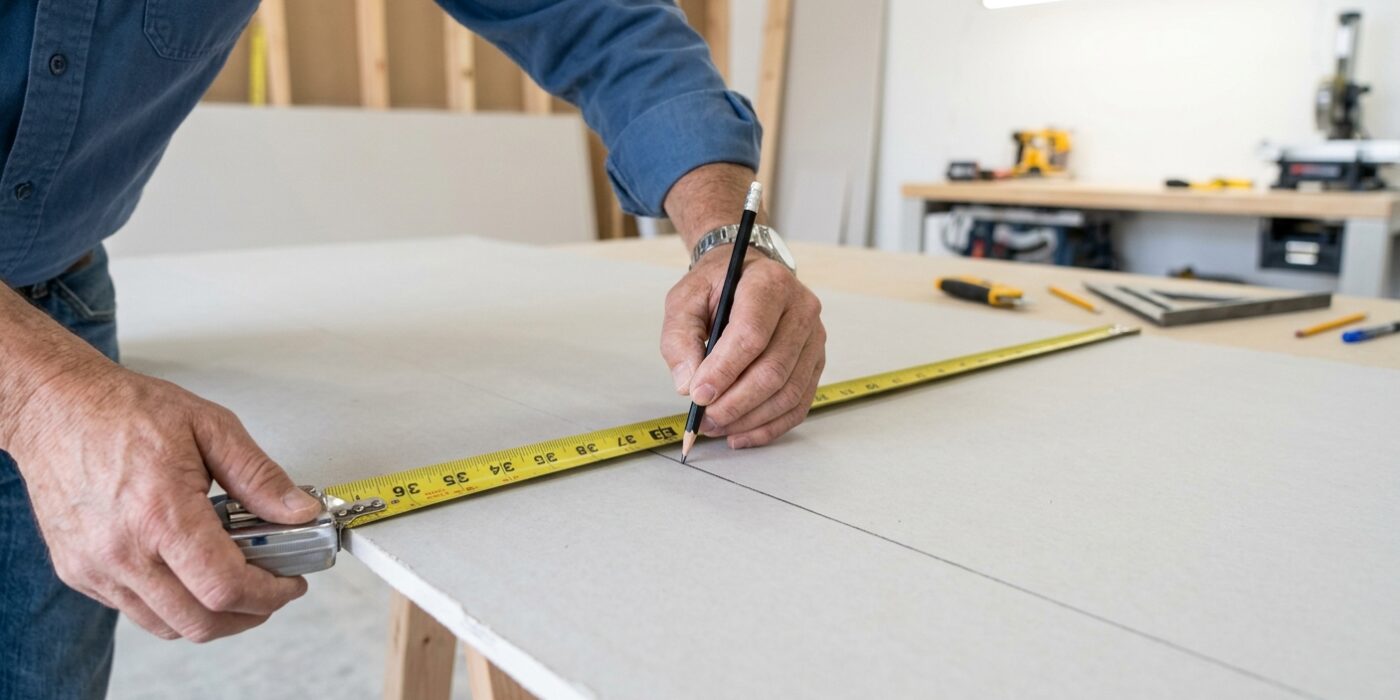
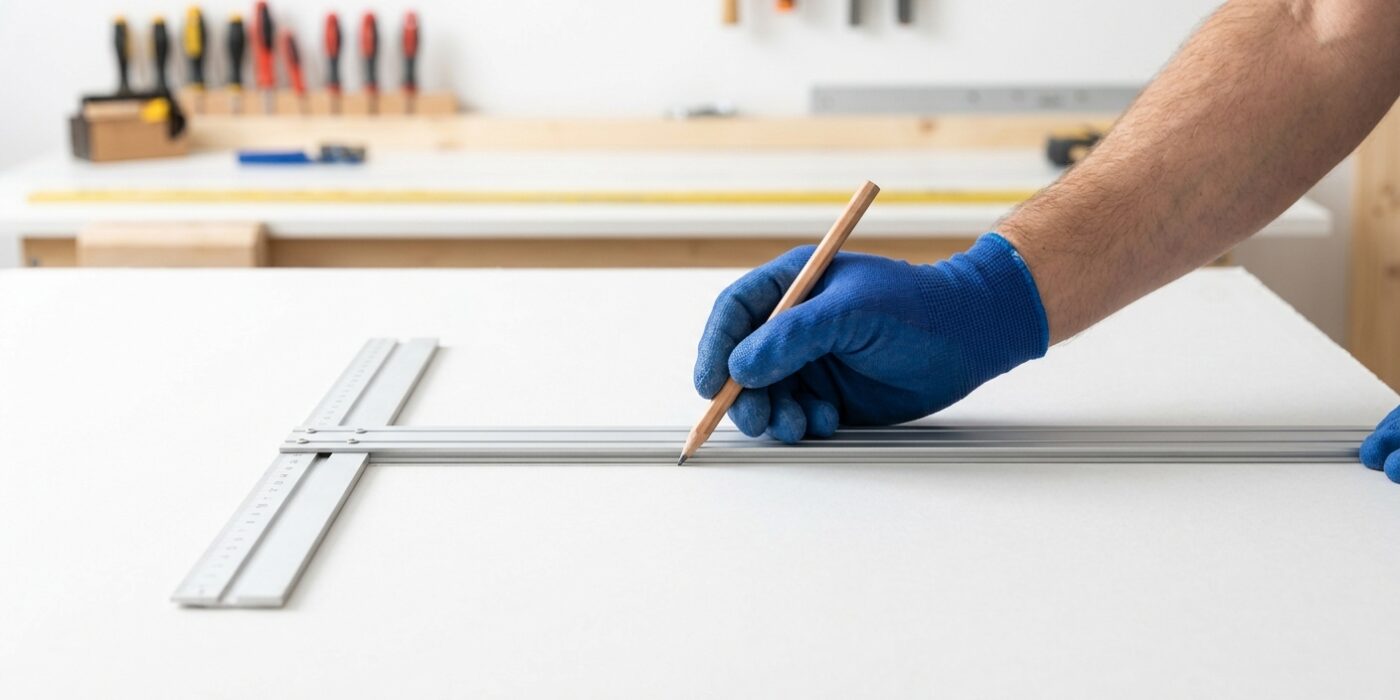
Before you make your first cut, accuracy is your best friend. Start by measuring your required length with a tape measure, making two distinct marks on the drywall – one near the top edge and one near the bottom. Always mark on the finished, off-white paper side, as this is the side that will eventually face into your room. Place your T-square against the edge of the drywall and align the blade with your two marks. By connecting these marks with a pencil, you create a clear, straight path for your knife to follow. If you are marking a cutout for an outlet or window, measure the distance from two fixed edges of the board to ensure your box is perfectly positioned.
Beginner Tip: A common mistake is assuming your wall or the factory edge of the drywall is perfectly square. Always measure from a factory edge, not a rough-cut end, to ensure your layout remains precise and your final piece fits snugly against the studs.
Alternative Method: If you do not have a T-square, you can use a long, straight board or even a metal level as a makeshift guide. Simply hold the board firmly against your marks and use it as a fence to keep your utility knife traveling in a perfectly straight line.
Pro Tip: To get perfect accuracy for outlets, coat the edges of the electrical box with a little lipstick or chalk before pressing the drywall against it. The mark left on the paper gives you an exact, zero-guess template for your cutout.
Step 2: Score the Face
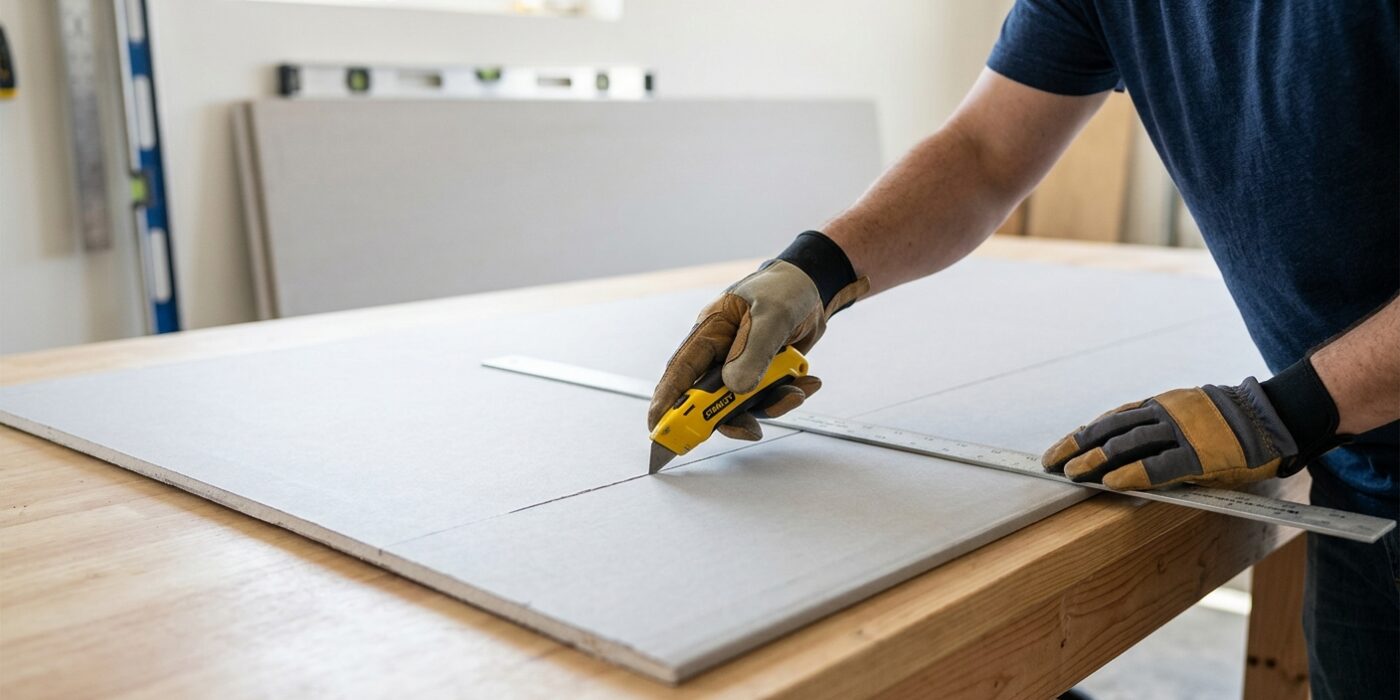
Now it is time to make your mark. Place your T-square directly over the pencil line you drew in the previous step. Using your non-dominant hand, press the T-square firmly against the drywall to keep it from shifting. With your utility knife in your dominant hand, hold the blade at a 45-degree angle against the metal edge of the T-square. Draw the knife along the guide in one steady, confident motion. You want to press hard enough to slice through the front layer of paper and bite about 1/4 inch into the white gypsum core. You aren’t cutting the board in half yet; you are simply creating a perfect, straight hinge for the next step.
Beginner Tip: Do not try to “saw” back and forth. Many beginners make the mistake of using multiple light strokes, which often causes the blade to wander, leading to a jagged or uneven edge. One single, continuous pull will always give you a much cleaner result than repeating the process over the same line.
Pro Tip: Keep your blade sharp enough to glide through the paper like butter. Drywall is incredibly abrasive and will dull a blade faster than you might expect. If you feel even the slightest bit of resistance or see the paper tearing rather than slicing, swap in a fresh blade immediately. A razor-sharp tip is the secret to professional-looking, effortless edges.
Step 3: Snap the Panel
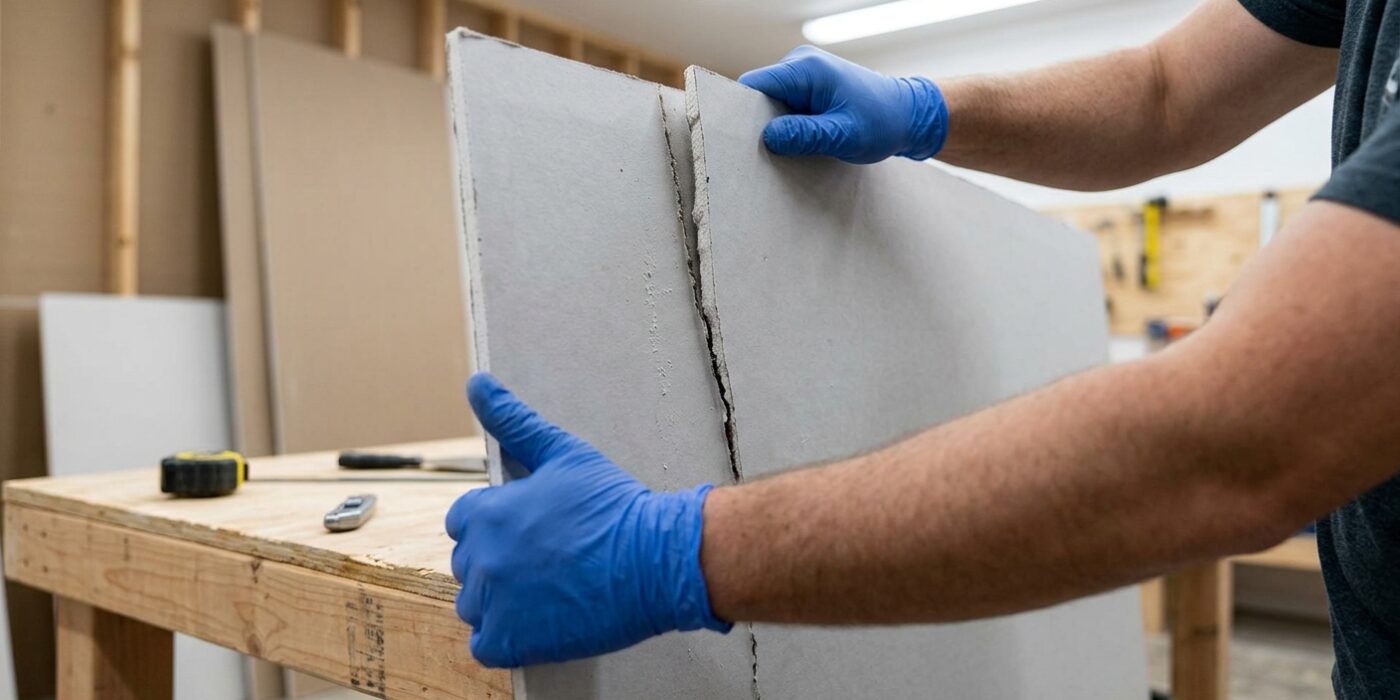
Now that you have created a clean score line in the paper, it is time to snap the panel. Place your drywall panel over the edge of your workbench or a piece of 2×4 lumber so that the scored line aligns perfectly with the edge of the support. Using firm, steady pressure, push down on the overhanging side of the drywall with both hands. You want to use a quick, confident motion to snap the gypsum core cleanly along that groove. Do not worry about the sound; a sharp “pop” is exactly what you are looking for. Once the gypsum core is separated, the two pieces will be held together only by the back layer of paper. Simply fold the board back, hold it steady, and carefully run your utility knife along the crease of the paper to finish the cut.
Beginner Tip: A common mistake is hesitating when you apply pressure. If you push too slowly or timidly, the gypsum may crumble unevenly rather than snapping in a straight line. Trust the score line you made in the previous step and use one firm, decisive downward motion.
Pro Tip: If you find that the paper backing is being stubborn or tearing unevenly, try keeping your knife blade completely flat against the fold. By resting the side of the blade against the edge of the drywall, you create a natural guide that ensures a perfectly straight finish every single time.
Step 4: Clean the Edge
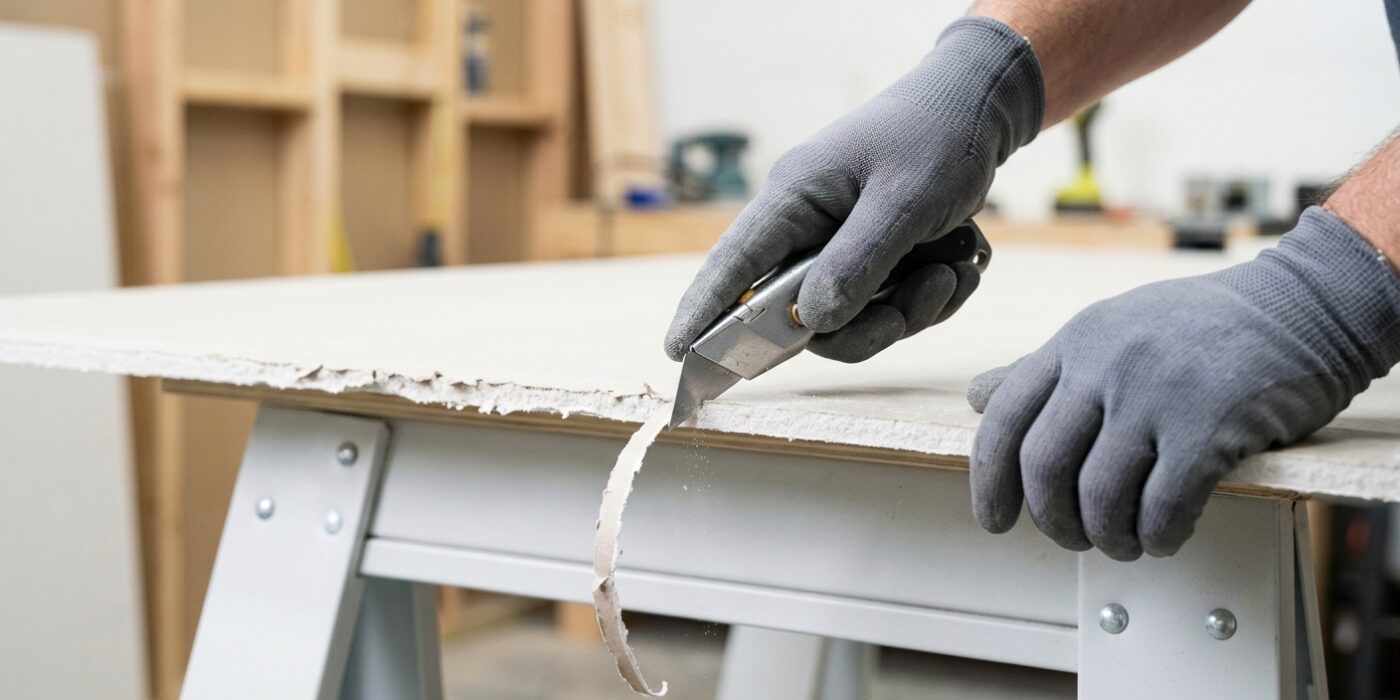
Now that you have successfully snapped your drywall piece, you will notice the cut edge looks a bit fuzzy or jagged. This is perfectly normal! Because drywall is made of a chalky gypsum core sandwiched between two layers of paper, the cutting process naturally pulls bits of that core outward. To get a professional, seamless finish, you need to “dress” or smooth this edge using a drywall rasp or a specialized edge file.
Hold the rasp flat against the rough edge of the drywall and apply gentle, even pressure. Move the tool back and forth in a smooth, sliding motion. Your goal is to remove any excess gypsum “crumbs” and paper burrs until the edge is flush with the face of the board. You are aiming for a 90-degree angle; try to keep your hand steady so you do not accidentally round off the corner, which would create a wider gap that is difficult to fill later. You do not need to do this on the long, factory-tapered edges of your sheet, as those are already pre-finished for a perfect fit.
Beginner Tip: Avoid pressing too hard. If you push aggressively, the rasp will dig into the paper face of the drywall and tear it, creating a bigger mess than you started with. Let the tool do the work for you with light, rhythmic strokes.
Alternative Method: If you do not have a drywall rasp, a coarse-grit sanding block (80-grit) works perfectly. Simply hold the block at a 90-degree angle to the edge and sand it down until the burrs disappear.
Pro Tip: Before hanging the piece, quickly run your rasp along the edge to slightly “bevel” it – just barely shave off the very corner. This creates a tiny V-shaped groove between boards that holds joint compound much better than a square butt joint, preventing future cracks.
Step 5: Cut Electrical Box Openings
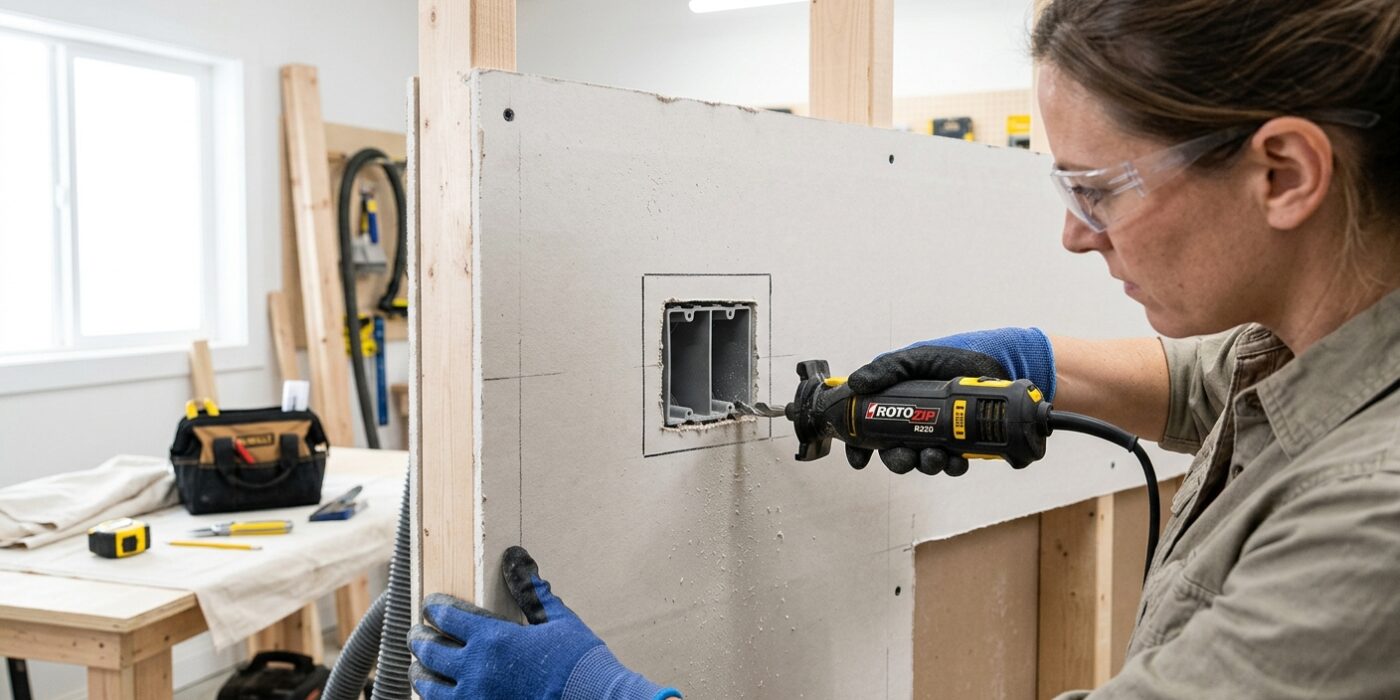
Now that your drywall is ready, it is time to cut out the openings for your electrical outlets and switches. You must be precise here to ensure your covers sit flush against the wall. The most reliable way for beginners is the “chalk-marking” method. First, rub a thick layer of blue chalk or red lipstick onto the outer edges of your metal electrical box. Carefully lift your drywall panel and press it firmly against the box, lining it up exactly where it will be mounted. When you pull the panel away, you will see a perfect outline of the box printed on the back. Use a jab saw – a small, pointed hand saw – to cut carefully along the inside of these lines. Keep your saw blade angled slightly toward the center of the cutout to create a “beveled” edge; this helps the drywall clear the box easily during installation.
Beginner Tip: Never press too hard when leaning the drywall against the electrical box. If you push the panel inward, you might accidentally leave a dent in the face of the drywall or shift the panel, causing the outline to appear in the wrong spot. Let the weight of the panel do the work for you.
Pro Tip: To avoid cutting into the electrical wires hidden inside the box, always use your jab saw with the tip pointing outward, and only push the blade into the drywall just deep enough to clear the thickness of the panel – usually about half an inch.
Step 6: Cut Arched Openings and Curves
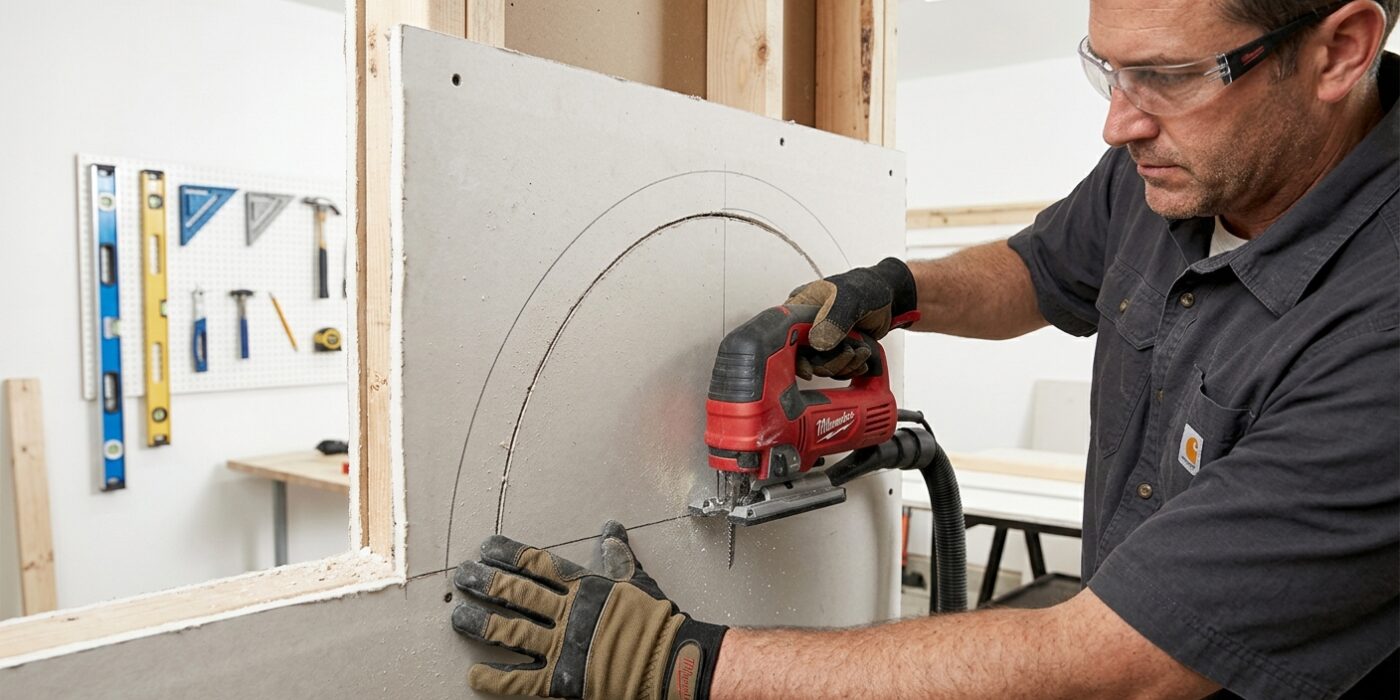
Cutting curves requires a steady hand and the right approach to keep the drywall paper from tearing. First, draw your curve clearly on the face of the board using a template or a DIY string-and-pencil compass. For smaller, tighter curves, a jab saw (a small, pointed hand saw) is your best friend. Hold the saw at a 90-degree angle to the wall and use short, controlled strokes to follow your pencil line. If you are creating a large, sweeping architectural arch, you will get a much smoother finish by using a drywall router, which spins at high speeds to shave through the gypsum core cleanly.
Beginner Tip: A very common mistake is trying to force the saw to turn too sharply, which causes the blade to bind or snap the drywall gypsum core. If you find the blade getting stuck, stop, pull it back slightly, and widen your path. Take your time; the goal is to guide the tool along the line, not wrestle it through the material.
Alternative Method: If you don’t own a jab saw, you can create curves by making a series of very close, straight relief cuts with a utility knife along your traced line. Once you have “scored” the curve with many small straight lines, you can gently snap the waste pieces off and use a rasp to sand the jagged edges into a smooth, flowing curve.
Pro Tip: When working with curves, always finish by running a drywall rasp along the cut edge. This tool acts like a cheese grater for gypsum, allowing you to fine-tune your curve until it is perfectly smooth and fits your opening like a glove.