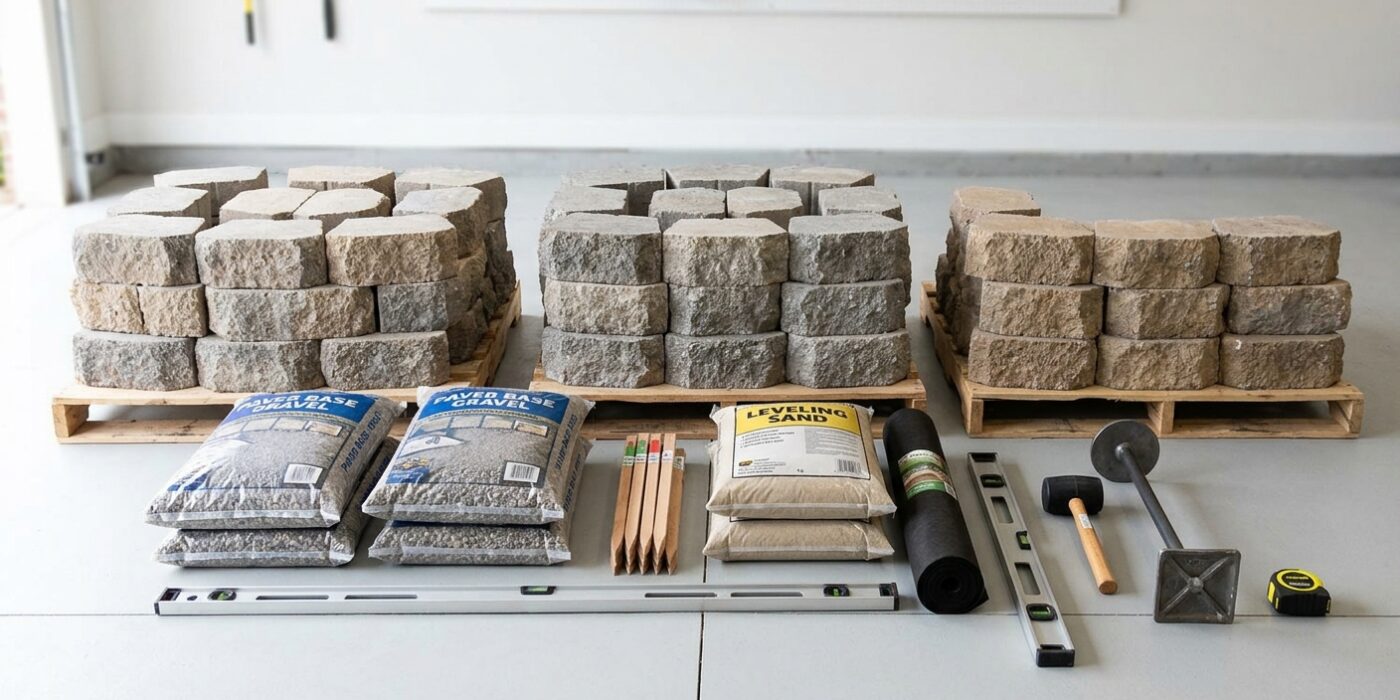
Project Shopping List
A stone fire pit is one of the most satisfying weekend builds. The materials cost less than a retail steel pit, it will not rust, and it can be sized to exactly fit your space. A dry-stacked stone fire pit takes one day to build and lasts indefinitely — the same technique has been used for outdoor cooking fires for centuries.
What You Need
- Retaining wall blocks or natural flat fieldstone
- Gravel for the base and interior fill
- Firebrick (optional, for the interior lining)
- String and stakes for layout
- Rubber mallet and level
- Shovel
Planning and Safety
A fire pit must be at least 10 feet from any structure, fence, or overhanging branches. Check local ordinances — some municipalities prohibit open burning or require permits for fire pits. Never build a fire pit under a porch or pergola. A standard backyard fire pit is 36-44 inches in outer diameter, with an interior burning area of about 24-30 inches. Inner walls should be at least 12 inches thick if using standard concrete blocks for adequate heat retention and safety.
Step-by-Step Instructions
Step 1: Choose a Location and Mark the Circle
Drive a stake in the center of the planned fire pit. Tie a string to the stake at your desired radius (half the outer diameter) and walk it around to mark the circle with spray paint or sand. Check that the location is level — if not, excavate the high side. The finished pit should sit on flat ground.
Step 2: Excavate and Prepare the Base
Excavate 8-10 inches deep inside the marked circle. Fill with 6 inches of gravel and compact. The gravel base provides drainage so water does not pool inside the pit and allows ash to drain after rain. Do not pour a concrete base — a sealed base traps water and can cause explosive steam if a fire is lit over standing water.
Step 3: Lay the First Course
Place blocks in a circle around the inner perimeter of the excavated area. The blocks sit on the gravel base inside the outer mark. For a cleaner circle, arrange all blocks dry first to check spacing before committing. Level each block with a rubber mallet. The first course sets the shape — take the time to get it right. Stagger the outer blocks so the inner and outer rings do not align — this creates a more stable wall.
Step 4: Stack Additional Courses
Stack 3-4 courses of block to reach a finished height of 12-18 inches above grade. Stagger the joints between courses (running bond) for maximum stability. Do not use mortar for a standard dry-stack fire pit — mortar cracks badly under thermal expansion and makes the pit harder to repair. The stone mass holds everything in place. Leave one small gap at the base of the first course on the windward side for air intake to improve combustion.
Step 5: Fill the Interior Base
Once the wall is complete, fill the bottom of the fire area with 2-3 inches of pea gravel or small stones. This protects the bottom course from direct fire contact, improves drainage, and makes ash cleanup easier. Do not use limestone rocks for the interior — limestone contains water and can crack or spall explosively when heated. Use granite, basalt, or manufactured concrete blocks rated for heat exposure.
Step 6: Create a Seating Area
The space around the fire pit is as important as the pit itself. Level a 12-foot diameter area centered on the pit using gravel, pavers, or decomposed granite. Place seating 4-5 feet from the pit edge — close enough for warmth, far enough to avoid sparks. A simple gravel ring with a flagstone path to the pit looks finished and is nearly maintenance-free.
Pro Tips
- Add a metal fire ring insert (available at home centers) inside the block ring for a cleaner burning surface and easier ash removal.
- Keep a bucket of sand near the pit at all times — it smothers fire faster than water and does not create a steam cloud.
- Cover the pit with a galvanized steel lid when not in use — it keeps ash dry and prevents rain from waterlogging the gravel base.
Frequently Asked Questions
Can I use regular bricks instead of fire bricks?
Standard red clay bricks can be used for the outer ring but should not be used for the interior burning surface — they absorb moisture and can spall (crack and pop) when heated. Use firebrick or manufactured retaining wall blocks (not decorative patio pavers) for any surface that directly contacts flame.
Do I need a grate in a fire pit?
A grate is optional but recommended — it lifts the fire off the ground, improves airflow and combustion, and makes ash cleanup much easier. A simple round campfire grate that fits the interior diameter is all that is needed.