Project Shopping List
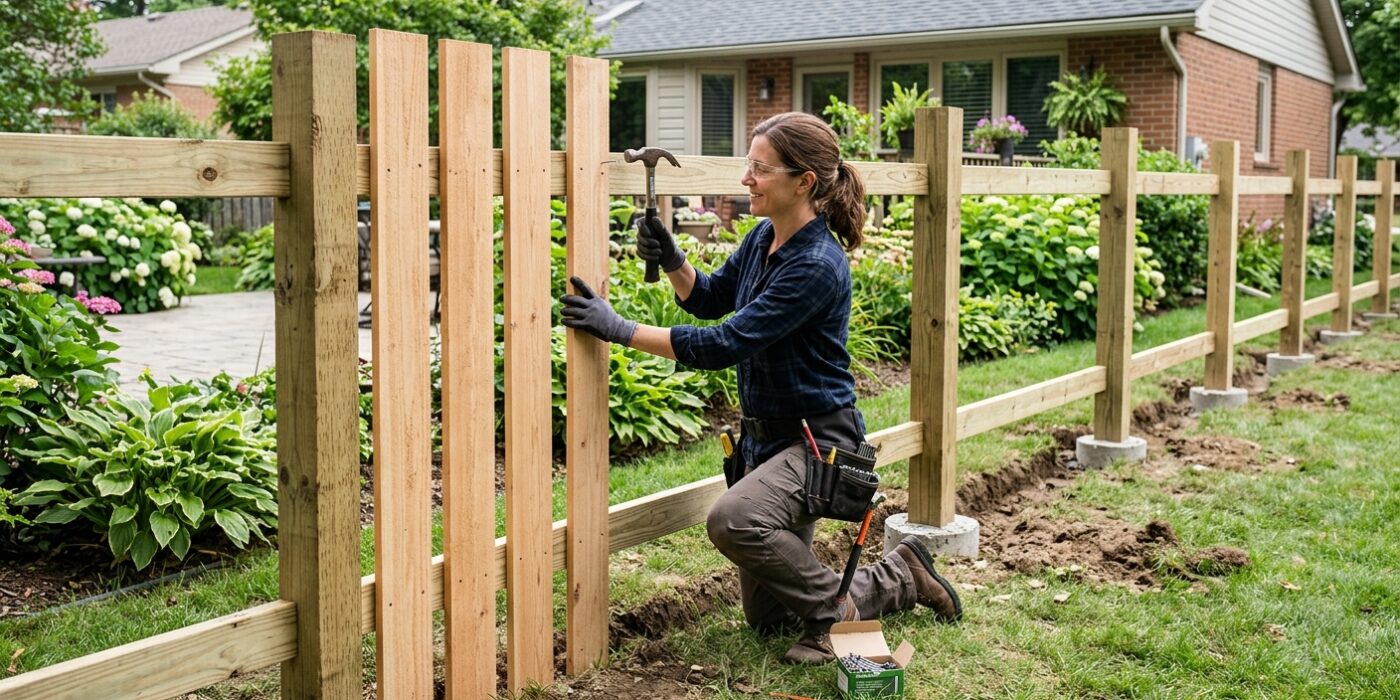
A wooden fence adds privacy, defines your property line, keeps pets and children safe, and improves your home’s curb appeal. Building one yourself saves 40 to 60 percent compared to hiring a fence contractor and gives you control over every material and detail. This guide walks you through setting posts, installing rails, and hanging pickets for a standard 6-foot privacy fence.
Before You Dig — Call 811
In the United States, dial 811 before any digging project. Your utility company will mark underground gas, electric, water, and cable lines for free within a few days. Hitting a buried line is dangerous, expensive, and a liability. Also check with your municipality for permit requirements — most areas require a permit for fences over 3 feet in height.
Laying Out the Fence Line
Drive stakes at each corner of your fence line and run mason’s string between them pulled tight and level. Use a line level or a long level resting on the string to confirm it is level between posts. Mark each post location with spray paint — posts typically go every 6 to 8 feet on center. Count your post locations to calculate how many posts, rails, and pickets you need.
Tools You Will Need
- Post hole digger or rented power auger
- Shovel and tamping bar
- Level, 4-foot minimum
- Circular saw and miter saw
- Drill and bits
- Tape measure, chalk line, and pencil
- Safety glasses and gloves
Materials for a 6-Foot Privacy Fence
- 4×4 pressure-treated posts, 10 feet long for a 6-foot fence (set 3 to 4 feet deep)
- 2×4 pressure-treated rails, two or three per 8-foot section
- Dog-ear cedar or pine pickets, 6 feet tall
- 3-inch exterior screws or galvanized nails for rails to posts
- 1-5/8-inch exterior screws for pickets to rails
- Concrete mix, one 60-pound bag per post
- Post caps to keep water out of end grain
Step 1 — Dig Post Holes

The foundation of a sturdy fence starts deep in the ground. To ensure your fence stands tall through high winds and freezing winters, each hole must be 3 to 4 feet deep. A good rule of thumb is to bury one-third of your total post length; if your fence stands 6 feet high, at least 2 feet must be underground. Dig the holes about 12 inches wide, which is three times the width of a standard 4×4 post. This extra space is essential because it allows you to surround the post with enough concrete to provide long-term stability.
Beginner Tip: A common mistake is digging the hole with straight, perfectly vertical sides. Instead, try to dig your hole in a slight “bell” shape, where the bottom is a few inches wider than the top. This wider base acts like an anchor, preventing the post from being pushed upward by the ground during winter freeze-thaw cycles.
Alternative Method: If you find the manual labor of a post hole digger too strenuous, you can rent a power auger from a local hardware store. This gasoline-powered tool drills the hole for you in seconds, saving your back and ensuring your holes are perfectly round and consistent in diameter.
Pro Tip: Before you start digging, check your local utility map to ensure there are no buried electrical or water lines in your yard. Once you are cleared to dig, place a tarp next to your hole location to pile the removed dirt on. This makes cleaning up much faster and protects your lawn from grass damage.
Step 2 — Set the Corner Posts First
Setting your corner and end posts is the most critical part of your fence project because they act as the anchor points for everything else. Start by mixing your concrete in a wheelbarrow according to the package instructions until it reaches the consistency of thick oatmeal. Place one corner post into its hole, making sure it is centered. With a helper holding the post steady, place a level against two adjacent sides – the front and the side – to ensure it is perfectly vertical, or “plumb.” Once it is straight, pour the concrete into the hole, stopping about three inches from the surface. Use a scrap piece of lumber to “puddle” or poke the wet concrete, which releases trapped air bubbles that could weaken your foundation. Finally, attach 2×4 boards diagonally from the post to the ground using nails or screws to hold it in place while it hardens. Repeat this for all corners and ends, letting them cure for at least 48 hours before running your string line to guide the remaining posts.
Beginner Tip: A common mistake is rushing the curing process. Even if the concrete feels firm to the touch after a few hours, do not remove your bracing. If you tension your string line against a post that has shifted even slightly, your entire fence line will be crooked.
Pro Tip: To keep your post perfectly plumb without needing a helper to hold it, use a “post level.” This is an inexpensive, L-shaped tool that straps to the corner of your post and shows you the vertical level on two sides simultaneously, leaving your hands free to shovel concrete.
Step 3 — Set Remaining Posts
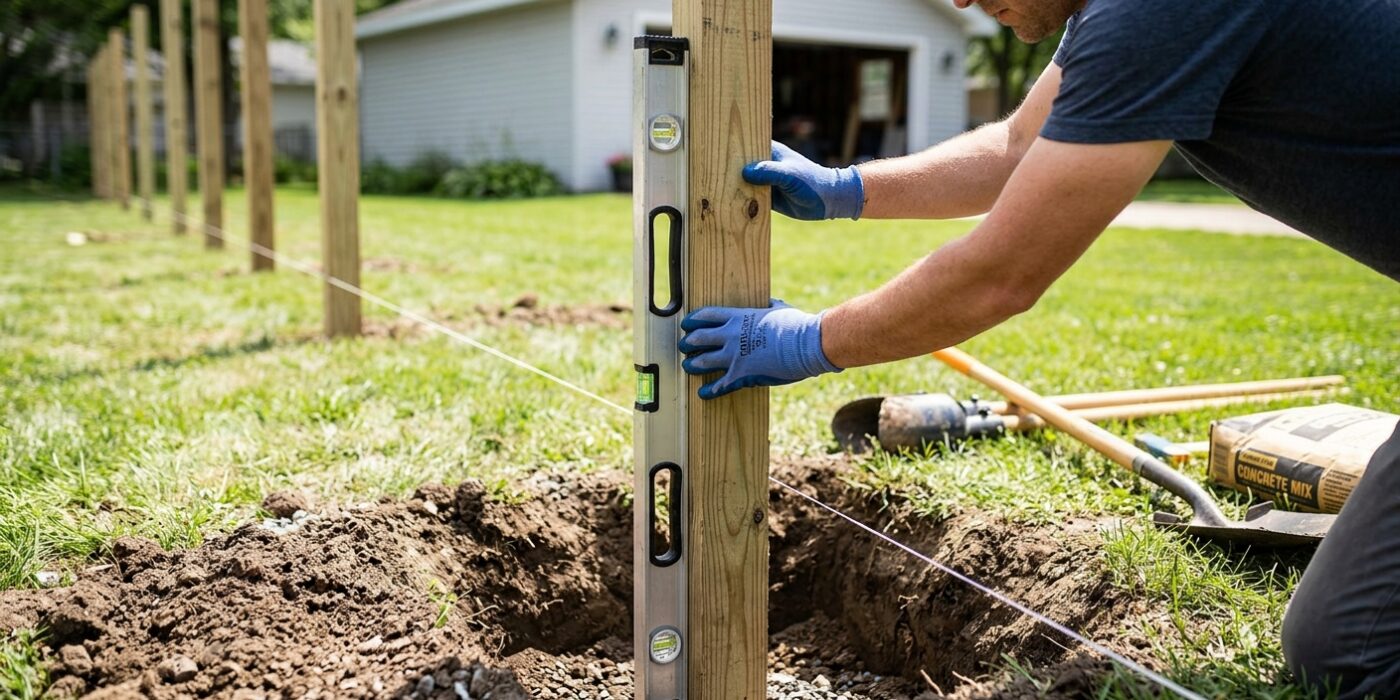
Now that your first two posts are anchored, it is time to set the rest. Your string line is your best friend here; keep it pulled taut between the end posts. This line acts as a perfectly straight guide for both alignment and height, ensuring your fence doesn’t lean or wave. As you set each post into its hole, check that the outer face just barely kisses the string without pushing it out of position. Use a level on two adjacent sides of every post to ensure it is perfectly plumb, then hold it steady with temporary wooden stakes or scrap boards nailed at 45-degree angles. Once braced, pour your concrete, but don’t rush – let it cure for at least 24 to 48 hours before attaching rails. Finally, snap a chalk line across the top of all posts to mark a uniform height, then trim the excess with a circular saw.
Beginner Tip: The most common mistake is letting the post touch the string too firmly. If the post pushes the string even a fraction of an inch, your entire fence line will be crooked. Aim to have the wood hover a hair’s breadth away from the string for a perfectly straight run.
Pro Tip: Before pouring concrete, wrap the base of each post in a bit of plastic or use a specialized post-base sleeve. This prevents moisture from wicking up into the wood from the wet concrete, significantly extending the lifespan of your fence.
Step 4 — Install Rails
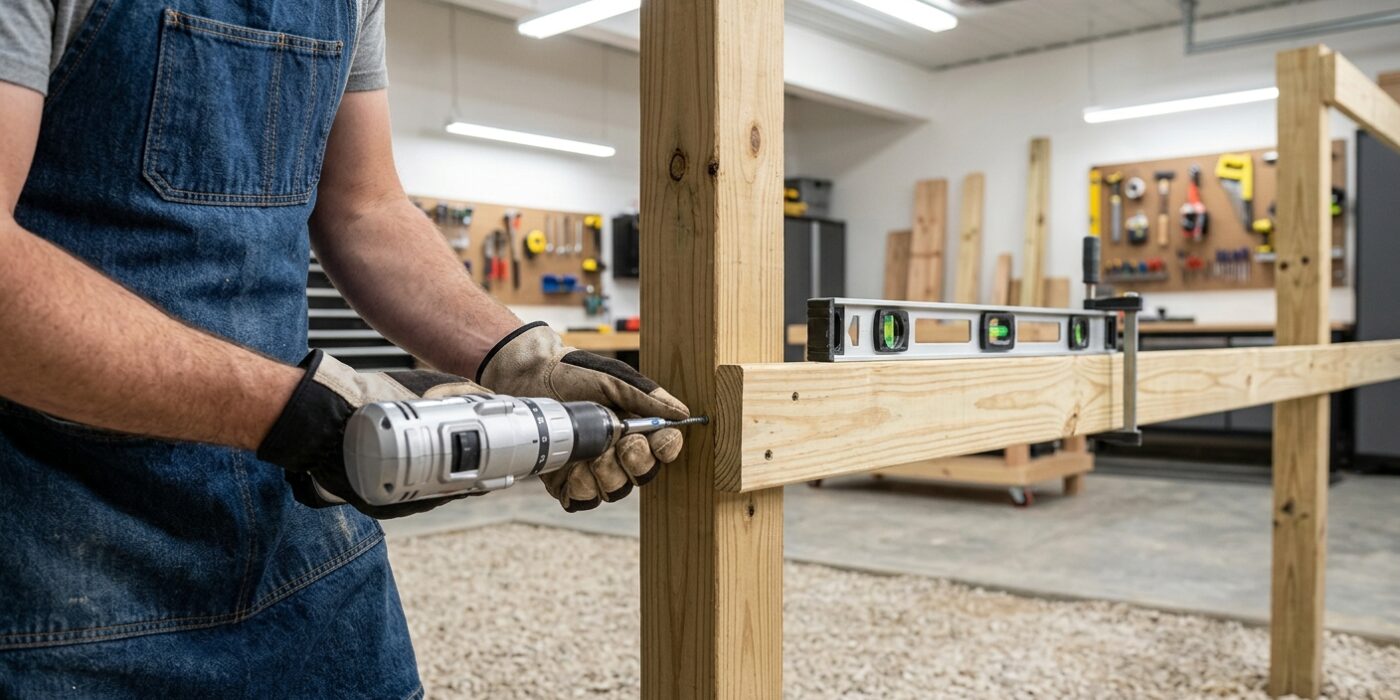
Now that your posts are solid, it is time to install the horizontal rails that will hold your fence pickets. For a standard 6-foot privacy fence, you will need three rails per section: one placed 8 inches from the top, one 8 inches from the bottom, and one exactly in the center. These rails act as the skeleton of your fence, so they must be perfectly level to keep your pickets from looking crooked.
Measure the distance between the center of your posts, cut your 2×4 lumber to fit, and position them against the posts. Secure each end using two 3-inch exterior-grade screws or 16d galvanized nails. Driving two fasteners at each connection point prevents the wood from twisting over time as it expands and contracts with the weather.
Beginner Tip: The most common mistake is assuming the ground is level. Do not measure your rail height from the dirt, as the ground likely slopes. Instead, measure from the top of your posts or use a laser level to ensure all your rails align perfectly across the entire length of your fence.
Pro Tip: To save yourself from constantly holding a heavy board while trying to screw it in, cut a small piece of scrap wood to act as a “spacer block.” Rest your rail on the block to hold it at the exact height you need while you drive your first few screws.
Step 5 — Hang Pickets
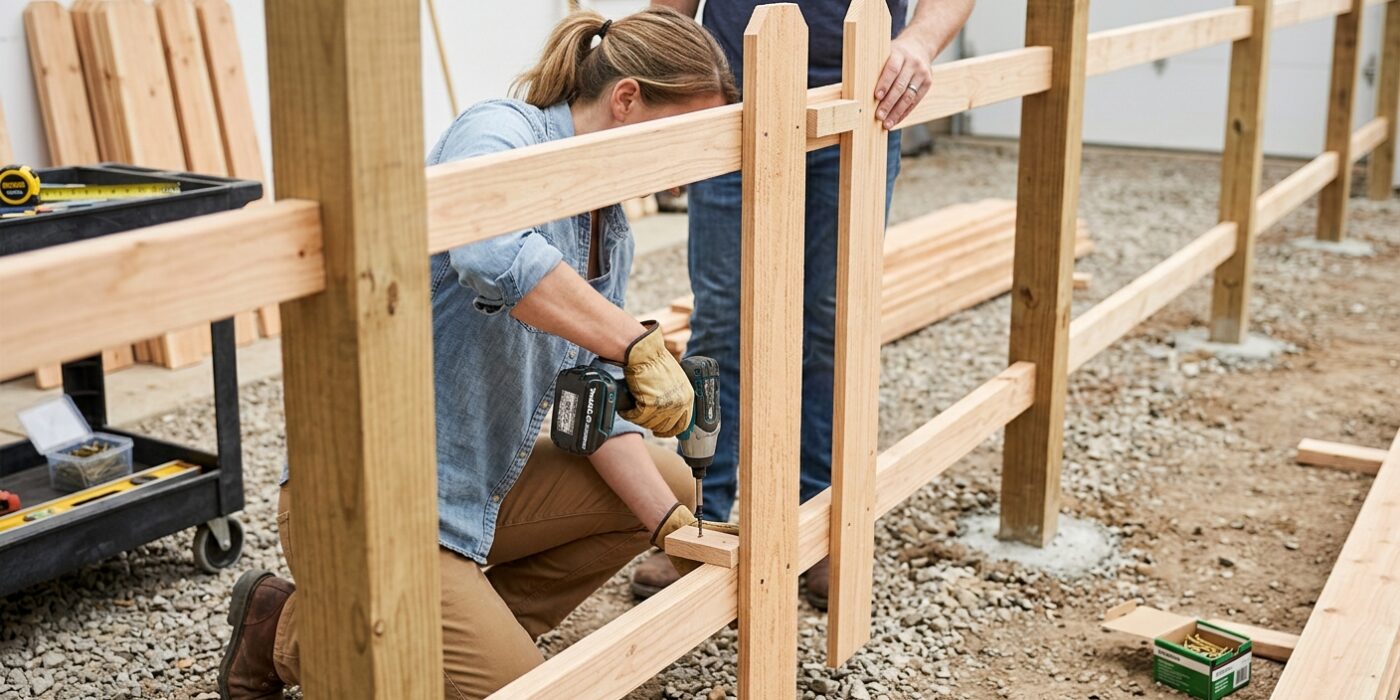
Now that your frame is sturdy, it is time to attach the pickets. Start at one end of the fence and work your way across. Hold your first picket against the rails, using a level to ensure it sits perfectly vertical, or “plumb.” To keep your fence healthy, set the bottom of each picket exactly 2 inches above the ground; this gap prevents moisture from soaking into the wood, which causes rot. Secure each picket by driving two exterior-grade screws into every rail it crosses. Use a small block of scrap wood cut to 1/4 inch as a spacer to keep your gaps uniform. Every few pickets, re-check your vertical alignment with your level to ensure you haven’t started to tilt.
Beginner Tip: Do not try to “eyeball” the gaps between pickets. Even a tiny error in spacing will multiply over a long fence run, leaving you with a crooked, unattractive gap at the end. Always use your spacer block for every single board.
Pro Tip: Before you begin, snap a chalk line across the tops of your rails at your desired picket height. This creates a visual guide so you can align the top edge of every picket quickly, ensuring a perfectly straight, professional-looking fence line without needing to measure every single board individually.
Once all pickets are attached, finish by installing decorative post caps to shield the end grain from rain, and apply a high-quality water-repellent sealer. This simple step is the secret to extending your fence’s lifespan from a few years to two full decades.