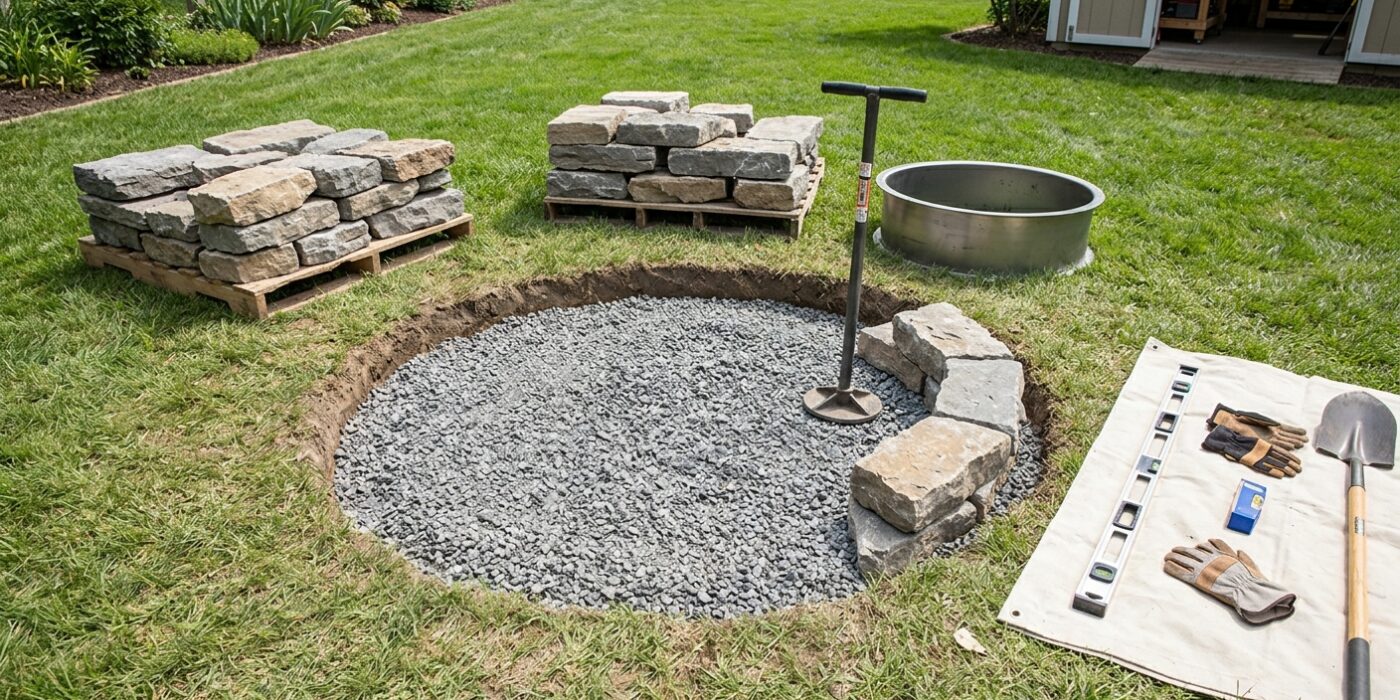
Project Shopping List
A dry-stacked stone fire pit is one of the most satisfying outdoor builds: no mortar, no forms, no specialized tools. You arrange stones, build up the walls in courses, and have a functional fire pit in an afternoon. The dry-stack method means the stones can shift slightly with freeze-thaw cycles and ground movement without cracking, making it far more durable in northern climates than a mortared fire pit.
This guide builds a round fire pit approximately 36 inches in inside diameter using field stones, flagstone, or manufactured fire pit blocks. The choice of stone affects only the look. The structural technique is identical regardless of material.
What You’ll Need
Tools
- Shovel and flat spade
- Tape measure and marking paint or chalk
- Level
- Rubber mallet
- Mason’s hammer and chisel (for shaping stones)
- Wheelbarrow
Materials
- Stones or fire pit blocks: enough for 3 to 4 courses around a 36-inch diameter ring
- Gravel: 4 inches for the pit base
- Sand: for leveling the first course
- Landscape fabric (optional, for base drainage)
Step 1: Choose a Location
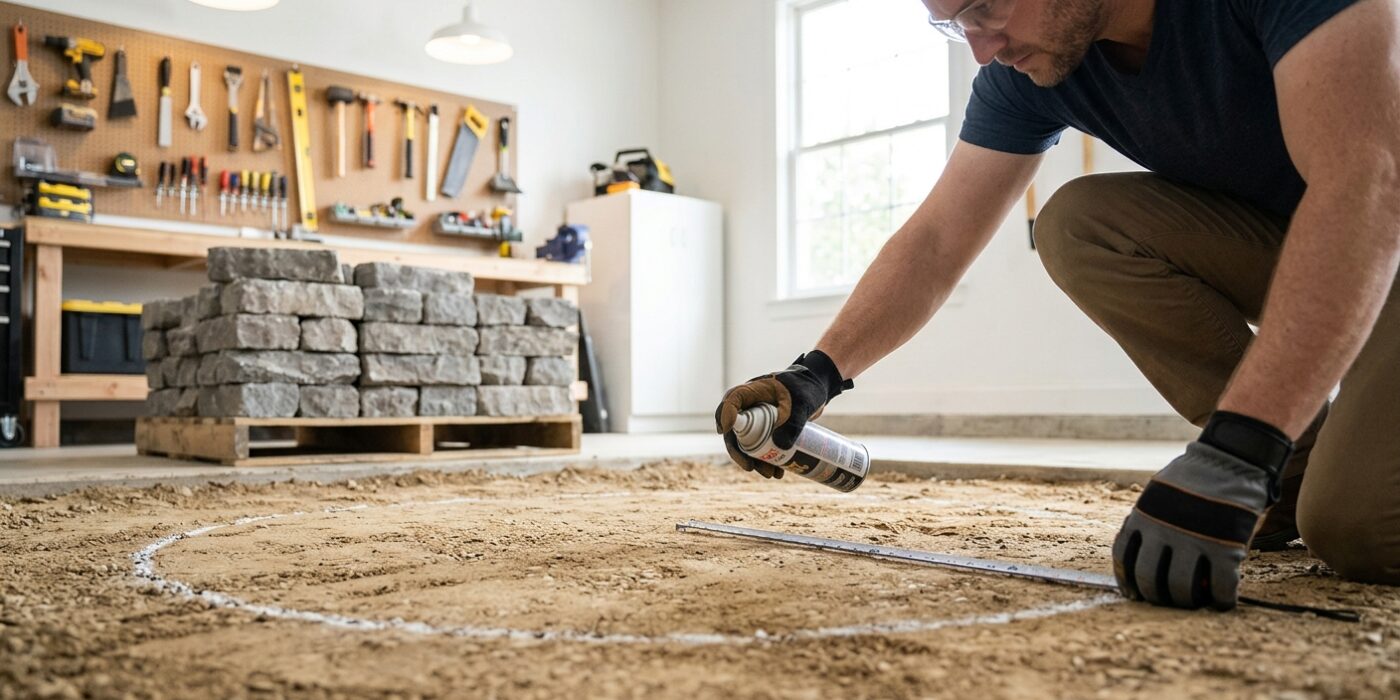
Before you begin digging, you need to pick the perfect spot for your fire pit. Safety is your first priority: place your fire pit at least 10 feet away from any structures, fences, low-hanging tree branches, or bushes. Once you have cleared the area, observe the wind patterns in your yard. You want the prevailing wind to blow smoke away from your house and your planned seating area, not toward them.
To mark your work area, drive a wooden stake into the ground at the exact center of your future fire pit. Tie a piece of string to the stake to act as a compass. Pull the string tight to measure an 18-inch radius from the center to mark the circle for your inner wall; this creates a generous 36-inch diameter fire basin. Next, extend your string to 30 or 36 inches from the center to mark the outer perimeter, which indicates where you will begin digging your base.
Beginner Tip: A common mistake is choosing a spot that is too close to your house or patio furniture. Before you start digging, place a few lawn chairs where you intend to sit and imagine a fire burning. If the smoke would blow directly into your face or toward your home, rotate the location slightly until the airflow feels comfortable.
Pro Tip: Use a can of upside-down marking paint to trace your circles on the grass. It is much easier to see your lines while you are digging than it is to rely on a loose piece of string that might move or break.
Step 2: Excavate the Base
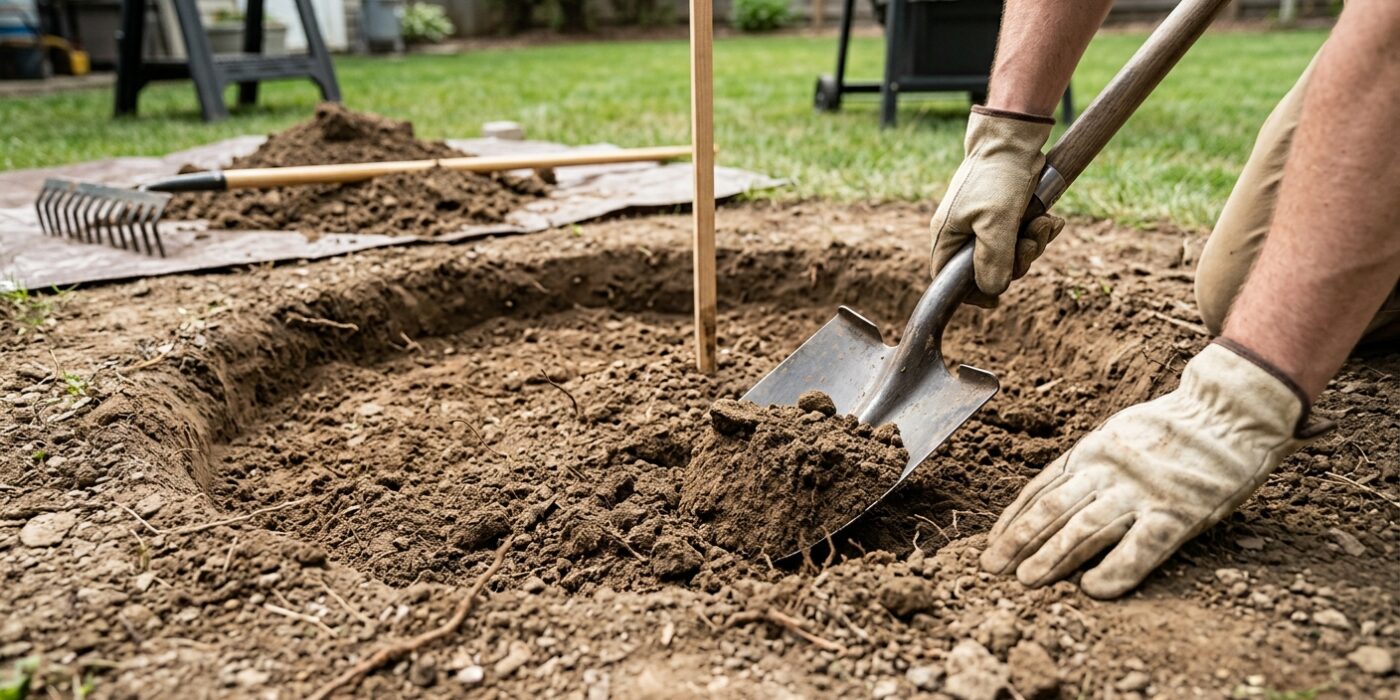
Now that your circle is marked, it is time to create a solid foundation. You need to dig out the dirt within your marked circle to a consistent depth of 6 inches. It is essential to remove all grass, roots, and loose topsoil, as these organic materials will decompose over time and cause your fire pit to shift or sink unevenly. Once you have cleared the area, use the back of a shovel or a hand tamper to pack the soil down firmly until it feels like a solid floor.
If your yard stays soggy after a rain, line the bottom of your hole with landscape fabric to prevent the gravel from sinking into the mud. Next, pour in 4 inches of 3/4-inch crushed gravel. This layer acts as a drainage system, ensuring your fire pit stays dry and stable. Spread the gravel evenly with a rake, then tamp it down until it is perfectly level. A level base is the secret to a professional-looking stone stack that won’t wobble.
Beginner Tip: A common mistake is skipping the compaction step. If you do not tamp the soil and gravel firmly, the weight of your stones will cause the structure to settle unevenly within a few months, leading to cracks or gaps. Take your time to ensure the base is rock-hard before you move on.
Pro Tip: To get a perfectly level base without fancy tools, place a long, straight 2×4 board across the center of your gravel circle and set a bubble level on top of it. Rotate the board like a clock hand to check the level in every direction.
Step 3: Lay the First Course
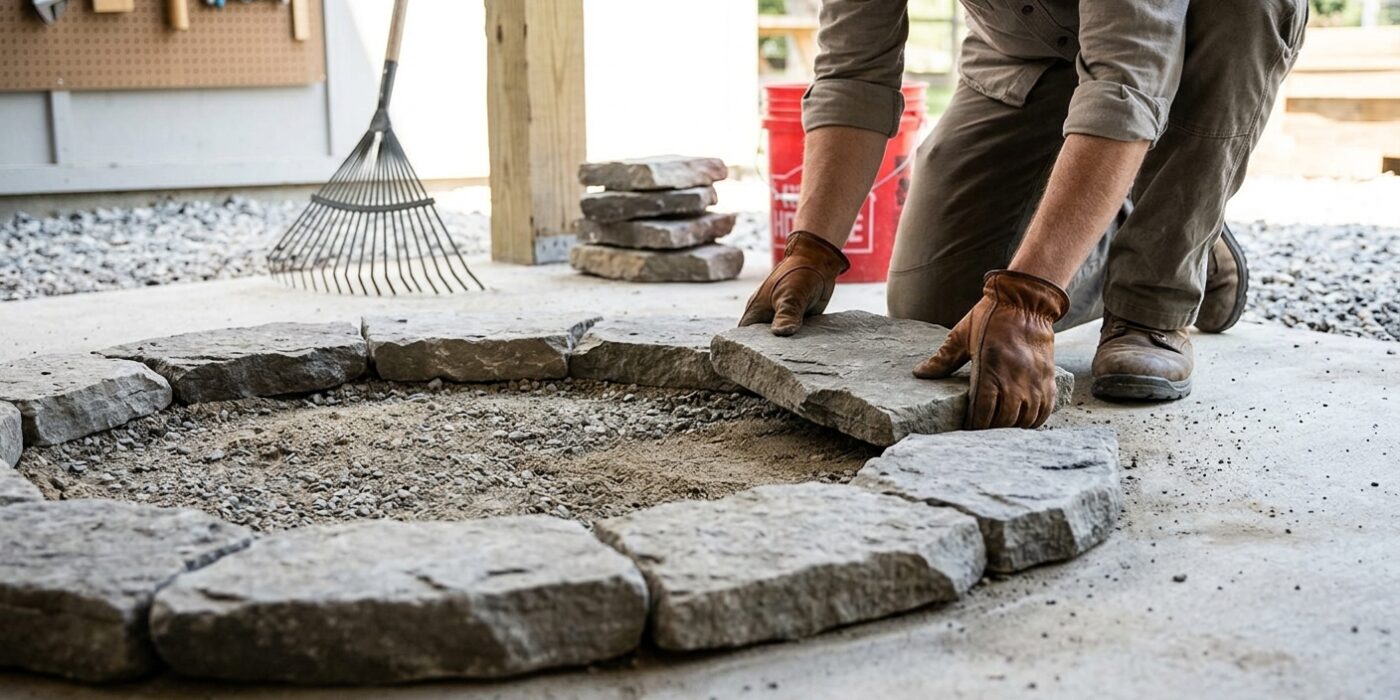
Now it is time to set your base. Using the stake and string you set up in the previous step, lay your first circle of stones directly onto the gravel bed. Start by picking out your largest, flattest stones; these act as the foundation for the entire project. Place each stone side-by-side, ensuring they are snug against one another. If a stone wobbles, gently tap it with a rubber mallet to nestle it deeper into the gravel. Use a spirit level frequently to ensure the tops of these stones are perfectly flat. Because this is a dry-stack project, you are relying on gravity and friction rather than cement; if this first layer is level, your entire pit will be stable and safe.
Beginner Tip: Do not get discouraged if a stone rocks back and forth. A common mistake is trying to balance an uneven stone by stacking small pebbles underneath it. This creates a weak spot. Instead, simply swap that stone for one with a flatter bottom or use your shovel to dig out a tiny bit more gravel from beneath the high side until it sits flush on its own.
Pro Tip: To keep your circle perfectly consistent, cut a piece of scrap wood to the exact radius of your fire pit. As you lay the stones, rotate this “guide stick” around your center stake. If a stone sticks out past your guide, tap it inward with your mallet until it lines up perfectly.
Step 4: Build Up Subsequent Courses
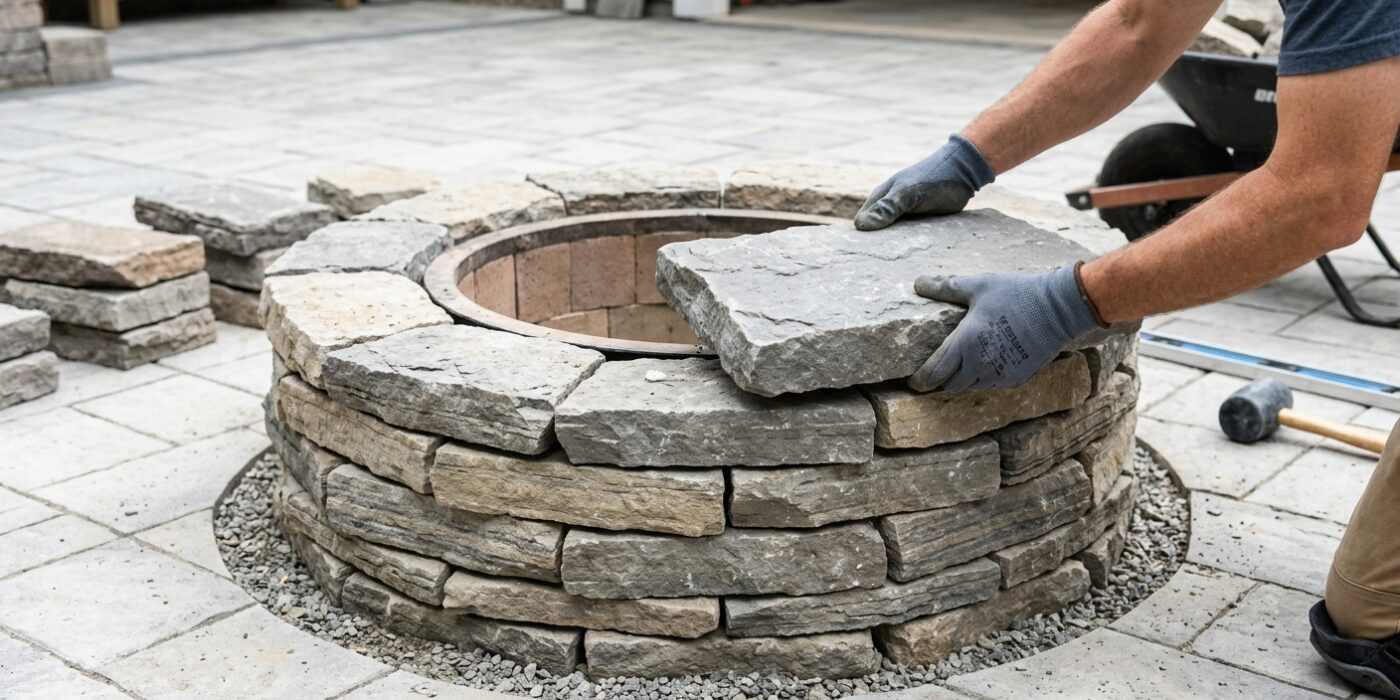
Now that your base is set, it is time to build upward. Lay your second and third layers of stone so that the vertical seams never line up with the row below; this is called “breaking the joints.” Think of it like a brick wall: by placing a stone over the gap between two stones beneath it, you lock the structure together, which prevents cracks from spreading. As you build, aim for a slight inward lean, known as a “batter.” Each new course should sit roughly 1/2 inch further toward the center than the one beneath it. This gravity-assisted angle ensures your fire pit stays rock-solid for years. Use your rubber mallet to gently tap each stone until it feels stable, and keep a spirit level handy to ensure the wall stays even.
Beginner Tip: Avoid the temptation to use “wobbly” stones. If a stone rocks back and forth when you place it, do not ignore it. Instead, lift it up and place a small, thin rock shim underneath the low corner until it sits completely still. A stable stone is the secret to a safe fire pit.
Pro Tip: To keep your wall perfectly circular and maintain that inward lean, cut a simple wooden guide pole to the height of your finished fire pit. Mark the desired inward angle on the pole and hold it against the wall as you work; it acts as a perfect visual reference to ensure your slope is consistent all the way around.
Step 5: Cap the Top Course
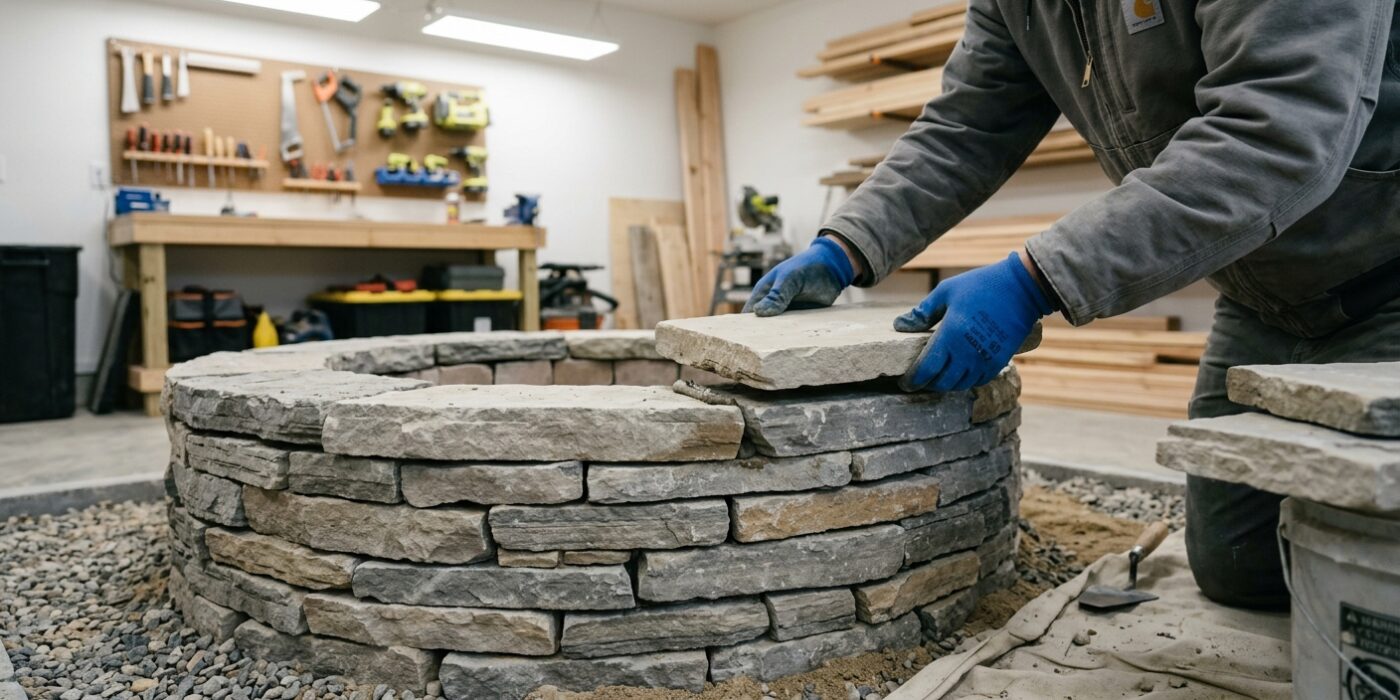
Now that your wall is built, it is time to finish it with a cap course. This layer is the final touch, acting as a structural “lid” that keeps your pit looking polished and provides a flat surface for resting plates, drinks, or grilling grates. You want this layer to be as level as possible. Sort through your remaining inventory and select the flattest, most uniform stones you have. Place them side-by-side along the top, ensuring there is no significant rocking or wobbling when you press down on them. If your stones have a slight slope, try flipping them over or rotating them 180 degrees until the top face sits flush. If you purchased a manufactured kit, simply follow the manufacturer’s layout guide for the specific cap blocks included in your pallet.
Beginner Tip: Avoid the temptation to use loose, smaller “shim” stones to level out the top. Because the cap course experiences the most movement from people sitting on it, small shims will eventually wiggle loose and fall into the fire pit. If a stone wobbles, it is better to swap it out for a different piece entirely than to try and prop it up.
Pro Tip: For a professional, cohesive look, try to “dry fit” your entire cap course on the ground before laying a single stone. Arrange the stones in a circle on the grass next to your pit. This allows you to visualize how they fit together and swap pieces around without having to lift heavy rocks repeatedly once you are at the finished height.
Step 6: Fill the Outer Perimeter
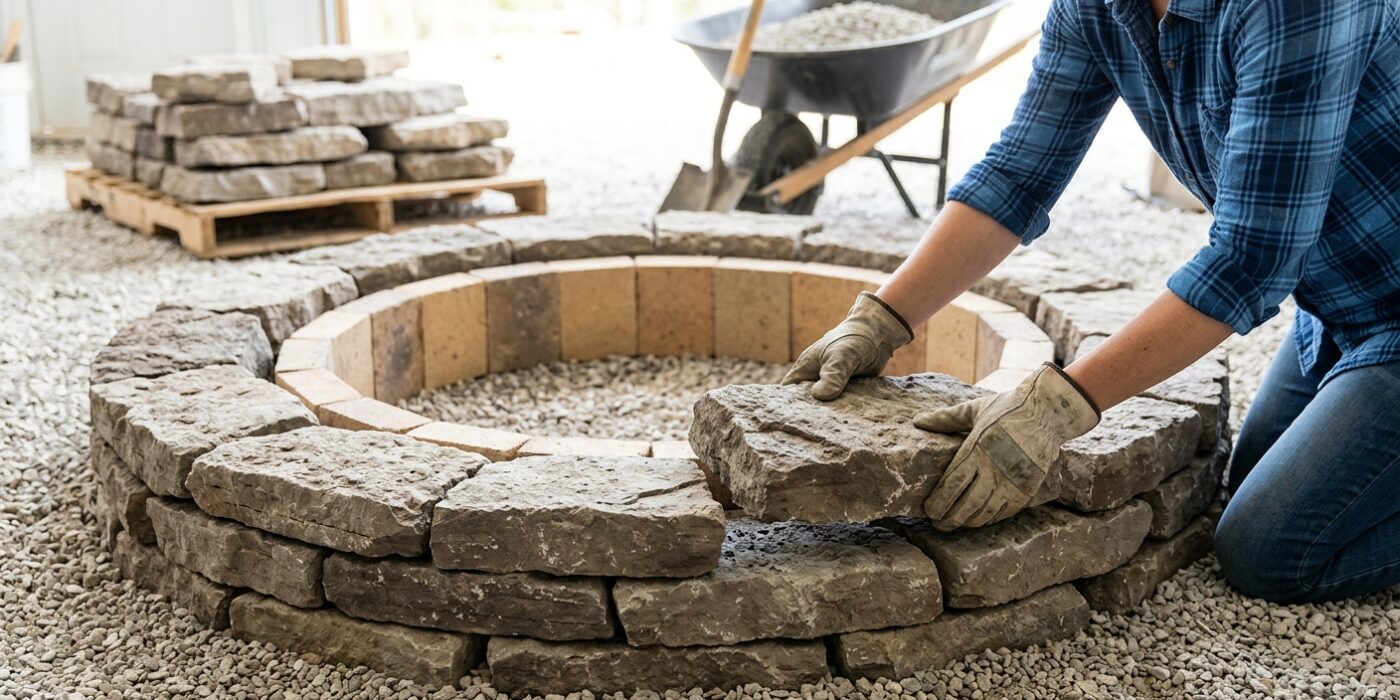
Now that your base stones are set, it is time to secure them. Take your excavated soil and shovel it into the gap between the back of your stones and the surrounding earth. Fill this space to about two-thirds the height of your first layer of stone. This process, called backfilling, acts like an anchor; it stops the stones from shifting or pushing outward when the ground freezes or settles. Use the flat end of a shovel or a hand tamper to pack the soil down firmly until it feels solid beneath your feet.
Once packed, ensure the soil slopes gently away from your fire pit at a slight downward angle. This simple grade directs rainwater away from your stones, which prevents erosion and keeps your fire pit area dry. Finally, lay a 12-inch wide border of crushed gravel or pavers around the base. This acts as a drainage buffer, keeping your shoes clean and preventing the area from turning into a muddy mess during heavy rain.
Beginner Tip: A common mistake is using soil that is full of large grass clumps or roots. These will decompose over time, leaving air pockets that cause your wall to become unstable. Always use clean, loose fill dirt and remove any organic debris before packing it down.
Pro Tip: To get the perfect slope for water drainage, place a straight piece of wood across the ground and set a bubble level on top. If the bubble leans toward the outside, you have achieved the perfect pitch to keep your pit dry.
Step 7: Add a Grate (Optional)
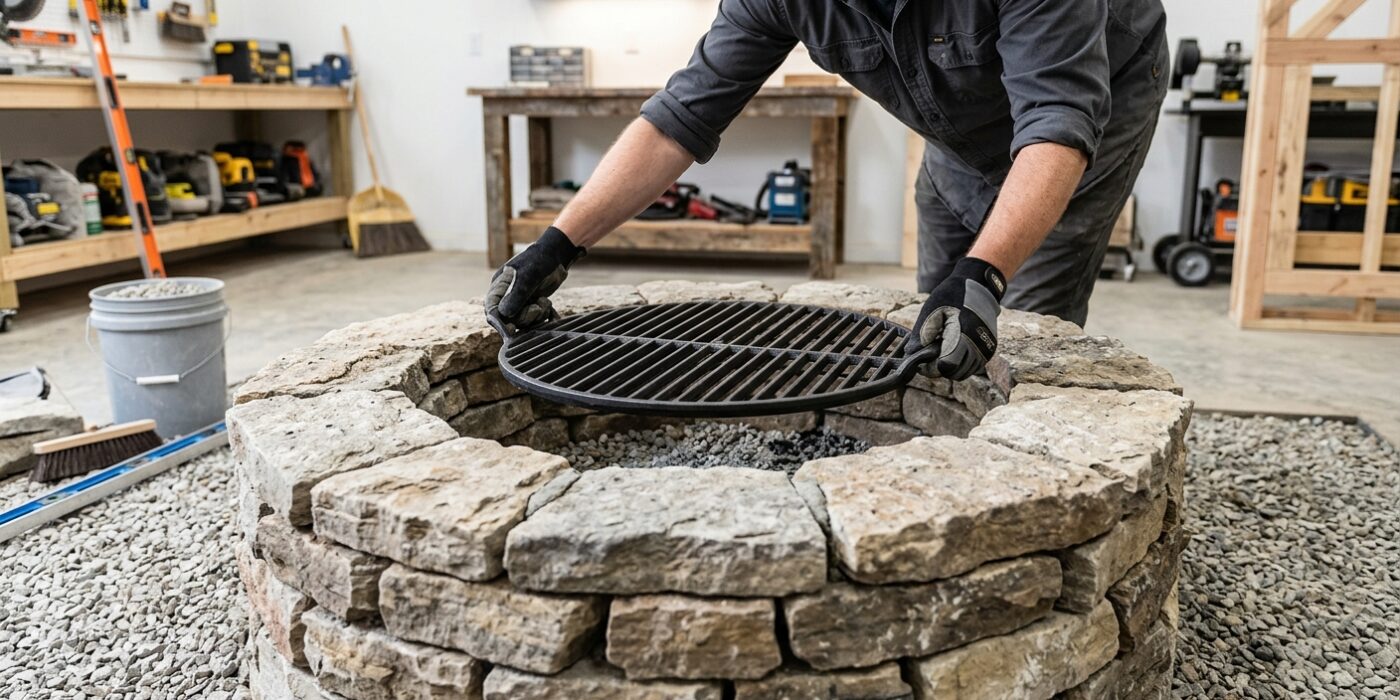
A steel fire grate is a fantastic addition that elevates your firewood off the base of the pit. This lift creates a crucial gap that allows oxygen to circulate underneath the wood, resulting in a hotter, cleaner fire with significantly less smoke. To get the right fit, use a tape measure to determine the inside diameter of your finished stone wall at the top course. When shopping, look for a heavy-duty steel grate designed for outdoor fire pits, ideally one with legs that stand two to four inches tall. Once your fire pit is complete, simply center the grate on the floor of the pit.
Beginner Tip: A common mistake is buying a grate that is too large to fit inside the walls. Measure the diameter at the narrowest point of your internal space rather than the top, and always aim for a grate about two inches smaller than your pit’s diameter. This ensures you can easily place it inside and lift it out for cleaning without it snagging on the stone edges.
Alternative Method: If you are on a budget or can’t find a grate that fits, you can use a few thick, heat-rated fire bricks arranged in a small rectangle or square in the center of the pit. Place your logs across these bricks to achieve that same necessary airflow underneath your fire.
Pro Tip: For the easiest maintenance, choose a circular grate with an attached ash pan or a rimmed edge. This setup catches falling embers and ash in one contained area, allowing you to lift the entire unit out to dump the waste rather than scooping fine ash out from between the crevices of your base stones.