Project Shopping List
Sealing a concrete driveway every 3-5 years protects it from water penetration, freeze-thaw damage, oil stains, and UV degradation. A sealed driveway lasts two to three times longer than an unsealed one in freeze-thaw climates. The job requires a weekend, basic equipment, and patience — but the prep work before sealing is 80% of what determines the result.
What You Need
- Concrete cleaner/degreaser (muriatic acid wash for stains, or alkaline cleaner for general prep)
- Pressure washer (min 2000 PSI)
- Concrete crack filler or caulk (polyurethane or epoxy)
- Concrete sealer (penetrating or film-forming)
- Long-handled application squeegee or sprayer
- Push broom, safety glasses, acid-resistant gloves
Choosing the Right Sealer
Two main categories: penetrating sealers (silane, siloxane, or siliconate) soak into the concrete pores and repel water without changing the appearance. Film-forming sealers (acrylic, epoxy, or polyurethane) create a surface coating that darkens the concrete slightly and gives a shiny or satin appearance. Penetrating sealers are better for high-traffic driveways in freeze-thaw climates — they do not peel, need less frequent reapplication, and do not get slippery when wet. Film-forming sealers look great but can peel in high-traffic areas and become slippery in wet conditions without an added anti-slip aggregate.
Step-by-Step Instructions
Step 1: Clear the Driveway
Move vehicles, furniture, and any objects off the driveway. Protect adjacent lawn and garden beds with plastic sheeting — concrete cleaner and sealer can damage plants. Allow 24-48 hours of dry weather after the job before using the driveway.
Step 2: Clean Oil Stains
Oil stains must be treated before pressure washing — pressure washing alone spreads oil rather than removing it. Apply a concrete degreaser or cat litter to fresh stains, scrub with a stiff brush, let sit 30 minutes, then rinse. For old, deep stains: apply a commercial oil stain remover or diluted TSP solution, scrub aggressively, and repeat. Sealer does not bond over oily surfaces and will peel within a season over untreated stains.
Step 3: Pressure Wash the Entire Surface
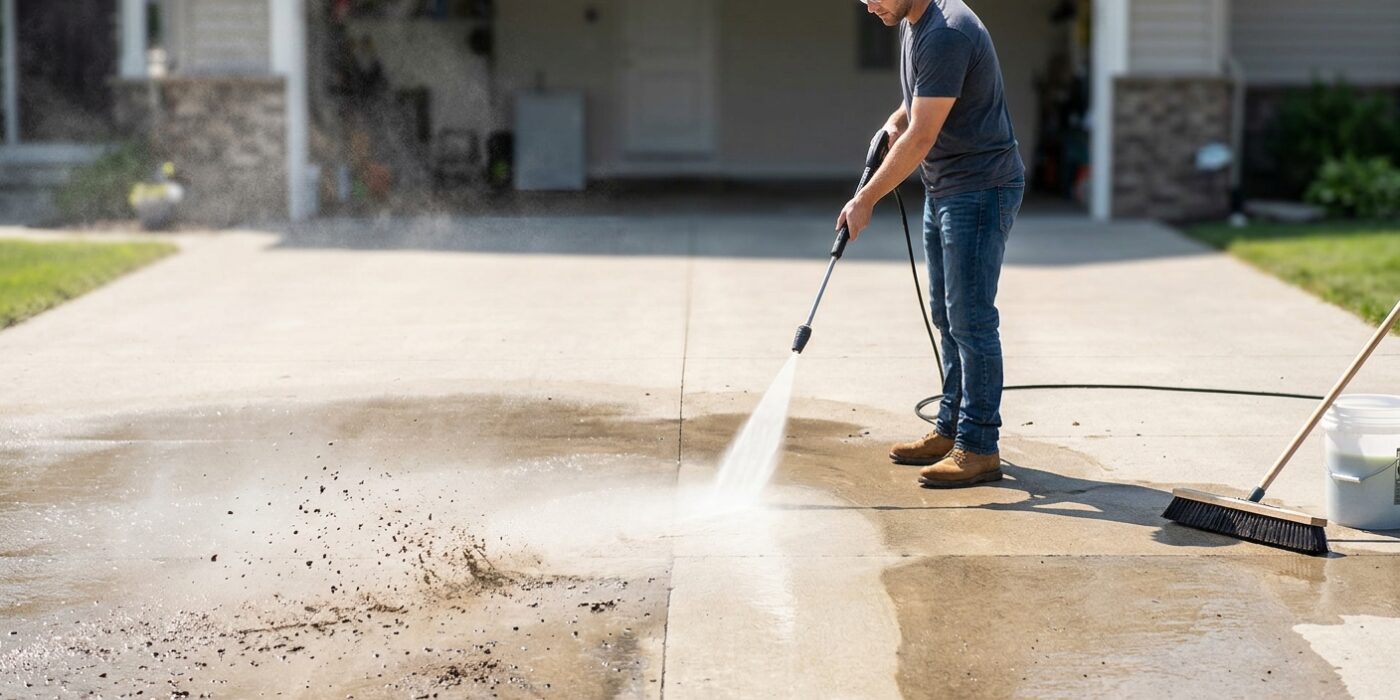
Pressure wash at 2000-3500 PSI with a 25-degree or 40-degree fan nozzle. Work in overlapping passes from one end to the other. Pay extra attention to corners, edges, and expansion joints where debris accumulates. The surface should look clean and uniformly gray (or the natural concrete color) with no dark patches of oil, mold, or efflorescence. Let the surface dry completely — 24-48 hours minimum, longer in humid conditions. Sealing over damp concrete is the most common cause of sealer failure.
Step 4: Repair Cracks
Fill cracks wider than 1/8 inch with a concrete crack filler or polyurethane sealant. For narrow hairline cracks, a liquid crack filler applied from a squeeze bottle works well. For cracks over 1/4 inch wide, use a backer rod (foam rope) to fill the void to within 1/4 inch of the surface, then apply sealant over the backer rod. Feather the edges of the repair to blend with the surrounding surface. Allow cracks to cure fully per the product directions before sealing.
Step 5: Apply the First Coat of Sealer
Apply sealer in the early morning or late afternoon — never in direct midday sun. High surface temperatures cause the sealer to dry before it can penetrate or level properly. Pour sealer from the can into sections of the driveway and spread with a long-handled squeegee in overlapping passes with the grain. For sprayer application, use an airless sprayer or pump garden sprayer and back-brush with a push broom to ensure even coverage. Work from the back of the driveway toward the street so you do not walk on fresh sealer.
Step 6: Apply the Second Coat
Most penetrating sealers require only one coat. Film-forming sealers typically need two coats for adequate protection. Apply the second coat at 90 degrees to the first coat direction for uniform coverage. Thinner second coats are better than thick ones — thick coats trap solvents, take longer to dry, and are more likely to peel.
Pro Tips
- Never seal concrete that is less than 30 days old — fresh concrete needs to off-gas and cure fully before sealing.
- Check weather forecasts: 48 hours of dry weather and temperatures above 50 degrees F are required for proper curing.
- Reseal when water no longer beads on the surface — water that soaks in quickly indicates the sealer has worn through.
Frequently Asked Questions
Can I seal a concrete driveway myself?
Yes — sealing concrete is one of the more accessible concrete maintenance tasks. The prep work (cleaning and crack repair) matters more than the sealing technique. The main risk is applying sealer over a damp or oily surface, which causes adhesion failure.
How long does concrete sealer last?
Penetrating sealers last 5-10 years. Film-forming acrylic sealers last 3-5 years in vehicle traffic applications. Epoxy and polyurethane film-forming sealers last 5-7 years but are more expensive and require more surface prep for reapplication. Always check whether new sealer is compatible with existing sealer before recoating — some types cannot be applied over others without full removal.