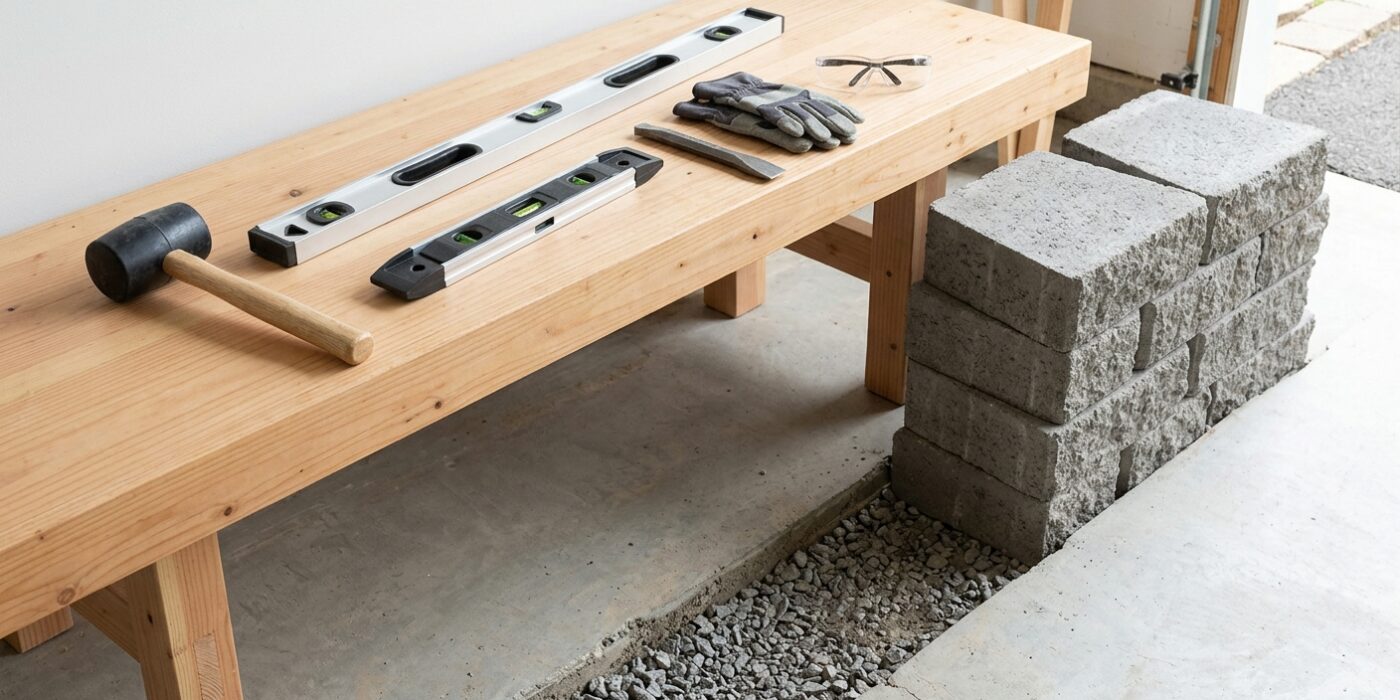
Project Shopping List
A concrete block retaining wall holds back soil, creates level terraces, and adds permanent structure to a sloping yard. The dry-stack method covered here uses no mortar between blocks. Instead, each course is set back slightly from the one below, creating a battered wall that uses gravity and the weight of the blocks themselves to resist the soil pressure behind it. Dry-stack walls are forgiving, repairable, and well within reach of an ambitious DIYer willing to do the heavy work.
This guide covers walls up to 3 feet tall. Walls taller than 3 feet, or walls retaining saturated soils, need engineered design and drainage systems beyond the scope of a standard DIY build. If in doubt about your specific situation, consult a landscape engineer.
What You’ll Need
Tools
- Plate compactor or hand tamper
- Masonry chisel and hammer or rental block splitter
- Level (4-foot) and string line
- Shovel and wheelbarrow
- Tape measure and marking chalk
- Safety glasses and work gloves
Materials
- Concrete retaining wall blocks (Allan Block, Versa-Lok, or equivalent)
- Base gravel: 3/4-inch crushed stone (6-inch depth under base course)
- Wall gravel: clean 3/4-inch crushed stone (behind wall)
- Landscape fabric
- Capstones or cap block adhesive
- Perforated drainpipe (4-inch diameter)
Step 1: Mark the Wall Line and Excavate
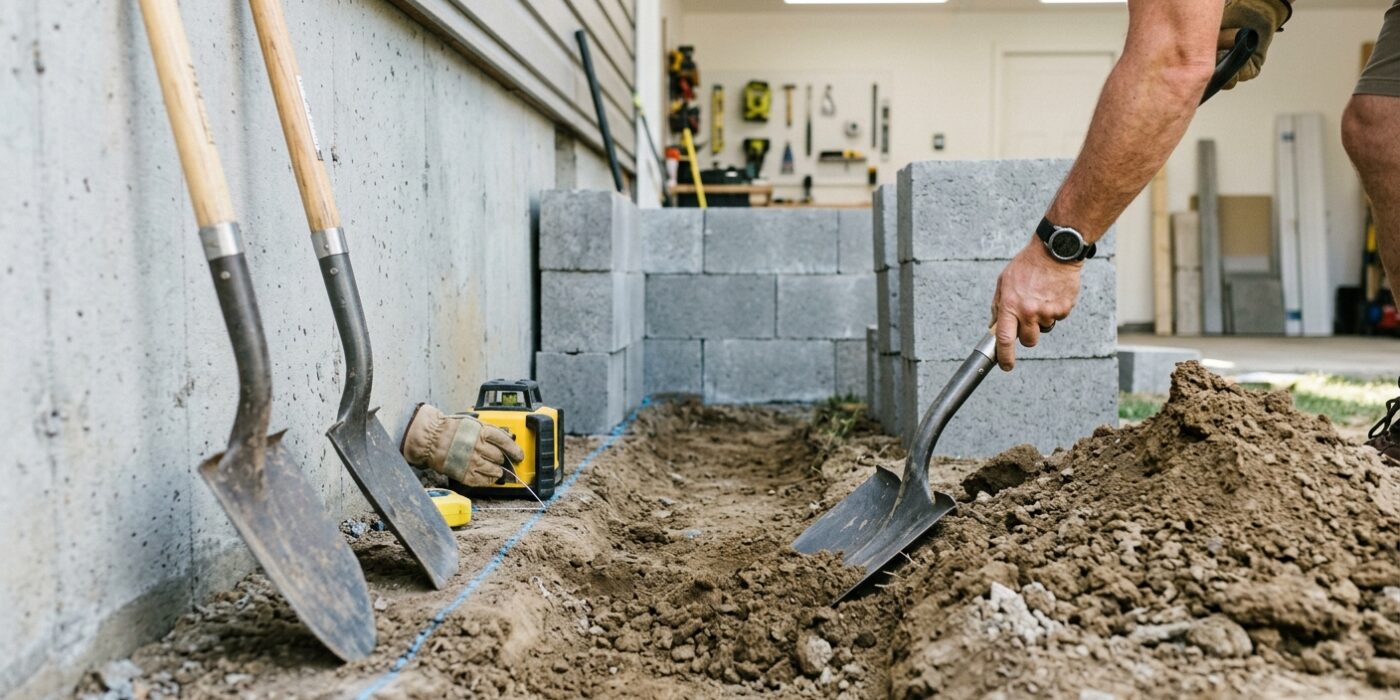
Before you start digging, you need a clear roadmap for your wall. Start by driving a wooden stake at each end of your proposed wall location. Tie a mason’s string tightly between the two stakes, positioning it at the exact height and front-facing edge you want for your wall. This string acts as your visual guide to keep the wall perfectly straight.
Next, it is time to dig your trench. A stable wall needs a solid foundation, so you will bury the first row of blocks entirely. Measure the height of one block and add 6 inches to account for your base layer of gravel. For a standard 6-inch high block, your trench should be 12 inches deep. Make the trench width at least the depth of one block plus an additional 12 inches; this extra space behind the wall is crucial for adding drainage gravel, which prevents water pressure from pushing your wall over later.
Beginner Tip: Avoid the mistake of digging your trench too wide or too deep. If you accidentally over-excavate, do not just fill the bottom back in with loose dirt, as it will settle later and cause your wall to lean. Instead, pack the bottom of the trench firmly with a hand tamper to create a rock-solid base.
Pro Tip: Use a line level – a tiny, inexpensive tool that hooks onto your string – to ensure the string is perfectly level before you start digging. A level base now saves you hours of frustration and extra work when you begin stacking your blocks.
Step 2: Compact and Set Base Gravel
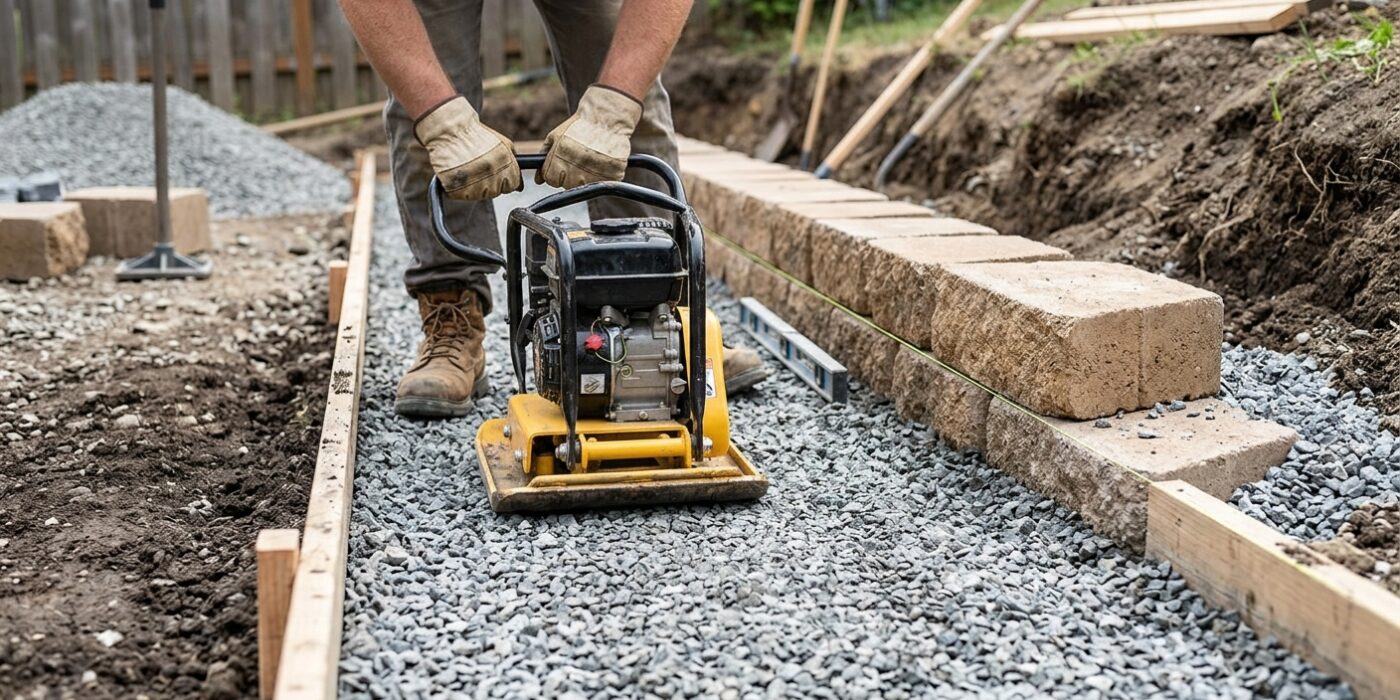
Now that your trench is dug, it is time to create a solid foundation. You will fill the trench with 6 inches of 3/4-inch crushed stone. This layer is vital because it provides drainage and keeps your wall from sinking or shifting when the ground settles or freezes. Once the stone is distributed evenly, use a plate compactor to press it down. Run the machine over the entire length of the trench multiple times until the stones stop shifting under the weight. Your goal is a firm, rock-solid base that feels like a driveway under your feet.
After compacting, place a long level across the stones to ensure the surface is perfectly flat. If you find low spots, add a small handful of stone; if you find high spots, rake them away. Taking the time to get this layer level now will save you hours of frustration when you start stacking your concrete blocks later.
Beginner Tip: A common mistake is to skip the compaction process or to do it too quickly. If the base isn’t packed tightly, the weight of your finished wall will cause the stones to settle unevenly over time, which can lead to unsightly gaps or even structural failure in your new wall.
Alternative Method: If you cannot rent a plate compactor, you can use a heavy hand tamper. While it requires more elbow grease, it is perfectly effective for smaller projects. Simply lift the tamper and drop it firmly onto the gravel repeatedly until the surface no longer indents when you walk on it.
Pro Tip: Before adding your gravel, lay down a strip of landscaping fabric along the bottom and sides of your trench. This keeps the gravel base from sinking into the soil below and prevents weeds from working their way up through your beautiful new wall.
Step 3: Set the First Course
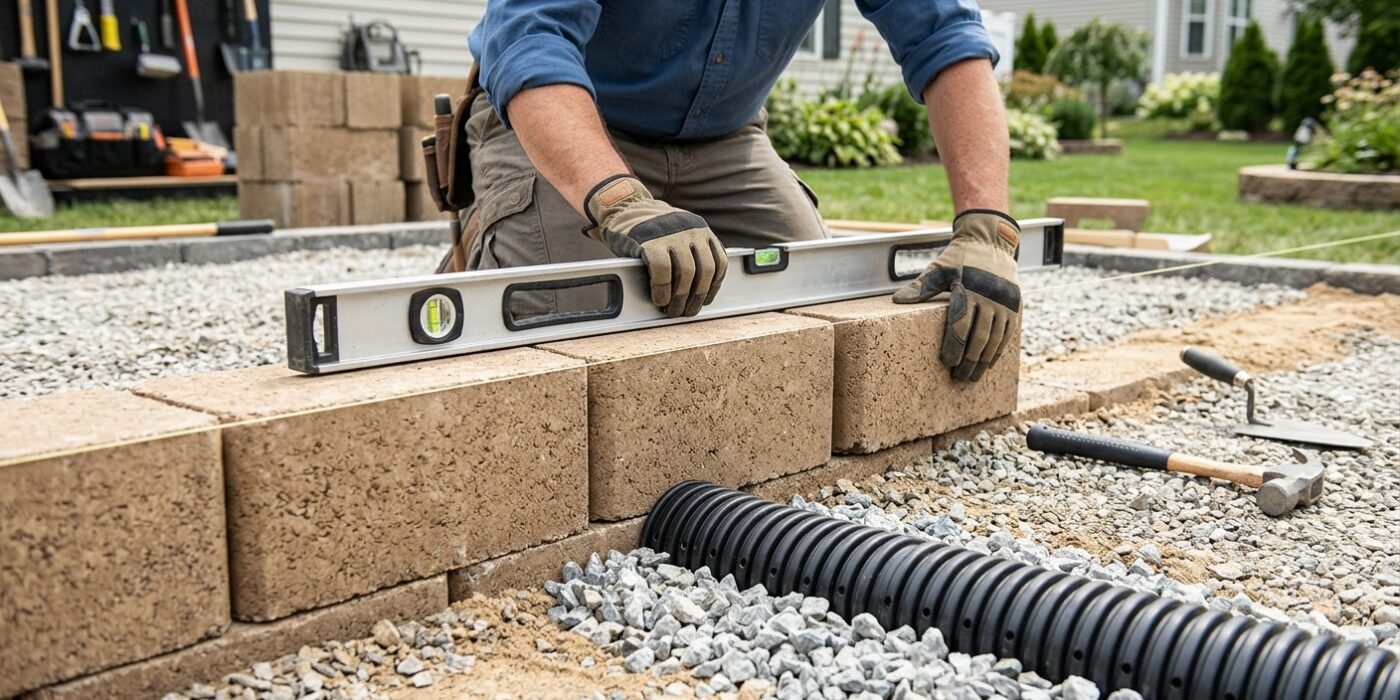
The first course is the foundation of your entire wall. Because this row is buried below ground level, it acts as the anchor that prevents your wall from shifting or tipping. Start by placing your first block at the lowest point of your trench. Using your compacted gravel base as a starting point, set each block side-by-side, pressing them firmly together so there are no gaps. Use a two-foot bubble level to check that each block is perfectly flat both side-to-side and front-to-back. If a block sits too low, add a tiny bit of gravel underneath; if it is too high, gently nudge the base gravel aside. Use a rubber mallet to make small adjustments, tapping the top or sides until the block sits perfectly level. Sight down the front edge of the entire row; if it looks wavy, adjust the blocks until they form a perfectly straight line.
Beginner Tip: A common mistake is rushing the first course. If the base isn’t level, every subsequent layer will lean, eventually causing your wall to look crooked or even collapse. Take your time here; spending an extra hour on this row saves you a full day of frustration later.
Pro Tip: To keep your wall perfectly straight, drive two wooden stakes into the ground at either end of your trench and tie a mason’s string tightly between them. Position the string at the exact height you want the top of your first course to be, then simply align the top edge of each block to the string.
Step 4: Backfill and Install Drainage
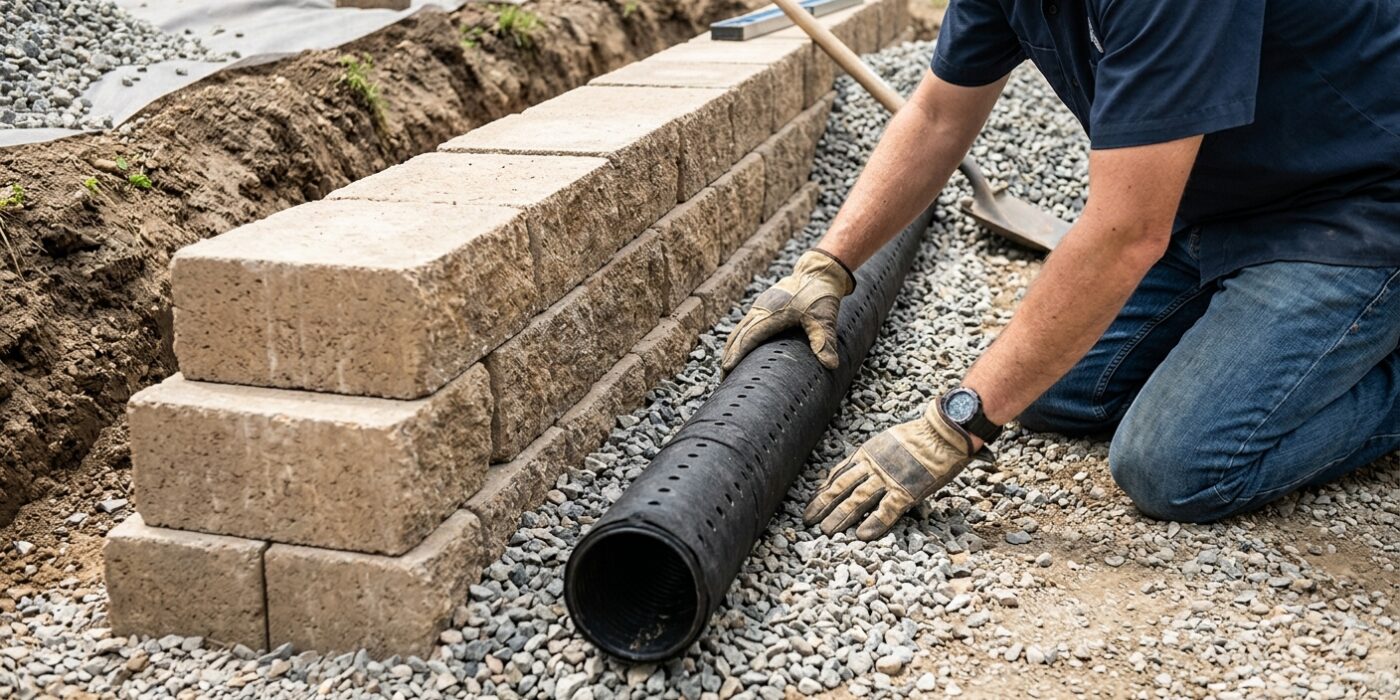
Now that your first layer of blocks is set, we need to manage water flow to ensure your wall stays upright for years to come. Start by lining the soil wall of your trench with heavy-duty landscape fabric; this acts as a filter to keep dirt from clogging your drainage system. Next, place a 4-inch perforated drainpipe directly behind the blocks, resting on the gravel base. Make sure the small holes (perforations) in the pipe are facing downward to allow water to enter easily. You must route this pipe so it slopes slightly downward toward an open area, or “daylight,” away from the wall structure. Finally, fill the gap behind your blocks with 3/4-inch crushed stone, bringing the level up to the top of your first course. This stone layer acts as a reservoir, allowing water to pass through the soil and into your pipe rather than pushing against your wall.
Beginner Tip: A common mistake is using topsoil or garden dirt to fill the gap behind the wall. Always use crushed, angular stone. Dirt will hold moisture and expand when it freezes, which can eventually push your beautiful new wall out of alignment.
Pro Tip: To keep your drainpipe perfectly positioned while you add the stone, use a few spare bricks or heavy rocks to weigh it down at intervals. This prevents the pipe from shifting or “floating” as the weight of the gravel settles around it.
Step 5: Set Subsequent Courses
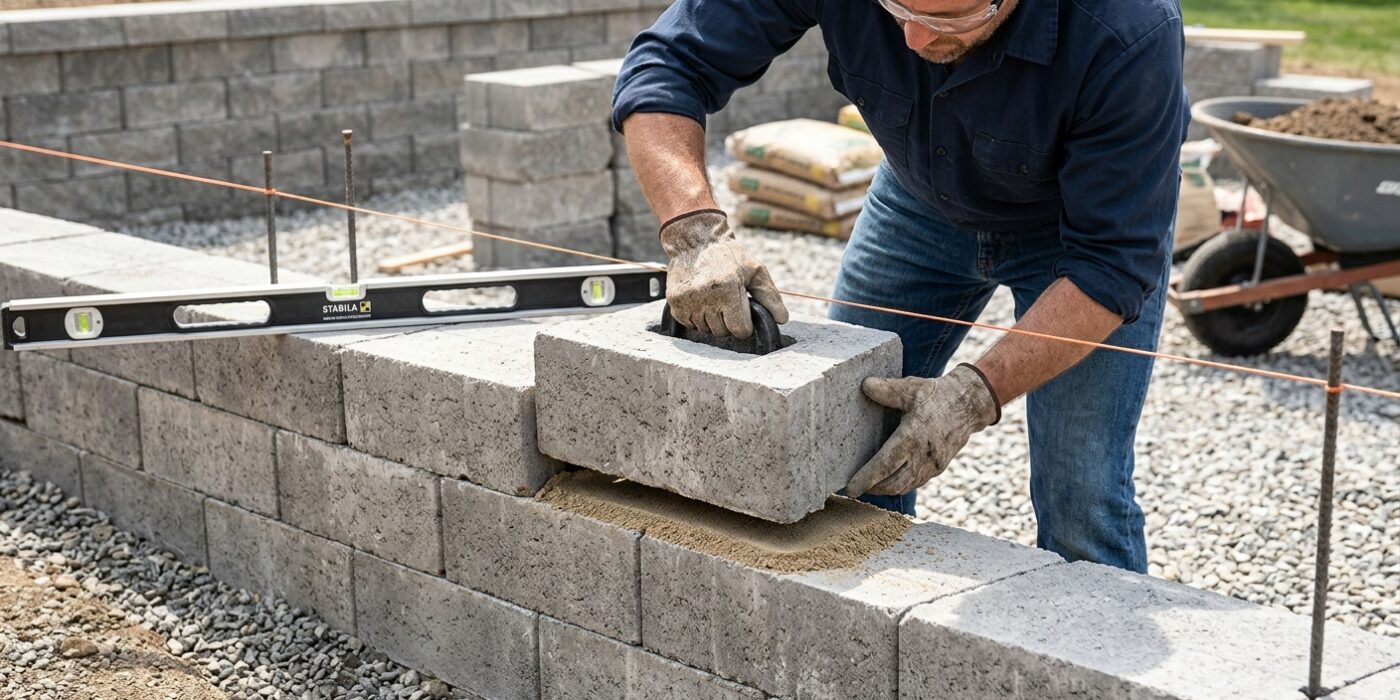
Now that your base layer is perfectly level, it is time to build upward. Each new course must be set back slightly – usually 1/2 to 3/4 of an inch – from the layer below, based on your block manufacturer’s instructions. This slight inward lean is called the batter, and it is crucial because it uses gravity to help your wall resist the pressure of the soil behind it. To create a strong, interlocking structure, ensure your vertical joints never line up. Offset each block by half a length so that the seam sits directly over the center of the block below, similar to a brickwork pattern.
As you place each block, check it with your level from both the front-to-back and side-to-side directions. If it wobbles, lift it and remove or add a tiny amount of leveling sand or crushed stone underneath until it sits perfectly flat. Once positioned, fill the void behind the wall with your 3/4-inch crushed stone as you climb. This ensures proper drainage and prevents water from building up against the wall.
Beginner Tip: Avoid the common mistake of rushing your level checks. If your second course is even slightly off, that error will multiply as you build higher, resulting in a wall that looks crooked or gaps that will not close later. Check every single block individually, no matter how tedious it feels.
Pro Tip: Use a thick strip of construction adhesive labeled specifically for concrete between each course. While gravity holds the wall in place, adding a bead of adhesive ensures the blocks won’t shift or rattle over time, providing extra peace of mind for your hard work.
Step 6: Compact Gravel Behind Each Course
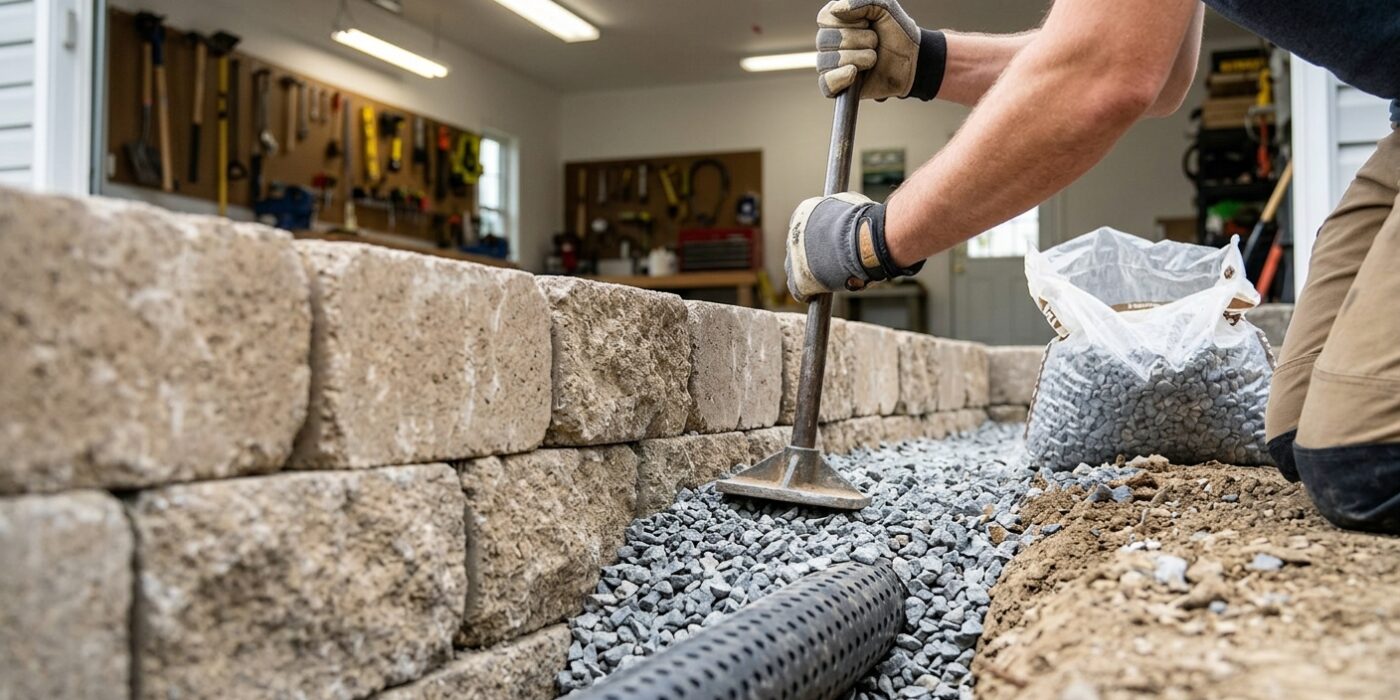
Now that your blocks are in place, it is time to backfill the space behind them with gravel. This layer of stone is essential because it allows water to drain away from your wall, preventing pressure from building up and pushing the blocks out of alignment over time. Fill the gap with clean, crushed gravel until it reaches the top of the course you just laid.
Use a hand tamper to firmly pack the gravel down until it is solid and level with the top of the block. Only work in layers no more than 6 inches thick; if your fill is deeper than that, the bottom won’t pack down tightly, leading to future settling. Crucially, stay at least 3 feet away from the back of the wall face with your tamping strokes. Vibrations from heavy compaction too close to the wall can shift your freshly leveled blocks, ruining all your hard work.
Beginner Tip: A common mistake is using soil instead of gravel for backfill. Soil holds onto water and will expand when it freezes, which can eventually crack or bulge your wall. Always use clean, angular gravel to ensure proper drainage and long-term stability.
Pro Tip: If you find it difficult to reach into tight corners with the tamper, use a heavy piece of 4×4 lumber as a manual post-tamper. It acts like an extension of your arms, giving you more control and force in narrow spaces without risking damage to the wall blocks.
Step 7: Install the Cap Course
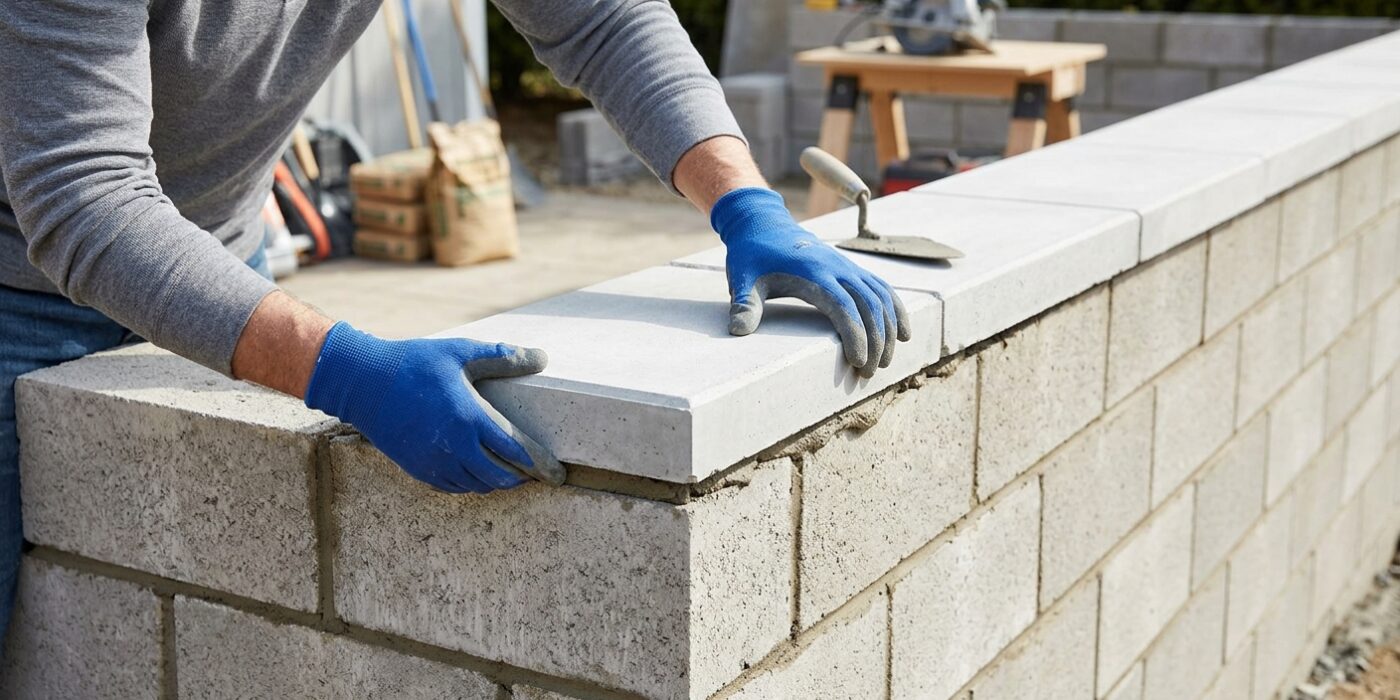
Now that your wall is built, it is time to install the cap course. Think of this as the “lid” for your project. Cap blocks provide a clean, finished look and, more importantly, they add weight and mechanical stability to the top of the wall, preventing the lower blocks from shifting over time. Before applying adhesive, dry-lay all your caps along the top of the wall to ensure they fit correctly and look balanced. Once you are satisfied with the layout, apply a continuous bead of heavy-duty exterior concrete adhesive – about the thickness of a pencil – along the top edge of the last course of blocks. Place your cap units directly onto the glue, pressing down firmly with both hands to ensure full contact. Use a carpenter’s level to check that each cap sits flat and is perfectly flush with its neighbor.
Beginner Tip: A common mistake is using too much adhesive. If you apply a bead that is too thick, it will squeeze out from under the cap when you press down, creating a messy, visible smear on the face of your stone that is incredibly difficult to clean once it dries.
Pro Tip: To get a professional finish, apply a very thin, consistent line of adhesive about one inch back from the front edge of the blocks. This keeps the glue hidden from view while still ensuring the cap remains securely locked in place.
Step 8: Backfill and Grade the Top
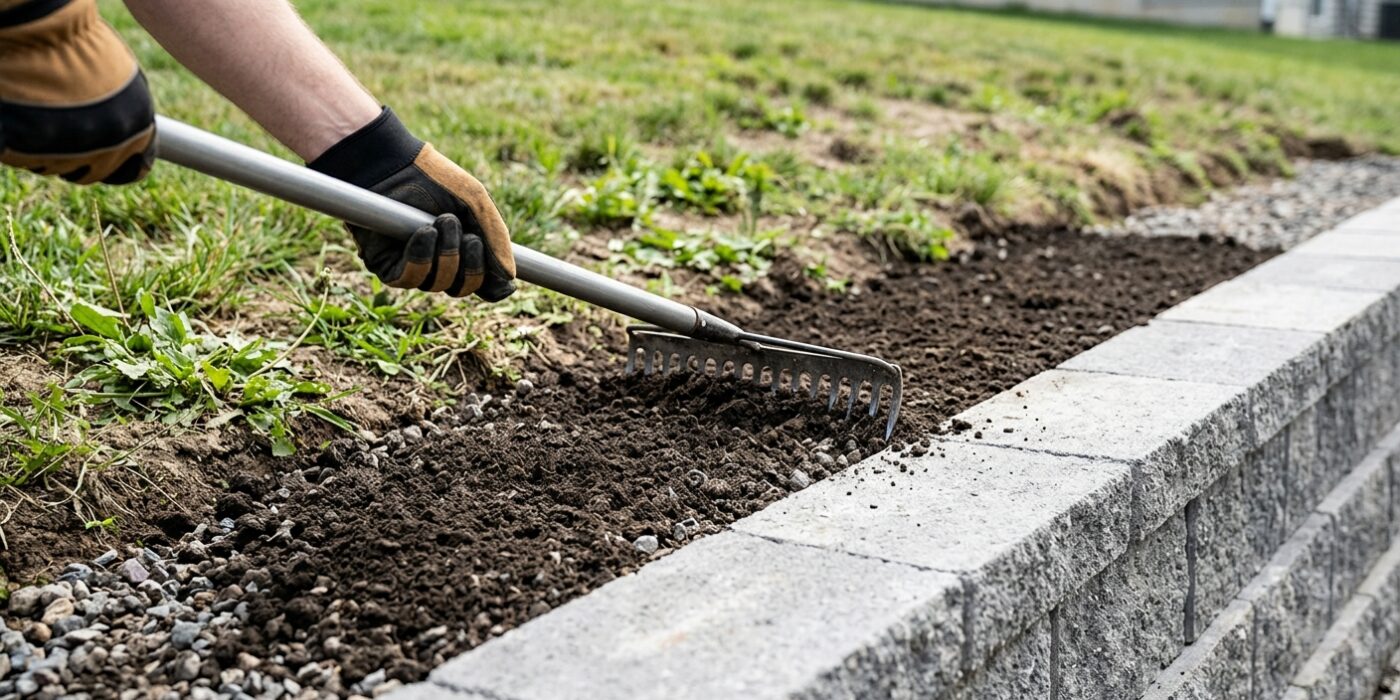
Now that your wall is standing, it is time to finish the area behind it. This step is crucial for the health of your wall because it manages how water moves through the soil. You need to fill the space directly behind the blocks with clean, crushed stone – not garden soil or clay. Clay traps water, which expands and pushes against your wall, eventually causing it to buckle or collapse. Fill this area with stone up to about two inches below the top of the wall. This gap ensures surface water drains safely into the stone layer rather than spilling over the face of your wall.
Once the stone is in place, you can add your landscape soil on top. When you grade this soil, aim for a downward slope moving away from the wall – at least a 2 percent grade is ideal. This means the soil should drop roughly 1/4 inch for every foot of distance. This simple tilt directs rainwater away from the structure, preventing it from pooling and causing pressure.
Beginner Tip: A common mistake is using the dirt you dug out during the initial excavation to fill the space behind the blocks. Always use clean, crushed stone instead. Dirt is heavy and holds moisture, which defeats the purpose of the drainage column you have worked so hard to create.
Pro Tip: To keep your crushed stone from mixing with the surrounding soil over time, place a layer of landscape filter fabric between the stone column and the backfilled earth. This simple barrier keeps the stones clean and ensures your drainage system remains effective for decades.