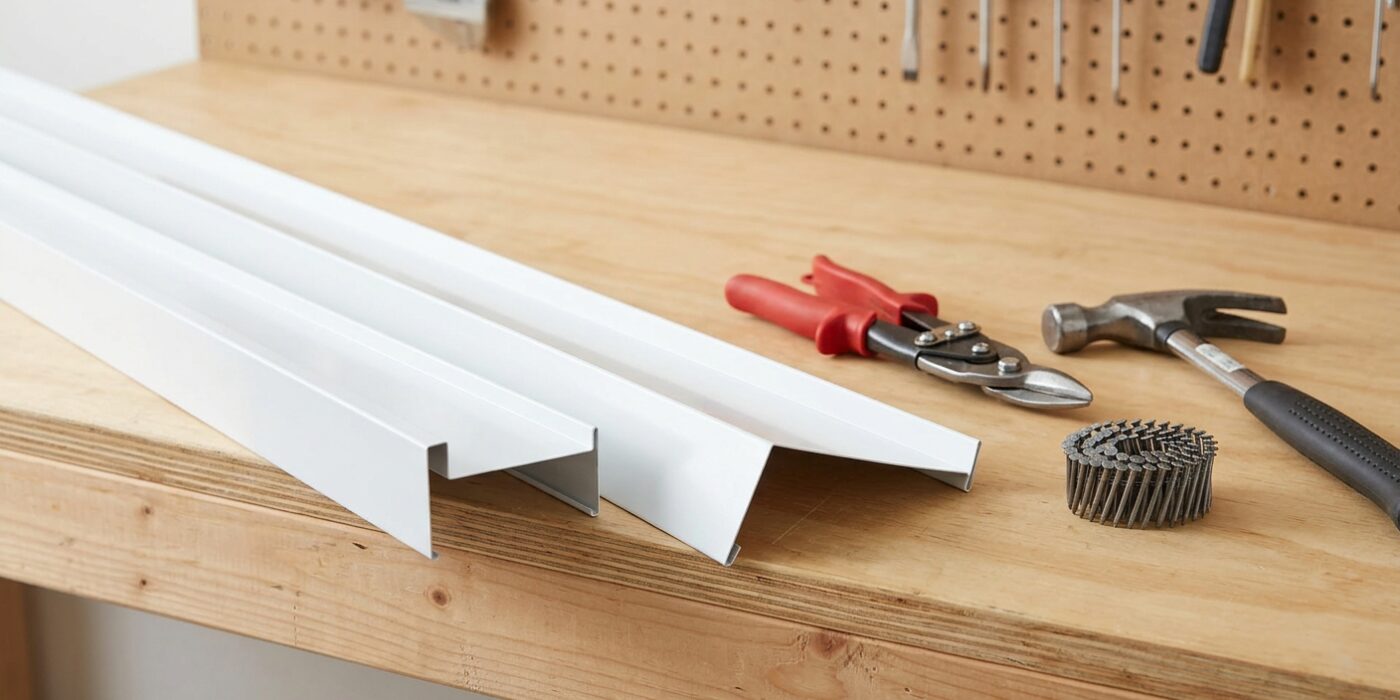
Project Shopping List
Drip edge is a metal flashing installed at the edges of a roof that directs water off the deck and into the gutters, preventing it from wicking back under shingles or rotting the fascia and rake boards. It is one of the most inexpensive materials in roofing — a few dollars per linear foot — but one of the most important for long-term protection. Most roofing failures at the edges trace back to missing or incorrectly installed drip edge.
What You Need
- Drip edge (aluminum or galvanized steel, “L” or “T” profile)
- Roofing nails (1-1/4 inch for eaves; 1-3/4 inch for rakes)
- Tin snips (aviation snips — one for straight cuts, left and right for curves)
- Hammer or pneumatic nailer
- Tape measure and chalk line
- Caulk (roofing sealant for inside corners)
Understanding Installation Order
The correct sequence is critical and different for eaves (the horizontal bottom edges) and rakes (the sloped side edges): Eaves: drip edge goes on first, directly over the roof deck, then roofing underlayment (ice and water shield or felt) lays over the drip edge. Rakes: roofing underlayment goes on first over the deck, then rake drip edge installs on top of the underlayment. This order ensures water flows off each material properly — never under it — at both edge types.
Step-by-Step Instructions
Step 1: Measure and Order Material
Measure the total linear feet of all eave edges and rake edges separately. Drip edge comes in 10-foot sections; buy 10-15% extra for overlaps and waste. Most residential roofs use 2-inch or 3-inch leg drip edge (the measurement refers to the horizontal leg that sits on the roof deck). Larger leg sizes provide more protection on low-slope roofs. Match the metal type (aluminum or galvanized) to the existing flashing on the roof — mixing metals causes galvanic corrosion.
Step 2: Cut Drip Edge to Length
Cut drip edge to length with aviation snips. Make cuts at a slight angle (rather than a straight vertical cut) on pieces that must join at a corner — this helps the overlap shed water more naturally. For inside corners (valleys), cut a triangular notch in the horizontal leg to allow the drip edge to bend into the corner without buckling. Wear heavy gloves — freshly cut metal edges are extremely sharp.
Step 3: Install Eave Drip Edge
Start at one corner of an eave edge and work to the other. Lay the drip edge with the horizontal leg on the roof deck and the vertical leg hanging over the fascia. The drip edge should cover the fascia top by at least 1/2 inch to direct water away from the wood. Nail every 12-18 inches along the top leg with roofing nails. Overlap sections by at least 2 inches, with the upper piece overlapping the lower (water sheds over, not under, the lap). After all eave drip edge is installed, lay the roofing underlayment over it.
Step 4: Install Rake Drip Edge
After roofing underlayment is installed on the full roof surface, install rake drip edge on the sloped side edges. The rake drip edge sits on top of the underlayment. Start at the bottom corner and work up the rake, overlapping each section by 2 inches (upper over lower). Nail every 12 inches. At the peak, overlap the two opposing rake pieces and cut to fit cleanly. The ridge cap shingles will cover the peak overlap.
Step 5: Seal Inside Corners
At inside corners where drip edge pieces meet at an angle (common on complex roof shapes), apply a bead of roofing sealant caulk under the overlap and along the seam. Inside corners are the most vulnerable points for water infiltration — sealant provides the additional protection that metal laps alone cannot fully achieve.
Pro Tips
- Galvanized drip edge is more durable than aluminum on coastal properties where salt air corrodes aluminum. Inland, aluminum is lighter, easier to cut, and does not rust.
- Paint drip edge to match fascia color before installation — it is nearly impossible to paint neatly after roofing is over it.
- Replace drip edge whenever replacing shingles — it is inexpensive and doing it under new shingles is much easier than retrofitting later.
Frequently Asked Questions
Can I install drip edge without removing existing shingles?
On rakes (side edges), yes — rake drip edge can often be slid up under the last row of shingles and nailed in place without removing them. On eaves, proper installation requires the drip edge to be under the first row of shingles, which means lifting or removing that first row. Some installers will add drip edge over existing shingles as a retrofit, which provides partial protection but is not ideal.
What happens if I omit drip edge?
Without drip edge, water running off the roof hits the fascia board directly and wicks back under the shingles by capillary action. Over years, this rots the fascia, the rafter tails, and the roof deck at the edges. Many roof insurance claims that appear to be from storm damage are actually caused by long-term water intrusion at the edges that drip edge would have prevented.