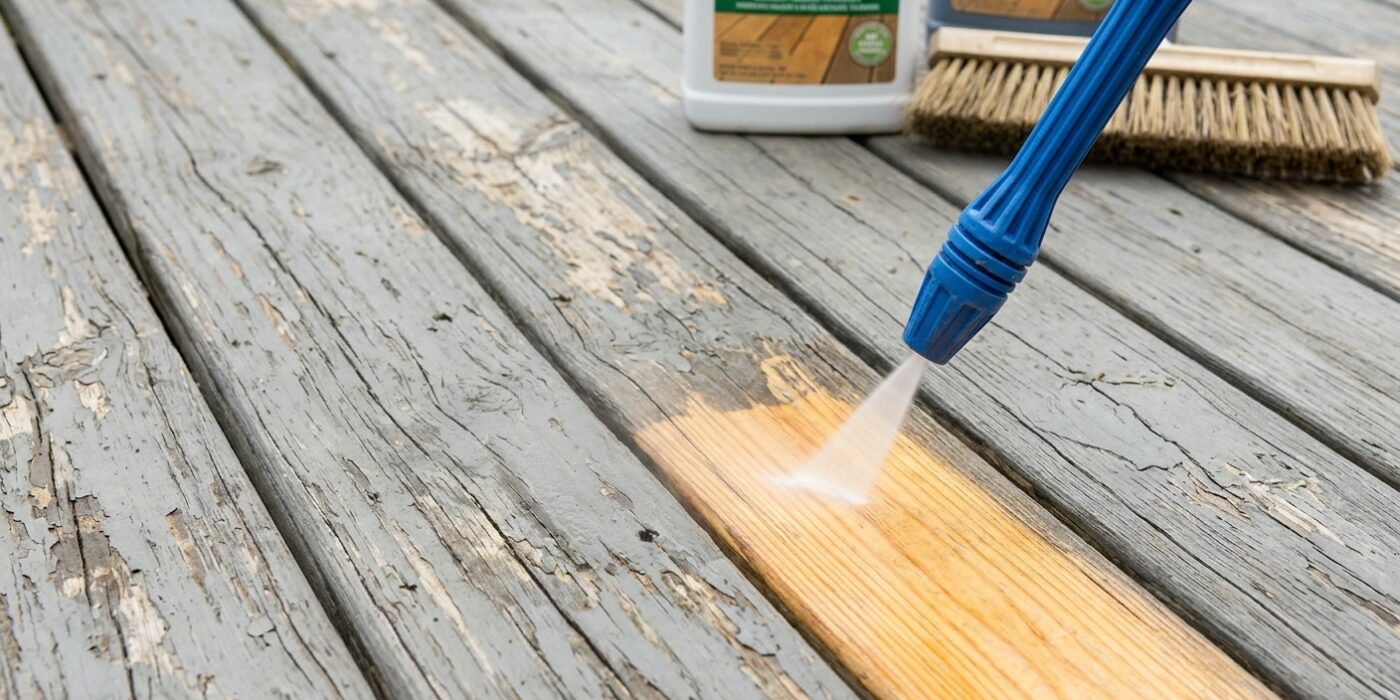
Project Shopping List
A wood deck is an outdoor surface that takes a beating – UV rays bleach and break down the wood fibers, rain and humidity cause swelling and shrinking that cracks the finish, and foot traffic wears away surface protection. Staining and sealing is the most important maintenance task for a wood deck. Done right, it extends deck life by decades and keeps the surface looking sharp every season. This guide covers cleaning, prepping, and applying an exterior deck stain with built-in sealer on pressure-treated or cedar decking.
Proper prep accounts for 80 percent of the result. Stain applied over dirty, gray, or old peeling finish will peel prematurely regardless of product quality.
What You’ll Need
Tools
- Pressure washer or garden hose with strong nozzle
- Stiff-bristle scrub brush and long handle
- Paint roller with 3/8-inch nap and extension pole
- 4-inch brush for railings, edges, and between boards
- Paint tray and liner
- Putty knife and orbital sander with 80-grit paper
- Drop cloths for plants and adjacent surfaces
Materials
- Deck cleaner/brightener (oxalic acid-based)
- Exterior deck stain with sealer (semi-transparent or solid, 1 gallon per 200-250 sq ft)
- Sandpaper: 80-grit for rough spots, 120-grit for smooth finishing
- Painter’s tape (for concrete and trim)
Step 1: Clear and Inspect the Deck
Before you begin the transformation, you need a clean, stable surface. Start by removing all furniture, planters, and grills. Once the deck is clear, take a walk across every board to inspect the wood. Your goal is to ensure the surface is solid and level; stain acts like paint, meaning it will highlight imperfections rather than fix them.
Use a flat-head screwdriver to poke any areas that look discolored or dark. If the metal tip sinks into the wood like it is soft or spongy, that board has structural rot and must be replaced. Next, look for hardware issues. If you see a nail head sticking up, use a hammer to drive it flush with the surface. If you find a screw that has backed out, use a drill set to the “drive” mode to tighten it, or replace it with a new, exterior-grade deck screw if the wood around the old hole is stripped.
Beginner Tip: Avoid the mistake of “just painting over it.” Beginners often try to cover up soft, rotted wood with extra coats of stain. This will fail immediately, as the rotted wood will continue to crumble underneath, wasting your time and money.
Pro Tip: When checking for loose boards, try rocking them with your foot. If a board moves, it likely needs a longer screw to grab the joist underneath. Using a screw that is at least 2.5 to 3 inches long will provide the best grip for older deck framing.
Step 2: Clean the Deck
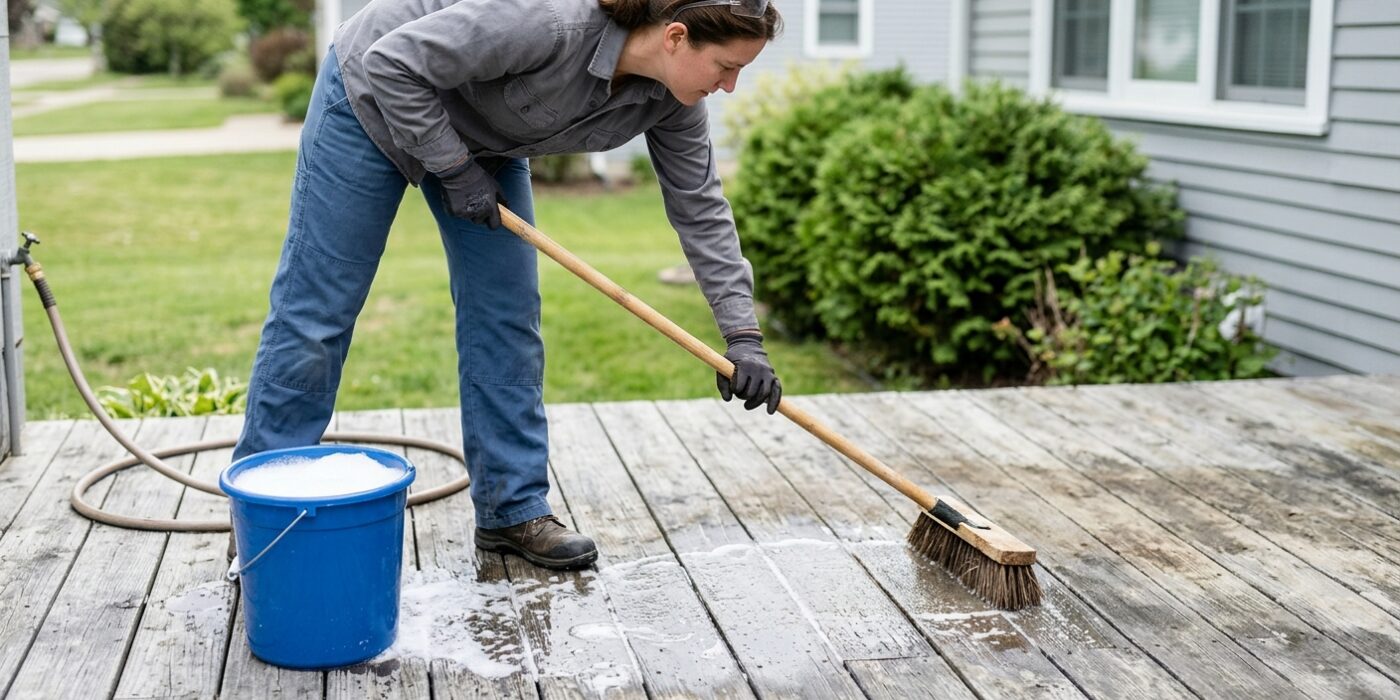
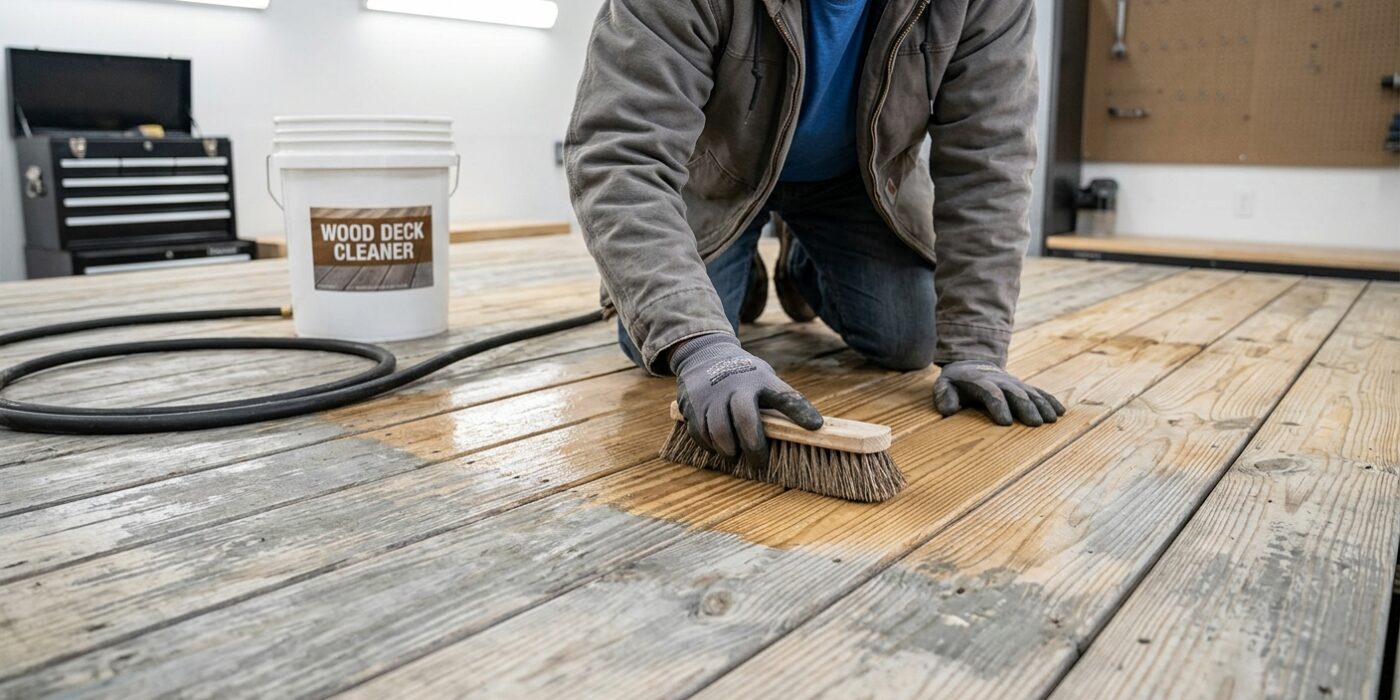
Before you can apply stain, you must ensure the wood is clean and ready to soak up the finish. Start by mixing your deck cleaner according to the bottle’s instructions. Using a pump sprayer, apply the mixture evenly across the wood. Let it sit for 10 to 15 minutes; this dwell time is crucial because it allows the chemical to break down mold, mildew, and old, flaky finish. Once the time is up, use a stiff-bristled deck brush to scrub the surface, focusing on high-traffic areas. Rinse the cleaner away thoroughly using a pressure washer set between 500 and 1,200 psi. Keep the nozzle about 12 inches from the surface and move with the grain of the wood to avoid gouging. Finally, apply a wood brightener to neutralize the cleaner and open the wood pores, then let the deck dry for at least 48 to 72 hours.
Beginner Tip: Avoid letting the cleaner dry on the wood. If it begins to evaporate before you finish scrubbing, lightly mist it with a little more water to keep it active. If it dries completely, it can leave patchy, discolored spots.
Alternative Method: If you do not have a pressure washer, use a standard garden hose with a high-pressure nozzle attachment combined with a long-handled scrub brush. While it requires more physical effort, you can achieve excellent results by scrubbing vigorously and rinsing until the water runs clear.
Pro Tip: When rinsing, do not forget to flush out the gaps between the boards. Debris often collects in these crevices, which can trap moisture and cause rot later on.
Step 3: Sand Rough Areas
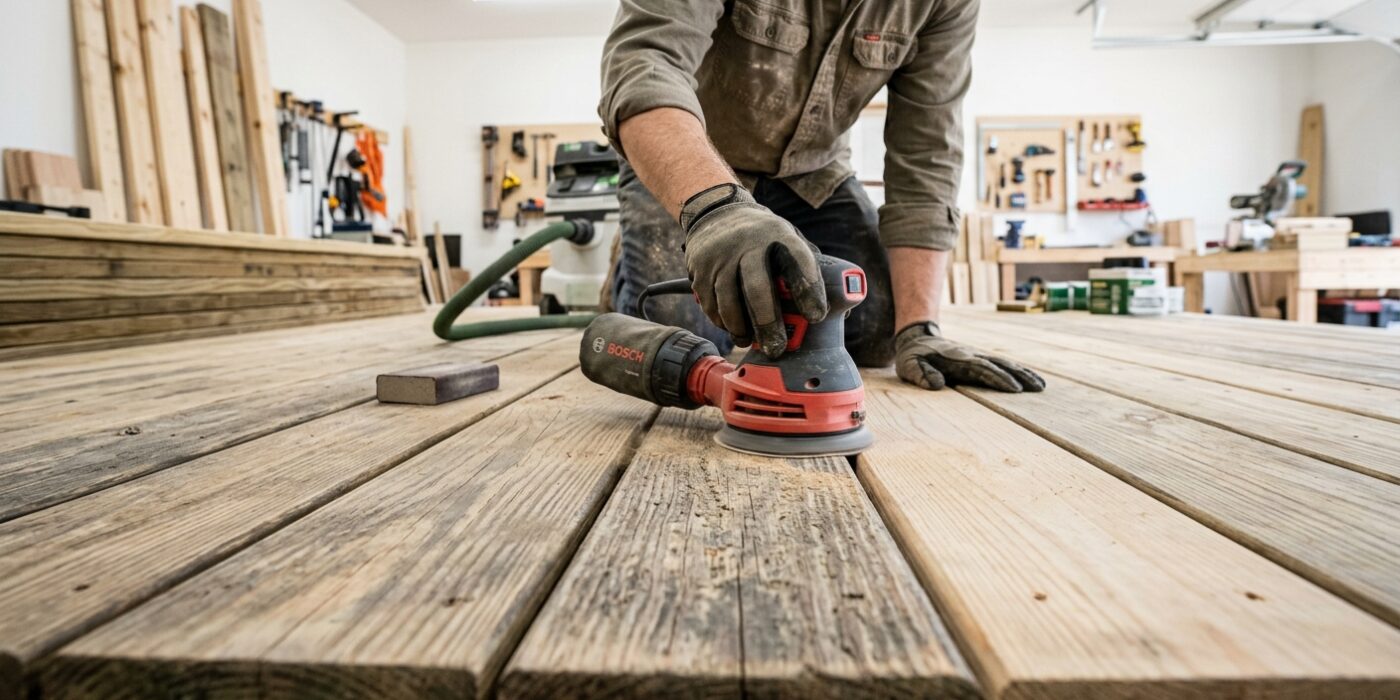
Now that your deck is completely dry, it is time to smooth things out. Pressure washing is a great cleaner, but it often causes the wood grain to swell and stand up, leaving the surface feeling fuzzy or rough to the touch. Start by using 80-grit sandpaper on any areas that feel particularly splintery. Once those spots are addressed, attach a 120-grit sanding screen to a pole sander – this handy tool acts like a mop with sandpaper on the bottom, allowing you to smooth the entire deck while standing comfortably upright.
Work your way across the deck in long, even strokes, moving in the same direction as the wood grain. The goal isn’t to remove the wood, but simply to knock down those tiny, raised fibers. A smooth surface ensures the stain absorbs evenly rather than pooling in rough patches. Before you move on to staining, be sure to sweep away all the fine dust with a stiff-bristled broom or use a shop vacuum for a deeper clean; any leftover grit can get trapped in your stain and ruin the finish.
Beginner Tip: Avoid pressing down too hard while sanding. You only need light, consistent pressure. If you push too hard, you risk creating uneven depressions or gouges in the wood that will be very noticeable once you apply the stain.
Pro Tip: Wrap a clean, slightly damp rag around your pole sander head for the final pass. This acts like a tack cloth, grabbing all the stubborn, microscopic dust particles that a broom might leave behind, leaving you with a perfectly clean surface for your stain.
Step 4: Choose Your Stain
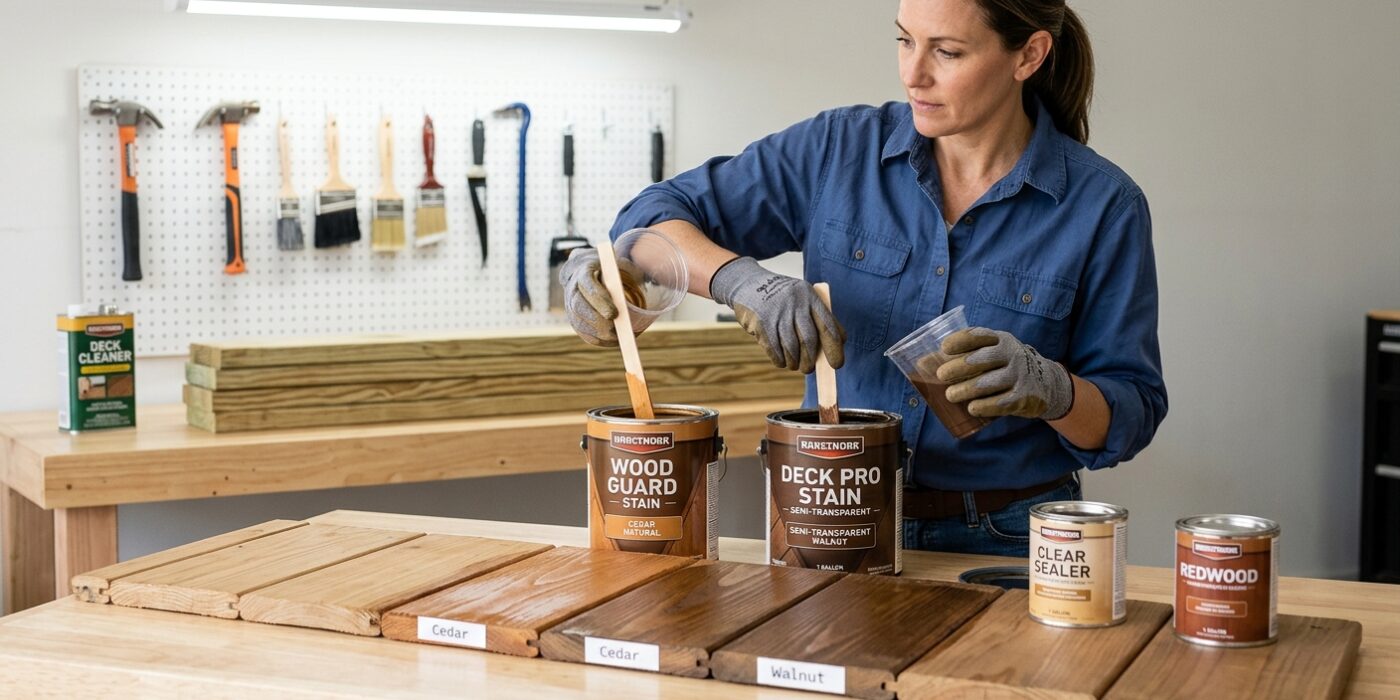
Selecting the right stain is the most important decision for your deck’s longevity. Think of stain as sunscreen for your wood; the right choice balances beauty with protection. For most decks in decent shape, a semi-transparent water-based stain is your best friend. It sinks into the fibers to highlight the natural beauty of the wood grain while providing a protective shield against the sun’s harsh UV rays. If your deck looks tired, gray, or has mismatched repairs, a solid stain is your go-to solution, as it acts more like a protective paint layer to hide imperfections.
Beginner Tip: Never mix different brands or types of stains together. They have different chemical bases and will not bond properly, which leads to peeling and blotchiness. Always buy enough stain for the entire project at once – check the coverage rate on the back of the can, typically 200 to 300 square feet per gallon – to ensure consistent color across the whole surface.
Alternative Method: If you are overwhelmed by the vast selection at the store, bring a small, non-visible piece of your deck’s wood to the paint desk. Many retailers offer “color-matching” services or can provide small sample jars. Testing a sample on an inconspicuous area, such as a back corner or under the stairs, is the simplest way to ensure you love the color before committing to gallons.
Pro Tip: Before you head to the register, look for “stain and sealer in one” products. These high-quality formulas allow you to complete your project in a single application process, saving you hours of labor and the extra cost of buying separate containers.
Step 5: Apply the Stain
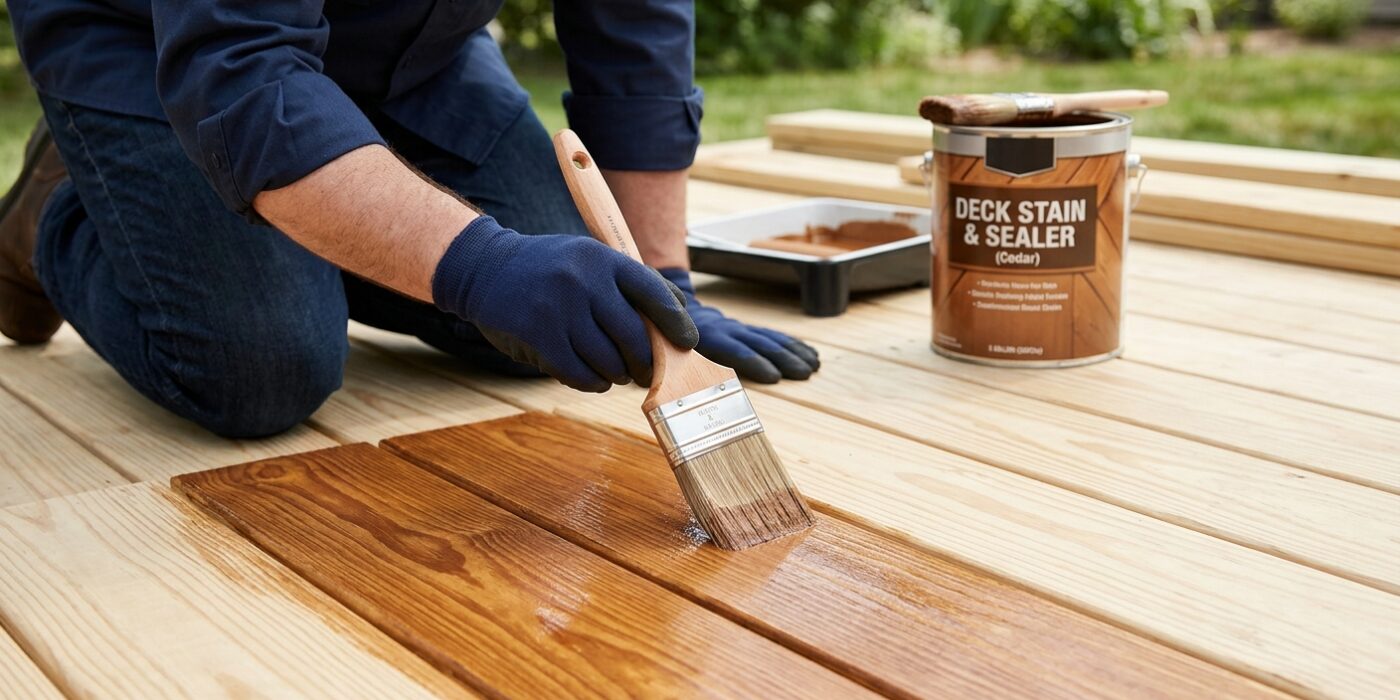
Now that your deck is clean and dry, it is time for the transformation. Protect nearby landscaping and siding with drop cloths, as stain can be difficult to remove once it sets. Start by using a high-quality 2-inch or 3-inch synthetic bristle brush to “cut in.” This means painting the hard-to-reach areas first: along the base of the house, around railings, and into the thin gaps between boards. Once the edges are outlined, use a roller equipped with a 3/8-inch nap cover for the main deck surface. Always move your roller in the direction of the wood grain, coating one full board length at a time from end to end. This “wet edge” technique is crucial; stopping in the middle of a board causes unsightly overlap marks where the stain will look darker or uneven.
Beginner Tip: Avoid the urge to over-apply. If you see pools of stain or drips gathering in the grain or between boards, use your brush to immediately “back-brush” those spots. Leaving puddles will cause the finish to peel or flake once it dries, ruining that smooth, professional look.
Pro Tip: To keep your workspace tidy and your back happy, pour your stain into a dedicated painting tray and place the tray inside a large, shallow plastic bin or on a piece of cardboard. This prevents accidental drips from reaching your pristine deck surface and makes moving your supplies across the boards much easier.
Step 6: Allow to Cure
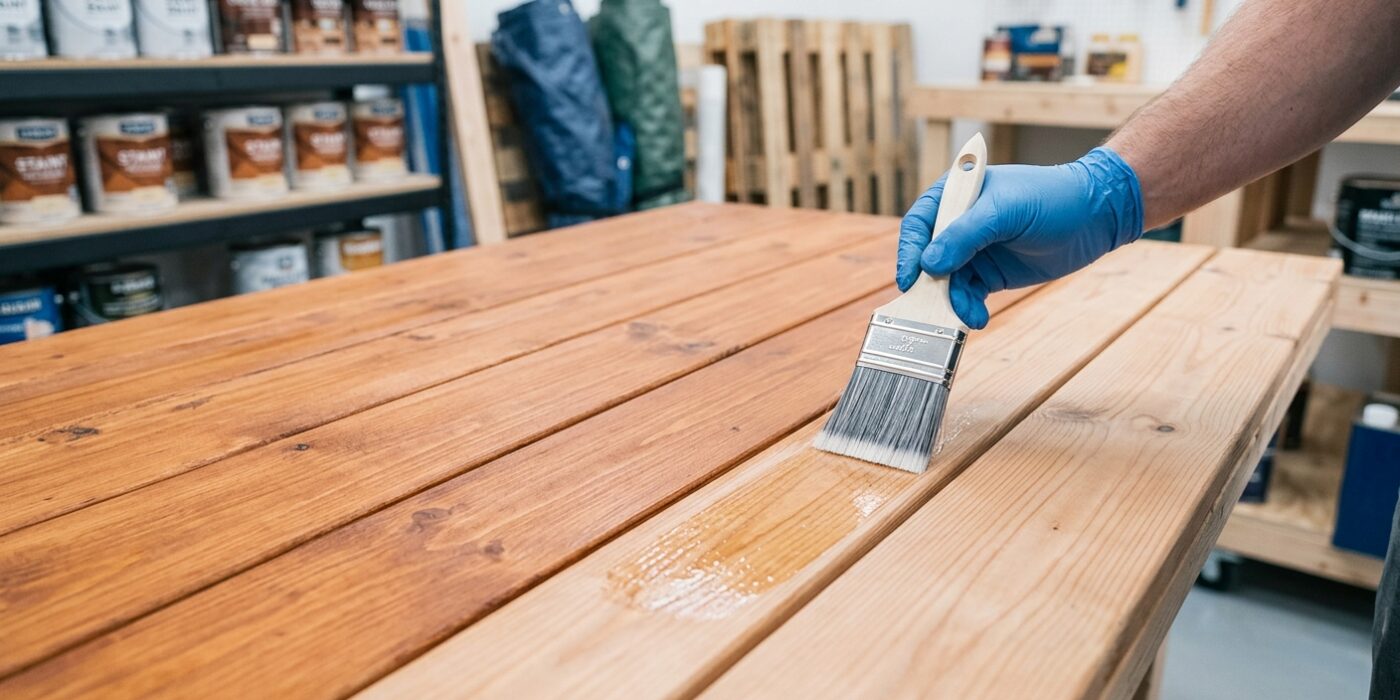
The final step in your deck project is patience. Once you have finished applying your stain, you must allow the wood to cure completely before moving furniture back onto the surface. For the first 24 hours, keep the deck strictly off-limits to everyone, including pets. While the stain may feel dry to the touch in 4 to 8 hours for water-based formulas, the chemical bonds are still hardening. For a full cure, wait at least 72 hours. Moving heavy chairs or tables too early can scuff the fresh finish or cause it to peel, undoing your hard work.
Beginner Tip: A common mistake is moving your patio furniture back onto the deck too early by dragging it across the boards. Even if the surface feels dry, dragging items creates friction that can tear the finish. Always lift your furniture and place it down gently rather than sliding it into position.
Pro Tip: To keep track of your maintenance, take a quick photo of your deck once it is fully cured and save it in a digital calendar app with a reminder set for two years out. Checking the finish once a year will help you catch signs of wear before the wood starts to gray, allowing you to simply clean and recoat instead of performing the heavy labor of stripping the deck down to bare wood again. Consistency is the true secret to long-lasting outdoor spaces.