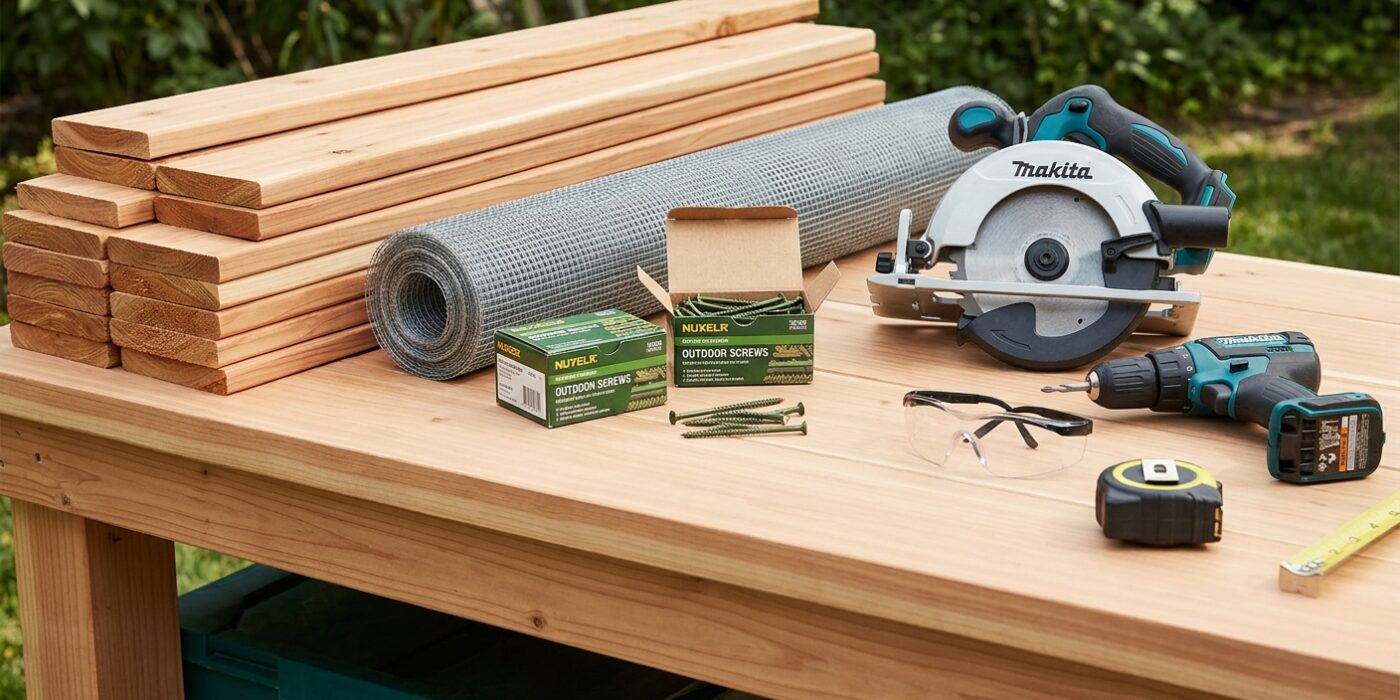
Project Shopping List
A 3-bin compost system is the gold standard for backyard composting. One bin receives fresh material. A second bin holds material that is actively decomposing. A third holds finished compost ready to use. This rotation keeps fresh inputs separated from finished material, allows each bin to reach the temperatures needed for fast decomposition, and gives you a continuous supply of compost rather than batch cycles that take months.
This guide builds a 3-bin system from pressure-treated 2×4 framing and cedar or pressure-treated 1×6 siding boards. Each bin is approximately 3 feet wide, 3 feet deep, and 3 feet tall. This 3-3-3 bin size is the minimum efficient for hot composting but fits easily in most yards.
What You’ll Need
Tools
- Circular saw or miter saw
- Drill and driver
- Level and tape measure
- Post hole digger (optional, for burying posts)
- Tin snips (if using wire mesh panels)
Materials
- Pressure-treated 4×4 posts: 8 posts at 36 inches (or 48 inches if burying 12 inches)
- Pressure-treated or cedar 2×4: horizontal rails between posts
- Cedar or PT 1×6 boards: siding panels for sides and back
- Removable 1×6 front slats: for the front of each bin
- Metal L-brackets and exterior screws
- Hot-dipped galvanized hardware throughout
Step 1: Plan the Layout
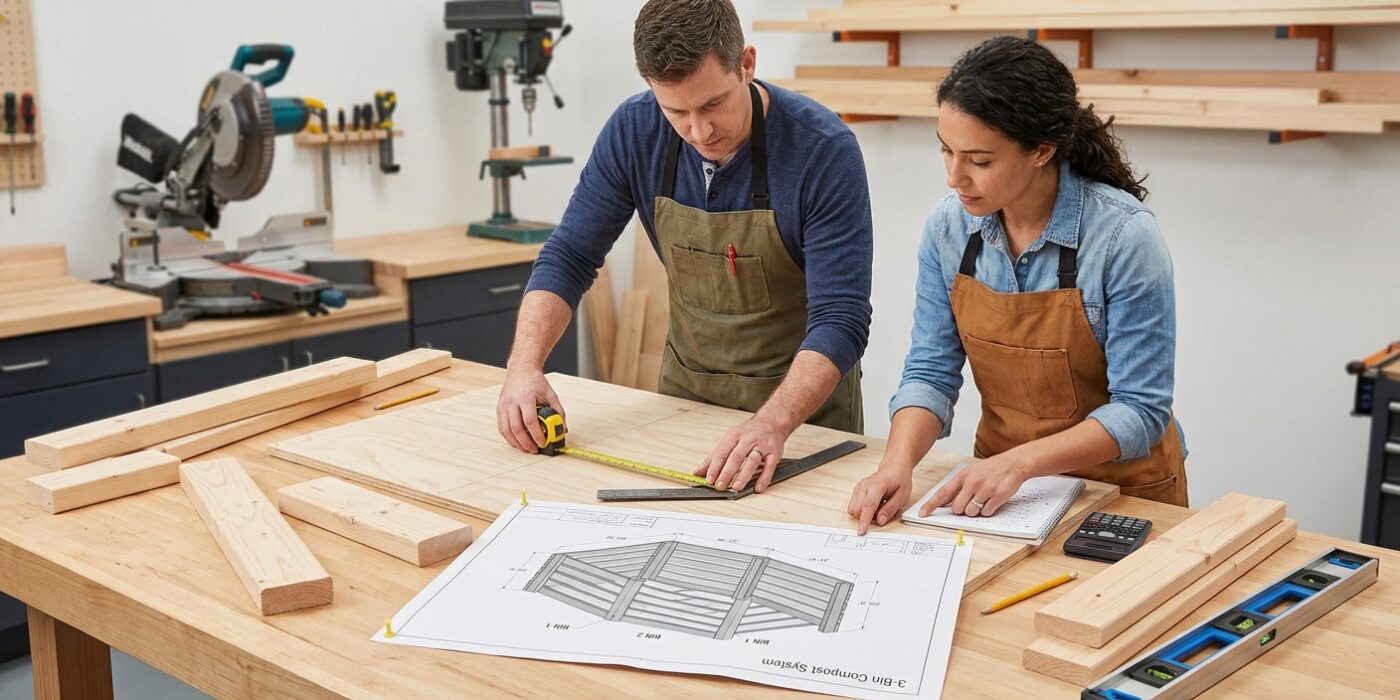
Before you pick up a saw or a drill, you need to map out your workspace. Think of this 3-bin system as an assembly line for your garden; you will need a flat, level area roughly 9 feet wide and 3 feet deep. Positioning your bins in partial shade is crucial because it keeps your compost from drying out too quickly during the heat of the day, ensuring the beneficial bacteria stay active and happy.
To begin, mark your 8 post locations using wooden stakes or flags. Place four stakes in a row for the back and four directly in front of them, spaced exactly 3 feet apart in both directions. This grid creates three distinct 3-foot by 3-foot compartments. By keeping the front side of each bin openable with removable slats, you create the necessary clearance to shovel compost from one bin to the next during the turning process.
Beginner Tip: Don’t skip the “level” check. If you build your bins on a slope, the removable front slats will bind and get stuck. Use a basic bubble level to ensure your ground is even before you commit to your post locations; adjusting the dirt now is much easier than fixing a crooked frame later.
Pro Tip: To keep your layout perfectly square, measure diagonally from the front-left corner post to the back-right corner post, then do the same for the opposite corners. If the two measurements match, your entire system is perfectly square, which makes attaching your wooden slats much easier.
Step 2: Set the Posts
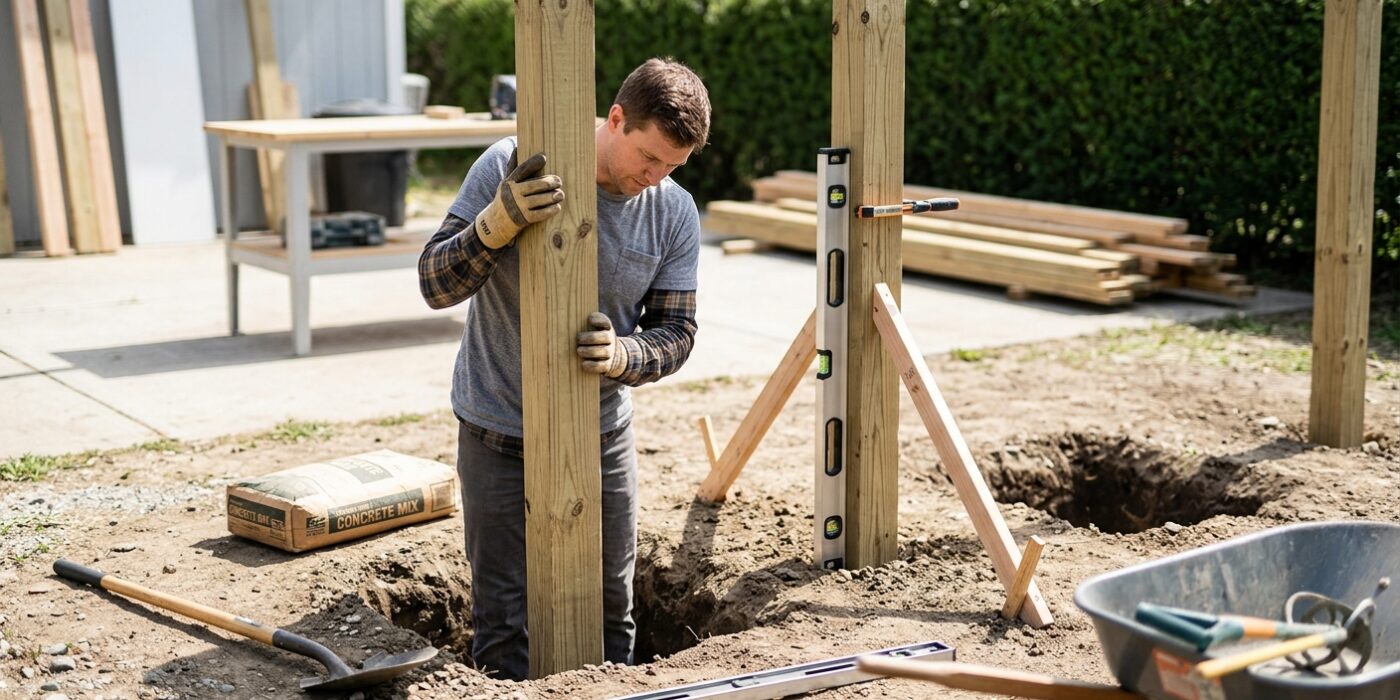
Now it is time to give your compost bin its foundation by setting the eight posts. You can choose to bury the posts directly in the ground or secure them in concrete footings for extra stability. If burying, dig your holes at least 12 inches deep. For long-term durability, ensure you are using pressure-treated lumber labeled for “ground contact” (look for UC4B or UC4C ratings). Position all eight posts according to your layout, then use a carpenter’s level to ensure each post is perfectly plumb – meaning straight up and down. Finally, check that the tops of the posts are level with one another across the entire span before you pack the soil or pour the concrete. This ensures your bin walls will fit perfectly later on.
Beginner Tip: Avoid the common mistake of moving too quickly. If you pour your concrete or pack your soil before double-checking that all eight posts are spaced correctly and perfectly level, you will face major headaches when trying to attach your siding boards later. Always measure twice and check your level three times.
Pro Tip: To keep your posts perfectly steady while you work, use scrap wood to create temporary “braces.” Simply screw a piece of lumber diagonally from the top of your post to a wooden stake driven into the ground nearby. This holds the post in place, leaving your hands free to shovel soil or pour concrete without it wobbling out of position.
Step 3: Attach Horizontal Rails
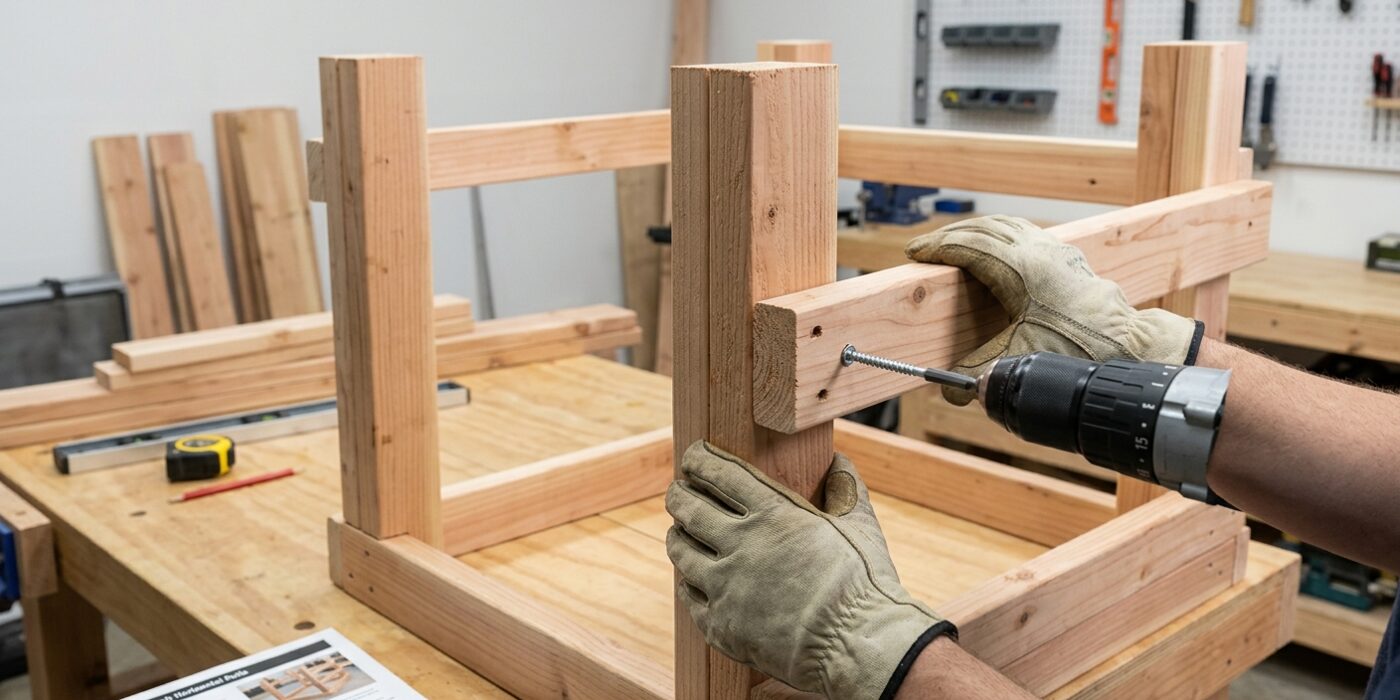
Now it is time to build the “skeleton” of your walls. You will attach 2×4 boards horizontally between your vertical posts to provide a sturdy frame for the siding. For each of the three bins, you need three rails: one at the very top, one at the bottom, and one in the middle at the 18-inch mark. This middle rail is essential because it prevents your future siding boards from bowing inward when the bin is heavy with compost.
To attach these, hold the 2×4 flush against the face of your posts. You can use exterior L-brackets and shorter wood screws for a sturdy connection, or “toe-nail” the boards by driving a 3-inch galvanized screw at a 45-degree angle through the end of the 2×4 and into the post. Ensure your boards are level before fully tightening the screws so your finished bin sits straight.
Beginner Tip: Do not rely solely on your eyes to check if the board is level. It is very common for the ground to be slightly uneven, which can trick your vision. Use a simple bubble level on top of the 2×4 before you drive your screws in to ensure your compost bin doesn’t end up looking lopsided.
Pro Tip: Before you screw the rails in, use a scrap piece of wood as a “spacer” block. Place the block on the ground or the previous board, rest your rail on top of it, and secure it. This guarantees that your spacing is perfectly uniform across every section of the project without needing to measure every single time.
Step 4: Install Back and Side Siding
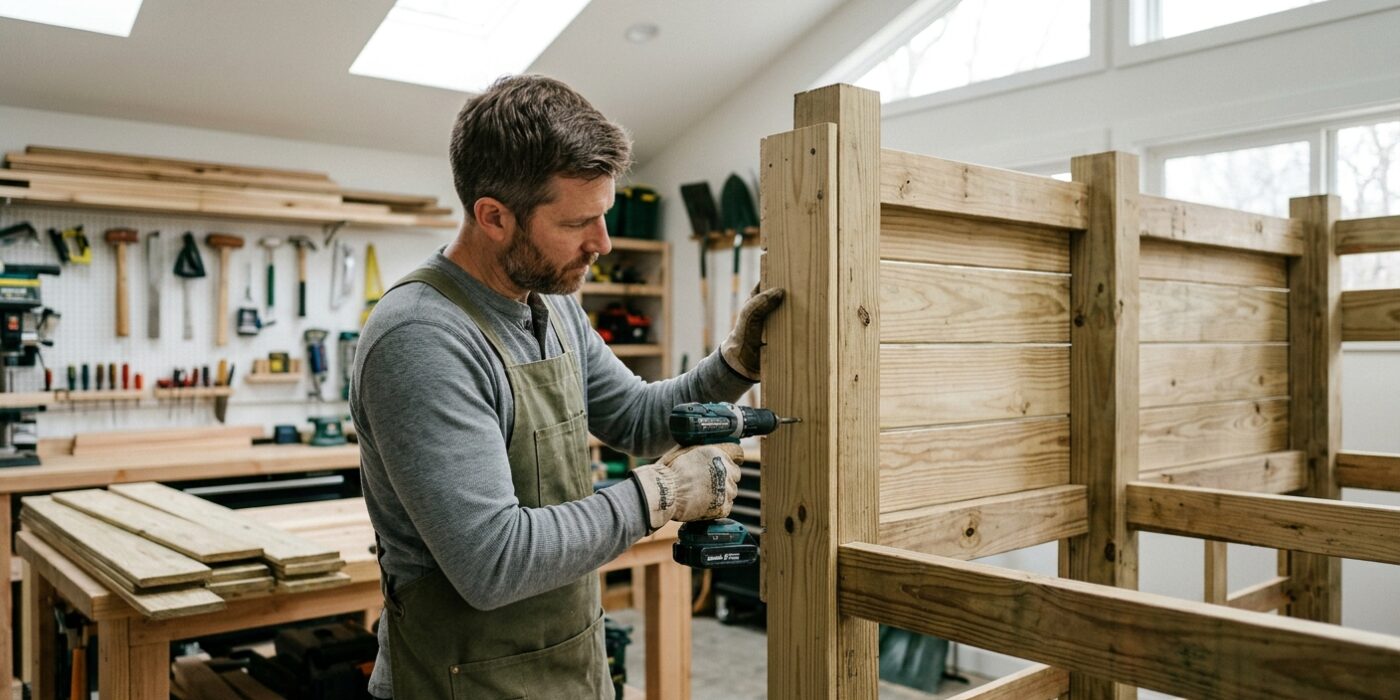
Now that your frame is sturdy, it is time to enclose the bins. You will attach your 1×6 boards horizontally along the back and sides of each bay. Position each board so there is a 1/2 to 1-inch gap between them; this is crucial because compost piles need to “breathe” to break down organic matter efficiently and keep unpleasant odors at bay. For the two interior posts that divide your bins, you will attach siding boards to both sides to create solid, shared walls. Use two exterior-grade screws at every contact point where the board meets a post to ensure everything stays firmly in place as your pile grows heavy.
Beginner Tip: Avoid the mistake of pulling your boards perfectly flush against each other. If you skip the gaps, you are essentially building a solid box, which will trap moisture, suffocate the beneficial bacteria, and turn your compost into a soggy, smelly mess. Use a scrap piece of wood as a spacer to keep your gaps consistent without needing to measure every single time.
Pro Tip: To save yourself from holding a heavy board while trying to aim your drill, use a simple clamp or a temporary “ledger board” – a scrap piece of wood screwed lightly to the posts – to act as a shelf. This holds your board at the perfect height, leaving your hands free to drive the screws straight and true.
Step 5: Make Removable Front Slats
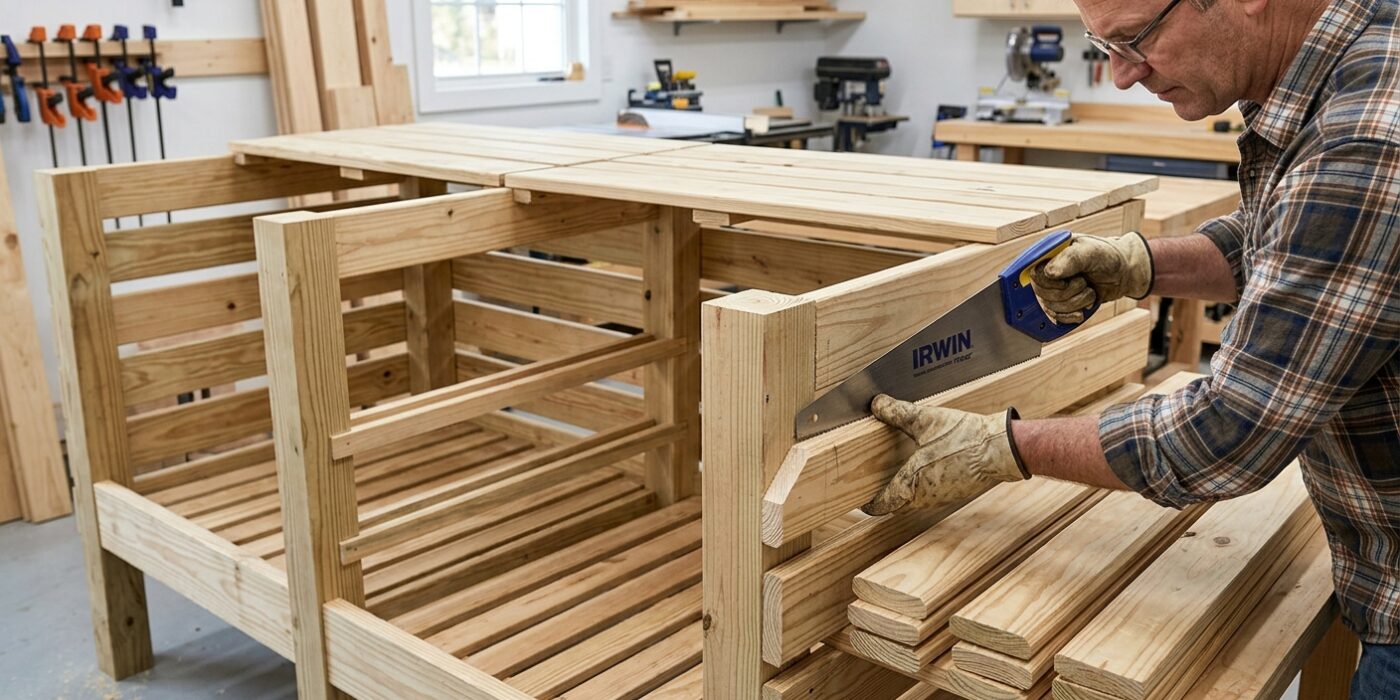
Now it is time to build the gate system for your compost bins. Instead of using complex hinges, we will create simple slots that allow you to slide wooden boards in and out. This design is perfect because it lets you adjust the height of the opening as your compost pile grows or shrinks.
To start, cut your 2×2 lumber into pieces that match the height of your bin’s front corner posts. On the inside face of each post, position two of these strips vertically, spacing them exactly 1-1/2 inches apart. This gap is the track where your 1×6 front boards will rest. Use exterior-grade screws to secure these strips to the posts. Make sure the boards slide easily in the gap before you fully tighten your screws; if they feel too tight, add a tiny bit of wiggle room so the wood doesn’t jam when it gets wet.
Beginner Tip: The most common mistake is misaligning the two strips so the slats get stuck halfway down. Before driving your final screws, place a piece of your 1×6 board between the strips and use it as a spacer to ensure the track is perfectly parallel from top to bottom.
Pro Tip: To prevent the wood from swelling and binding during rainy seasons, take a piece of medium-grit sandpaper and smooth the edges of your 1×6 slats. Rounding those sharp corners slightly will make them slide into your new channels like a dream every single time.
Step 6: Build the Lid (Optional)
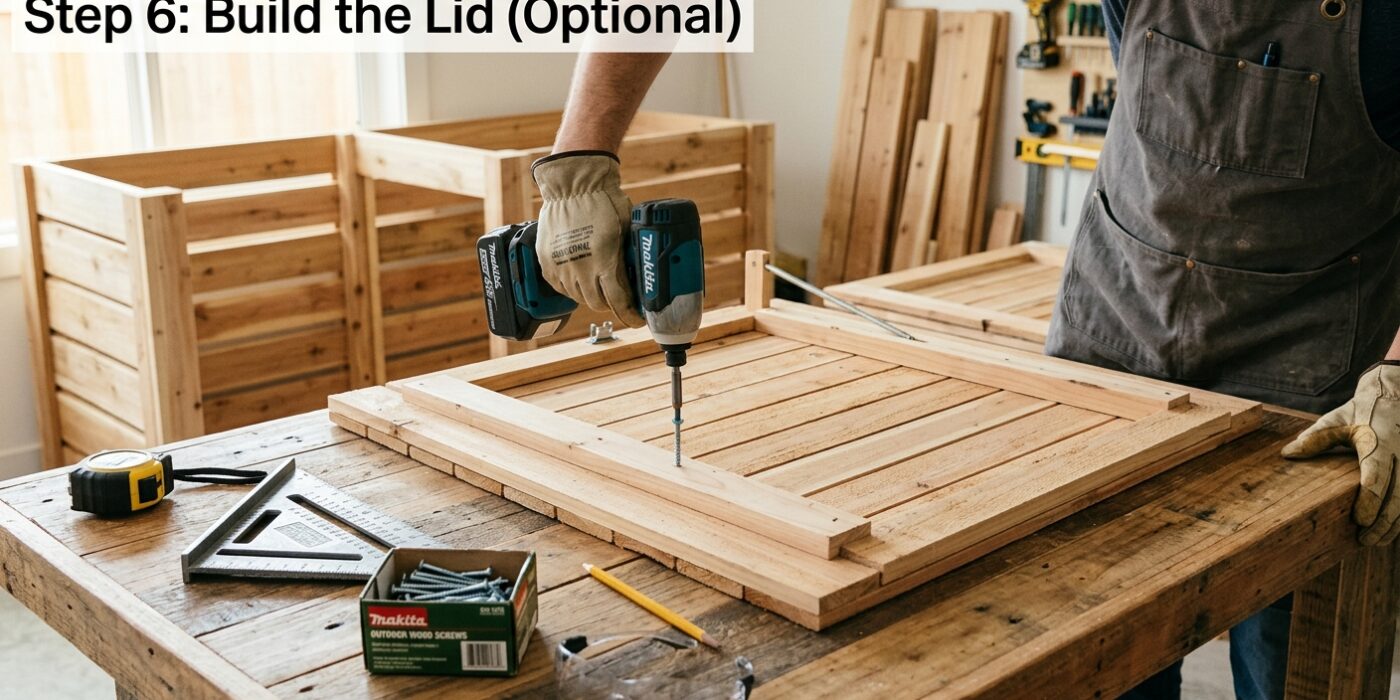
Building a lid for your 3-bin compost system is an excellent final touch, especially if you live in a region with frequent rain or freezing temperatures. A lid keeps your compost from getting soggy and acts like a thermal blanket to speed up decomposition. To build one, construct a simple rectangular frame using 2×4 lumber that matches the dimensions of each bin. Cut your boards to length, butt the corners together, and secure them with two 3-inch exterior-grade wood screws at each corner. Once your frame is square, attach a piece of 1/2-inch exterior plywood or corrugated plastic roofing to the top using short screws. Finally, mount the lid to the top back rail of your compost bin using two heavy-duty galvanized strap hinges. This allows you to easily flip the lid open when you need to turn the pile or add new scraps.
Beginner Tip: A common mistake is building the lid too heavy to lift comfortably. If you use thick plywood, your lid will be very difficult to manage. Opt for corrugated plastic panels instead; they are lightweight, durable, and much easier to lift, especially when you are standing at the bin with a heavy shovel or pitchfork.
Alternative Method: If building a wood frame feels overwhelming, you can use a heavy-duty tarp. Simply attach the back edge of the tarp to the rear of the bin using a wooden furring strip and screws. Use bungee cords at the corners to pull the tarp taut over the top, which creates a waterproof cover without needing any carpentry skills.
Pro Tip: Install a small prop stick or a simple hook-and-eye latch on the side of your frame to hold the lid in the open position. This keeps the lid from slamming shut while you are busy tossing in grass clippings or turning your compost, saving you from a nasty pinch.
Step 7: First Fill
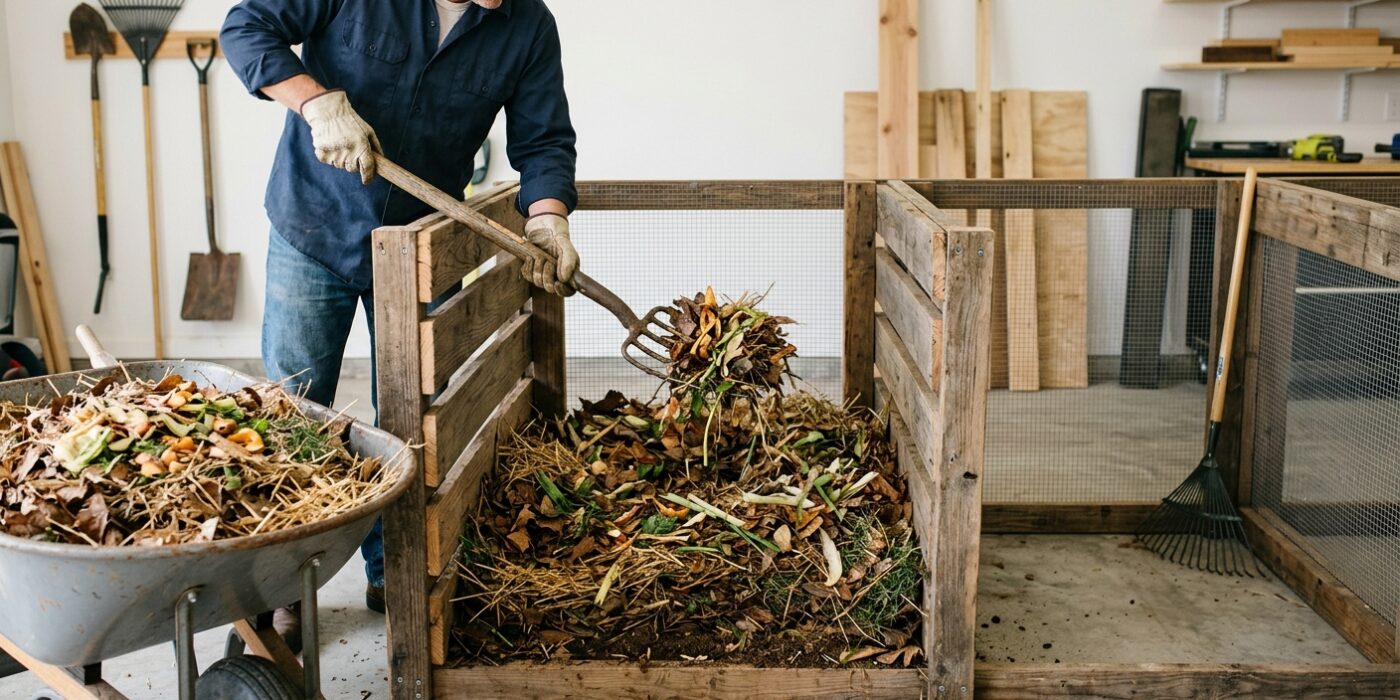
Now that your structure is complete, it is time to start your first batch of compost. Fill the leftmost bin by alternating layers of “greens” and “browns.” Think of greens as your nitrogen-rich ingredients, like vegetable trimmings, fruit scraps, and fresh grass clippings. Think of browns as your carbon-rich materials, such as dry leaves, straw, or plain cardboard torn into small, palm-sized pieces. Aim for a ratio of three parts brown material to one part green material by volume to keep the pile balanced. Once you have added your layers, lightly water the pile until the material feels like a sponge that has been wrung out – damp to the touch, but not dripping wet.
Beginner Tip: The most common mistake is adding too many food scraps without enough dry material. If you see your pile getting slimy or smelling like rotten eggs, you have added too many greens. Simply toss in a few extra buckets of dry leaves or shredded cardboard and mix them in to restore the balance.
Alternative Method: If you don’t have a formal garden fork, you can use a sturdy plastic garden rake or even a pair of heavy-duty gloves to mix the layers by hand. The goal is simply to incorporate air, so don’t worry about using professional-grade equipment for these first few batches.
Pro Tip: Keep a small bin with a lid under your kitchen sink for food scraps. Empty it into your compost system every two or three days. Keeping your scraps in one place makes it much easier to chop them into smaller, faster-composting pieces before taking them outside.