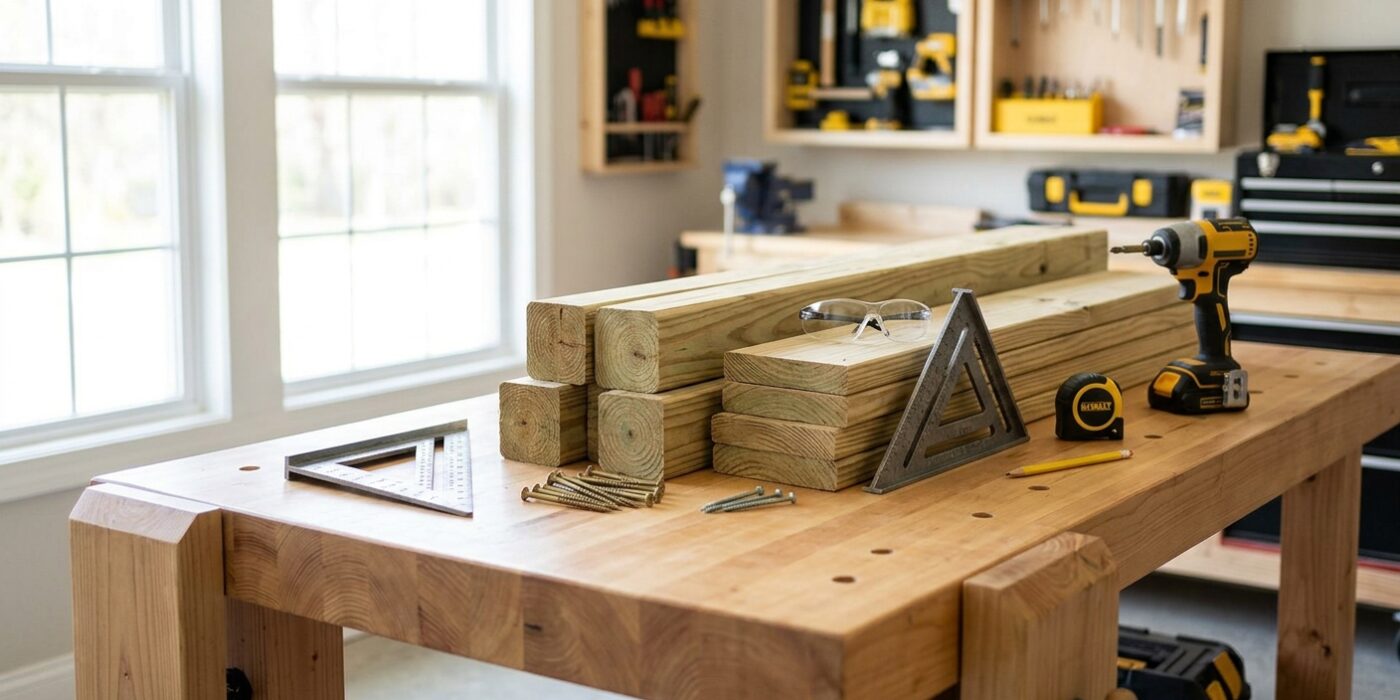
Project Shopping List
A backyard playset is one of the most-used things you can build for a family with young children. A well-built DIY playset is often stronger and more durable than retail kits, and building it yourself means you control the safety hardware choices and the exact configuration for your yard. This guide covers a standard swing-and-slide playset with a deck and climbing features — suitable for children ages 3-12.
What You Need
- 4×6 pressure-treated posts for the main frame and A-frame swing supports
- 2×6 and 2×4 pressure-treated lumber for beams, joists, and bracing
- 5/4 or 2-inch deck boards for the deck surface
- Playset hardware: swings, slide, and hardware kit (bolts, brackets, swing hangers)
- Play sand or rubber mulch for fall zone
- Post hole digger, concrete mix
- Drill, impact driver, circular saw
- Level, framing square, string line
Safety Planning First
Before designing, review CPSC (Consumer Product Safety Commission) guidelines for home playsets. Critical safety requirements: fall zones extend 6 feet beyond all play equipment in all directions; use-zone surface (sand, rubber mulch, or engineered wood fiber) at least 9 inches deep for fall attenuation; no head entrapment openings (between 3.5 and 9 inches); no pinch points or exposed hardware that could snag clothing. Design the playset so the maximum fall height is under 6 feet for children under 6.
Step-by-Step Instructions
Step 1: Plan and Layout
Draw the playset plan to scale, marking post locations, swing beam height, slide landing zone, and deck footprint. Locate the playset in a visible area from the house with no overhead obstructions (power lines, tree branches). Mark post hole locations with stakes, confirm square using the 3-4-5 method, and verify 6-foot fall zones are clear of fences, walls, and landscaping in all directions.
Step 2: Set Posts in Concrete
Dig post holes at least 2 feet deep (deeper in freeze-thaw climates). Pour fast-setting concrete, brace posts plumb, and let cure 24-48 hours before building above. Use ground-contact rated lumber (UC4B) for all posts. The posts must be set perfectly plumb and at the correct height — all subsequent construction depends on the post layout being accurate.
Step 3: Build the Deck Frame
Frame the deck with 2×6 joists at 16-inch spacing, connecting to the posts with structural joist hangers and through-bolts. The deck height for a primary play deck is typically 4-5 feet for children over 5 and 2-3 feet for younger children. Check the deck frame for level and square before adding decking. Attach 5/4 deck boards with 1/4-inch gaps for drainage and to prevent water accumulation.
Step 4: Install the Swing Beam
The swing beam is a 4×6 or doubled 2×6 spanning between two A-frame legs or between two posts. The standard swing beam height is 8 feet above the ground for belt swings, allowing 6-foot chains plus the swing seat to hang with safe clearance. Connect the beam to posts with structural brackets or through-bolt with 1/2-inch hardware — swing loads are dynamic and much higher than static loads. Install commercial swing hangers rated for the weight of the swing plus riders.
Step 5: Attach Slide and Climbing Features
A slide attaches to the deck platform edge at the top and lands on the ground at a gentle angle (30 degrees or less). Most residential slides are 8-10 feet long for a 4-foot deck height. Secure the slide top bracket to the deck frame with bolts — not screws alone. Climbing features (ladder, rock climbing wall, rope ladder) mount to the post or deck frame. Pre-drill all connections and use carriage bolts with nuts on the interior for maximum security.
Step 6: Install Fall Zone Surface
Excavate the entire fall zone to 12 inches depth and fill with 9-12 inches of loose-fill material: engineered wood fiber (EWF) is ASTM-rated for fall attenuation and is the safest choice; rubber mulch is more durable but more expensive; play sand is comfortable but requires more depth (12 inches). Install a wood, plastic, or metal border to contain the loose fill. Check depth monthly and replenish as needed — loose fill compacts and migrates with use.
Pro Tips
- Use hot-dipped galvanized or stainless steel hardware throughout — pressure-treated lumber corrodes zinc-plated or regular steel hardware within 2-3 seasons.
- Inspect the playset monthly: check bolt tightness, look for splinters or cracks in wood members, test swing hardware for wear, and verify the fall zone depth is still adequate.
- Apply a penetrating deck sealer to all wood surfaces annually — this extends the life of the lumber and prevents splinters that are the most common minor injury on wood playsets.
Frequently Asked Questions
Does a backyard playset need a permit?
Most jurisdictions do not require permits for residential playsets, but HOAs may have restrictions on height, placement, or visibility from the street. Check both before building. Playsets in rental properties or commercial settings have different requirements.
How long does a pressure-treated wood playset last?
A properly maintained pressure-treated wood playset lasts 15-25 years. Annual sealing, monthly inspection for loose hardware, and prompt repair of cracked or splitting members are the maintenance requirements. Cedar and redwood are alternatives to pressure-treated but cost more and are harder to find in the large dimensions needed for structural members.