Project Shopping List
Deck railing is one of those projects that looks more complicated than it is. Once you understand the basic structure, it comes together quickly: posts anchored to the deck framing, a top rail spanning between posts, a bottom rail parallel to the top, and balusters filling the space between them. The key is code compliance. IRC sets minimum heights, maximum baluster spacing, and minimum post strength requirements. Get those numbers right and the design choices are yours.
This guide covers a wood deck railing using 4×4 posts, 2×4 top and bottom rails, and square baluster stock. It applies to deck surfaces up to 30 inches above grade, which require railing by code in most jurisdictions.
What You’ll Need
Tools
- Circular saw or miter saw
- Drill and driver
- Level
- Tape measure and square
- Post hole template or post mounting bolts
Materials
- 4×4 pressure-treated posts (or 6×6 if surface-mounting)
- 2×4 pressure-treated lumber (top and bottom rails)
- Baluster stock: 1-1/2 x 1-1/2-inch square composite or wood, or flat 2×2
- Through-bolts: 1/2-inch carriage bolts 5 to 6 inches long (for post-to-joist attachment)
- Post caps (optional, for top rail connection)
- Structural screws: 3-inch for rail-to-post connection
Step 1: Know the Code Requirements
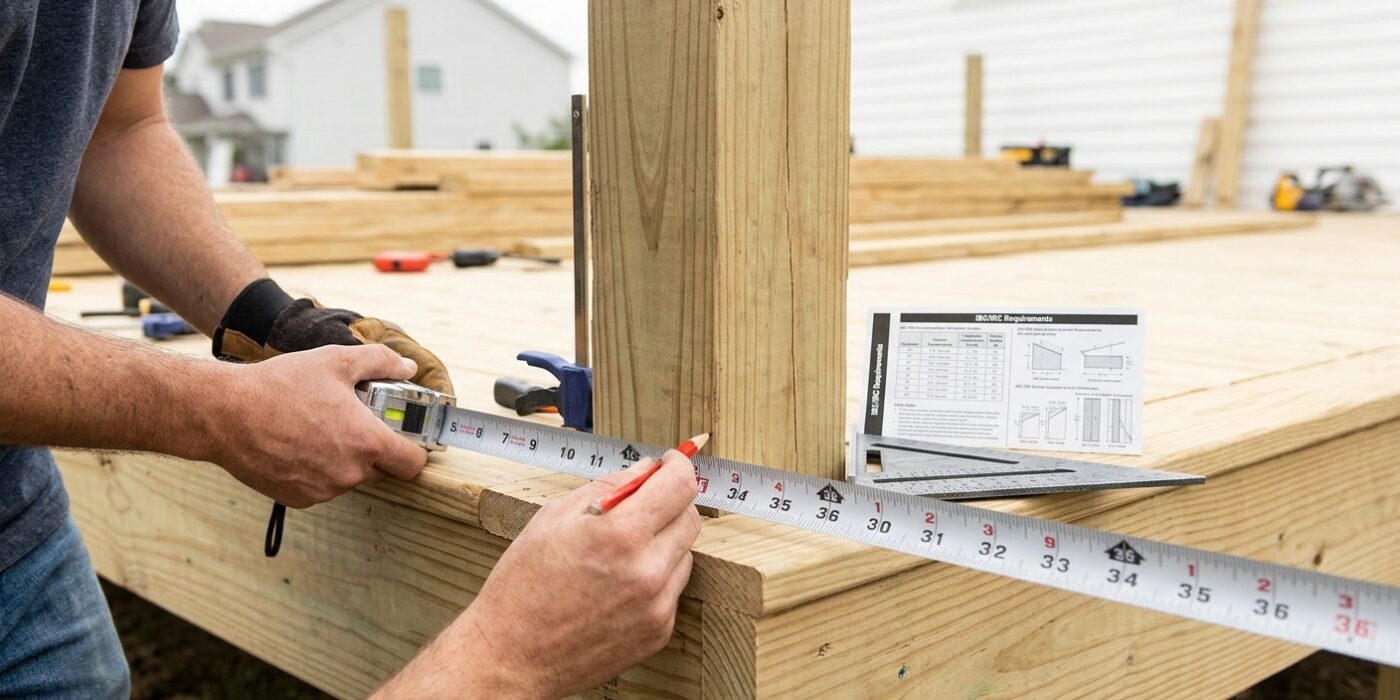
Before you purchase a single board, you must understand your local building codes. These aren’t just suggestions; they are safety requirements designed to keep you and your guests secure. The International Residential Code (IRC) mandates that any deck surface more than 30 inches above the ground requires a railing. If your deck is lower than 30 inches, the minimum railing height is 36 inches; if it is 30 inches or higher, you must build to 42 inches.
You also need to plan for structural integrity and spacing. Your posts must be spaced no further than 6 feet apart to maintain stability, and each corner post must be engineered to withstand 200 pounds of force. Finally, ensure your baluster spacing is less than 4 inches apart; this is the classic “sphere test” rule, designed to prevent small children from getting their heads stuck between the spindles.
Beginner Tip: The biggest mistake is assuming your local code is identical to the national average. Always call your local building department or visit their website before buying materials. Some cities or counties have “stricter” amendments that may require specific post-to-beam connectors or even different heights, and you don’t want to fail your final inspection after all your hard work is finished.
Pro Tip: When planning your layout, draw your deck perimeter on a piece of graph paper. Use one square to represent one foot. This allows you to visualize your post placements and baluster counts exactly, preventing you from ending up with an awkward, tiny gap at the end of a section.
Step 2: Mark and Install Post Locations
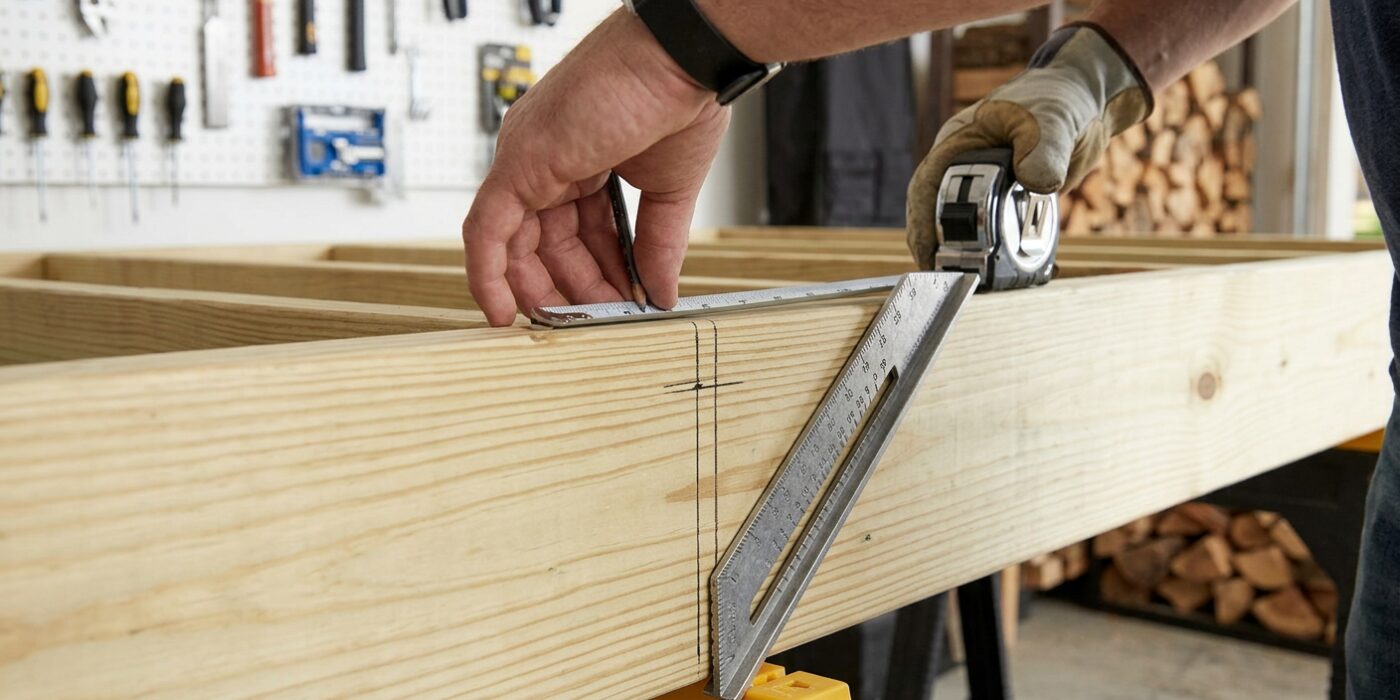
Before you start drilling, it is essential to map out exactly where your posts will stand. Think of these as the backbone of your railing system; if they are not solid, your entire fence will wobble. Start by placing a post at every corner of your deck. Then, measure the distance between those corners and place intermediate posts so that no two posts are further than six feet apart. Consistent spacing ensures your railing panels remain sturdy and meet local safety codes.
For the strongest connection, bolt your posts directly to the deck’s rim joist or an interior joist using two 1/2-inch carriage bolts per post. This “through-bolt” method creates a secure, structural anchor that resists the lateral force of someone leaning against the railing. While surface-mounted metal brackets are available, they are significantly weaker and often require thicker 6×6 lumber to compensate for the lack of structural depth.
Beginner Tip: Avoid measuring from the edge of the deck board itself. Deck boards often overhang the rim joist by an inch or two. Always measure your post placement based on the location of the wood framing (the rim joist) underneath the deck to ensure your bolts actually grip the structural wood, not just thin decking.
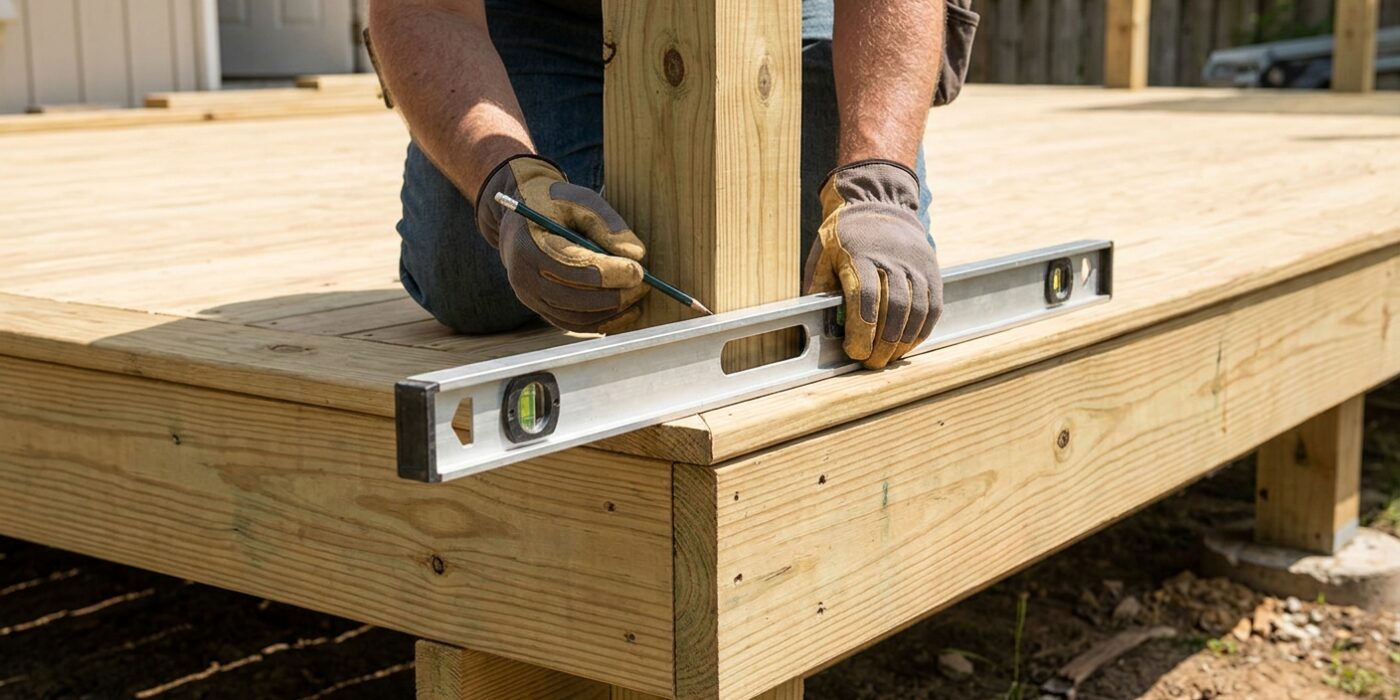
Pro Tip: Use a magnetic torpedo level held against the side of your post as you tighten the bolts. Have a partner hold the post steady while you check both the front-to-back and side-to-side orientation, ensuring the post is perfectly plumb before fully torqueing the nuts down.
Step 3: Cut and Set Posts
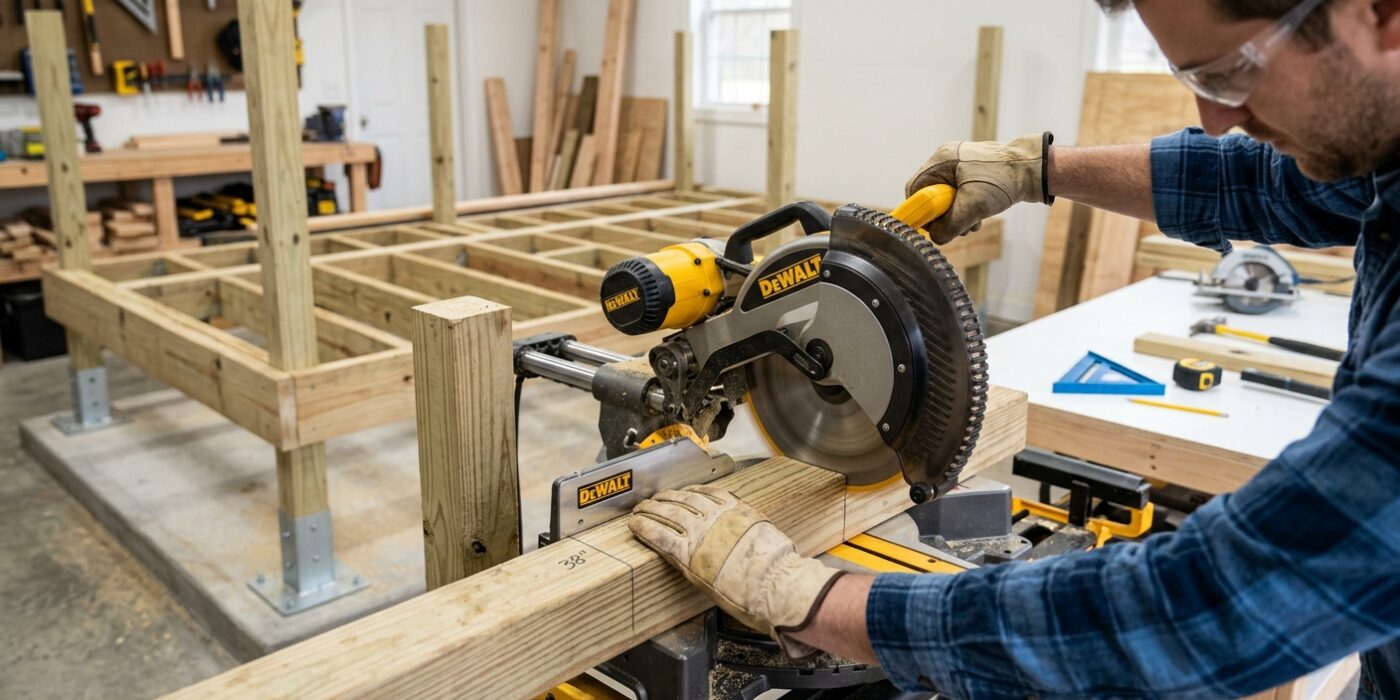
Now that your layout is marked, it is time to cut your 4×4 posts to size. For a standard 36-inch railing, your posts need to stand 35-1/4 inches tall once installed; this accounts for the 3/4-inch thickness of your top rail, ensuring your final railing hits exactly 36 inches. If you prefer a 42-inch railing, cut your posts to 41-1/4 inches. Use a circular saw or miter saw to make clean, square cuts, then use your first post as a template to mark the others for consistent height.
To install, hold the post against the inside of your deck’s rim joist. Use a level on two adjacent sides to ensure the post is perfectly vertical, or “plumb,” before securing it. Drill two holes through the post and the rim joist, then insert carriage bolts. Tighten the nuts with a wrench until the washer bites into the wood, but stop before the post begins to crack or deform.
Beginner Tip: The most common mistake is over-tightening the bolts. Remember, the goal is a secure connection, not a crushed fiber. If you see the wood starting to compress or splinter, stop tightening immediately – it is already tight enough.
Pro Tip: To keep your posts perfectly plumb while you are working alone, use a “spacer block.” Cut a scrap piece of wood to the exact width you need and wedge it between the deck frame and the post. This acts as a third hand, holding the post steady while you focus on driving your bolts.
Step 4: Install the Bottom Rail
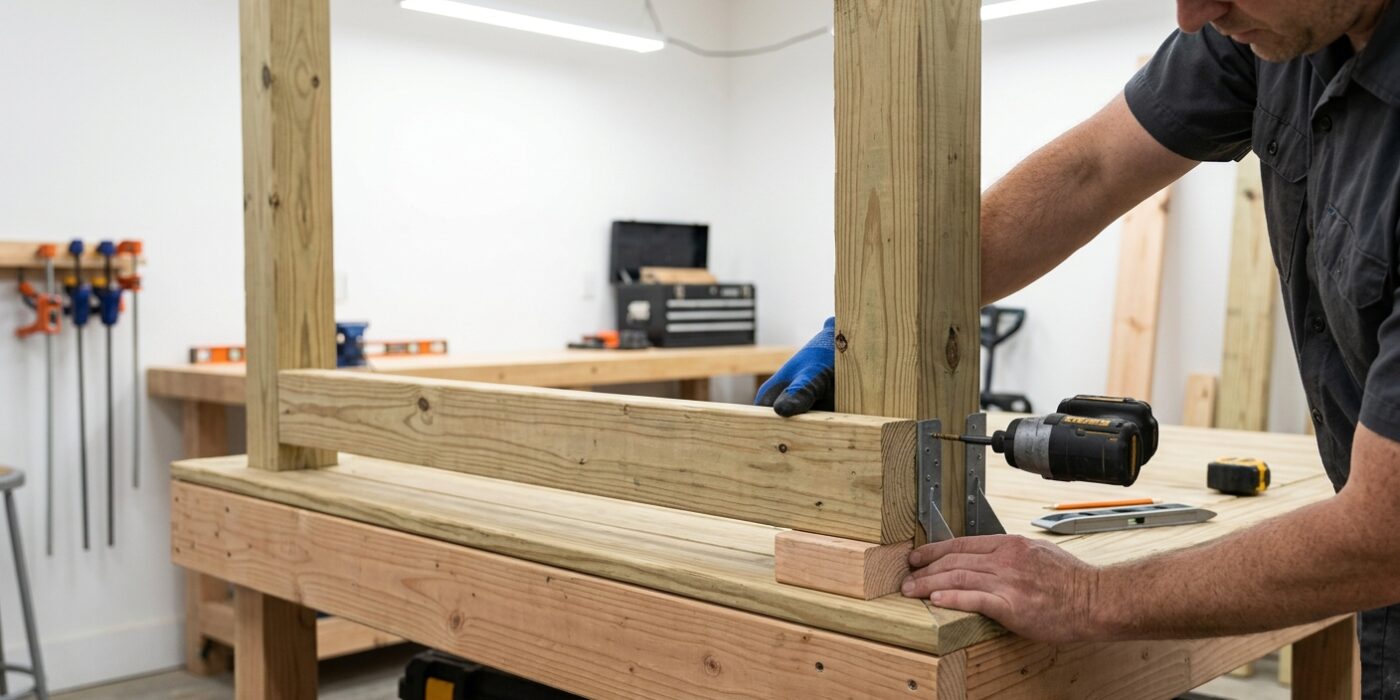
Now that your posts are secure, it is time to install the bottom rail. This rail acts as a support structure for your balusters, so it must be positioned correctly. You will want to install this rail exactly 2 to 3 inches above the deck surface. This specific gap is crucial: it provides enough clearance for you to sweep away leaves and debris while remaining small enough to meet safety codes for keeping items from sliding off the deck.
To install, hold the rail between your posts at your measured height. Ensure the rail is perfectly level from end to end using a bubble level. Once positioned, drive structural screws at a 45-degree angle through the sides of the rail and into the post. This is called “toenailing,” and it provides a strong, hidden connection.
Beginner Tip: A common mistake is measuring your height from the deck surface without checking if the deck boards themselves are level. If your deck slopes, do not cut your rail to follow the slope. Keep your rail level, and if the gap looks uneven, you can adjust the length of your individual balusters later to create a uniform, professional look.
Alternative Method: If you are nervous about angling screws, pick up a set of metal rail brackets at the hardware store. These brackets screw directly into the posts first, creating a sturdy “cradle” for your rail to sit in, which removes the need to balance the rail while drilling.
Pro Tip: Use a scrap piece of 2×4 lumber cut to exactly 2 inches as a spacer block. Rest your bottom rail on this block as you work; it will hold the rail at the perfect height automatically, allowing you to use both hands to drive your screws without worrying about the rail shifting.
Step 5: Lay Out and Space Balusters
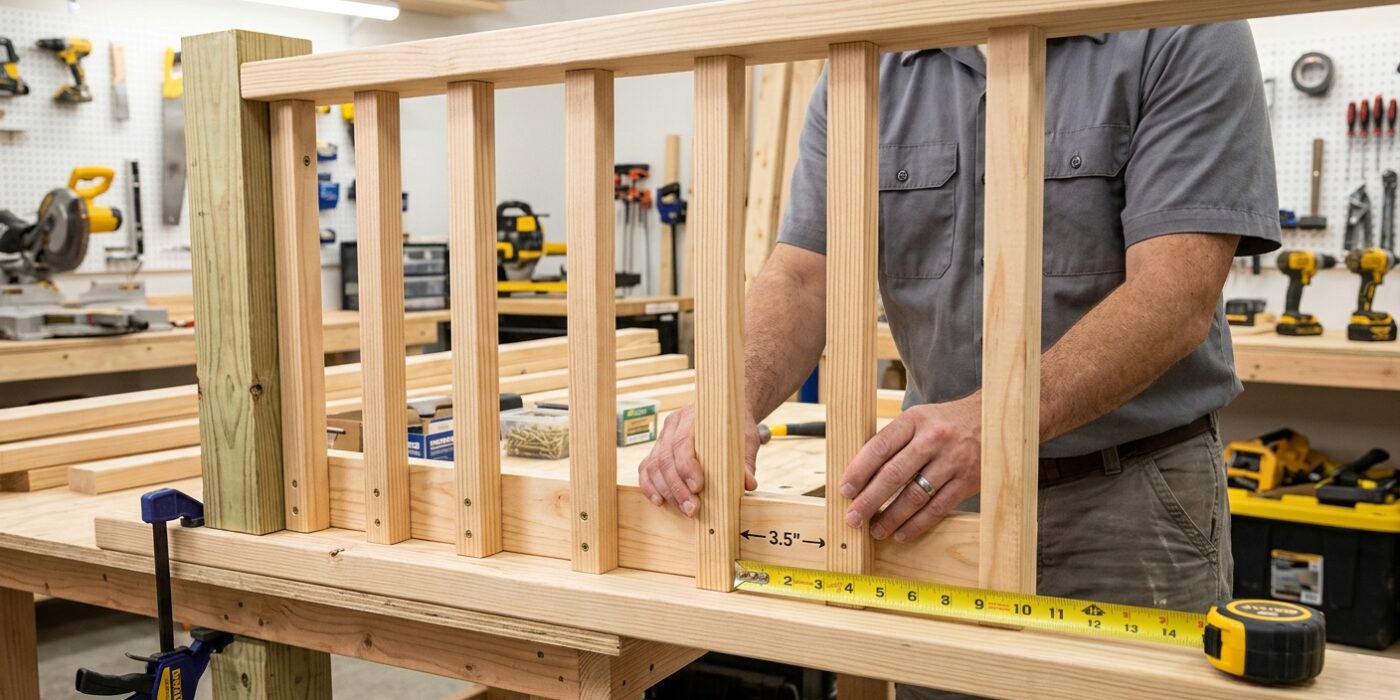
Now that your top and bottom rails are secured, it is time to install the balusters. The goal here is to ensure the gap between each baluster is less than 4 inches to meet safety codes. Think of this as creating a secure barrier that prevents small objects (or curious pets) from slipping through.
To find the right number of balusters for a 6-foot span, start by calculating your available space. Subtract the width of your two end posts (7 inches total) from your 72-inch span to get 65 inches of rail. By using 13 balusters, you create 14 equal spaces. If you divide those 65 inches by 14, you get roughly 4.6 inches center-to-center. Subtract the 1.5-inch width of your baluster, and you are left with a 3.1-inch gap – perfectly safe and well within the 4-inch requirement.
Beginner Tip: A common mistake is to measure only from the edge of one baluster to the edge of the next. Instead, cut a small wooden block exactly 3.1 inches wide to use as a spacer. Hold this block between your rail and the baluster as you fasten it; this ensures every single gap is identical without needing to measure each one individually.
Pro Tip: To keep your balusters perfectly plumb (vertical), use a small torpedo level for the first one you install. Once that is level, use your spacer block for the rest, and check the alignment with your level every three or four balusters to ensure you haven’t started leaning over time.
Step 6: Install the Top Rail
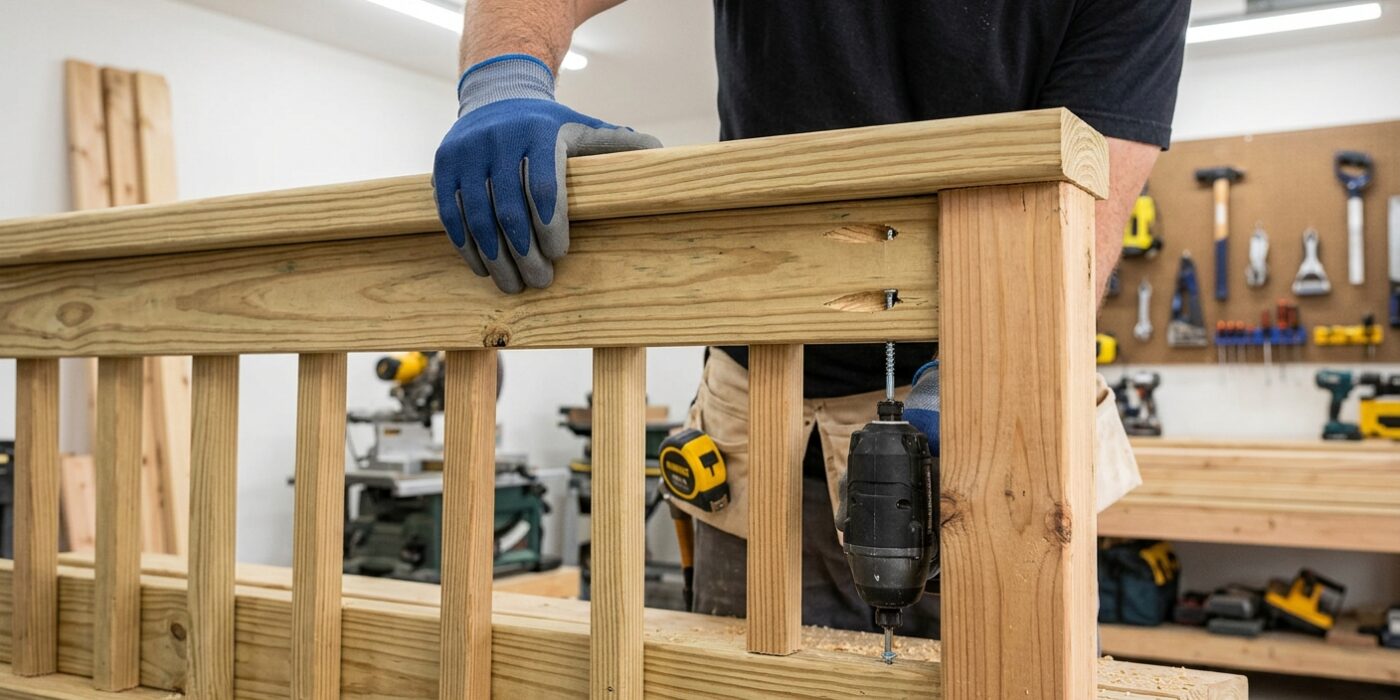
Now that your balusters are secure, it is time to crown your deck with the top rail. This piece provides both structural stability and a comfortable place to rest your arms. Position your top rail so it sits flush against the top of your posts. Because wood is prone to splitting when a screw is driven near the end, use a drill bit slightly smaller than your screws to pre-drill two pilot holes at each connection point. Drive your 3-inch structural screws through the rail and into the heart of the post. If you are running your rail across multiple posts, ensure your boards meet exactly in the center of an intermediate post. To create a professional corner, set your miter saw to 45 degrees, cut the ends of both connecting rails, and fasten them together with a long screw driven downward into the post top.
Beginner Tip: Avoid the urge to rush the screw driving. If your drill is set to a high speed, it can strip the screw head or burn the wood. Keep your drill speed moderate and apply firm, steady downward pressure to ensure the screw head sits perfectly flush with the rail surface without sinking too deep.
Pro Tip: To get a seamless, gap-free fit at your corners, use a scrap piece of wood as a “story pole.” Hold it against the post to verify your angle before cutting your expensive railing material. If the scrap fits perfectly, your saw is calibrated correctly, and you can proceed with confidence.
Step 7: Install Balusters
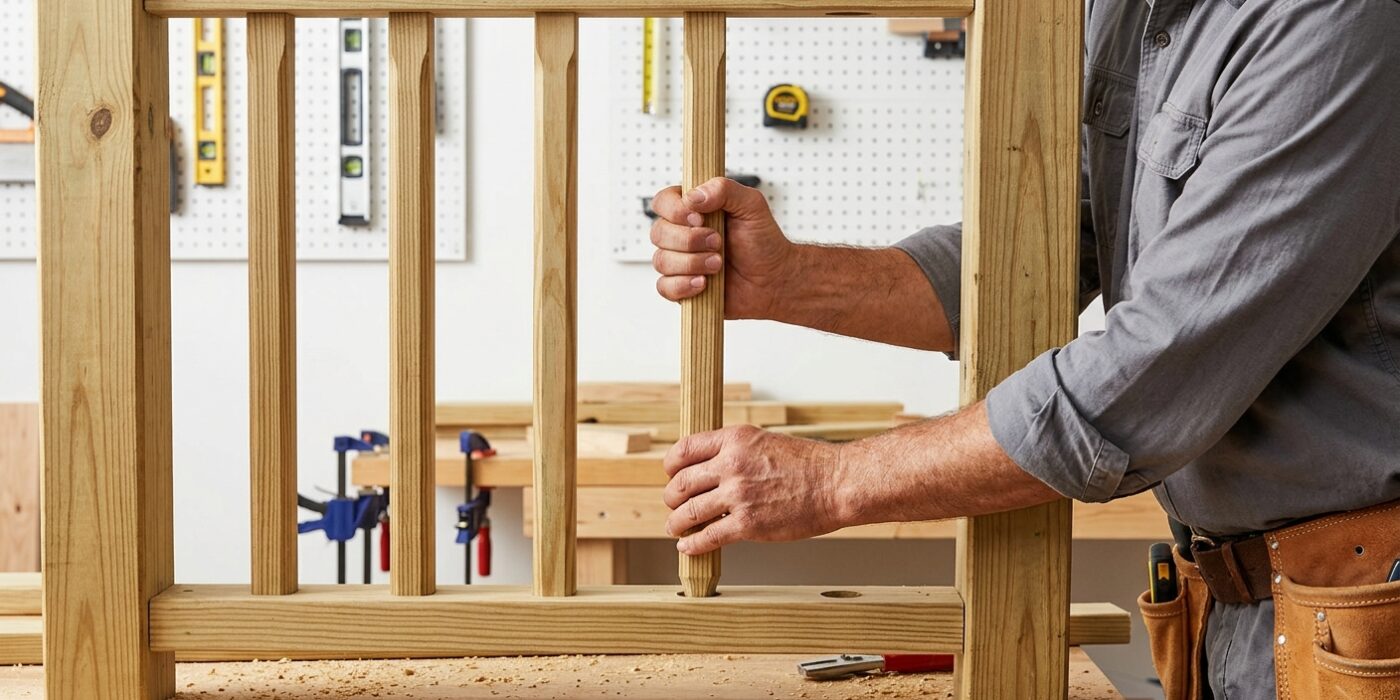
Now that your frame is secure, it is time to install the balusters. Start by placing your first baluster tight against the post. To fasten it, you will use a technique called “toe-nailing,” which means driving a screw at a 45-degree angle through the side of the baluster into the top and bottom rails. Use two 3-inch exterior-grade screws per connection for maximum stability.
To ensure perfect spacing, cut a “spacer block” from a scrap piece of wood that matches the exact width of the gap between your balusters. Place this block against the installed baluster, push the next baluster firmly against it, and drive your top screw first. By securing the top before the bottom, you can adjust the baluster so it stands perfectly vertical, or “plumb,” before locking it in place at the bottom. Periodically check your work with a level, as even a tiny error can multiply across the length of the railing.
Beginner Tip: The most common mistake is letting your balusters “drift” out of alignment. If you notice your gap is slowly growing or shrinking, do not force the wood to compensate. Instead, check your level every fourth baluster and slightly adjust your spacing jig or your position to keep everything perfectly parallel to your starting post.
Pro Tip: Before you begin, mark the center points along the length of your top and bottom rails with a pencil. This creates a visual guide that helps you ensure your balusters are centered correctly, making the final result look professional and intentional rather than eyeballed.
Step 8: Install the Graspable Handrail
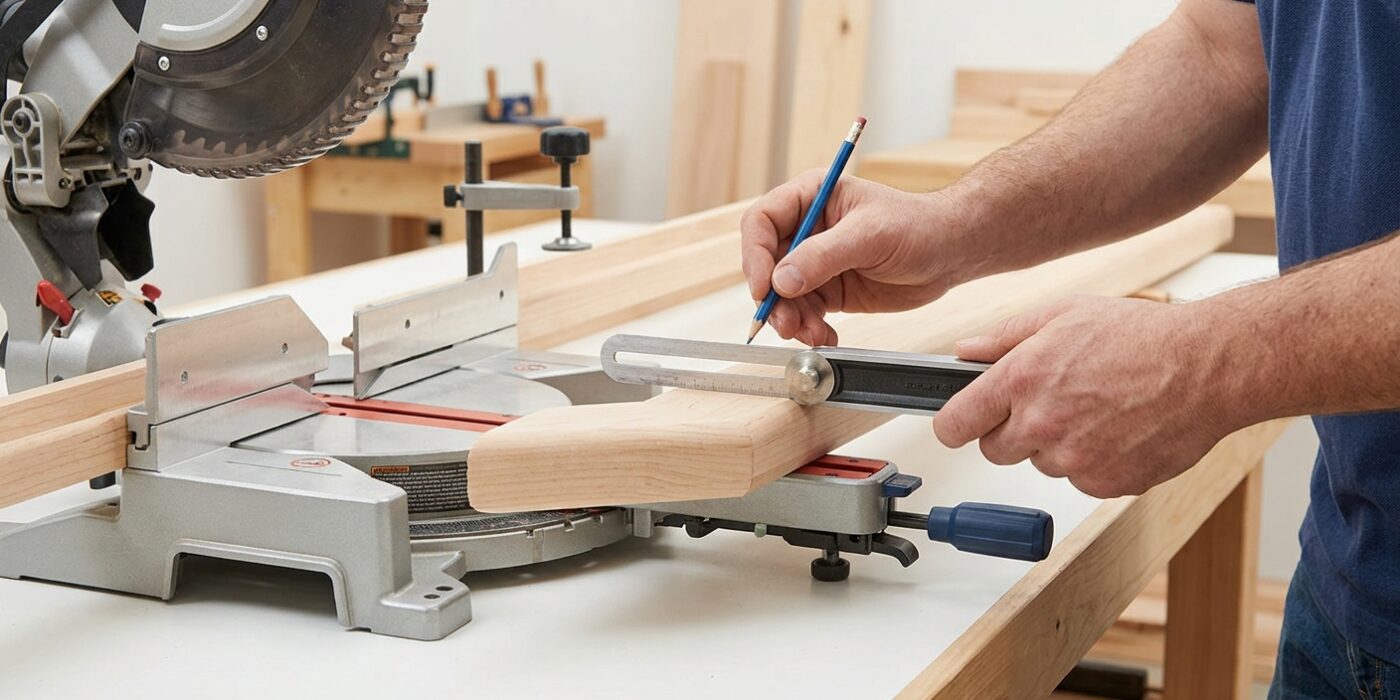
If your deck features stairs, local building codes typically require a graspable handrail so that users can safely maintain their grip. A standard 2×4 cap rail is often too wide for a secure, comfortable grasp. To meet these requirements, you must install a secondary, rounded or oval handrail profile, typically between 1-1/4 and 2 inches in diameter, along the stair railing. You can achieve this by mounting a dedicated handrail profile directly to your existing top rail using specialized brackets, or by using a composite handrail system designed to screw directly onto your 2×4 cap. Ensure the handrail is continuous throughout the entire length of the stairs and that it returns – meaning it curves back toward the post – at both the top and bottom to prevent clothing or bags from snagging.
Beginner Tip: The most common mistake is failing to verify the handrail height before mounting your brackets. Codes often dictate that the top of the graspable rail must sit between 34 and 38 inches above the nose of the stair tread. Measure carefully from the center of each tread to ensure your rail remains parallel to the stairs throughout its entire run.
Pro Tip: When installing round handrail brackets, use a small piece of masking tape on your drill bit to mark the required depth. This serves as a visual guide, preventing you from accidentally drilling too deep into your newly finished railing components and causing surface damage on the opposite side.