Project Shopping List
Hanging drywall is the starting point for every interior wall and ceiling finish project. The job is straightforward but physical — sheets are heavy and awkward, and ceilings require special support. Getting drywall hung correctly (tight to framing, proper fastener spacing, staggered joints) sets up the taping and finishing for success. Bad hanging cannot be fixed with joint compound.
What You Need
- 4×8 foot drywall sheets (1/2-inch for walls, 5/8-inch for ceilings and fire separation)
- Drywall screws: 1-1/4-inch for walls, 1-5/8-inch for ceilings
- Drywall screw gun or drill with drywall dimpler bit
- Drywall T-square and utility knife
- Measuring tape and pencil
- Drywall lift (rent for ceilings) or helper for walls
- Stud finder and chalk line
Drywall Basics
Standard drywall is 4×8 feet. Longer sheets (4×10, 4×12) reduce the number of butt joints, which are the hardest joints to finish invisibly. Hang drywall with the long edge (8-foot dimension) perpendicular to the framing — this means the tapered edges run horizontally on walls, allowing tape and compound to feather into a smooth surface. Butt joints (where untapered cut ends meet) need extra attention in finishing.
Step-by-Step Instructions
Step 1: Plan the Layout
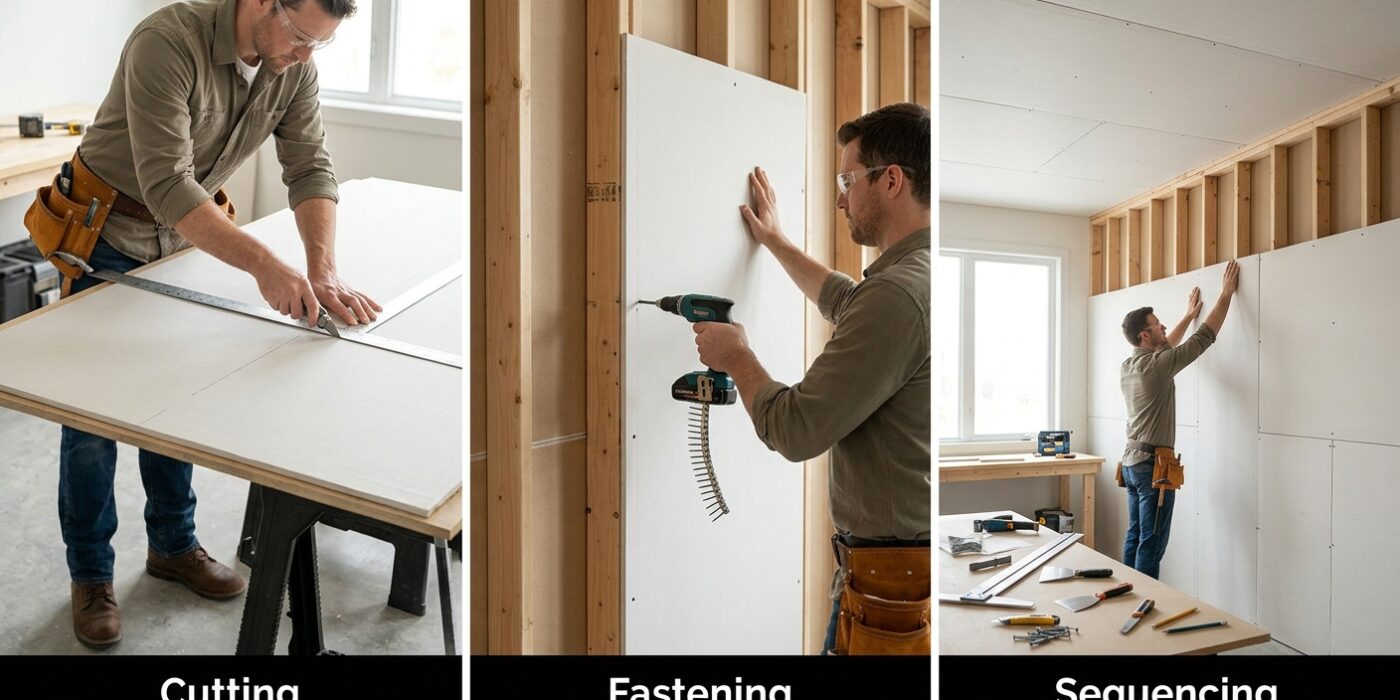
Measure the room and plan where sheets will fall. Stagger the vertical joints between adjacent rows — never align two vertical joints in the same stud bay across the entire wall or the joint will crack. Start the first row at the ceiling and work down on walls. On ceilings, plan sheet layout so no joint falls at the center of an overhead light fixture or fan box.
Step 2: Do Ceilings First
Always hang ceiling drywall before wall drywall — the ceiling sheets bear against the top of the wall sheets, which supports the ceiling edge and provides a tight fit. Rent a drywall lift for ceilings — it elevates and holds a full sheet against the ceiling joists while you drive screws. Trying to hold a ceiling sheet and drive screws at the same time without a lift damages sheets and is exhausting. Drive screws at 12-inch intervals on ceilings (versus 16 inches on walls) for better pullout resistance against gravity.
Step 3: Locate Framing
Use a stud finder to locate all studs and joists. Snap chalk lines on the floor (for walls) and parallel to the wall (for ceilings) to mark the center of each framing member. These chalk lines guide your fastener placement. Fasteners must hit framing — a screw that misses the stud and only penetrates drywall provides zero holding power and creates a pop later.
Step 4: Measure, Score, and Snap
Measure the wall section to be covered. Mark the cut line on the paper face with a pencil. Score along the mark with a utility knife using a drywall T-square as a guide — one firm pass is all that is needed to cut the paper face. Snap the sheet away from the scored face, bending it at the cut line. The gypsum breaks cleanly. Cut the paper on the back side with the utility knife. Clean up the edge with a rasp if needed. Measure twice before scoring — scored drywall cannot be un-cut.
Step 5: Hang the Sheet
Position the sheet against the framing. For walls, the top of the first row should be tight against the ceiling (or the ceiling drywall if already hung). Drive drywall screws every 16 inches along each stud the sheet covers. The screw head should dimple slightly below the paper surface — sunk just enough to allow joint compound to fill it. Over-driven screws break the paper face and lose holding power; under-driven screws pop out over time and create bumps under paint. A drywall screw gun with an adjustable depth clutch sets consistent dimple depth automatically.
Step 6: Handle Outlets, Switches, and Light Fixtures
Two methods for cutting outlet holes: measure the exact location from nearby edges and mark the box location on the sheet before hanging, then cut with a drywall saw or oscillating tool after the sheet is in position. Or use a drywall router on a flush-cut bit — hang the sheet over the boxes and rout around each box following the current from the box’s edge. The router method is faster and more accurate on standard boxes. Mark the box location on the floor before covering it so you can find it after the sheet is hung.
Pro Tips
- Use 12-foot sheets where ceilings and budget allow — each 12-foot sheet eliminates one butt joint compared to two 8-foot sheets, which is significant savings in finishing labor.
- Drywall is heavy (a single 4×8 sheet at 1/2-inch weighs about 55 lbs) — enlist a helper for wall work and rent a lift for any ceiling work.
- Leave a 1/4-inch gap at the floor when hanging the bottom row of wall drywall — this prevents the sheet from wicking moisture from the concrete slab or floor, which causes the bottom edge to swell and deteriorate.
Frequently Asked Questions
How many screws per drywall sheet?
On walls: one screw every 16 inches on each stud the sheet contacts. For a 4×8 sheet spanning 3 studs (the two edges and center stud at 48 inches), that is approximately 6 screws per stud, or about 18 screws per sheet. On ceilings, screw every 12 inches, totaling about 24-30 screws per sheet.
What thickness drywall should I use?
Half-inch drywall is standard for interior walls and most ceilings. Five-eighths-inch is required by most codes for ceilings where the structural members are at 24-inch spacing (it resists sagging better than 1/2-inch at that span), and for any fire-rated separation (such as a garage-to-house wall). Three-eighths-inch is used for curved walls only.