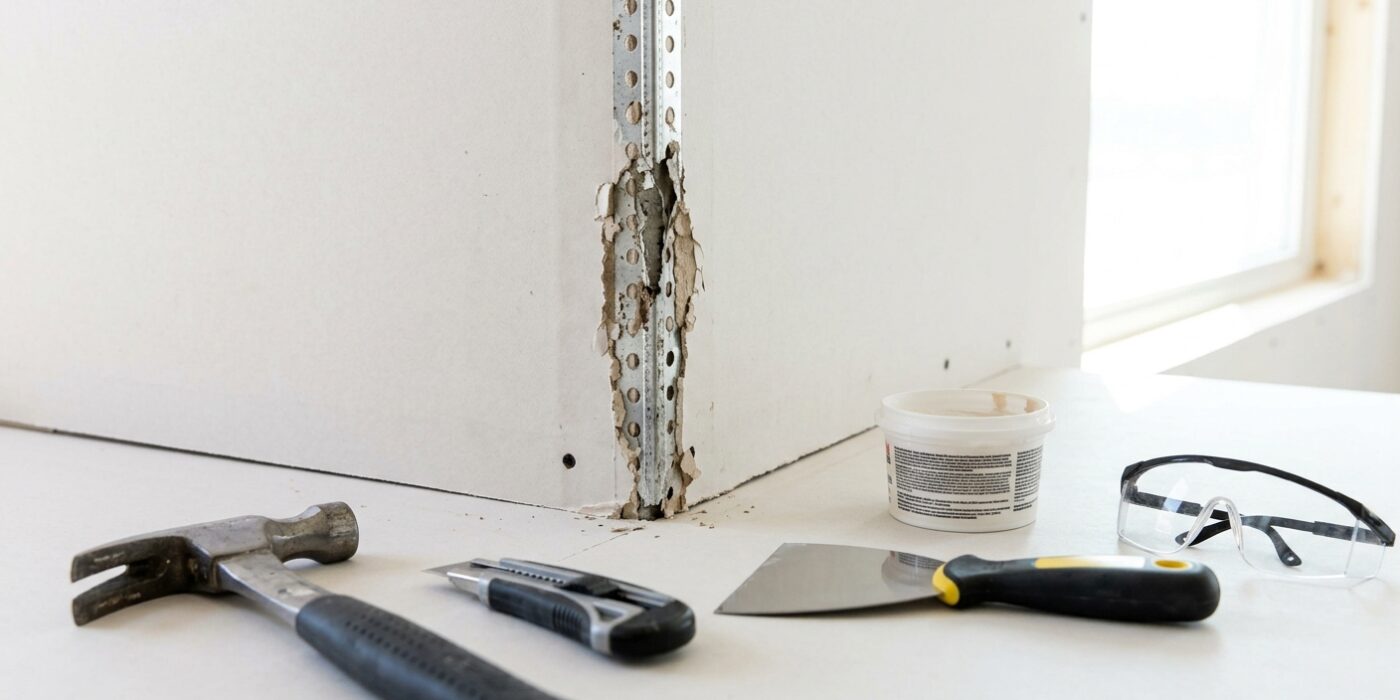
Project Shopping List
Outside corners of drywall – where two walls meet to form a projecting corner – are the most vulnerable part of any drywall installation. They take direct impact from furniture, doors, traffic, and everyday bumps, and without proper treatment they chip, dent, and crack. Corner bead is the metal or vinyl strip installed over these corners to create a durable, straight edge for finishing. Repairing a damaged outside corner with new corner bead is a common repair that restores a clean, hard edge and a smooth surface ready for paint.
What You’ll Need
Tools
- Tin snips or aviation snips
- Utility knife
- Drill and driver or drywall hammer
- 6-inch, 10-inch, and 12-inch drywall knives
- Level
- Sanding sponge and 120-grit drywall paper
- Mud pan
Materials
- Metal or paper-faced metal corner bead
- 1-1/4-inch drywall screws or 1-1/4-inch drywall nails
- All-purpose joint compound
- Setting compound (for first coat on damaged areas)
- Primer
Step 1: Remove Damaged Corner Bead
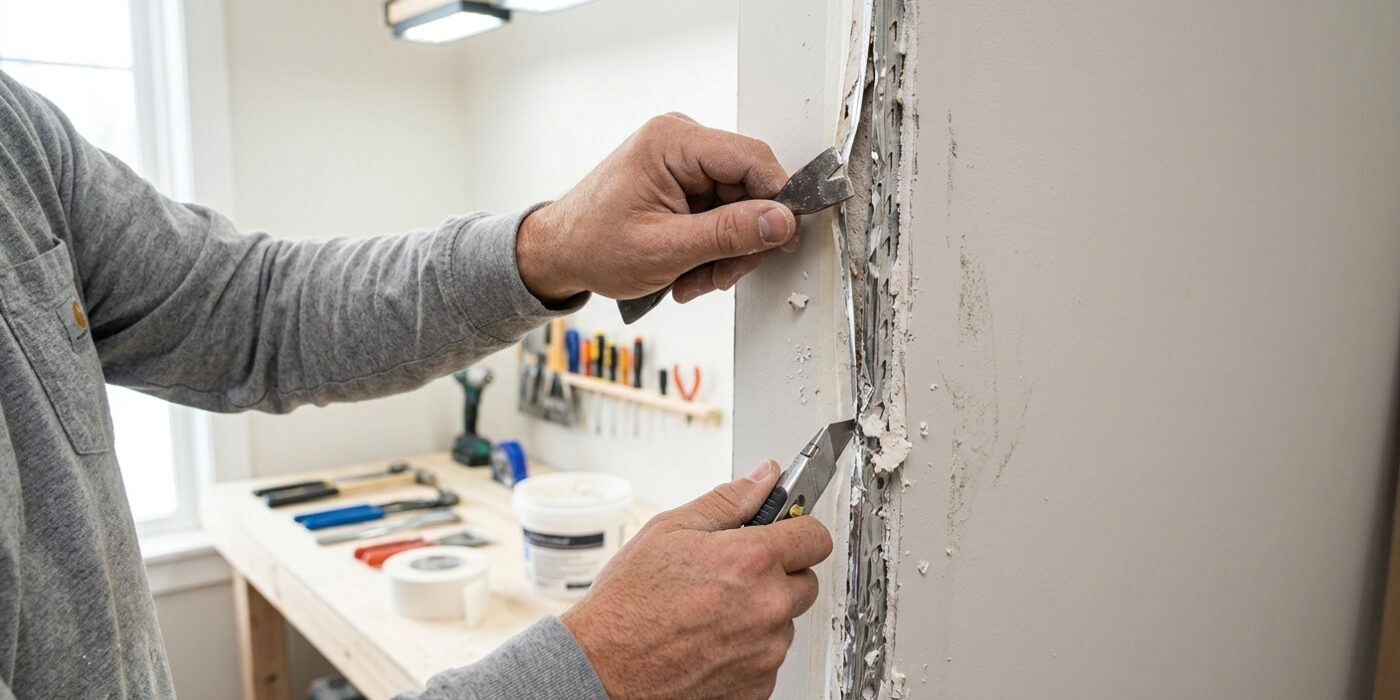
Before you begin, ensure you are wearing safety glasses, as debris may fall as you work. Start by using a utility knife to lightly score the paint and joint compound where the metal bead meets the drywall. This prevents you from accidentally peeling away large, healthy sections of the wall paper. Once scored, slide a stiff 4-inch or 6-inch drywall taping knife behind the metal flange. Gently pry the bead away from the corner, working slowly from the ceiling down toward the floor. The goal is to remove the metal while keeping the underlying drywall intact.
After the metal is off, you will likely see stubborn nails or screws still embedded in the studs. Use a pair of needle-nose pliers or the claw of a hammer to pull these out carefully. Finally, inspect the corner; if the underlying drywall is crumbling or gouged, fill these spots with a quick-setting drywall compound, often called “hot mud.” Let this dry completely, as a solid, flat surface is essential for your new bead to sit perfectly straight.
Beginner Tip: Avoid prying too aggressively. If the bead feels stuck, go back with your utility knife and deepen the score line. Prying too hard can tear the paper facing off the drywall, creating a much larger repair job than you originally intended.
Pro Tip: To get a perfectly flush finish, use a utility knife to shave off any jagged bits of paper or protruding gypsum that remain after the bead is removed. Running your hand over the area should feel smooth; any high spots will prevent your new corner from sitting flat, which leads to visible waves in your final wall finish.
Step 2: Choose and Cut the New Corner Bead
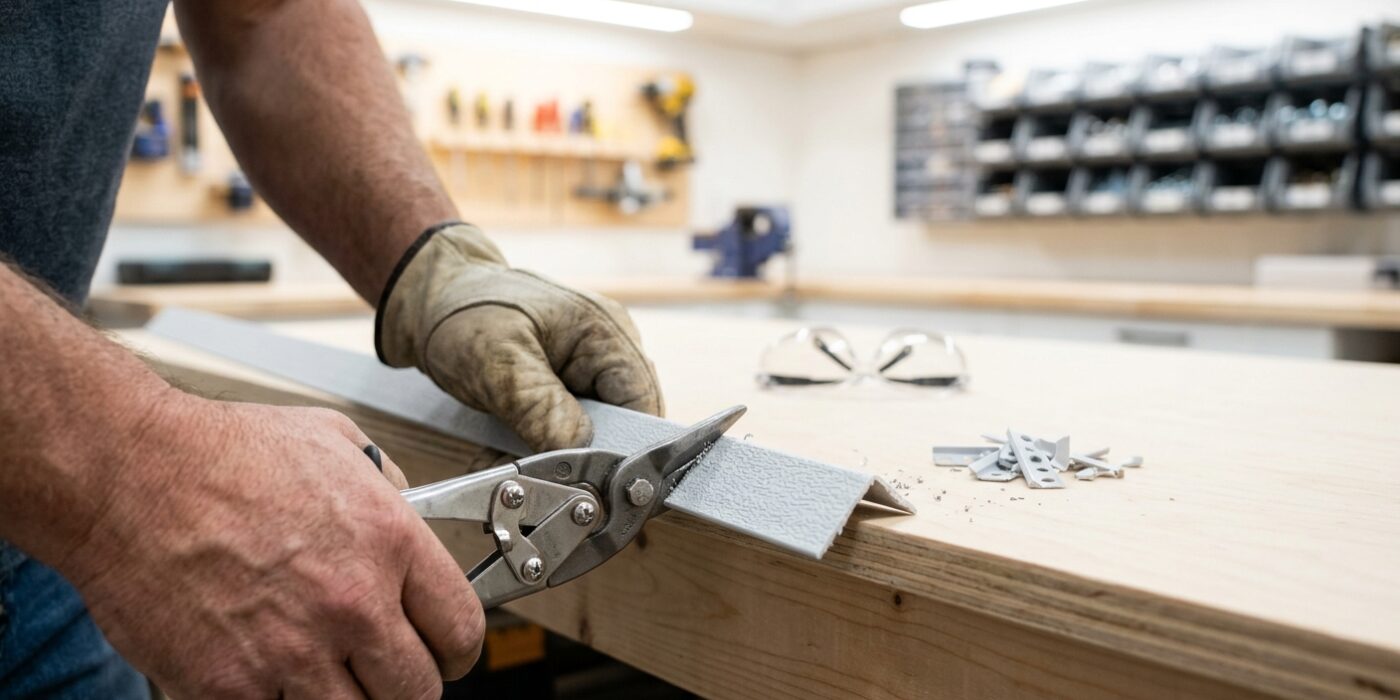
Before you begin, you need to select the right material for your corner. For standard, square walls, choose a 90-degree metal corner bead. If you are working on an angled wall, such as a bay window, pick up a flexible corner bead instead. If you want the most durable, professional finish, opt for paper-faced metal bead; it embeds directly into your joint compound, making it much more resistant to future cracking than the standard version.
Measure the distance from the floor to the ceiling carefully. Use your tin snips to cut the bead to this exact length. When you reach the bottom, make a single diagonal snip through the rounded “nose” of the bead. This small adjustment creates a clean, flush termination point where the bead meets your baseboard, ensuring you do not have an awkward, protruding edge.
Beginner Tip: Avoid cutting the bead too long. If it is even a fraction of an inch too tall, the metal will bow outward, creating a bulge that is very difficult to hide with joint compound. It is always better to have it a hair short than a hair too long.
Pro Tip: To keep the bead perfectly straight while you work, use a “dry fit” technique. Hold the bead in place and temporarily secure it with a few short drywall screws, keeping them slightly loose so you can shift the bead until it is perfectly plumb before you finalize the installation.
Step 3: Install the Corner Bead
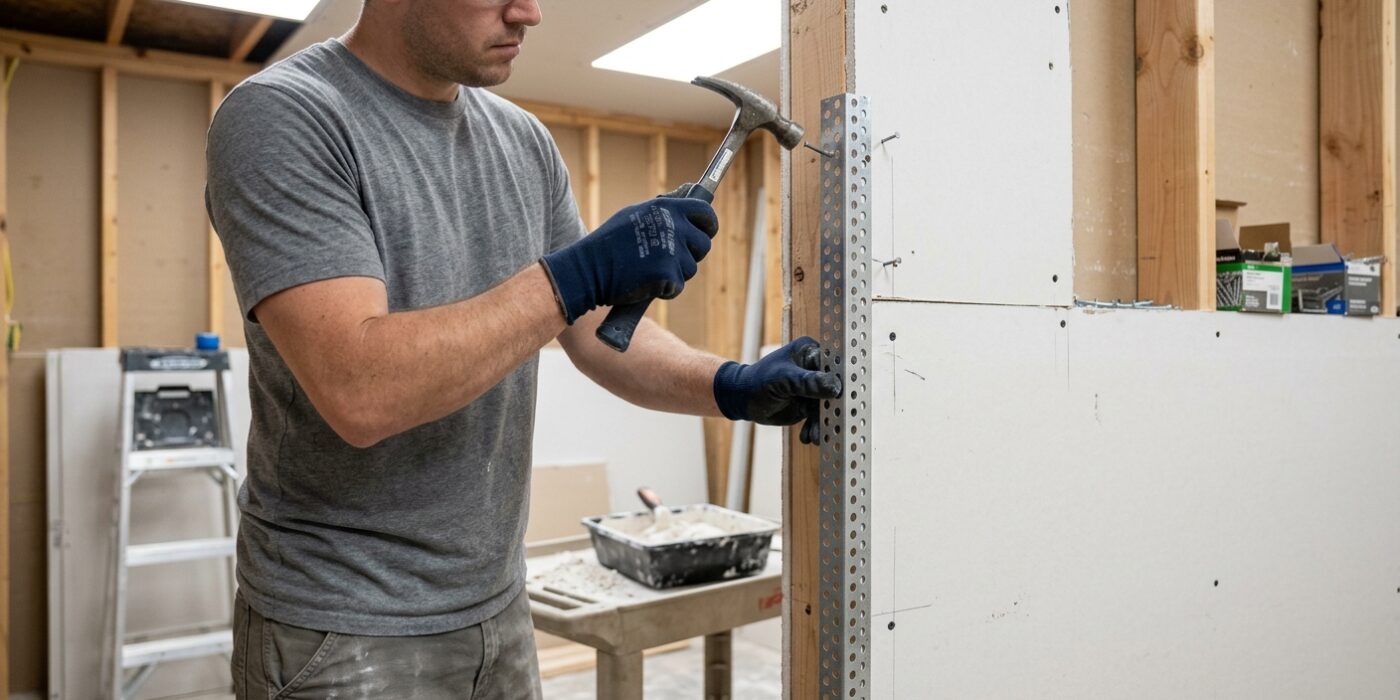
Now it is time to secure the corner bead. Hold the bead against the corner, ensuring it sits centered. The rounded nose of the bead should poke out slightly past the wall surfaces; this acts as a built-in guide for your drywall knife later, ensuring a crisp, sharp corner. Position a 1-1/4-inch drywall screw every 8 to 10 inches, moving up the corner. To keep the bead from shifting, alternate your screws from the left flange to the right flange as you work your way up. Before driving the screws fully home, place a level against the nose of the bead to ensure it is perfectly vertical (or “plumb”). If the bubble in your level isn’t centered, gently nudge the bead until it is, then tighten the screws.
Beginner Tip: The most common mistake is driving the screw head too deep, which can dimple or crack the metal flange. You want the screw head to sit flush with the surface of the flange – not buried deep into the drywall. Use the depth adjustment on your drill or go slowly and stop the moment the head touches the metal.
Pro Tip: Before you begin screwing, place a small bead of construction adhesive or drywall spray adhesive behind the flanges. This helps hold the metal securely against the wall while you focus on lining it up, preventing the bead from “floating” or moving while you drive your screws.
Step 4: Apply the First Coat of Compound
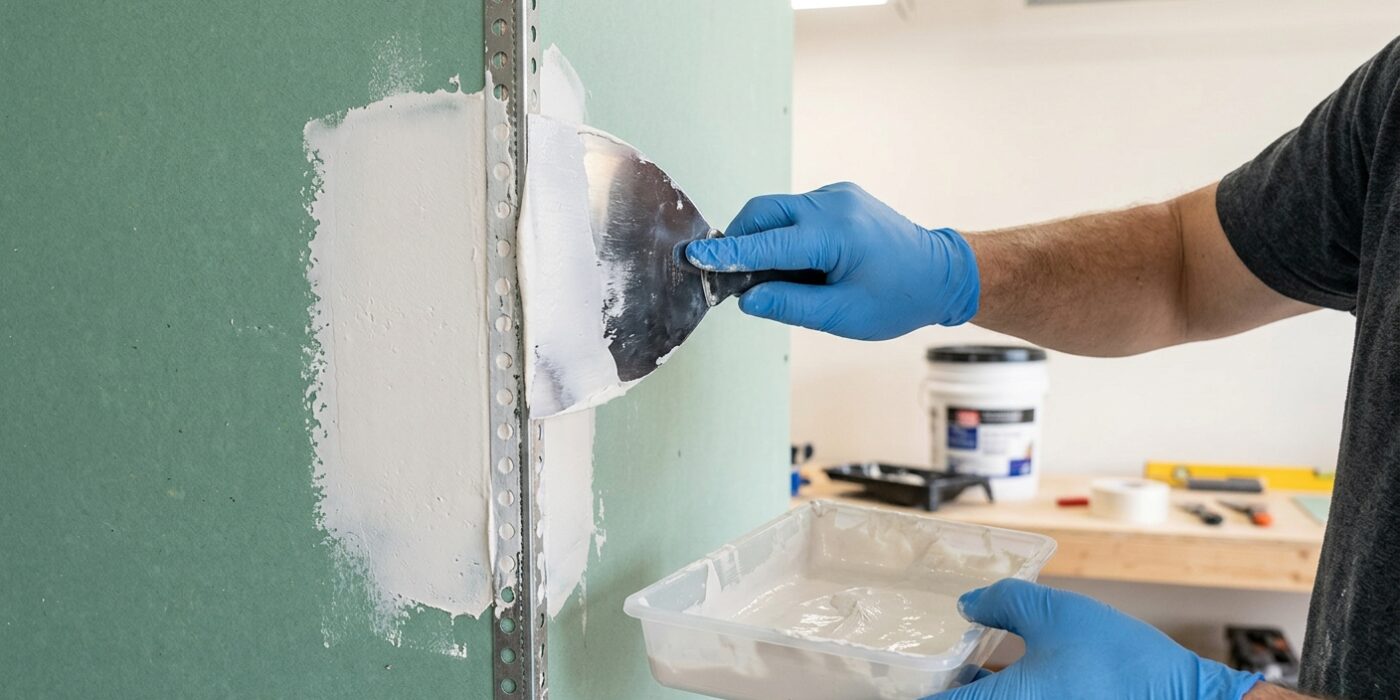
Now it is time to smooth out your corner. Load your 6-inch taping knife with a generous amount of all-purpose joint compound. Starting at the metal nose of the bead, press the knife firmly and drag it along the flange, pulling outward onto the flat drywall. You want to extend the compound about 4 to 5 inches away from the corner. By keeping one side of your knife blade riding directly on the metal nose and the other side resting on the wall, you create a perfect, level transition. The goal for this first coat is simply to fill the gap between the metal bead and the drywall; don’t worry about making it perfectly smooth or hiding the metal entirely yet. Once finished, let the compound dry completely until it turns a light, chalky white.
Beginner Tip: Avoid the temptation to over-work the compound. Beginners often stroke the knife back and forth repeatedly, which actually pulls the wet mud back off the wall and creates ridges. Apply the compound in one long, confident sweep, then move on.
Pro Tip: To get a cleaner finish, keep your knife blade angled at about 45 degrees relative to the wall. This angle acts like a squeegee, helping you apply just the right amount of pressure to bed the compound into the corner while leaving the edges thin and feathered, which makes sanding much easier later.
Step 5: Apply Second and Third Coats
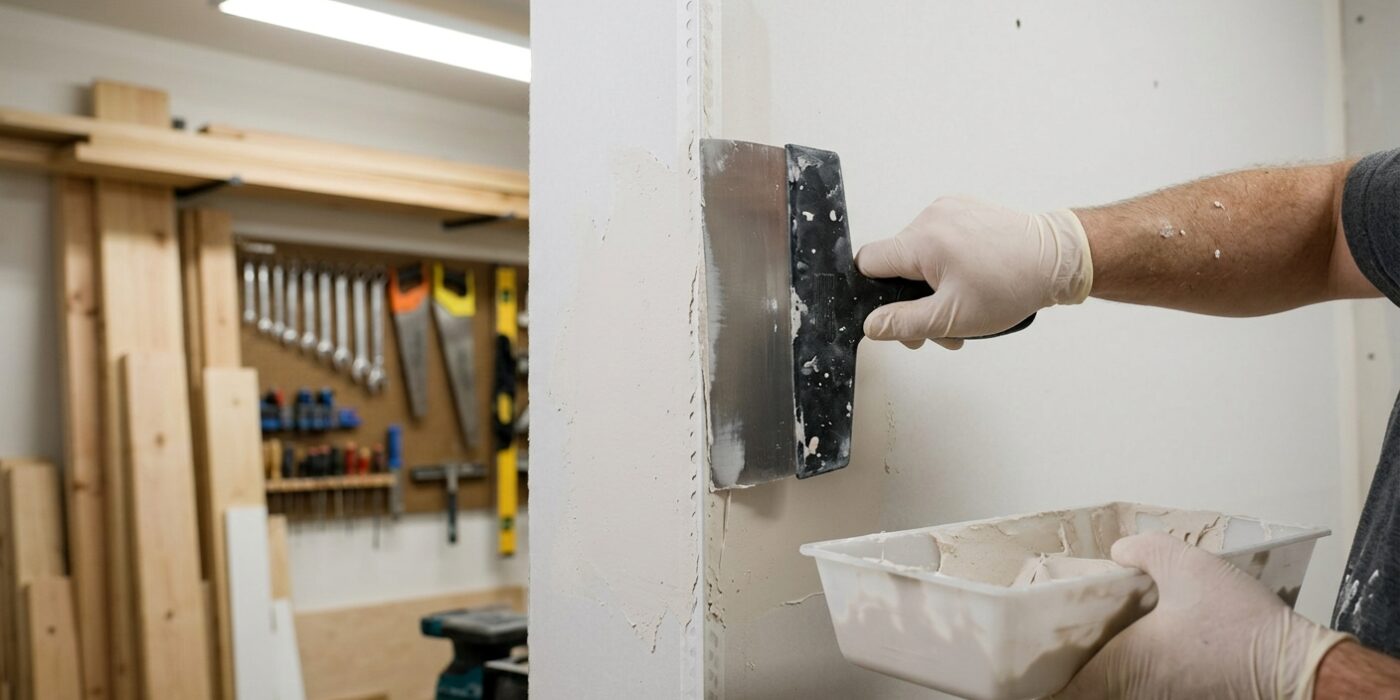
Now that your first coat is dry, it is time to smooth everything out. Think of this process like applying layers of foundation makeup; each coat covers a wider area to gradually hide the hump of the metal or plastic bead. Using your 10-inch knife, apply a thin layer of compound, starting at the nose of the bead and pulling outward. Aim to extend the edge of this coat about 6 to 8 inches away from the corner. This width helps the wall surface taper gently.
For your third and final coat, switch to the 12-inch knife. This extra width allows you to feather the edges further – between 10 to 12 inches out – which creates a seamless transition that is invisible once painted. Keep your knife at a shallow angle, roughly 30 to 45 degrees against the wall, to avoid digging into the compound you just laid down. Your goal is to make the corner feel like part of the wall, not a separate addition.
Beginner Tip: The most common mistake is overworking the compound. If you keep smoothing the same spot, the compound will start to “drag” and lift away. Apply it once, smooth it out with a clean, steady stroke, and then move on – even if it is not absolutely perfect, you can always sand it later.
Pro Tip: Keep a bucket of clean water and a damp sponge nearby. Keeping your taping knife blades clean between swipes prevents dried, crunchy bits of old compound from creating unsightly streaks or gouges in your smooth finish.
Step 6: Sand and Prime
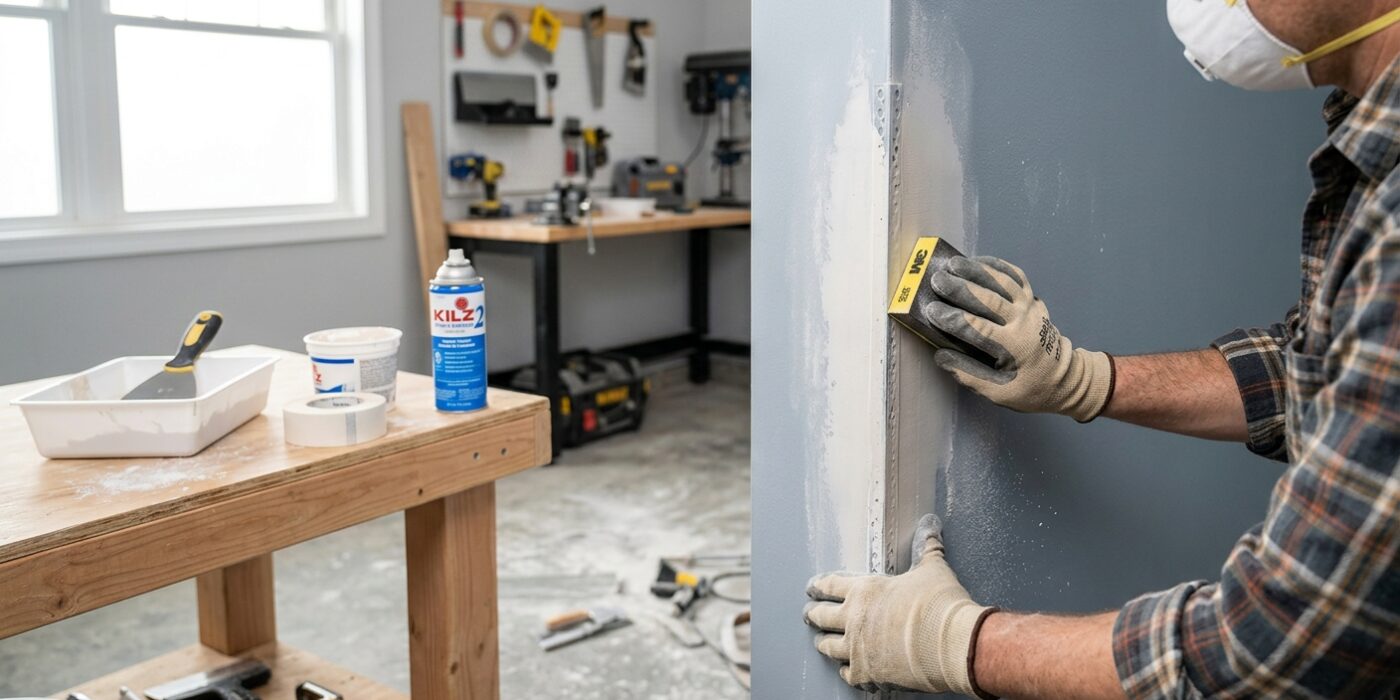
Now that your joint compound is fully dry, it is time to create that perfectly smooth, sharp corner. Start by using a sanding sponge or a sanding block with 120-grit drywall paper. Gently rub the edges of the compound where it meets the wall, working in long, vertical strokes. Always sand along the length of the corner, never across it; moving horizontally risks cutting into the metal nose and creating a wavy, uneven profile. Once the surface feels relatively smooth, switch to a finer 150-grit paper for a final pass to remove any remaining scratches. After sanding, wipe away all dust with a slightly damp cloth. Finish by applying a thin coat of drywall primer. This seals the porous compound, ensuring your final paint job adheres evenly and looks seamless.
Beginner Tip: Resist the urge to press down hard while sanding. The goal is to remove the “high spots” of the compound, not to reshape the corner. If you press too firmly, you will inadvertently sand right through the compound, exposing the bare metal of the bead. If you see grey metal appearing, stop immediately, as this area will rust once paint is applied.
Pro Tip: Use a bright LED work light held at a low angle against the wall while you sand. This “raking light” will cast long shadows over any imperfections, bumps, or ridges in your compound, making it incredibly easy to see exactly where you need to keep sanding and where the surface is already perfectly flat.