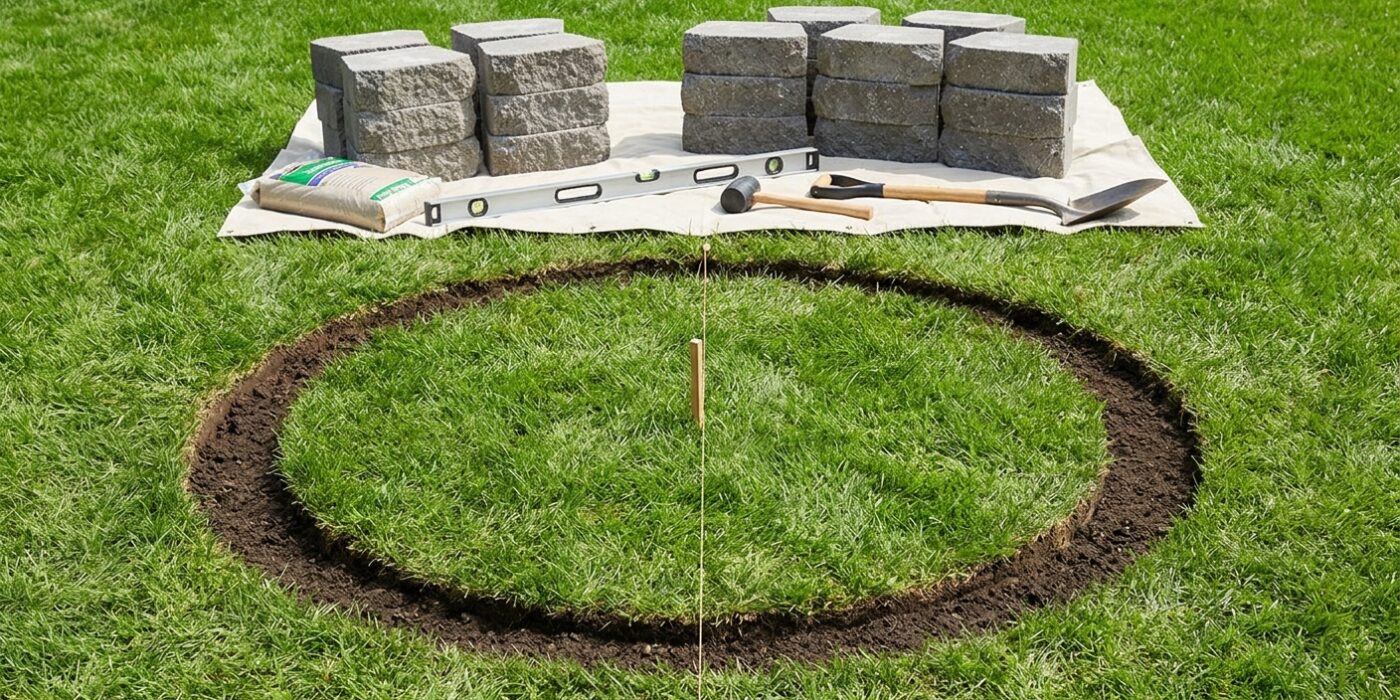
Project Shopping List
A backyard fire pit turns an ordinary yard into an outdoor living room. Gather around it on cool evenings, roast marshmallows with your kids, or watch the flames while unwinding after work. Building a simple block fire pit takes less than a day and costs well under $200 — far less than a prefab steel unit that will rust through in two or three seasons.
Safety and Local Rules First
Check your municipality and HOA rules before building. Many areas restrict fire pit size, distance from structures, and require permits for permanent installations. A common rule requires fire pits to sit at least 10 feet from any structure, fence, or overhanging branch. Never build a fire pit under a deck, covered patio, or pergola.
Choosing a Location
Pick a level spot away from dry grass, wood fences, and structures. Avoid low areas where water pools after rain. The best surfaces are bare earth, gravel, or concrete — never build directly on a wood deck. Leave 6 to 8 feet of clearance all around for seating.
Tools You Will Need
- Spade or square-blade shovel
- Wheelbarrow for removed soil
- Rubber mallet
- Level
- Tape measure and spray paint or flour for marking
- Work gloves and safety glasses
Materials
- 36 to 48 retaining wall blocks or fire-rated bricks — not standard concrete blocks
- Two bags of pea gravel or crushed stone for drainage
- Construction adhesive for outdoor masonry, optional for permanent build
- Metal fire ring insert, 36-inch diameter, strongly recommended
Step 1 — Mark the Circle
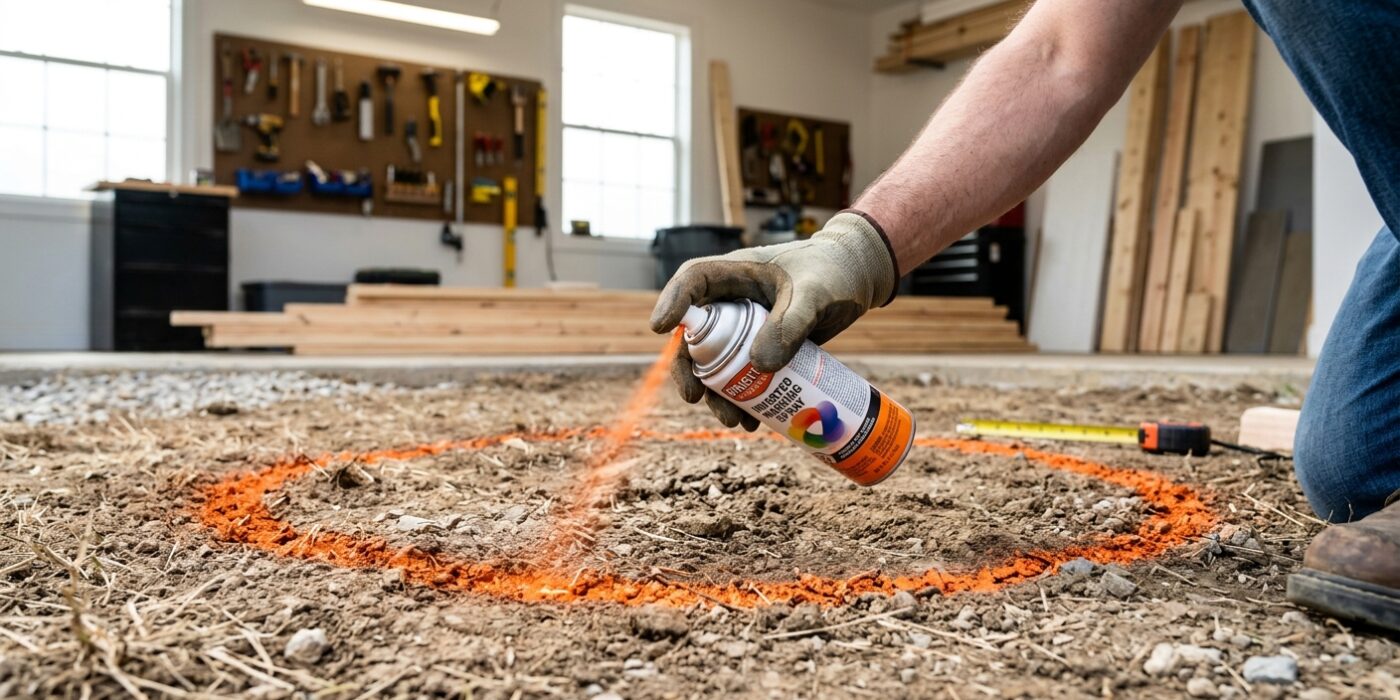
Before you start digging, you need to create a clear guide on the ground so your fire pit stays perfectly circular. Start by driving a wooden stake firmly into the center of your chosen location. Tie a piece of non-stretching string to the stake, measuring exactly 18 inches from the knot to your finger; this serves as your radius. Holding the string taut, walk in a full circle around the stake while spraying a line of bright marking paint to create a 36-inch diameter inner circle. Once that is set, move your finger out another 6 inches – for a total string length of 24 inches – and spray a second, outer circle. This 6-inch gap defines the footprint where your landscaping blocks will sit, ensuring your fire pit is symmetrical and structurally sound.
Beginner Tip: The biggest mistake people make is letting the string go slack while marking. If the string bunches up or stretches, your circle will look lopsided. Keep the string pulled tight at all times, like a compass, to ensure the shape stays consistent.
Pro Tip: To keep your circle perfectly centered even if you move around, hold the spray paint nozzle pointed straight down at the ground. If you angle the can, the circle will “drift” and you will end up with a lopsided oval instead of a clean, professional-looking circle.
Step 2 — Excavate
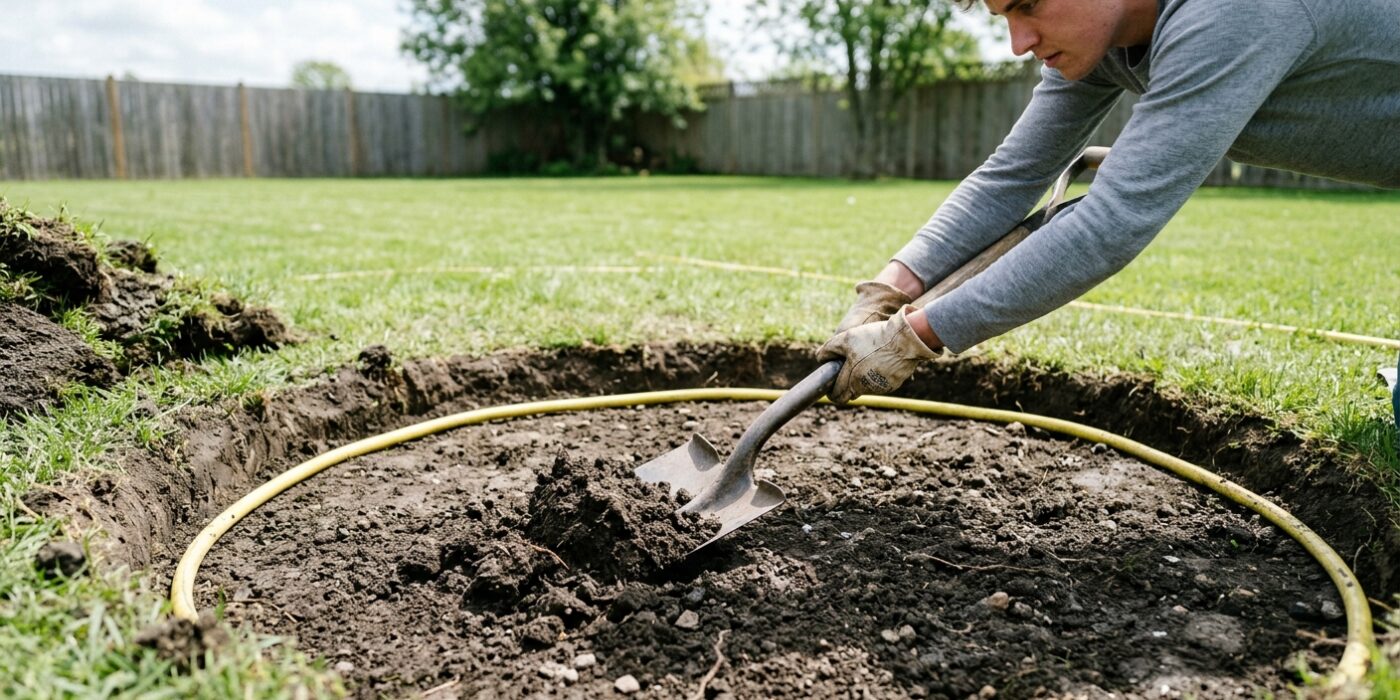
Now that your circle is marked, it is time to dig. Use your shovel to excavate the soil inside your marked boundary to a depth of 6 to 12 inches. Aim for a consistent depth so your fire pit sits level on the ground. As you dig, angle your shovel slightly inward toward the center of the pit; this “batter” or inward slope helps the walls of the pit resist soil pressure, preventing them from collapsing over time. Once you have removed all the grass, sod, and loose dirt, use the flat back of your shovel or a hand tamper to firmly pack the base of the hole. A solid, level foundation is crucial to ensure your fire pit doesn’t shift or sink once you start adding heavy stone layers.
Beginner Tip: A common mistake is forgetting to call your local utility line service before digging. Even if you are only digging a shallow hole, always contact your local 811 service to ensure there are no buried gas, electric, or water lines in your chosen spot. It is a free safety check that provides total peace of mind.
Pro Tip: To keep your depth perfectly consistent while you work, cut a scrap piece of wood or a sturdy stick to exactly 10 inches long. Frequently stand this stick upright in the hole and use a small carpenter’s level on top to ensure you are digging a flat, even floor for your base. It takes the guesswork out of the process!
Step 3 — Add Drainage Gravel
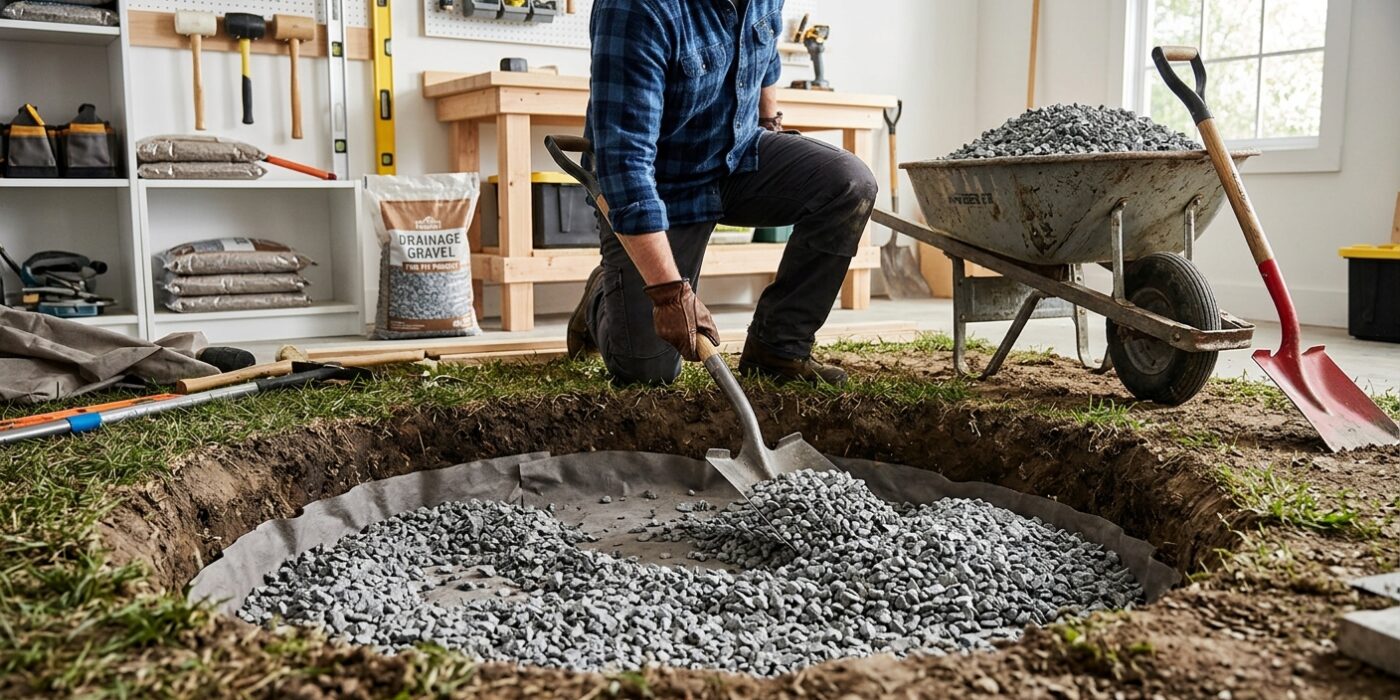
Now that your hole is prepped, it is time to add the foundation that will keep your fire burning safely. Pour two to three inches of pea gravel into the bottom of your pit. Use a garden rake to spread the stones until they create a perfectly flat, level surface. The goal is to cover the entire base evenly so that you have a solid, porous floor.
This step is vital for safety. Without gravel, rainwater will pool in the bottom of your pit. When you eventually light a fire, trapped moisture can rapidly heat up and turn into pressurized steam, which can cause hot coals or embers to pop and scatter unexpectedly. Drainage gravel ensures that water seeps harmlessly into the soil beneath your project.
Beginner Tip: Avoid dumping all the gravel into the center at once, as this creates a mound that is difficult to flatten. Instead, pour the gravel slowly as you move around the perimeter of the pit, which helps distribute the weight naturally and saves your back from unnecessary heavy raking.
Pro Tip: To get an perfectly level base, lay a long wooden board across the top of your fire pit walls. Place a carpenter’s level on top of the board. As you rake, occasionally check the distance from the board to the gravel surface using a tape measure; if the measurement is the same all the way around, your gravel base is professionally level.
Step 4 — Lay the First Course of Blocks
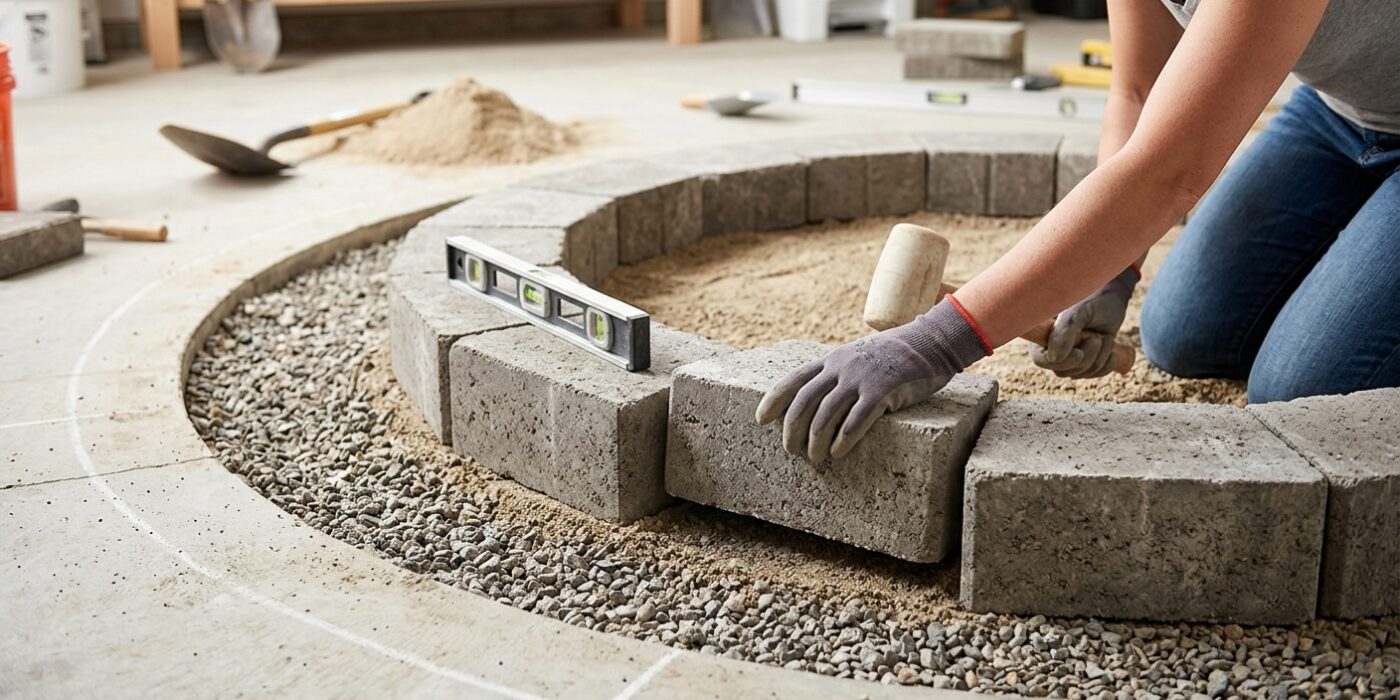
Now it is time to build the foundation of your fire pit. Carefully place your fire-rated bricks or retaining wall blocks along the outer edge of your spray-painted circle. Fit them together as snugly as possible to create a solid, stable ring. Because your fire pit will be exposed to extreme heat, ensure you are using fire-rated materials; standard concrete blocks can trap moisture and crack or even explode when heated. As you set each block, place your carpenter’s level across the top in both directions to ensure they are perfectly flat. If a block sits too high, gently tap it downward with your rubber mallet until it sits flush with its neighbors. Taking your time here is critical – a level first layer acts as the base for the entire structure, and if this foundation is crooked, every subsequent layer will lean, eventually causing your fire pit to look uneven or become unstable.
Beginner Tip: A common mistake is rushing the first course. If your blocks aren’t perfectly level now, you cannot “fix” it later; the errors will multiply as you stack higher. Check your level every two or three blocks to ensure you are still on the right track.
Pro Tip: To keep your circular shape perfect, cut a piece of scrap wood to the radius of your fire pit (half the diameter) and use it as a makeshift compass. Lay it against the center point of your fire pit and rotate it around the circle, checking that every block touches the end of the wood stick.
Step 5 — Stack Additional Courses
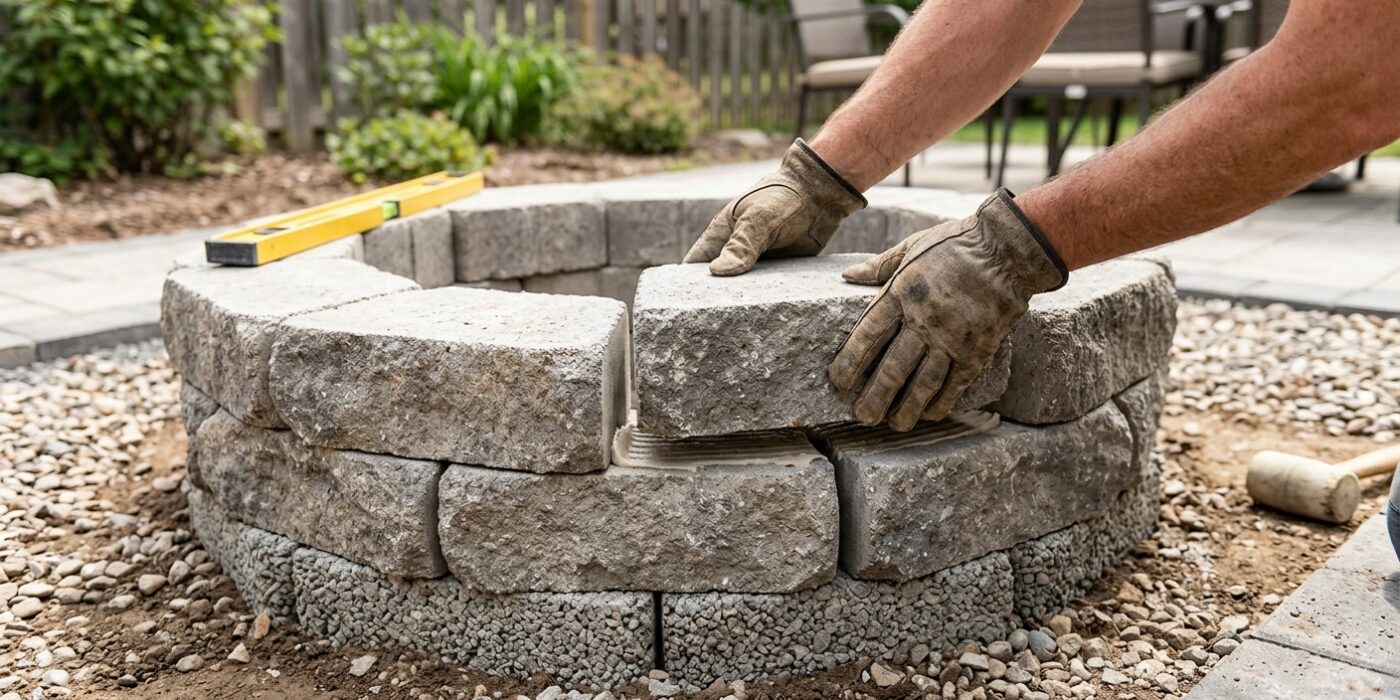
Now that your base is set, it is time to build the height of your fire pit. As you add your next layer of blocks, think of it like building a brick wall: you must stagger the joints. This means the middle of every block in the new layer should sit directly over the seam where the two blocks below it meet. This overlapping pattern, called a running bond, is vital because it locks the blocks together, creating structural stability that prevents your wall from leaning or crumbling over time.
Aim for a total height of 12 to 18 inches, which is generally two to three layers of standard landscaping blocks. This height is perfect for containing sparks while still allowing heat to radiate outward. If you want a permanent structure, apply a bead of masonry construction adhesive between each layer to bond them together. If you prefer the flexibility to move your pit later, you can dry-stack them, letting the weight of the stones hold everything in place.
Beginner Tip: Avoid the urge to rush. If your bottom course is even slightly off-level, the error will multiply as you stack higher, leading to a wobbly, slanted wall. Check your work with a level frequently, and if a block isn’t sitting flat, use a rubber mallet or a handful of sand underneath it to nudge it into position.
Pro Tip: To keep your circular shape perfectly consistent as you stack, cut a small piece of wood to the exact radius of your fire pit. Use this as a “spacer” to measure the distance from the center of the pit to each block, ensuring your circle stays uniform from bottom to top.
Step 6 — Set the Fire Ring
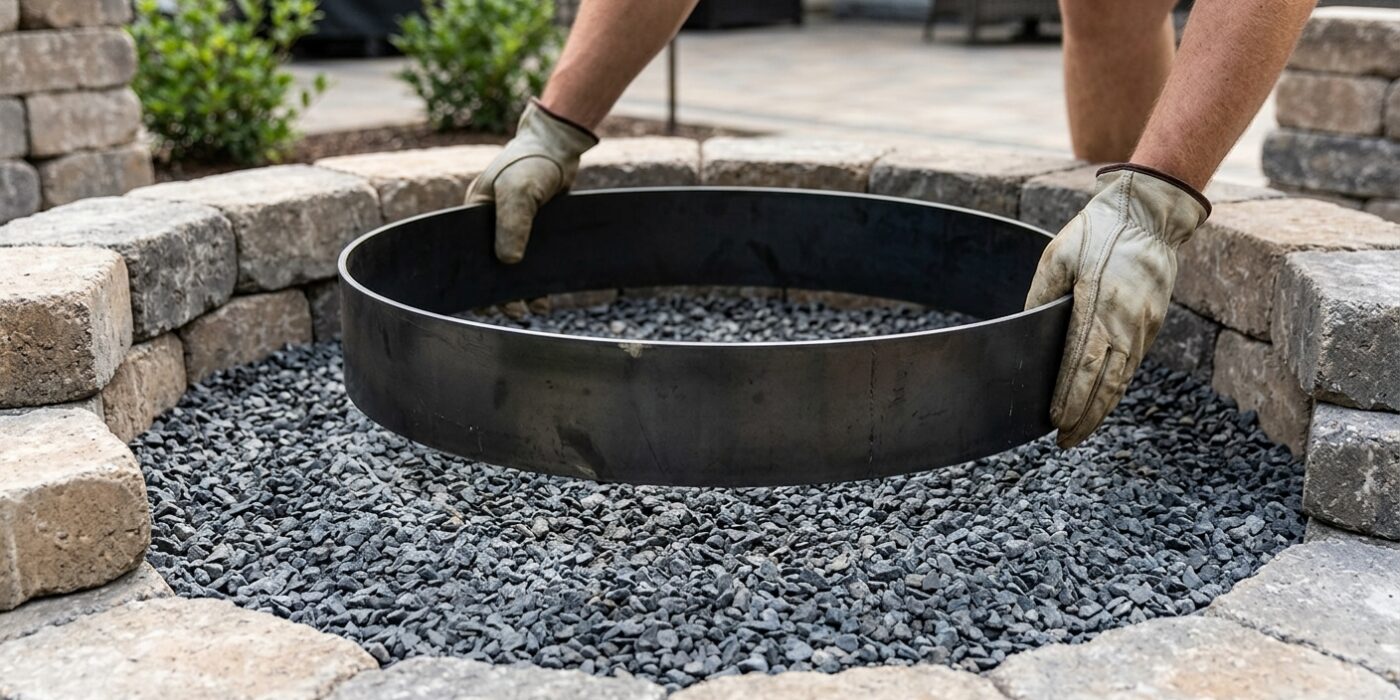
Now that your wall is standing, it is time to install the heart of your fire pit: the metal fire ring. This circular insert acts as a barrier, protecting your decorative stone blocks from the intense, direct heat of the flames. Without it, the bricks could crack or discolor over time. Carefully lower your 36-inch fire ring into the center of your enclosure. It should sit flush against the inner walls of your blocks. Take a moment to walk around the pit, ensuring the ring is perfectly centered so there is an even, consistent gap all the way around. If you notice any wobbling, gently adjust the ring until it rests solidly on the base material or the bottom course of blocks.
Beginner Tip: The most common mistake is failing to check the level of your ring before finalizing the position. If the ring is tilted, your fire will look messy and burn unevenly. Place a short spirit level across the top rim of the ring in multiple directions to ensure it sits flat and true.
Pro Tip: To keep your fire ring from shifting during use, fill the small gap between the metal ring and the stone blocks with a layer of lava rock or pea gravel. This not only anchors the ring firmly in place but also helps with drainage, preventing water from pooling around the bottom of the fire pit during rainstorms.
Step 7 — Finish the Surround
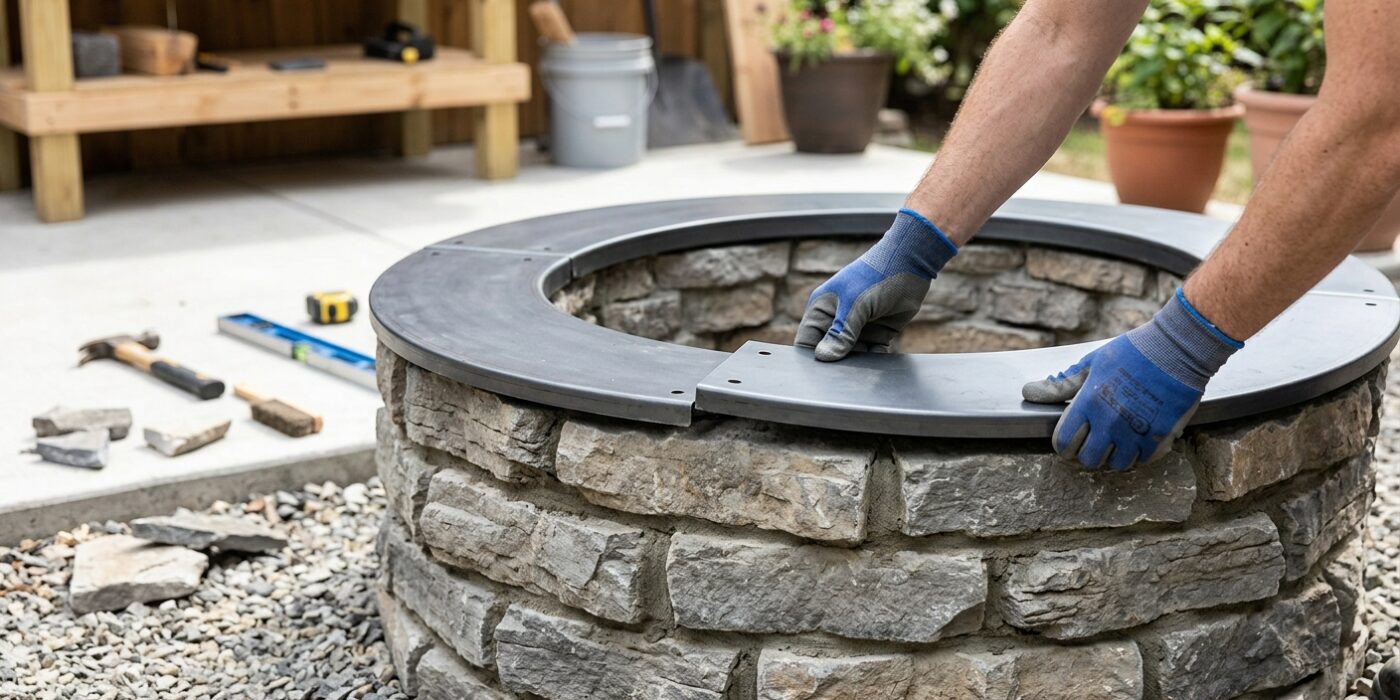
Now that your fire pit structure is complete, it is time to create a safe, beautiful transition between the pit and your yard. To finish the surround, clear away any debris and create a three-foot-wide border around the base of your pit. This acts as a firebreak, preventing stray sparks from landing on grass. You can fill this perimeter with a two-inch layer of pea gravel for excellent drainage or lay flat flagstone pavers for a stable seating area. Using gravel is ideal because it is porous, allowing rainwater to soak into the ground rather than pooling around your stones.
Beginner Tip: Avoid placing wooden mulch or landscape fabric directly underneath your gravel perimeter. Over time, heat radiating from the pit can cause these flammable materials to smolder, creating a hidden fire hazard. Always clear down to the bare soil before adding your surface layer.
Alternative Method: If hauling stone or digging a trench feels overwhelming, you can simply use crushed granite or decorative river rock. Simply rake the area flat and spread the rock directly over the soil. It achieves the exact same level of fire safety as pavers but requires no complex leveling or stone-cutting tools.
Pro Tip: To keep your surround looking crisp and professional, install a flexible plastic landscape edging strip between your gravel and the grass. This prevents the stones from migrating into your lawn over time and makes mowing much easier since you can run your mower wheels right along the edge.