Project Shopping List
Drywall – also called gypsum board or Sheetrock – is the standard interior wall and ceiling finish for residential construction. Hanging drywall is physically demanding but straightforward: measure, cut, and fasten panels to the framing. This guide covers hanging drywall on walls from layout through fastening, including how to cut around outlets, switches, and doors. Ceiling work is covered separately – this guide focuses on walls.
Work with a partner wherever possible. Full drywall panels are awkward to manage alone, and the job goes twice as fast with two people.
What You’ll Need
Tools
- Tape measure and pencil
- T-square (drywall square)
- Utility knife with fresh blades
- Drywall saw (jab saw)
- Drill with drywall screw bit
- Drywall screw gun (if doing a large area)
- Chalk line
- Stud finder
- Rasp or sanding block
Materials
- 1/2-inch drywall for walls (5/8-inch for ceilings or fire-rated assemblies)
- 1-5/8-inch coarse-thread drywall screws (for wood framing)
- Corner bead (paper or metal, for outside corners)
Step 1: Locate and Mark the Studs
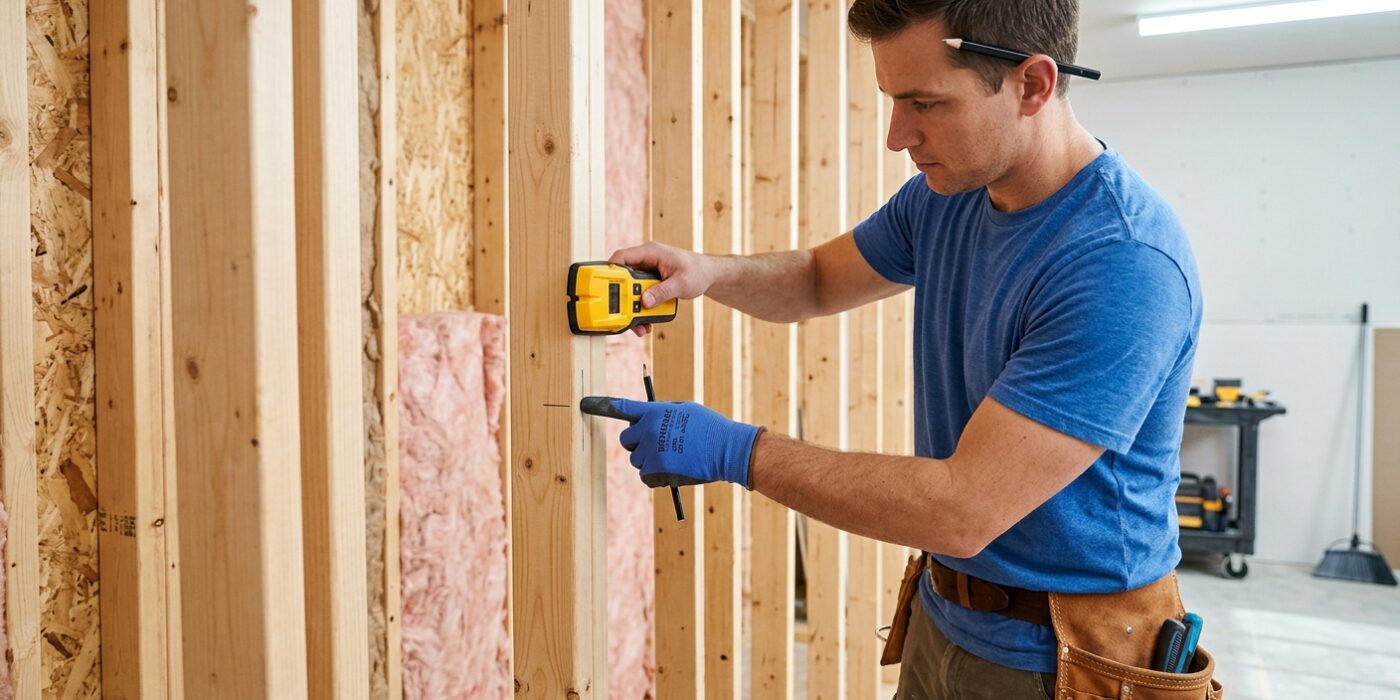
Before you lift a single sheet of drywall, you must find the sturdy wooden “skeleton” hidden behind your wall. These vertical supports are called studs, and they are the only points where your drywall will have enough grip to stay up securely. Using a stud finder, slowly slide the device across the wall until it beeps or lights up to indicate a stud edge. Mark both edges of the stud, then make a final vertical mark exactly in the center. Repeat this process from the floor to the ceiling for every stud in the room.
Once you have your center points, use a chalk line to snap a straight, vertical reference line down the wall. If you don’t have a chalk line, simply use a long level or a straight board to connect your top and bottom marks. This guide is crucial because drywall screws need to bite deep into the center of the wood. If you miss a stud, your screw will just spin in empty space, creating an unsightly hole that ruins the wall’s surface.
Beginner Tip: If your stud finder gives you inconsistent readings, try holding your free hand flat against the wall next to the device. This helps ground the sensor and prevents false positives caused by static electricity or irregular wall textures.
Pro Tip: When you mark your studs, extend your pencil lines onto the floor or the ceiling baseboard. Once your heavy drywall sheet is held up against the wall, those lines will be hidden, but you will still have a clear visual guide for where to drive your screws.
Step 2: Plan Your Panel Layout
Before you lift a single heavy panel, take a moment to map out your walls. Drywall is almost always installed horizontally to create a sturdy, professional-looking finish. Start your first row flush against the ceiling. By placing the factory-tapered edges at the top, you create a natural groove that makes finishing the joints with tape and compound much easier later on.
When you reach the second row, make sure your vertical seams do not line up with the seams from the top row. This is called “staggering,” and it is essential for structural integrity; continuous seams running floor-to-ceiling are prone to cracking. You want your vertical joints to land at least 16 inches apart. Every cut edge must fall directly over the center of a wall stud so you have something solid to screw into. If a panel ends in open space between studs, your wall will be weak and unstable.
Beginner Tip: Never force a panel into a corner that is slightly out of square. If you cut your drywall exactly to the wall’s measured length, you might find it binds or snaps as you push it into place. Trim about 1/4 inch off the end of your panel; this “gap” will be hidden by corner tape and prevents the board from crumbling during installation.
Pro Tip: Use a long level or a chalk line to mark the center of your studs onto the floor and ceiling before you lift the panels. Once the drywall is up, the studs disappear from view, and having those reference marks on the floor saves you from guessing where to drive your screws.
Step 3: Measure and Cut Panels
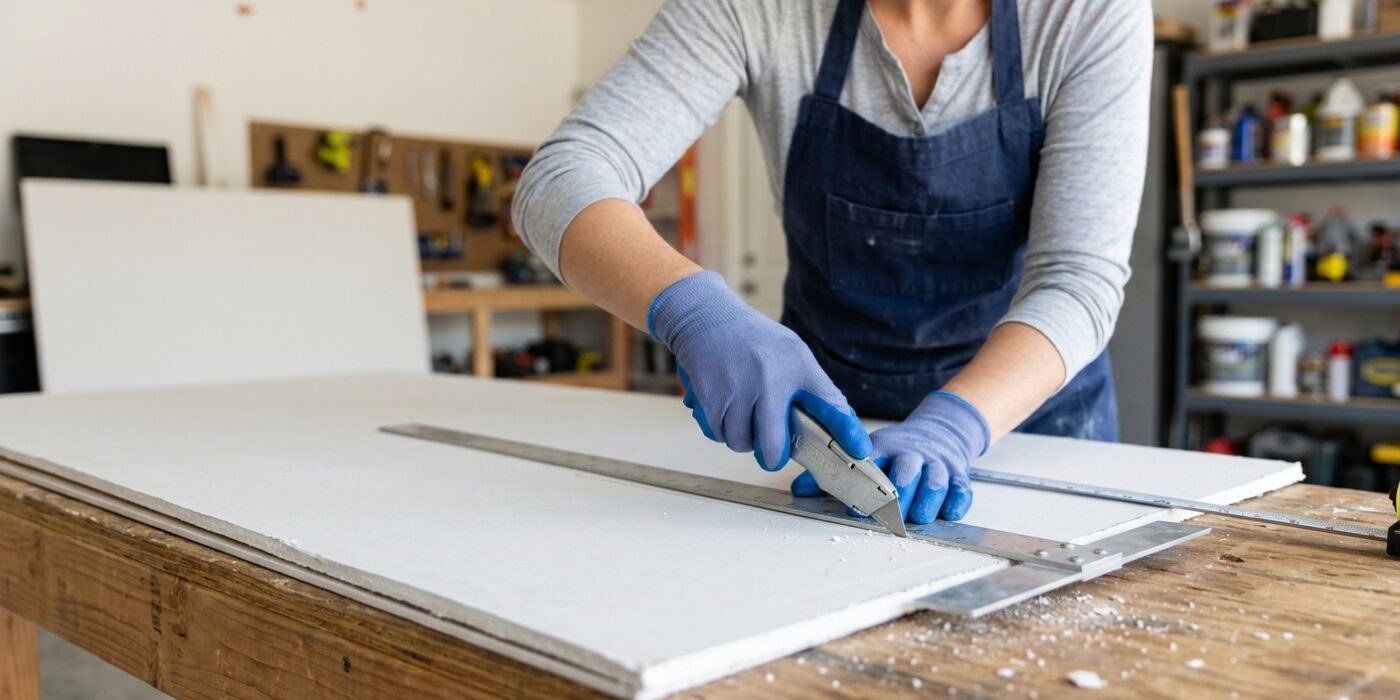
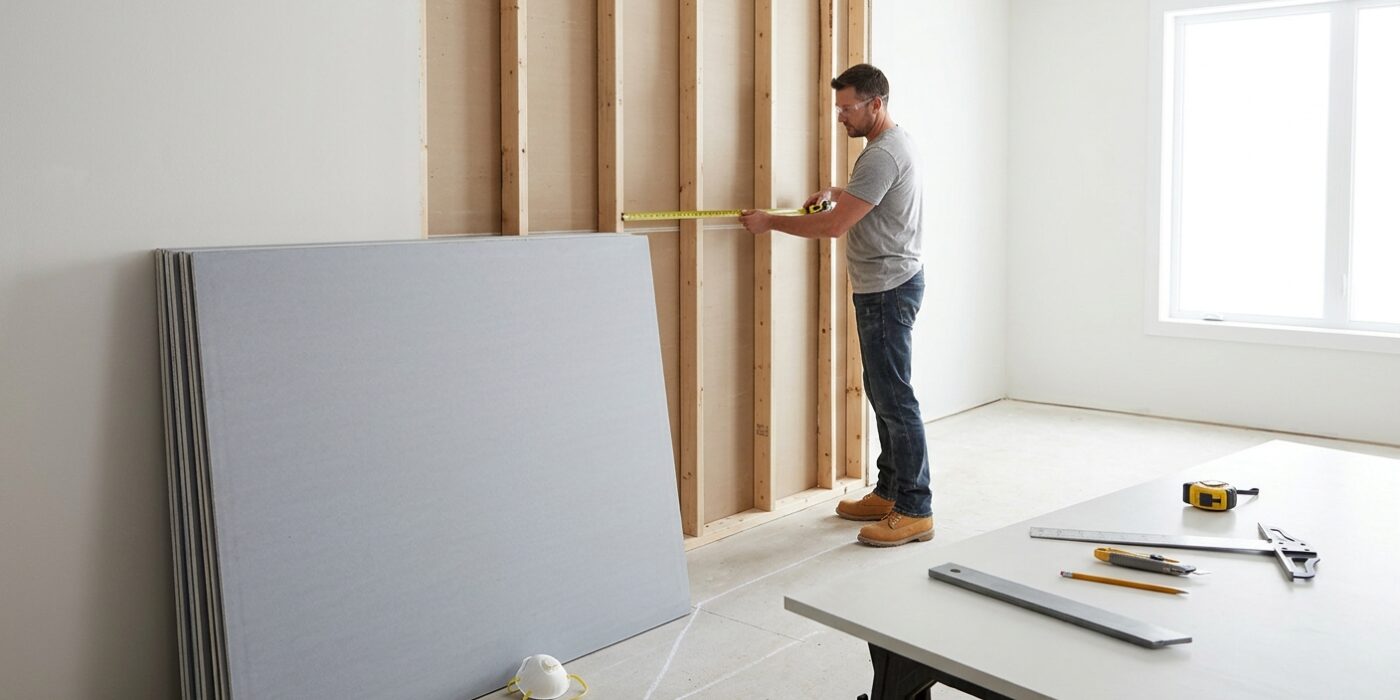
Before lifting your drywall, you need to size your panels to fit your wall perfectly. Start by measuring the wall’s height and width. Drywall is heavy, so use a pencil to mark your cut lines directly on the paper face of the board. To make a clean straight cut, place a metal T-square over your mark and run your utility knife firmly along the edge to score only the front layer of paper. Lay the panel over a sturdy object, like a sawhorse or the edge of a stack of drywall, and snap the board downward; it will break cleanly along your score line. Finally, finish the cut by slicing through the paper on the backside.
For outlets and switches, measure the distance from the floor and the nearest wall corner to the electrical box, then transfer those measurements to your panel. Use a jab saw – a small, pointed hand saw – to carefully cut out the opening. Remember to cut slightly inside your lines; it is much easier to trim a hole larger than it is to fix a gap that is too big.
Beginner Tip: Avoid measuring from the floor up if your floor is uneven. Instead, measure from the ceiling down to ensure your sheets sit level, or use a level to mark a straight reference line before you start measuring.
Pro Tip: When cutting around electrical outlets, rub a little chalk or lipstick on the edges of the outlet box. Press your drywall panel against the box to leave a perfect outline, showing you exactly where to cut with your jab saw.
Step 4: Hang the Top Row
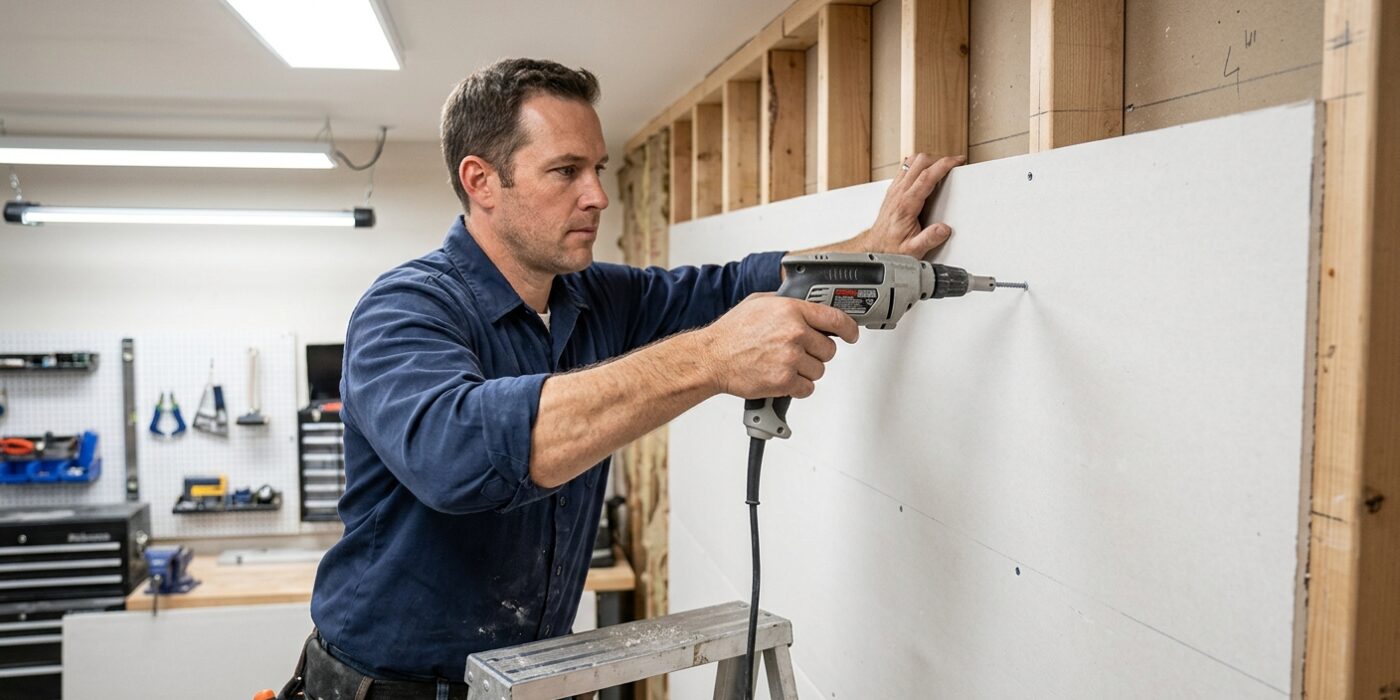
Start by lifting your first drywall panel so that it sits flush against both the ceiling and the wall studs. This position is vital because the ceiling joint acts as a guide to keep your wall straight. Have your helper hold one end securely while you steady the other. Drive your first screw into a wall stud near the center of the panel to “tack” it in place. Once the panel is supported by that single screw, move outward to secure it by driving screws every 12 inches into every stud it covers. When you reach the outer edges of the panel, space your screws every 8 inches to ensure a strong grip. The goal is to create a slight dimple in the drywall surface without puncturing the paper skin. If the screw head breaks the paper, it loses its holding power; simply back it out and drive a new screw two inches away.
Beginner Tip: Do not over-tighten your screws. If you are using a standard power drill rather than a specialized drywall screw gun, go slowly. Stop the moment the head of the screw sits just below the surface. Over-driving will tear the paper and ruin the structural integrity of the installation.
Pro Tip: To find your studs easily after the drywall is up, place a piece of painter’s tape on the floor or ceiling directly in line with each stud before you lift the heavy panel. This allows you to visualize the hidden studs instantly, saving you from guessing or driving screws into thin air.
Step 5: Hang the Bottom Row
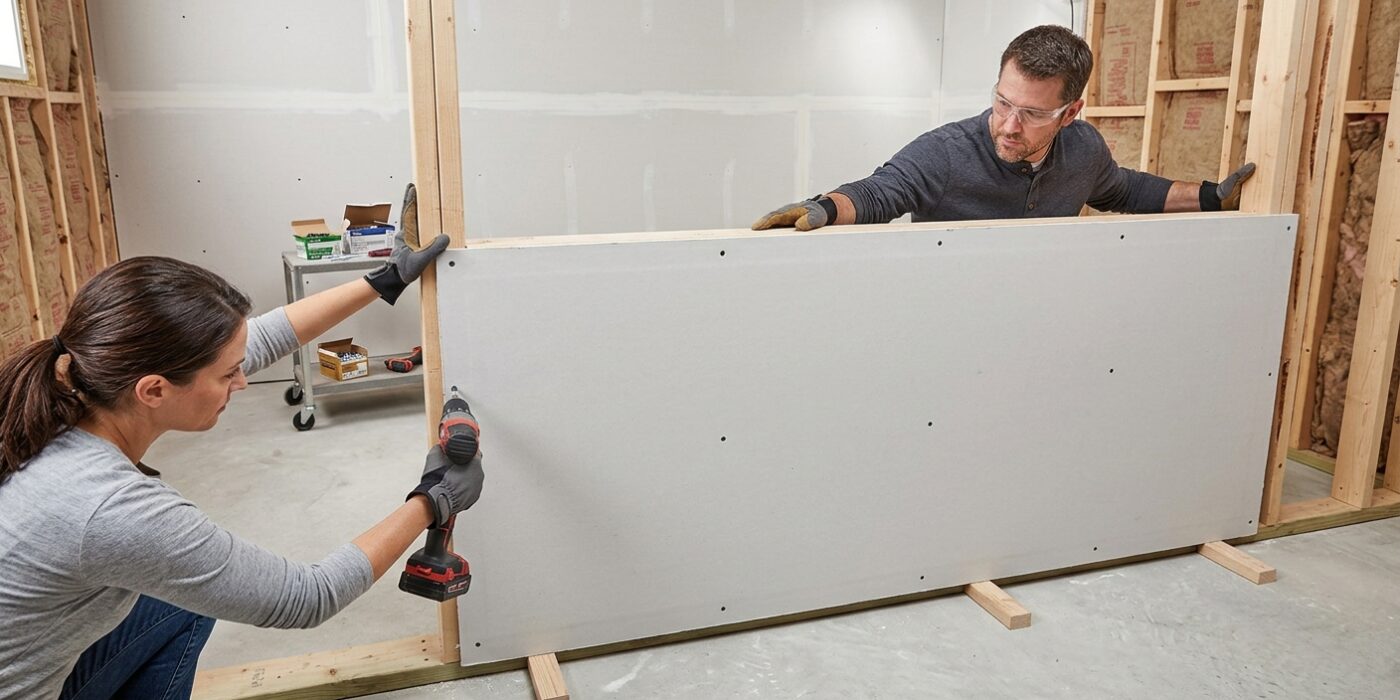
Now it is time to fill the space between your top panels and the floor. Measure the distance from the bottom edge of your installed top panel down to the floor, then subtract about 1/2 inch to account for floor clearance. Cut your drywall panel to this width. When you lift the panel into place, ensure the clean, factory-tapered edge faces upward to meet the factory edge of the top sheet; the cut, raw edge should rest toward the floor, where it will eventually be hidden by your baseboard trim.
To secure the panel, use a drywall foot lifter. Slide this simple lever under the bottom edge of the sheet and step on it to jack the drywall upward until it is pressed firmly against the panel above. Once snug, fasten it to the studs using drywall screws. Space your screws every 12 inches in the field (the middle of the board) and every 8 inches along the edges. Drive the screws until the head is just slightly below the surface, creating a small dimple without tearing the paper facing.
Beginner Tip: Do not let your drywall panel touch the subfloor directly. If the floor is uneven or gets wet, the drywall will wick up moisture and crumble. Always leave that 1/2-inch gap at the bottom; your baseboards will cover it completely later.
Pro Tip: If you struggle to hit the studs behind the panel, mark their locations on the floor and ceiling before lifting the sheet. Once the panel is up, use a straightedge or a chalk line to draw vertical lines across the face of the drywall so you know exactly where to drive your screws.
Step 6: Handle Corners and Openings
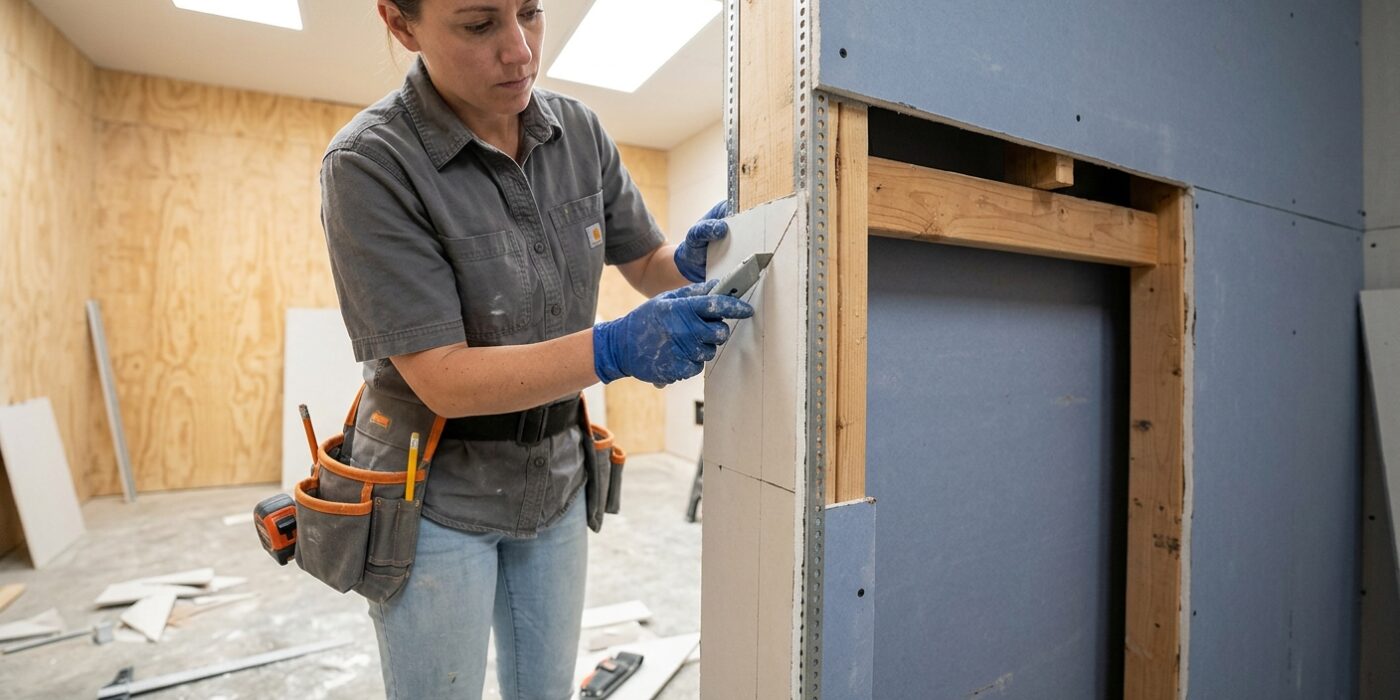
Navigating corners and openings can feel intimidating, but taking it one step at a time makes it manageable. For inside corners, simply run your panel tight into the corner. When you finish the adjacent wall, the second panel will overlap the edge of the first, creating a clean seam that you will later hide with joint tape and compound. For outside corners, you must install a metal or paper-faced corner bead. This protects the vulnerable drywall edges from bumps; align it flush, then secure it with screws or a crimping tool every 6 to 8 inches before covering it with compound.
When you reach doors and windows, don’t worry about perfect precision. Hold your panel up and mark where the opening begins. Cut out the shape with a drywall saw, making sure to leave a 1/8-inch gap between the drywall and the wooden framing. This small space provides room for the house to naturally expand and contract without cracking your finished wall.
Beginner Tip: Avoid the urge to force your drywall sheets tightly against each other in the corners or around doors. If the boards are wedged too firmly, they can cause the wall to bow or “buckle” as the wood frame shifts over time. That 1/8-inch gap is your insurance policy against future cracks.
Pro Tip: To get a perfect fit around windows and outlets, use a simple carpenter’s square to transfer your measurements onto the drywall panel. If you are nervous about cutting the shape correctly, cut the board slightly large and use a utility knife to “shave” the edge down until it fits perfectly.