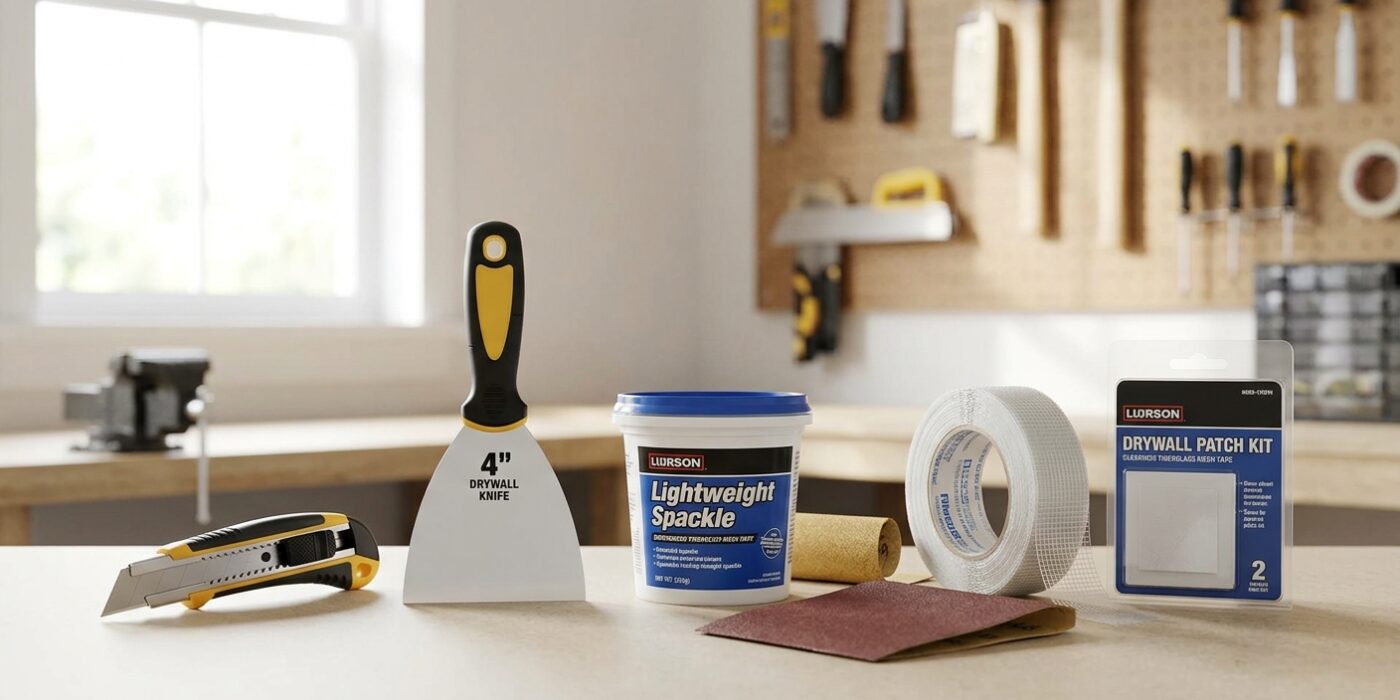
Project Shopping List
Patching a hole in drywall is one of the most common home repair tasks. Small holes from picture hooks are quick fixes; medium holes from doorknob impacts require backing support; large holes from plumbing access or damage require a more involved patch. Each size has a specific repair method — using the wrong method for the hole size is the main reason patches look worse than the original damage.
What You Need
- Joint compound (pre-mixed)
- Drywall screws and drill
- Drywall saw or utility knife
- Patch material: self-adhesive mesh patch, or a cut piece of drywall
- Backer boards (1×3 or 1×4 lumber) for larger holes
- 3-inch, 6-inch, and 10-inch drywall knives
- 120-grit sandpaper
Small Holes (Under 1 Inch) — Spackling
Fill small nail holes and dents with lightweight spackling or joint compound applied with a fingertip or putty knife. Press compound into the hole, overfill slightly, and let dry. Sand flush with 120-grit. One coat is usually enough for holes under 1/4 inch; two coats for holes up to 1 inch. Prime before painting.
Medium Holes (1 to 6 Inches) — Mesh Patch
Step 1: Apply Self-Adhesive Mesh Patch
Clean debris from the hole. Peel and stick a self-adhesive fiberglass mesh patch centered over the hole. The patch should extend at least 1 inch beyond the hole in all directions. These patches are available at any hardware store in sizes from 4 to 8 inches square.
Step 2: Apply Compound in Layers
Apply joint compound over the mesh with a 6-inch knife, pressing compound through the mesh to fill the hole behind it. Feather the edges 4-6 inches onto the surrounding wall. Let dry (4-8 hours). Apply a second wider coat with a 10-inch knife, feathering 8-10 inches from the patch center. Let dry and sand smooth. The mesh is not as strong as a backed drywall patch, but it is adequate for holes that do not see impact loads.
Large Holes (6 Inches and Up) — Drywall Patch
Step 1: Cut a Clean Opening
Cut a clean rectangle around the damaged area with a drywall saw. Cut to the nearest stud on each side if possible — this gives you solid framing to fasten the patch to. For holes between studs, cut any size rectangle and add backer boards.
Step 2: Install Backer Boards
If the cut opening does not reach studs on both sides, install 1×3 backer boards inside the opening. Slide each backer board behind the opening so half the board is behind the existing drywall and half spans the opening. Drive drywall screws through the existing drywall into the backer board on each side of the opening to clamp it in place. The backer board gives you solid fastening for the patch edges.
Step 3: Cut and Fasten the Drywall Patch
Cut a piece of drywall to exactly fill the opening — measure twice. Drive drywall screws through the patch into the backer boards or framing every 8 inches around the perimeter. The patch surface should be flush with the surrounding wall; if the patch is slightly proud, shim the backers or plane the patch edges. A patch that is sunken requires very thick compound to fill, which cracks as it dries.
Step 4: Tape and Finish
Tape all four seams with paper tape and joint compound following the standard three-coat process. A large patch has four joints to tape, each requiring the same tape coat, fill coat, and finish coat as any other drywall joint. The result is indistinguishable from the surrounding wall when properly finished and painted.
Pro Tips
- Mark stud locations before cutting — avoid cutting through electrical or plumbing that runs through walls.
- For a very smooth repair, apply a light skim coat over the entire wall section after the patch is finished — this blends the texture of the patch with the surrounding wall.
- Always prime before painting repairs — unprimed compound flashes badly under any paint sheen above flat.
Frequently Asked Questions
Can I use spackling compound for large holes?
No. Spackling compound shrinks significantly as it dries and cracks in thick applications. Use joint compound for any repair larger than about 1/2 inch, and always use it in thin coats with full drying between coats. Spackling is only appropriate for small nail holes and very minor surface dents.
How do I match textured walls?
Matching existing wall texture requires practice. Common textures: orange peel can be matched with an aerosol orange peel texture can from the paint store; knockdown texture is created by applying thinned compound with a roller and then knocking down the peaks with a knife before it fully dries. Test on cardboard first before applying to the wall, and make sure the existing texture is actually what you think it is before purchasing texture products.