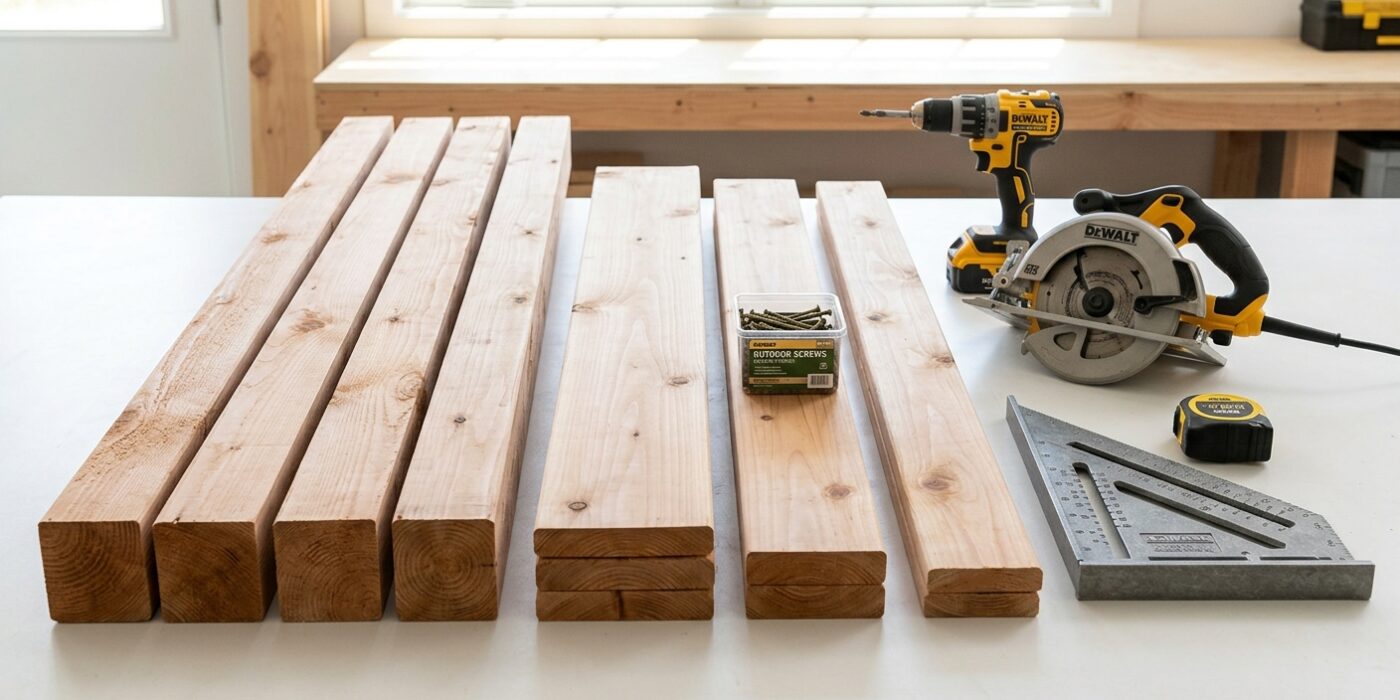
Project Shopping List
A garden arbor creates a focal point in any landscape, frames a garden entrance, provides a support structure for climbing plants like roses, wisteria, or clematis, and adds vertical interest to a flat yard. Building your own from cedar or pressure-treated lumber takes a weekend and costs a fraction of a prefab kit that arrives with stripped screws and inadequate instructions. A properly built arbor will outlast most kit versions by a decade or more.
Design and Dimensions
A standard garden arbor is 4 feet wide, 2 feet deep (from front posts to back posts), and 7 to 8 feet tall at the roof peak. This gives comfortable clearance for walking through and enough vertical height for climbing plants to cascade over the top. Adjust width to fit your path — a 3-foot path needs at least a 4-foot arbor opening, and wider is more welcoming. The instructions below cover a 4-foot-wide, 8-foot-tall arbor.
Tools You Will Need
- Post hole digger or rented power auger
- Circular saw and miter saw
- Drill and bits
- Level, 4-foot
- Clamps
- Tape measure, square, pencil
- Safety glasses and gloves
Materials
- Four 4×4 cedar or pressure-treated posts, 10 feet long
- Two 2×6 beams at 6 feet long for the top cross-beams
- Four 2×4 rafters at 5 feet long with decorative ends cut at 45 degrees
- Two 1×4 horizontal rails per side at 4 feet long for lattice support
- Lattice panels or 1×2 cedar slats for the sides
- 2×4 blocking for top rafter spacing
- 3-inch and 2-inch exterior screws
- Concrete mix, two 60-pound bags per post
- Post base hardware rated for ground contact
Step 1 — Set the Posts
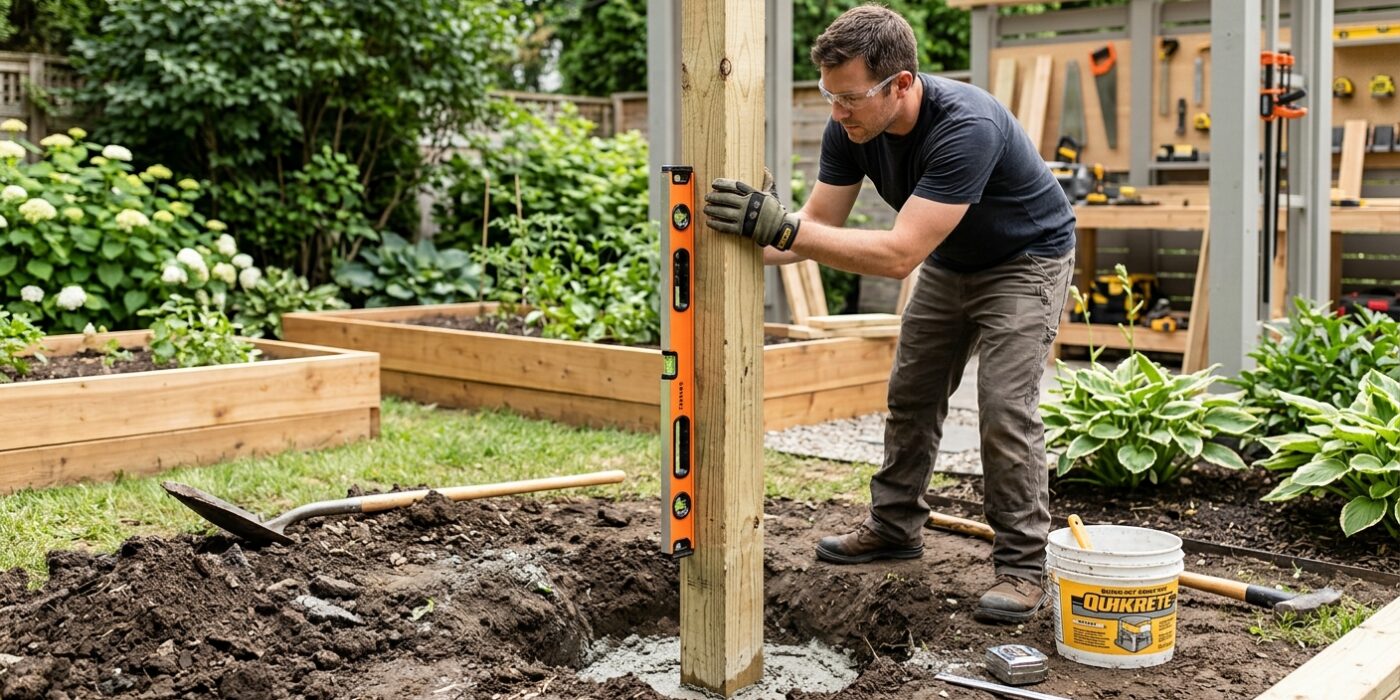
The foundation of your arbor is its strength. Start by marking four spots on the ground: the two front posts should be 4 feet apart, and the two back posts should be 2 feet behind their respective front counterparts. Use a shovel or a post-hole digger to sink each hole 3 feet deep. This depth is critical because it reaches below the frost line in many areas, which prevents your arbor from shifting or heaving when the ground freezes and thaws.
Set the front two posts first. Use a 4-foot level against two adjacent faces of each post to ensure they are perfectly vertical, or “plumb.” Once vertical, pour quick-set concrete into the holes. While the concrete is wet, secure each post with two 2×4 scrap wood braces driven diagonally into the ground; this keeps the post from wobbling as the concrete hardens over the next 24 to 48 hours. Repeat this process for the back posts, using a string line pulled taut between the tops of your posts to ensure they all sit at the exact same height.
Beginner Tip: Do not rush to remove the diagonal bracing. If you take the braces off too early, even a slight bump can tilt your post while the concrete is still soft, which will cause your overhead beams to sit crooked later on.
Pro Tip: To keep your post holes clean and easy to manage, place a small amount of gravel at the bottom of each hole before inserting the post. This allows for better drainage, which helps prevent the bottom of your wooden posts from rotting over time.
Step 2 — Install the Side Rails
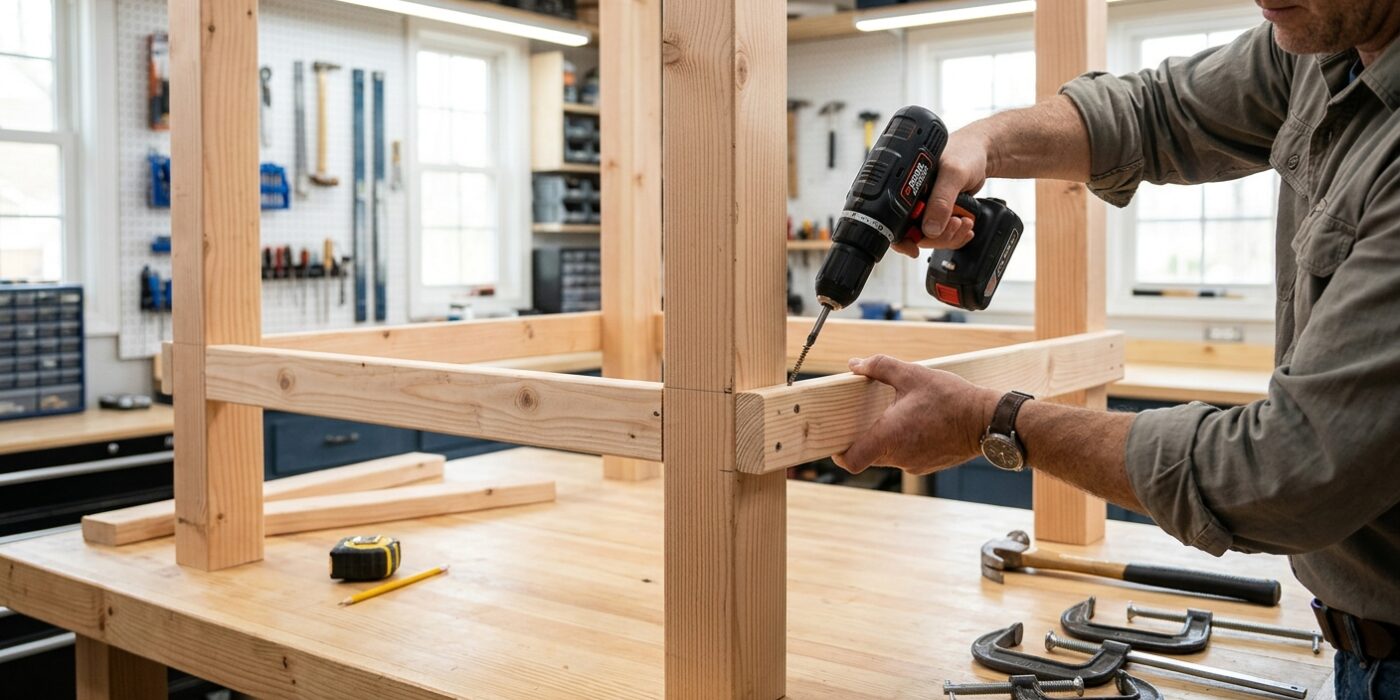
Now that your posts are rock-solid, it is time to frame the sides of your arbor. You will be attaching two 1×4 boards horizontally on each side – one near the top and one near the bottom. These rails act as structural braces to lock your posts into perfect alignment while providing a sturdy surface to mount your lattice later.
Measure 6 inches down from the top of your posts and 6 inches up from the ground to mark your placement. Hold your 1×4 board against the posts, ensuring it is level. Using your drill, drive two 3-inch exterior-grade screws through each end of the board and directly into the face of the post. Repeat this on the opposite side to create two mirrored frames.
Beginner Tip: A common mistake is allowing the boards to sag while driving screws. Before you start drilling, use a small torpedo level on top of the rail to ensure it is perfectly horizontal. Even a slight tilt here will make the entire arbor look crooked once it is finished.
Pro Tip: To make this a one-person job, use a quick-grip clamp to temporarily hold the board in place at your desired height. This leaves both of your hands free to operate the drill and drive your screws, ensuring the board does not shift while you work.
Step 3 — Install Side Lattice or Slats
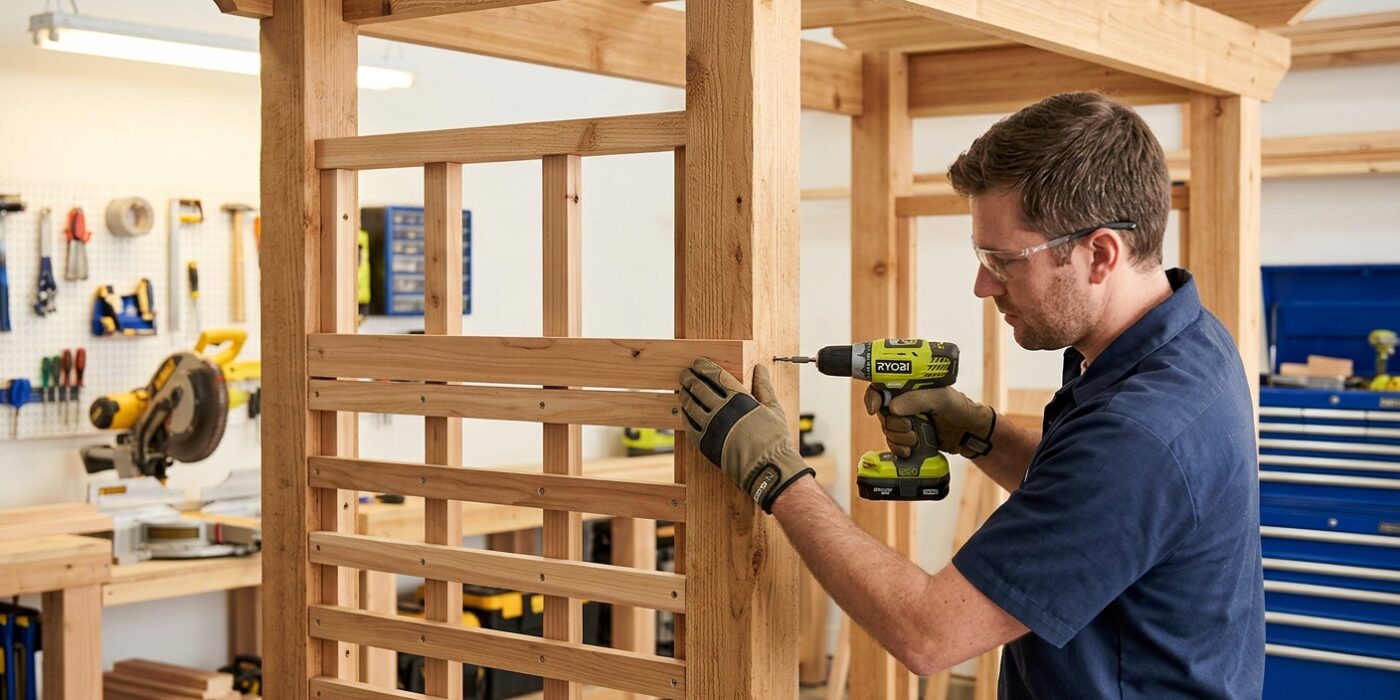
Now that your posts are standing, it is time to add the side panels. This step is crucial because it turns your posts into a single, rigid frame that won’t wobble. Measure the exact height and width of the opening between your side posts. If you prefer a classic cottage look, cut lattice panels to fit these dimensions. If you want a modern, airy feel, use 1×2 cedar slats cut to the height of your opening. Space these slats exactly 4 inches apart to ensure a uniform appearance. Using a power drill, drive two exterior-grade screws through each end of your slats into the posts, ensuring the screws are long enough to bite deep into the wood without poking out the other side.
Beginner Tip: The most common mistake is assuming the ground is perfectly level. Always measure the opening at both the top and the bottom. If they differ, cut your lattice or slats at a slight angle to match the gap perfectly rather than forcing a square piece into a crooked space.
Pro Tip: To keep your slats perfectly aligned without measuring every single gap, cut a scrap piece of wood to exactly 4 inches wide. Place this spacer between the slats as you install them; it acts as a physical guide to guarantee perfectly consistent spacing every time.
Step 4 — Install Cross-Beams
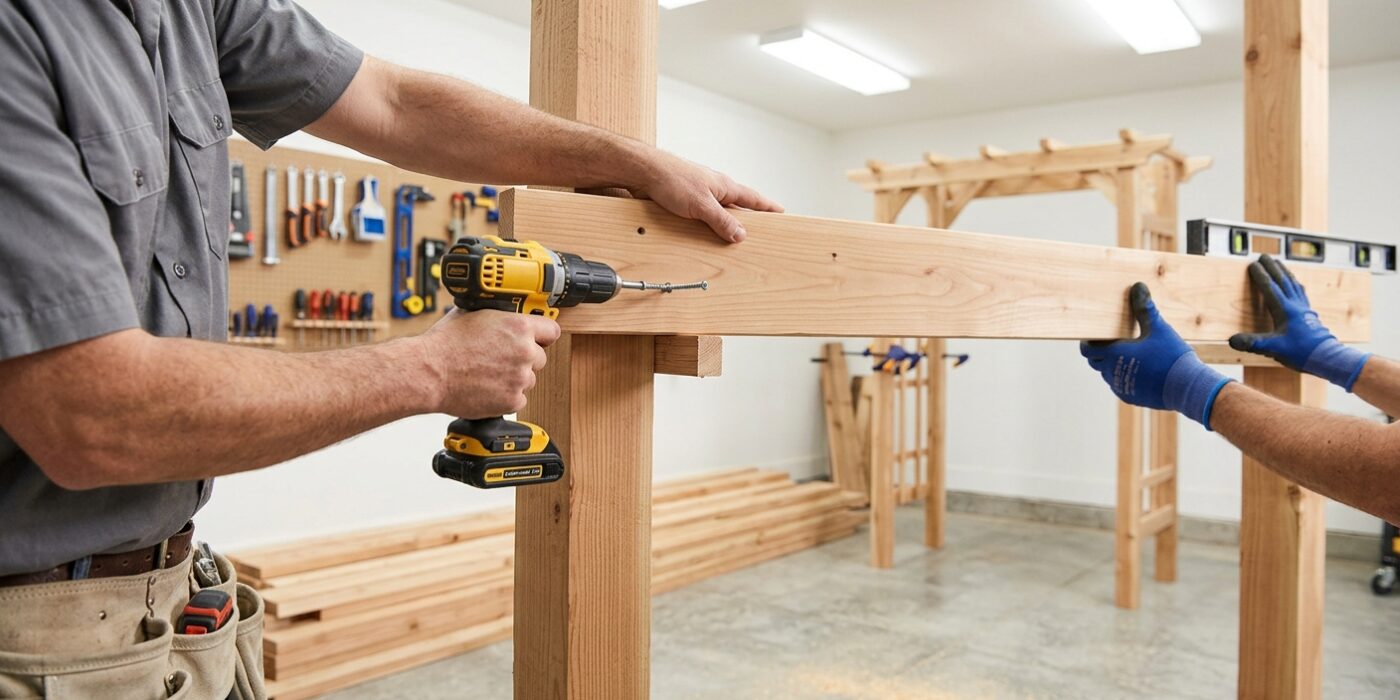
Now it is time to give your arbor its shape by installing the two 2×6 cross-beams. These beams act as the roof’s foundation, spanning the distance between your left and right posts. To keep these heavy boards from shifting over time, you will create a “seat” by cutting a notch into the top of each post. Measure 1 inch deep and 3-1/2 inches wide into the wood at the top of every post. Once the notches are cut, nestle your beams inside them. Use clamps to hold the beams firmly in place so they do not wiggle while you work. Finally, drive two 3-inch exterior-grade wood screws at a downward angle through the beam and deep into the post. Use a carpenter’s level to ensure the beams are perfectly flat before you drive those screws home.
Beginner Tip: Avoid the mistake of rushing the level check. If your beams are tilted, your entire roof will look crooked once finished. Take a moment to place your level on top of the beam and adjust it until the air bubble is perfectly centered before securing it with screws.
Alternative Method: If you do not have a circular saw to cut notches, you can use heavy-duty steel post-to-beam connectors. These metal brackets screw directly onto the sides of your posts, providing a sturdy shelf for the beams to rest on without requiring any complex wood cutting.
Pro Tip: Pre-drill your screw holes using a bit slightly smaller than your screw shank. This prevents the wood from splitting, which is especially important when you are driving screws near the end of a board.
Step 5 — Add the Rafters
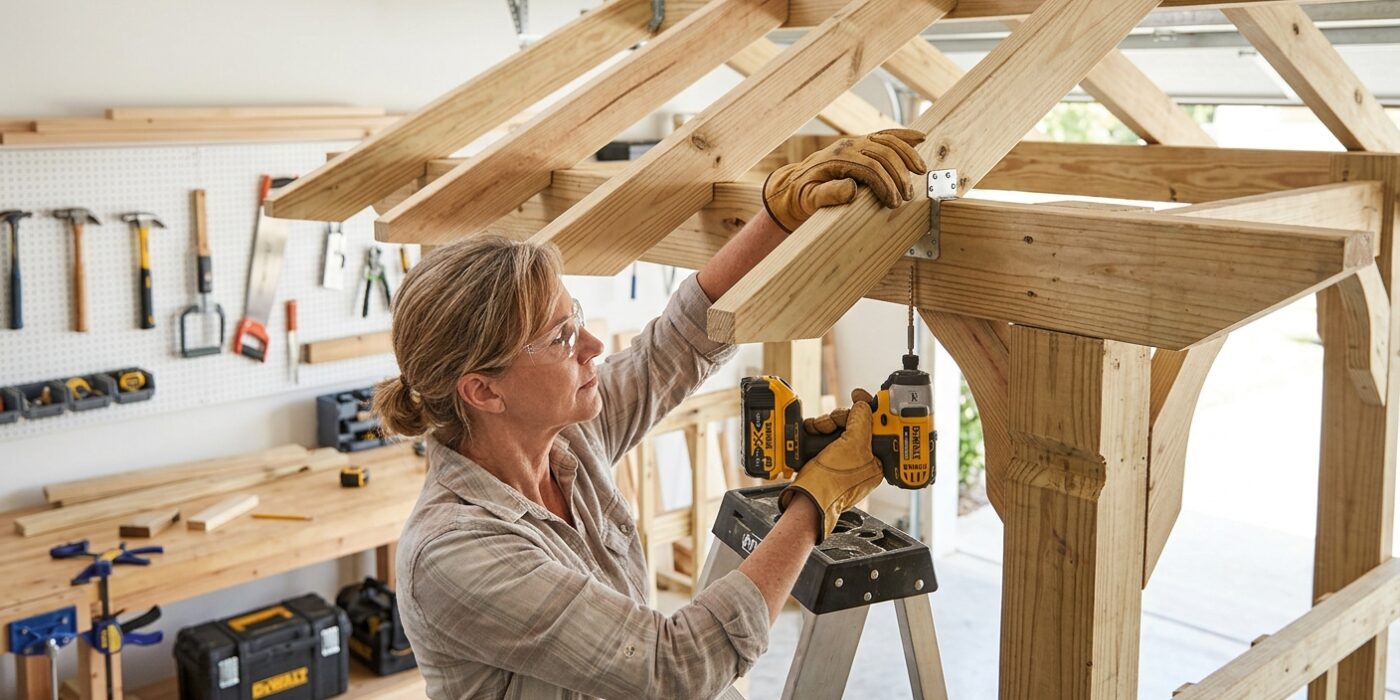
Now that your frame is secure, it is time to build the roof. You will need four 2×4 boards cut to exactly 5 feet long. To give your arbor a professional, custom look, use a jigsaw to cut a gentle curve or a simple 45-degree angle on the ends of these boards. This is purely aesthetic and helps water shed off the ends. Space these rafters evenly across the top of your two main cross-beams, ensuring they extend equally on the front and back. Position them so you have two rafters per beam crossing, then secure them by driving 2-inch exterior-grade deck screws down through the rafter and into the beam. These rafters create the grid that your climbing plants will eventually call home.
Beginner Tip: Avoid the mistake of “toenailing” the screws at steep angles. Keep your drill perfectly vertical and drive the screws straight down through the center of the rafter. If you screw at an angle, the wood is more likely to split, and the connection will be significantly weaker.
Alternative Method: If you do not own a jigsaw or miter saw, simply leave the rafter ends square. You can use a hand saw to create a simple 45-degree point on the ends instead; it takes a little more elbow grease, but it creates the same finished effect.
Pro Tip: Before you climb a ladder to screw the rafters down, pre-drill a small pilot hole through the rafter where each screw will go. This prevents the wood from cracking and makes driving the screw into the hard beam much easier.